3) Changing the Geometry of the Pedal Crank
Go to
File -> Edit
-> Definition.
Now you should see the part being highlighted as shown.

Click
on "sketcher" icon ![]() .
.
Select
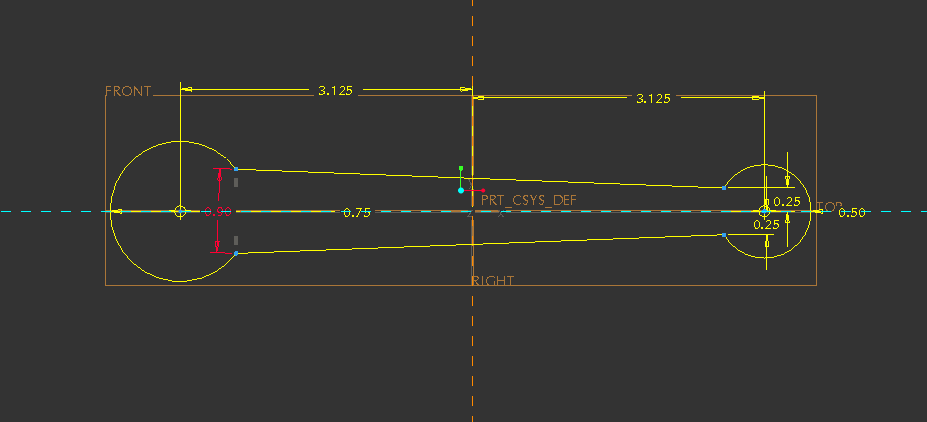
"top" and then "right" planes. Then you should be able to see the part
in a sketcher mode as shown below. 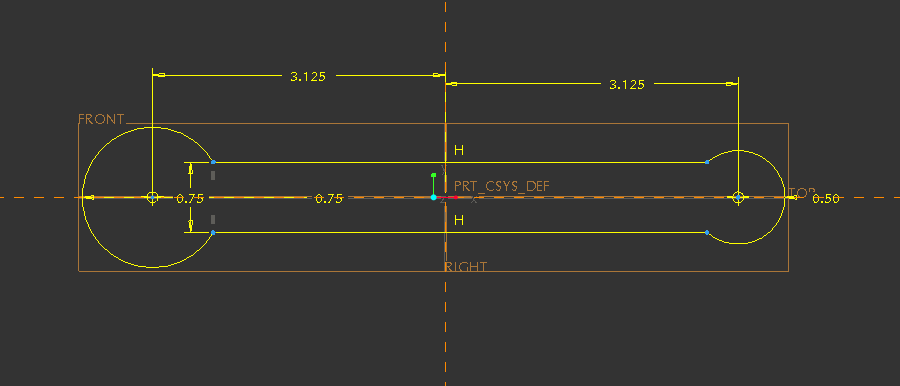
If you see this window, you should update those non-updated references.
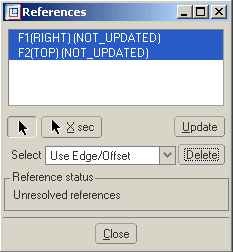
To do so, click on all references (by holding the ctrl key
or the shift key) and click Update. Click Close.
Now click on the modifying dimension icon ![]() .
.
Left click on the first location
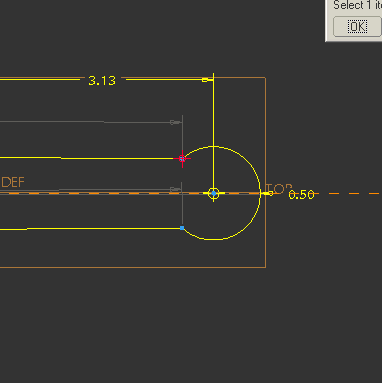
and
again on the second location
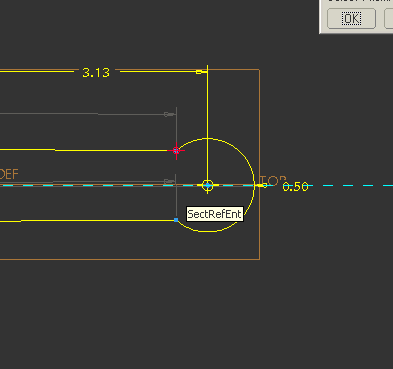
Then
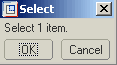
click on the middle mouse button to confirm selection. Click OK in the
"select" window.
Then double click on number (dimension) you
would like to change.
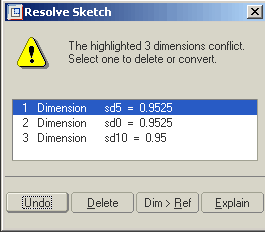
Again, if the program does not let you change the dimension immediately,
you will need to delete some preexisting dimensions. Click
on the dimensions
you wish to delete and select Delete.
+
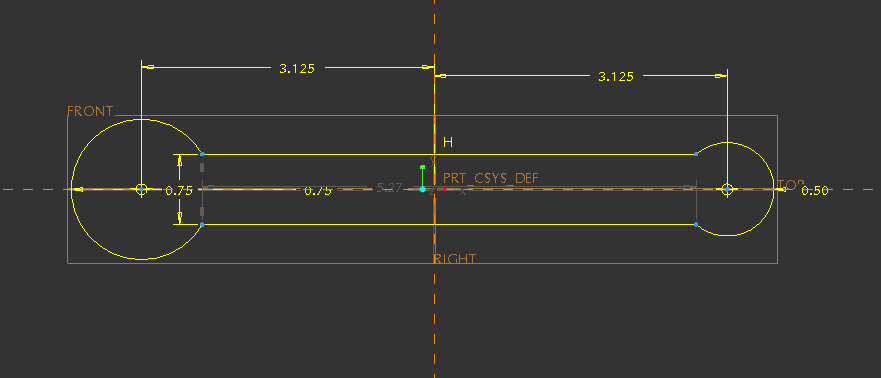
Now you
should see some dimensions become "weak" dimensions, that is, you are able
to modify those dimensions. In this file, there is a horizontal constraint
applied on the bottom line of the middle part of this pedal crank. So if
we do not want to keep the horizontal constraint, click Delete on the "Resolve
Sketch" window.
To delete the Horizontal constraints (the letter H above the line represents
the horizontal constraint), click on the letter H and then click delete,
or go to main menu--> edit-->delete.
After deleted two horizontal constraints, we are able to modify the distance
between two points at the end of both arcs.
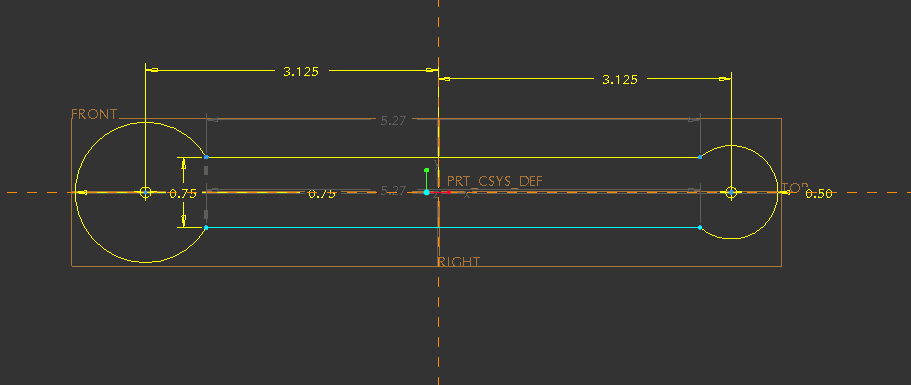
The user can also move the active point (in blue) around to roughly adjust
dimensions of the part. Here is one example in which geometry of the middle
part of the pedal crank is changed.
Click on the check mark icon ![]() .
.
Then click on the green check mark on the dashboard. ![]()
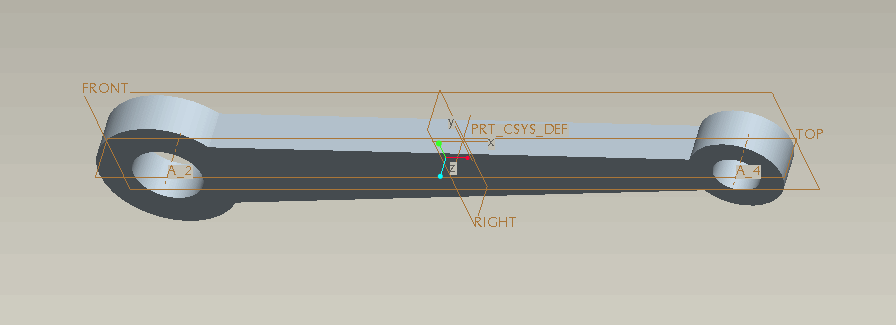
You should now be able to see the modified part as shown below.
Other
features