Assignment 3: Volume Rendering, NeRF, and 3D Gaussian Splatting
Name: Yuqin Jiao | Andrew ID: sjiao2
A. Neural Volume Rendering (60 points)
1.3. Ray sampling (5 points)
Once you have implemented these methods, verify that your output matches the TA output by visualizing both xy_grid and rays with the vis_grid and vis_rays functions in the render_images function in volume_rendering_main.py.
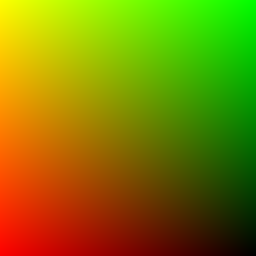
xy_grid
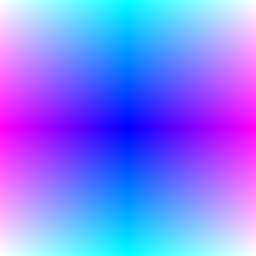
Rays
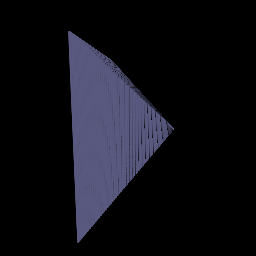
1.4. Point sampling (5 points)
Once you have done this, use the render_points method in render_functions.py in order to visualize the point samples from the first camera.
1.5. Volume rendering (20 points)
By default, your results will be written out to images/part_1.gif. Provide a visualization of the depth in your write-up. Note that the depth should be normalized by its maximum value.
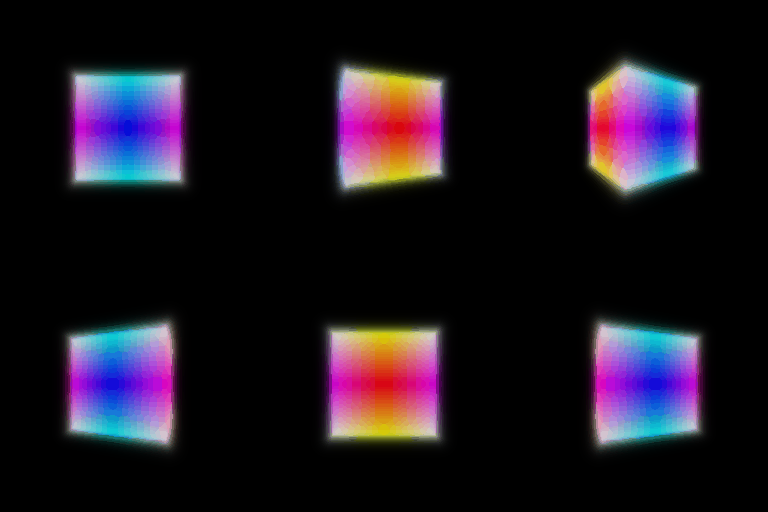
Spiral rendering (part_1.gif)
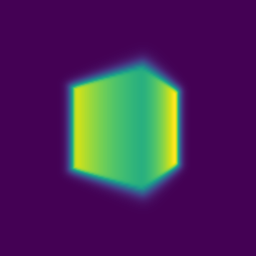
Depth (normalized by its maximum value)
2.1. Random ray sampling (5 points) and 2.2. Loss and training (5 points)
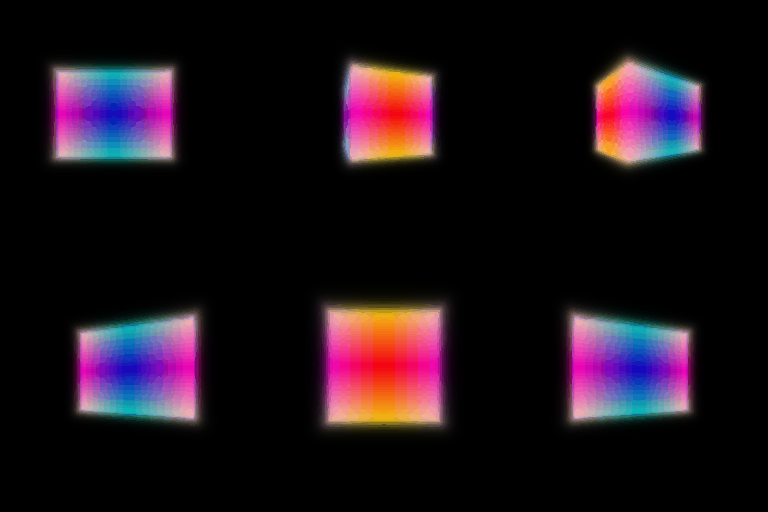
This will optimize the position and side lengths of a box, given a few ground truth images with known camera poses (in the data folder). Report the center of the box, and the side lengths of the box after training, rounded to the nearest 1/100 decimal place.
| x | y | z |
|---|
| Center of the box | 0.25 | 0.25 | -0.00 |
| Side lengths of the box | 2.02 | 1.52 | 1.51 |
2.3. Visualization
The code renders a spiral sequence of the optimized volume in images/part_2.gif. Compare this gif to the one below, and attach it in your write-up:
3. Optimizing a Neural Radiance Field (NeRF) (20 points)
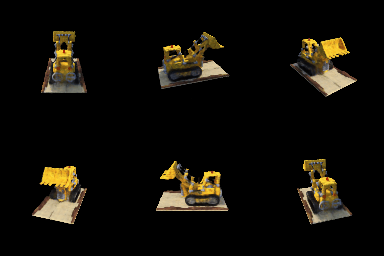
After training, a spiral rendering will be written to images/part_3.gif. Report your results.
4. NeRF Extras (CHOOSE ONE! More than one is extra credit)
4.1 View Dependence (10 bonus points)
Add view dependence to your NeRF model! Specifically, make it so that emission can vary with viewing direction. Discuss the trade-offs between increased view dependence and generalization quality.
While you may use the lego scene to test your code, please employ the materials scene to show the results of your method on your webpage (experimental settings can be found in nerf_materials.yaml and nerf_materials_highres.yaml).

Materials scene with view dependence
Trade-offs between view dependence and generalization:
I made the predicted color depend on the viewing direction, allowing the model to represent view-dependent effects such as specular highlights and reflections.
However, this also increases the model's flexibility, which may lead to overfitting to the training viewpoints and poorer generalization to unseen views.
B. 3D Gaussian Splatting (60 points)
5. 3D Gaussian Rasterization (35 points)
Submission: In your webpage, attach the GIF that you obtained by running render.py
6 Training 3D Gaussian Representations (15 points)
Submission: In your webpage, include the following details:
Learning rates that you used for each parameter. If you had experimented with multiple sets of learning rates, just mention the set that obtains the best performance in the next question.
Number of iterations that you trained the model for.
The PSNR and SSIM.
Both the GIFs output by train.py.
Learning Rate Experiments:
I experimented with three different learning-rate
configurations while keeping the other training
settings consistent. Each experiment was trained
for 1000 iterations using isotropic 3D Gaussians,
an L1 reconstruction loss, and the Adam optimizer.
| Experiment |
Means |
Colours |
Opacities |
Scales |
| A |
0.00005 |
0.005 |
0.005 |
0.002 |
| B |
0.0001 |
0.01 |
0.01 |
0.005 |
| C (Best) |
0.0002 |
0.02 |
0.02 |
0.01 |
Best Configuration: Experiment C
Number of iterations: 1000
PSNR: 28.995 dB
|
SSIM: 0.933
Experiment C achieved the best PSNR and SSIM
among the three configurations, indicating
that the higher learning rates improved
reconstruction quality within 1000 iterations.
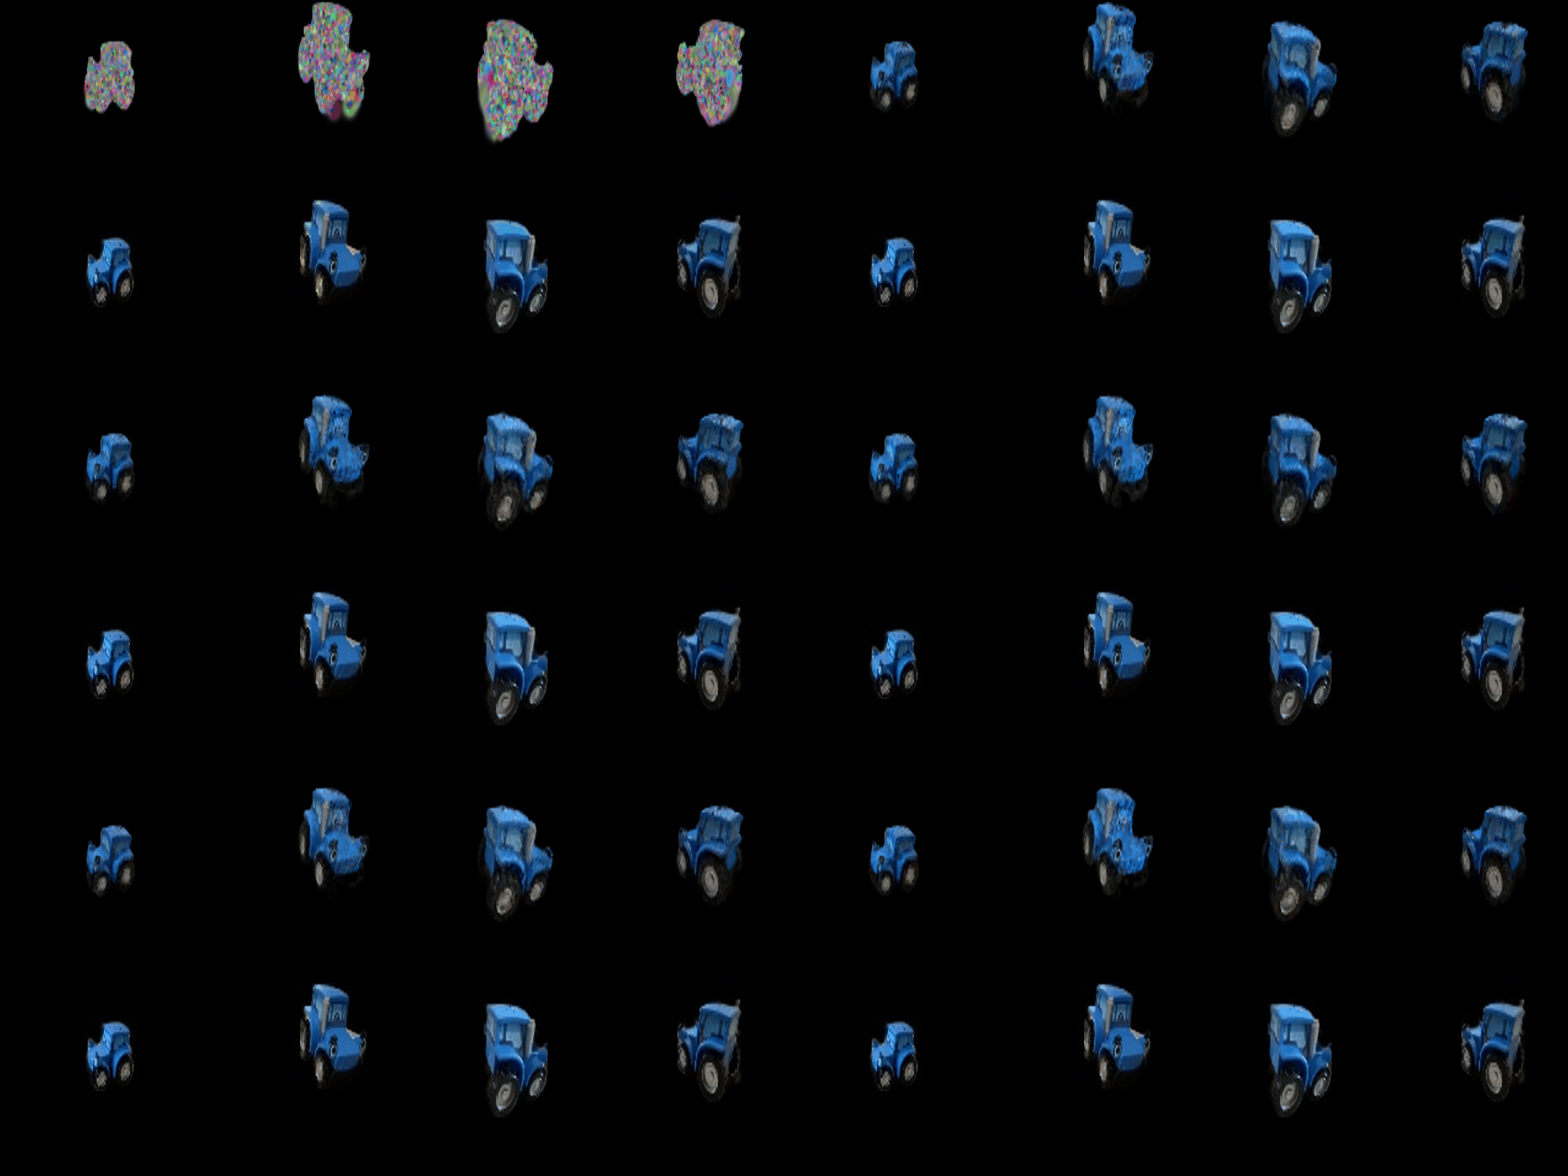
Training progress

Final renders
7 Extensions (Choose at least one! More than one is extra credit)
7.1 Rendering Using Spherical Harmonics (10 points)
Submission: In your webpage, include the following details:
Attach the GIF you obtained using render.py for questions 7.1 (this question) and 5.5 (older question).
Attach 2 or 3 side by side RGB image comparisons of the renderings obtained from both the cases. The images that are being compared should correspond to the same view/frame.
For each of the side by side comparisons that are attached, provide some explanation of differences (if any) that you notice.
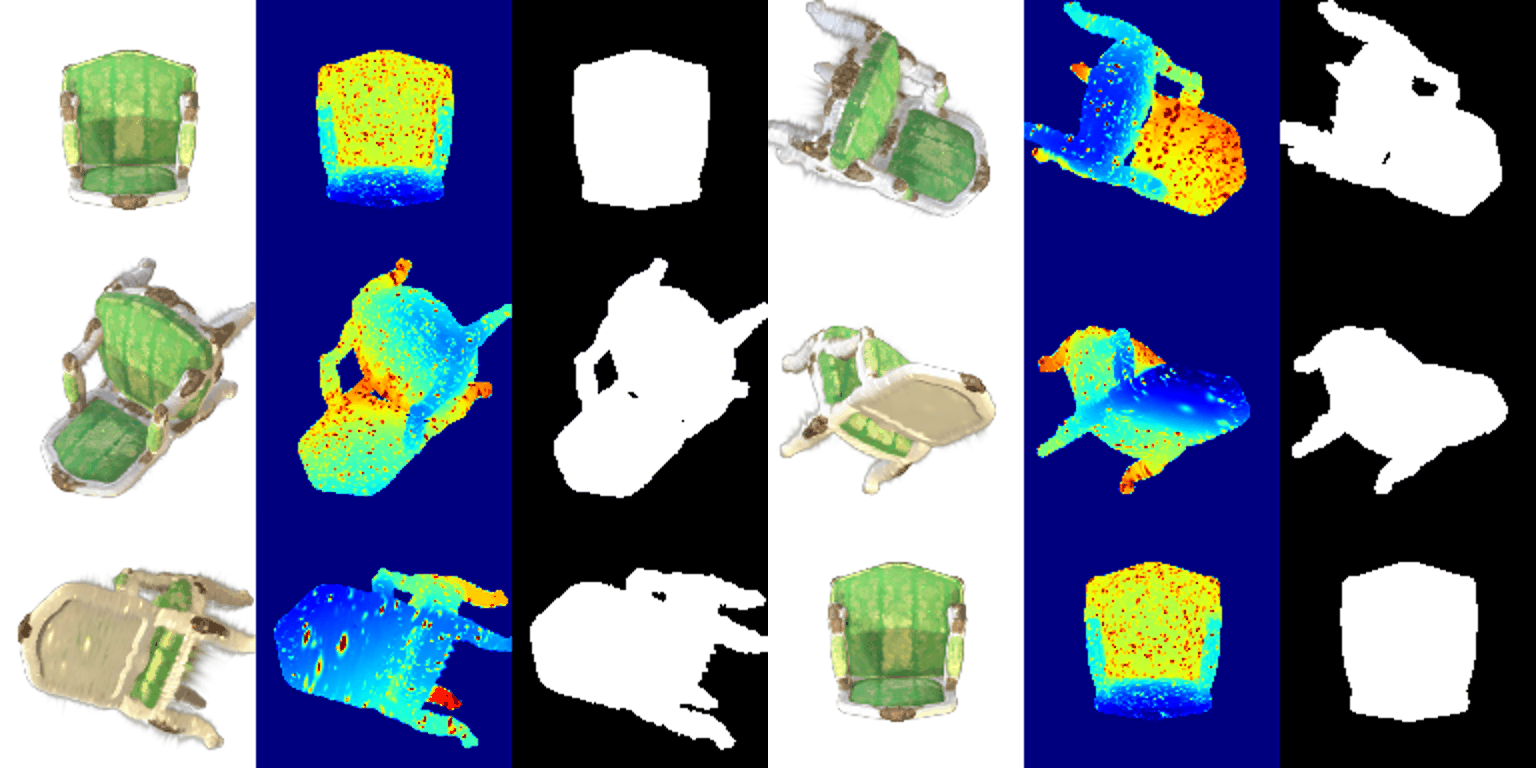
Without spherical harmonics (5.5)
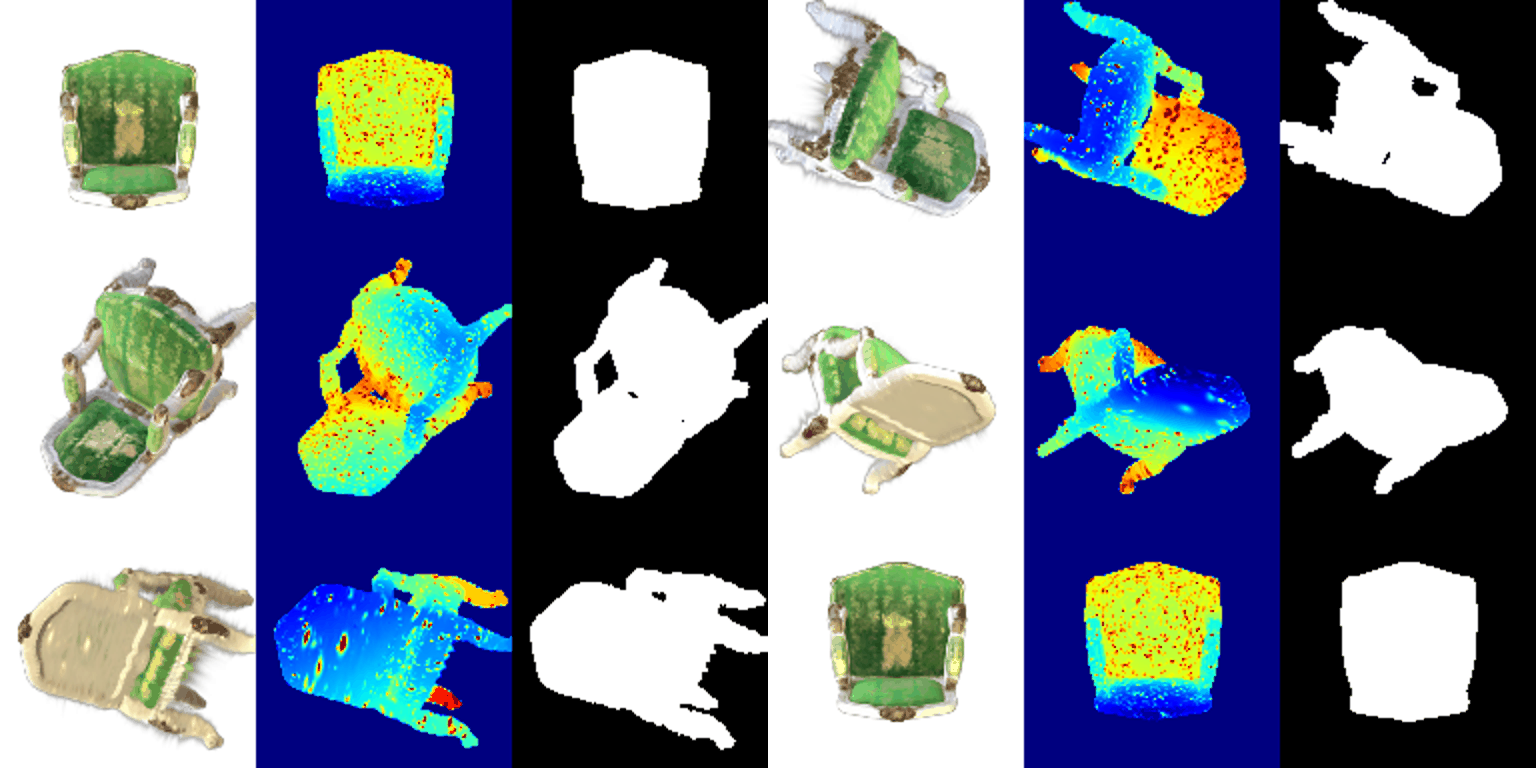
With spherical harmonics (7.1)
Comparison 1
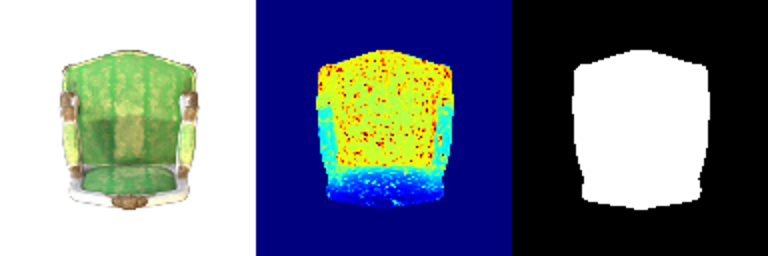
Without spherical harmonics
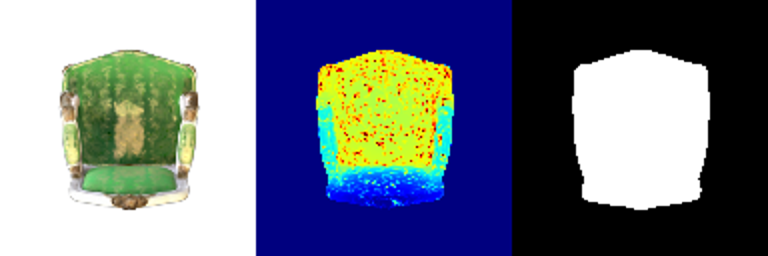
With spherical harmonics
With spherical harmonics, the front view appears
brighter and the green color is not as light as the image without harmonics.
The depth and silhouette remain nearly same.
Comparison 2
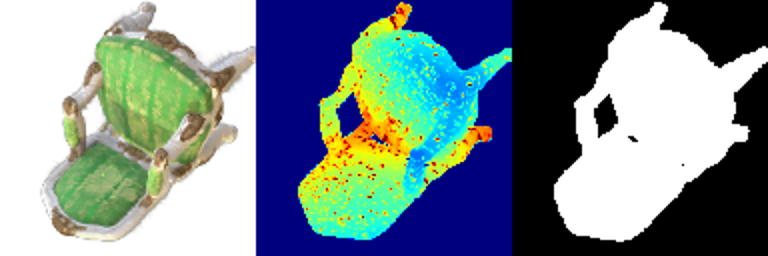
Without spherical harmonics
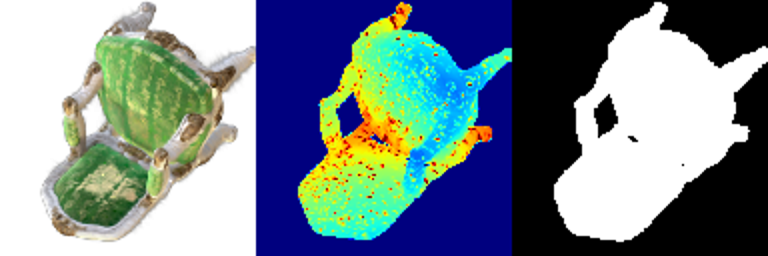
With spherical harmonics
From this view, spherical harmonics produce
more noticeable color variations on the backrest
and seat, while the overall shape remains same.
Comparison 3
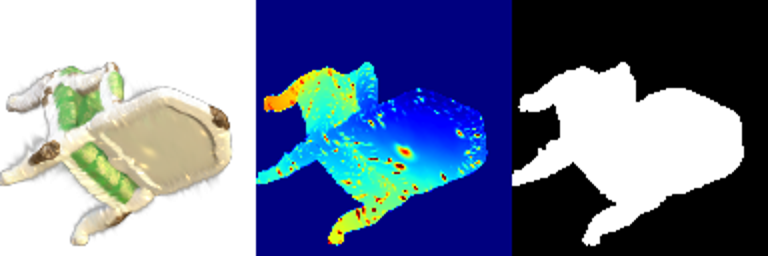
Without spherical harmonics
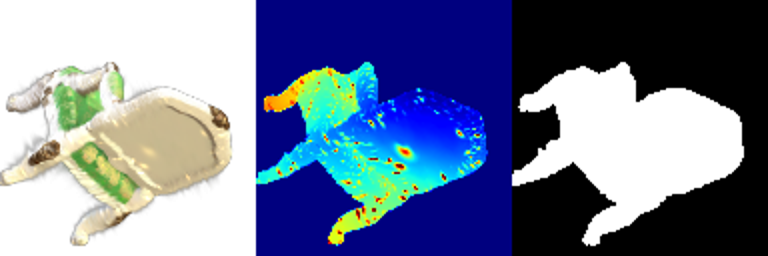
With spherical harmonics
With spherical harmonics, the front view appears
brighter and the green color is not as light as the image without harmonics.
The geometry and silhouette remain consistent.