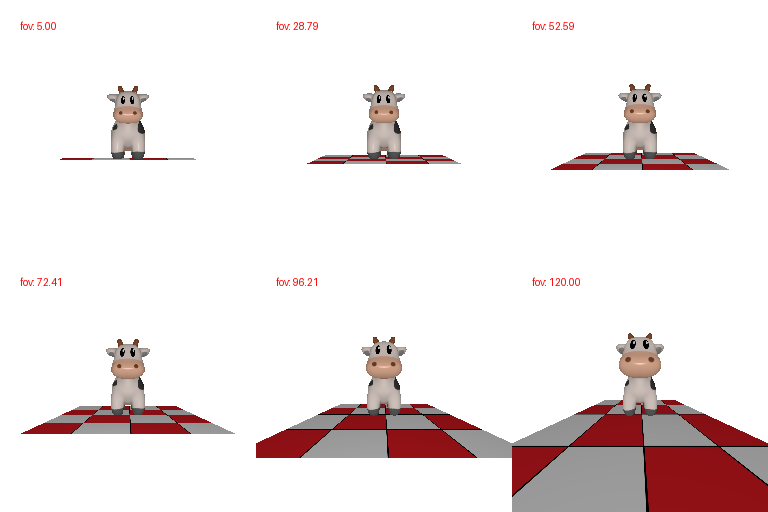

4 vertices, 4 triangular faces
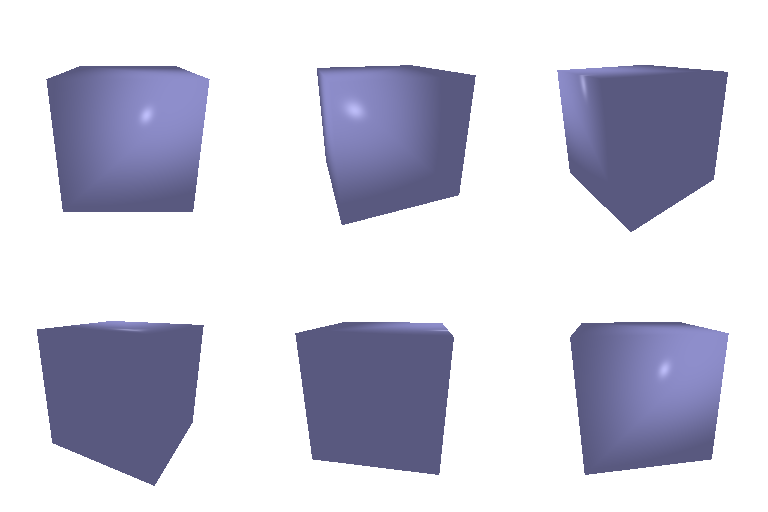
8 vertices, 12 triangular faces
Front (color1) is yellow [1, 1, 0], back (color2) is blue [0, 0, 1]

R_relative rolls the camera 90 degrees and T_relative is zero
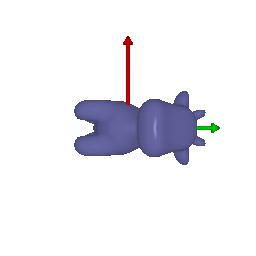
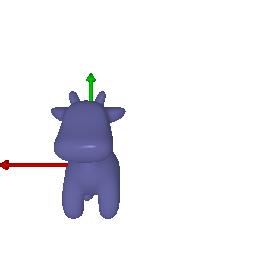
R_relative turns the camera 90 degrees around the vertical axis and T_relative keeps the cow centered
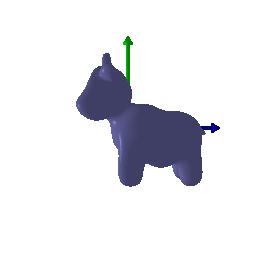
R_relative has not been changed and T_relative moves the camera farther back, making the cow smaller
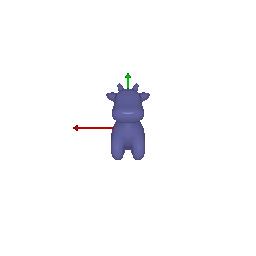
R_relative has not been changed and T_relative shifts the cow left and down in the image
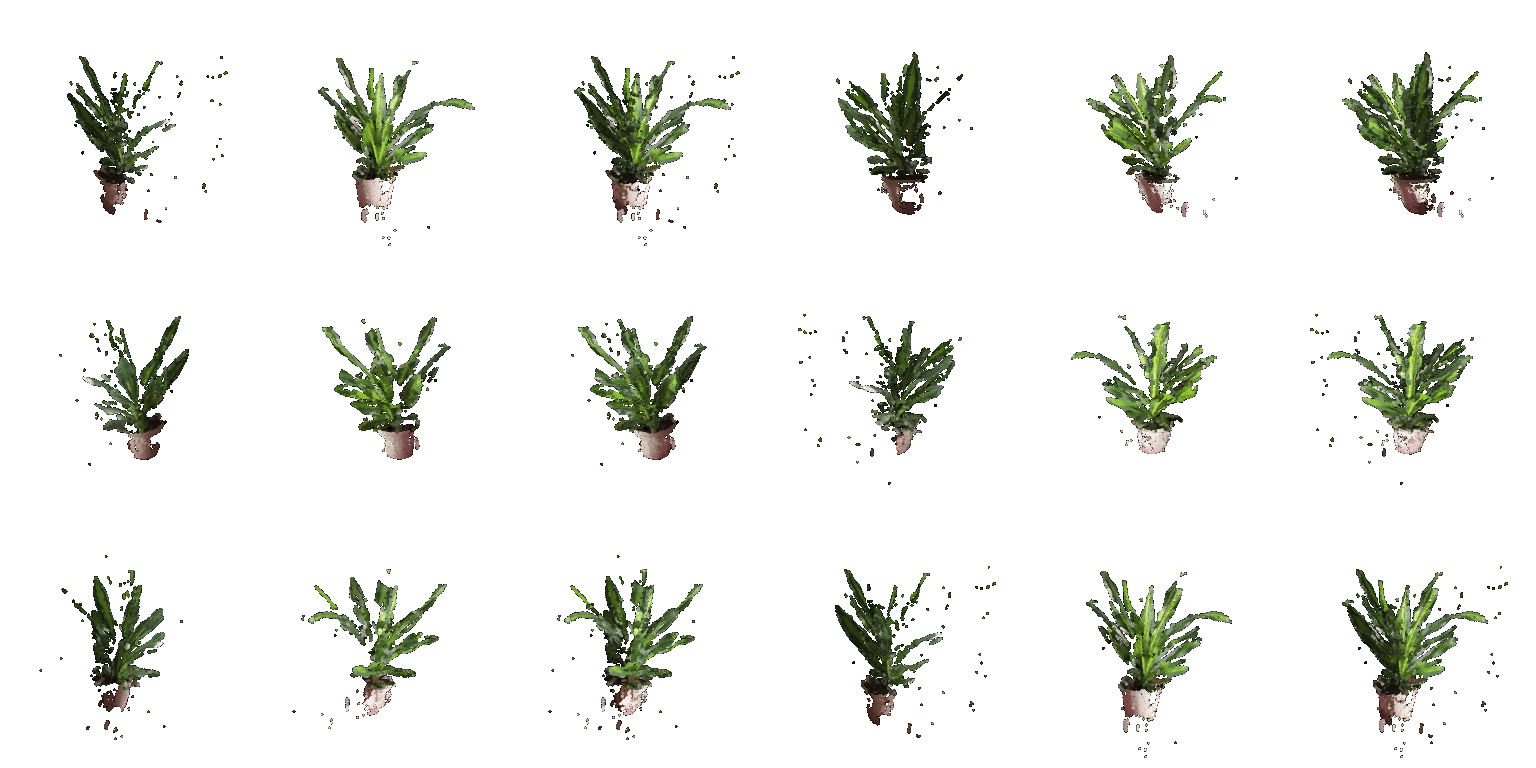
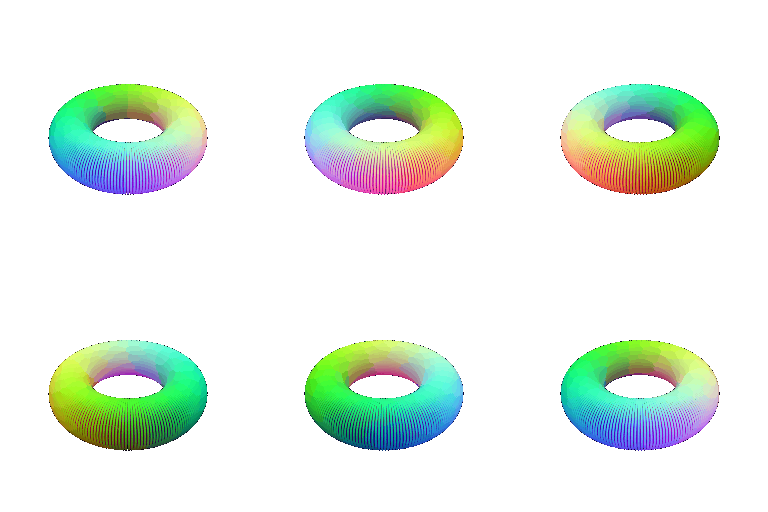
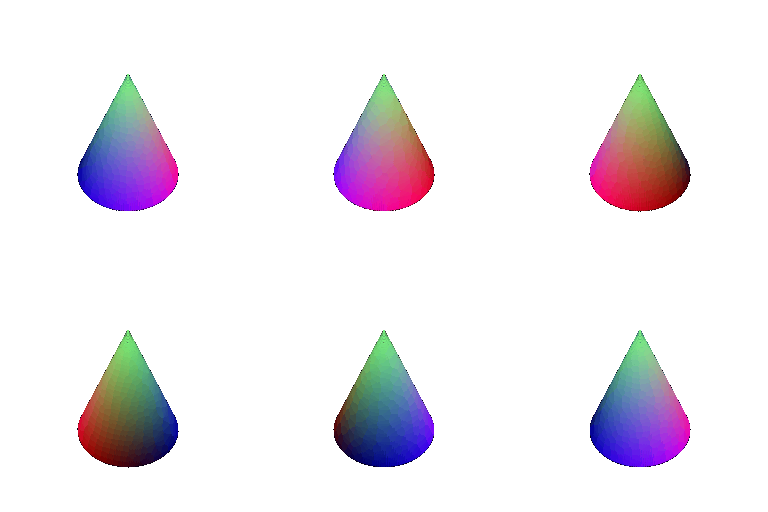
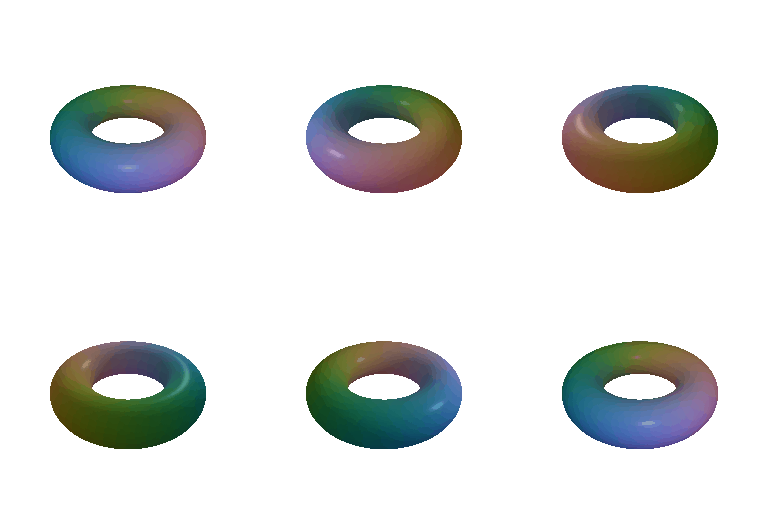
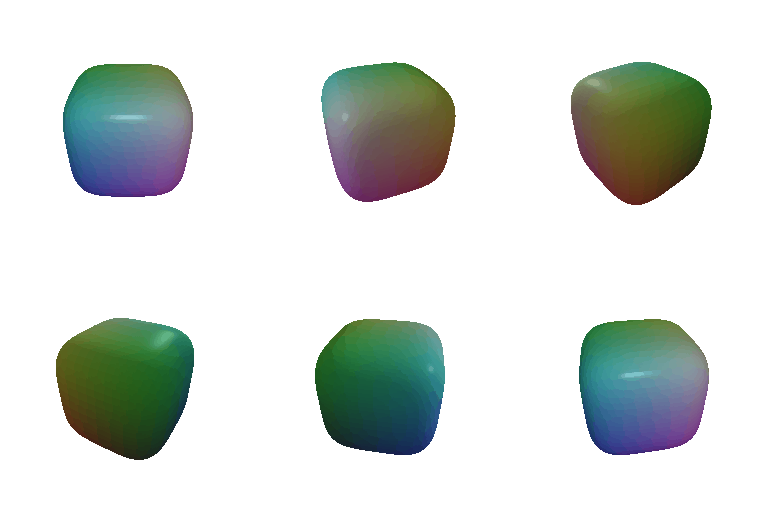
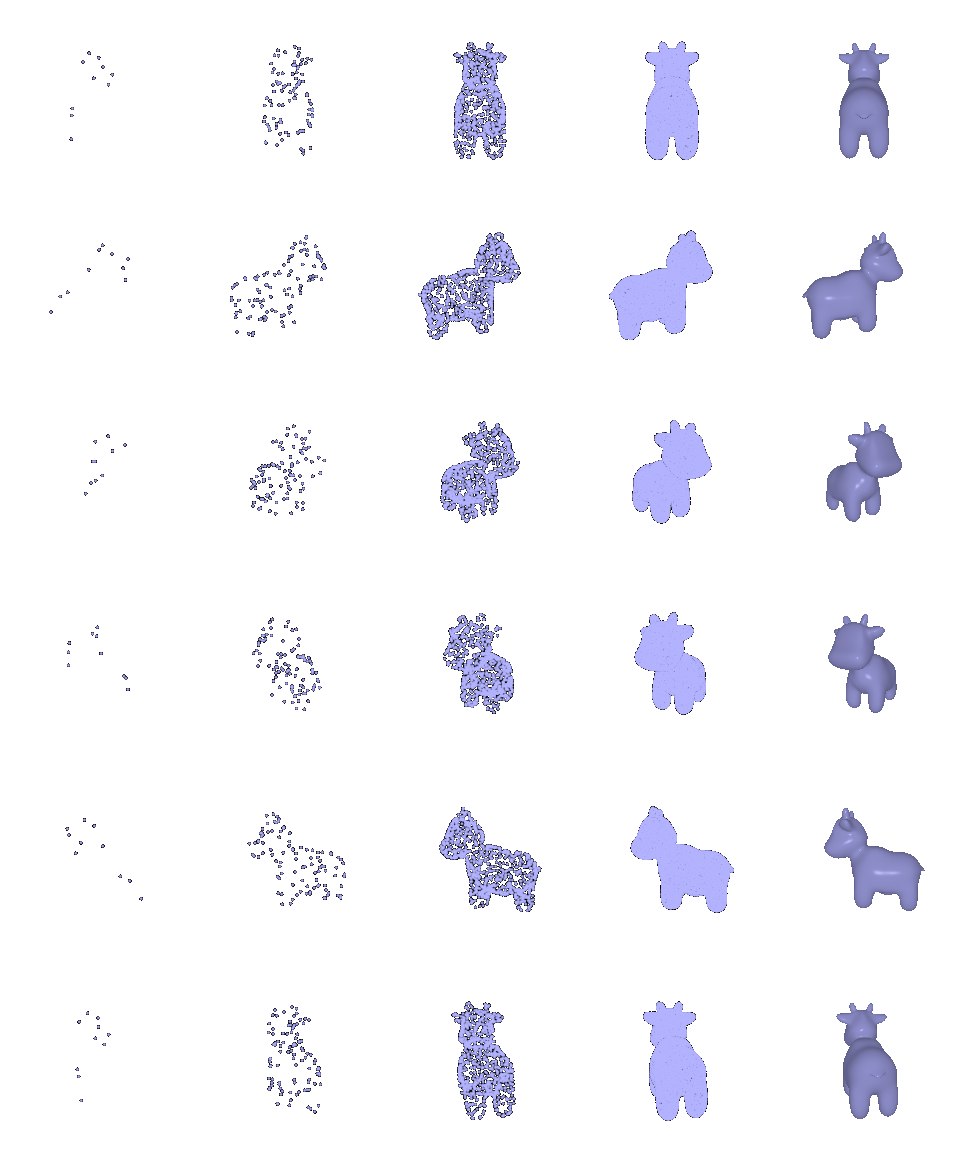
A mesh has a continuous surface with lighting and smooth edges but the point cloud needs enough samples and a good point radius if we want to avoid visible gaps. The mesh takes more time to extract with marching cubes and stores both faces + vertices. A point cloud can be simpler and cheaper to create if its sparser, but if it's pretty densely sampled the points can cost more to render because their projected disks overlap. It's usually better to use meshes if the surface will be viewed many times and point clouds are usually better when the samples are already available.
increasing # of sampled points and then the original: