Colorizing the Prokudin-Gorskii Photo Collection
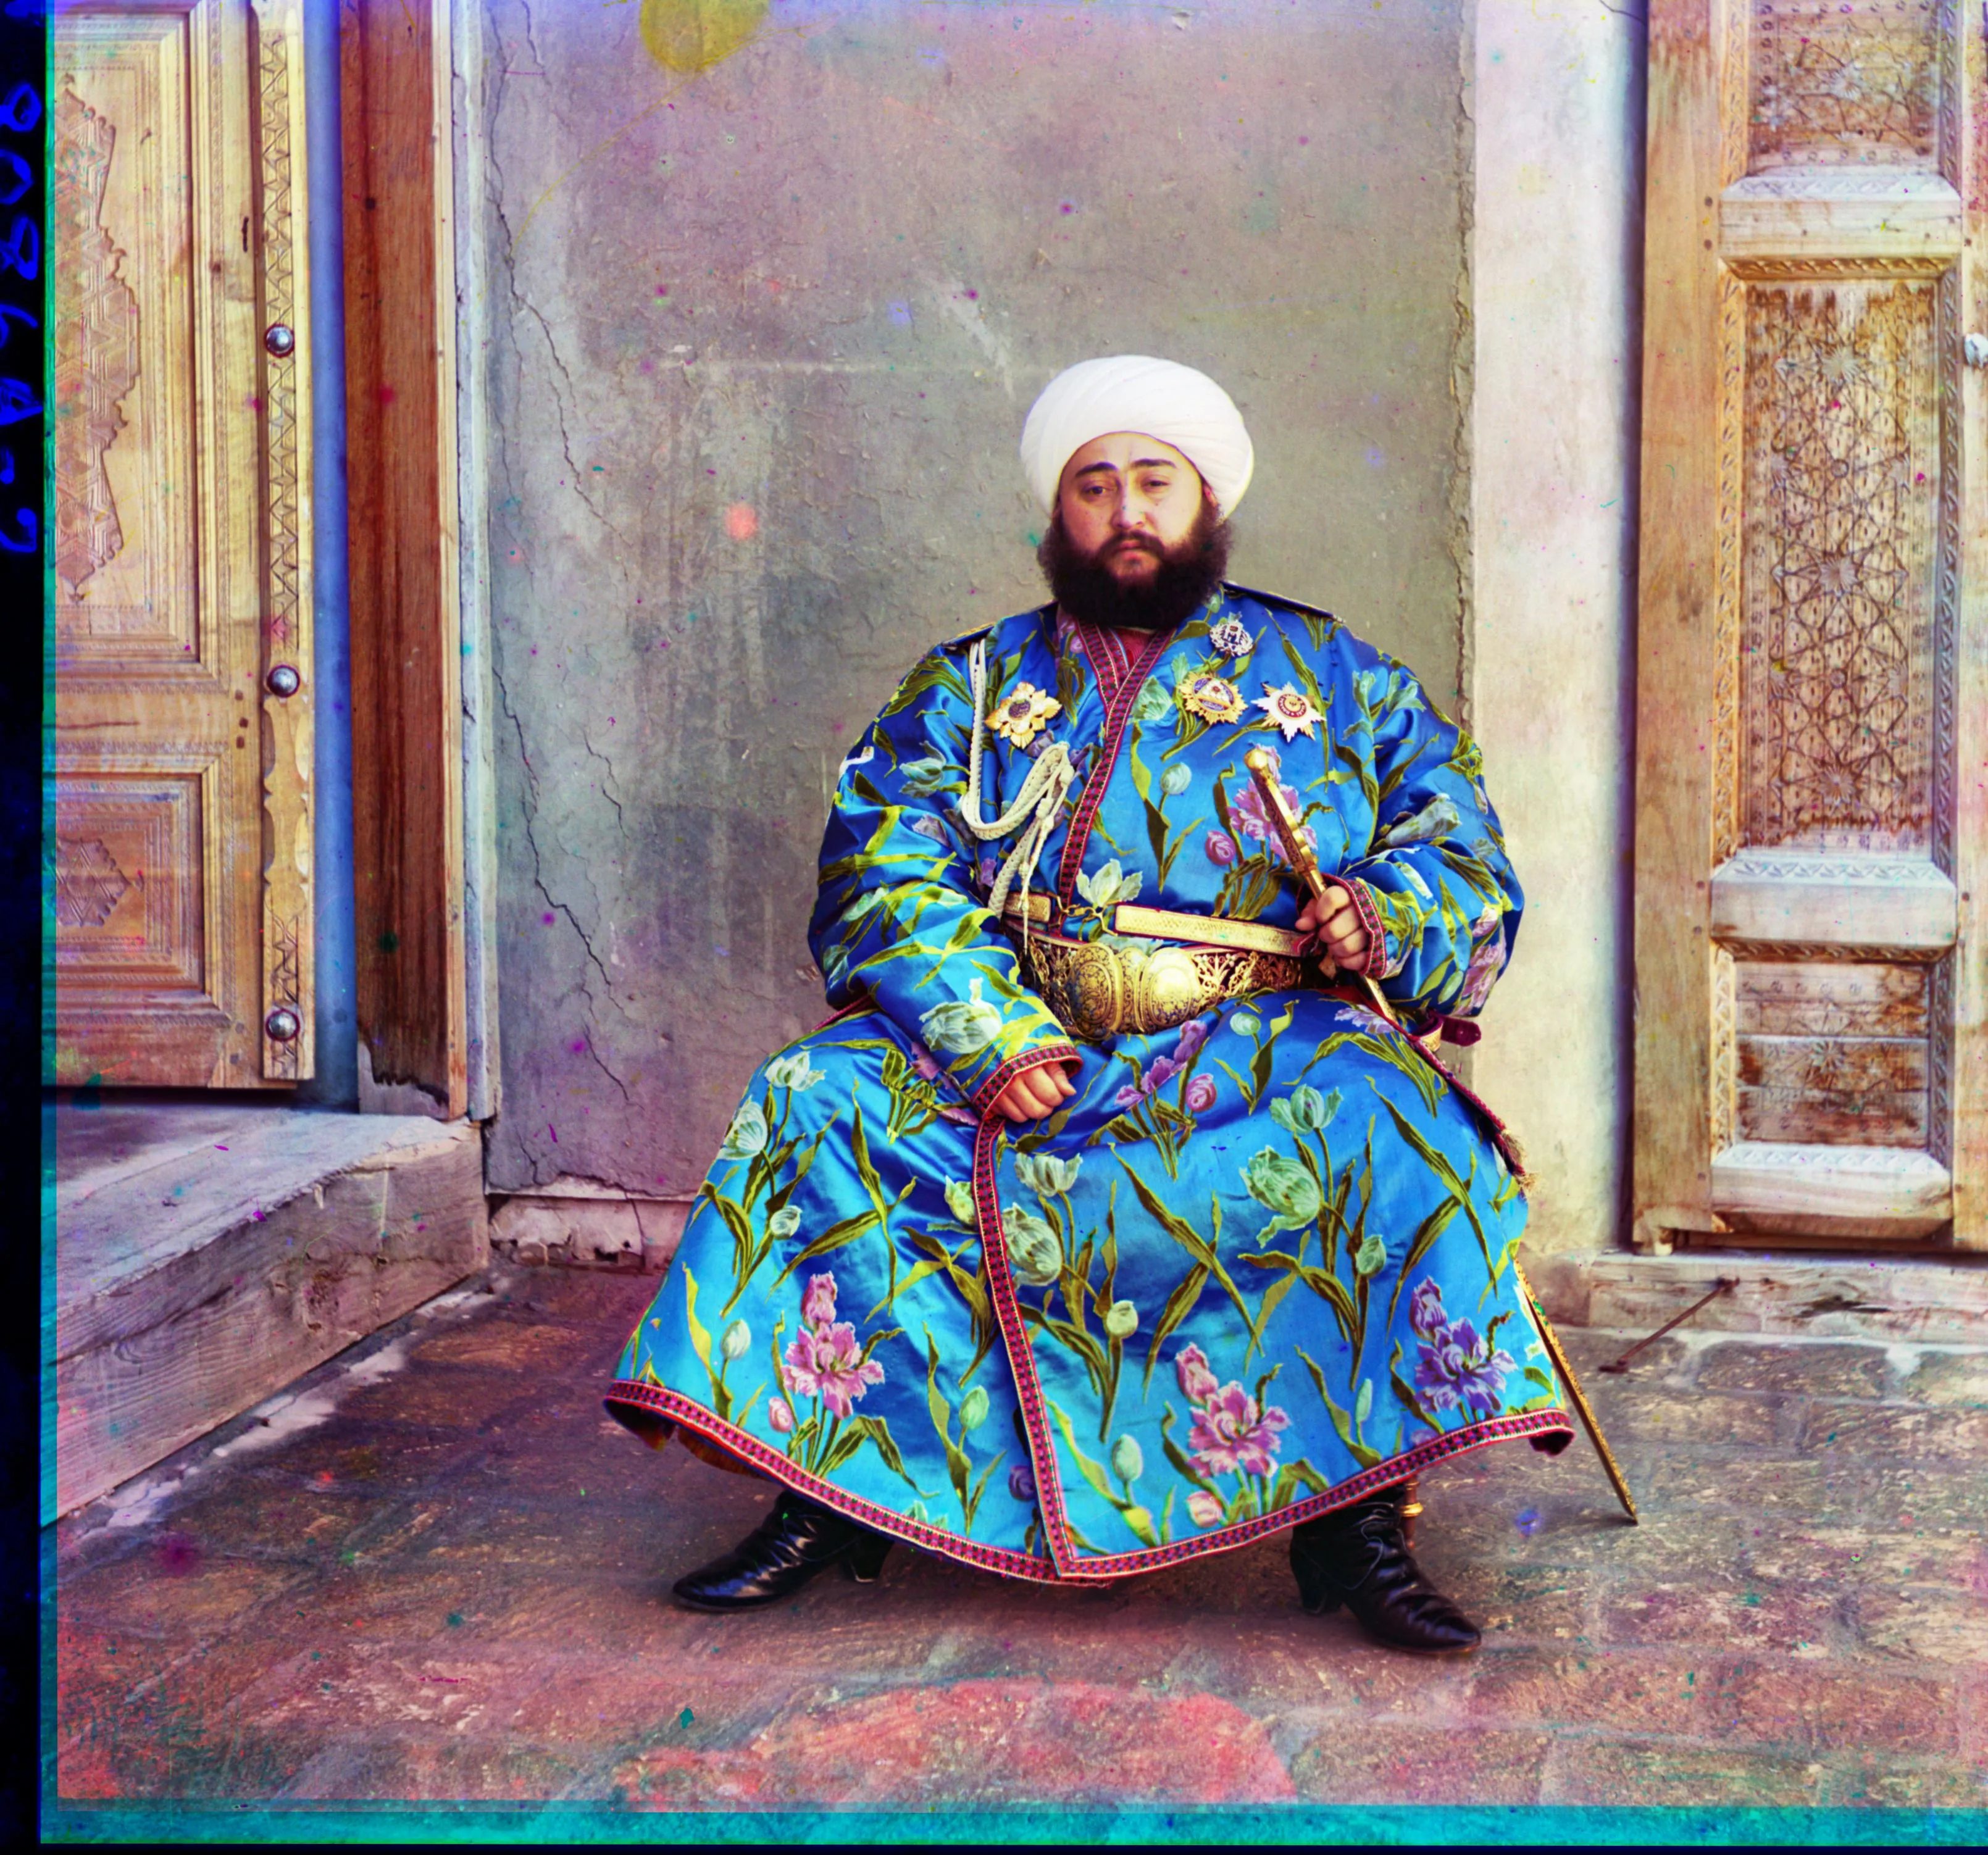
Initial Implementation
In this assignment we were asked to align the black and white plates that compromise the Prokudin Gorskii collection. The assignment actually was a great refresher for python and numpy and getting back into the workflow of working with images which can be a fragile process.
The images are made up of red, green, and blue plates and we use the blue plate as a static base for all our transformations. Meaning, if we want to warp or shift an image then our target would be the blue.
The initial implementation was to bruteforce a search window of shifts ie shifting red and then
comparing it to blue. I implemented both the L2 Norm and the Normalized Cross Correlation but didn’t
find much difference between them so I used the L2 Norm over NCC as it was faster. This
implementation worked well on cathedral.jpg which is a small image but took too much time for the
larger tifs. For the larger tifs I implemented a gaussian pyramid where each layer is half the size
of the previous one. This is a tunable parameter but I didn’t play with it a bunch. The number of
layers are determined by the MIN_SIZE so I keep producing layers until continuing further would
make my file smaller than MIN_SIZE in any dimension. MIN_SIZE was set to 64 and once again I
didn’t play with this paramter too much. At such a small resolution the possible shifts would only
correct for really egregious changes in the photos.
From there I ran the align process again. This time however each shift factor gets scaled up and
moves the shift range. For instance say my best shift for a smaller image was (2,3) then my window
for the next level up in the layer would be -MAX_RANGE + SHIFT_X * SCALE_FACTOR, MAX_RANGE + SHIFT_X * SCALE_FACTOR where SHIFT_X=2, SHIFT_Y=3.
MAX_RANGE is the range of shift values which I kept small so that any big shifts could be
accomodated as we moved up the pyramid. This allows us
to theoretically search a range of MAX_RANGE^PYRAMID_LEVELS without having to pay such an
expensive cost at the largest size. This method works for this dataset because the images are guarenteed to be closely
aligned. A further optimization I thought of but didn’t implement is instead of brute forcing over
the window we could calculate the derivative of our norm in a small window and then take a step in
the direction of the greatest negative value which would result in us moving towards a place where
our SSD is smallest. This small local search is very similar to the pyramid in practice.
Another improvement could’ve been dynamically changing the window as the image gets larger. The idea being hopefully you only need a few pixel shift range for a larger image. This would improve runtimes but I choose to stick with a small constant for each level of 6 as it seemed simpler.
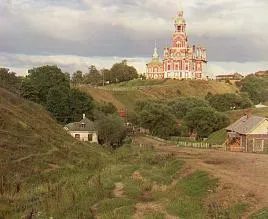
`cathedral.jpg` with no bells and whistles or pyramids. Just bruteforce alignment.
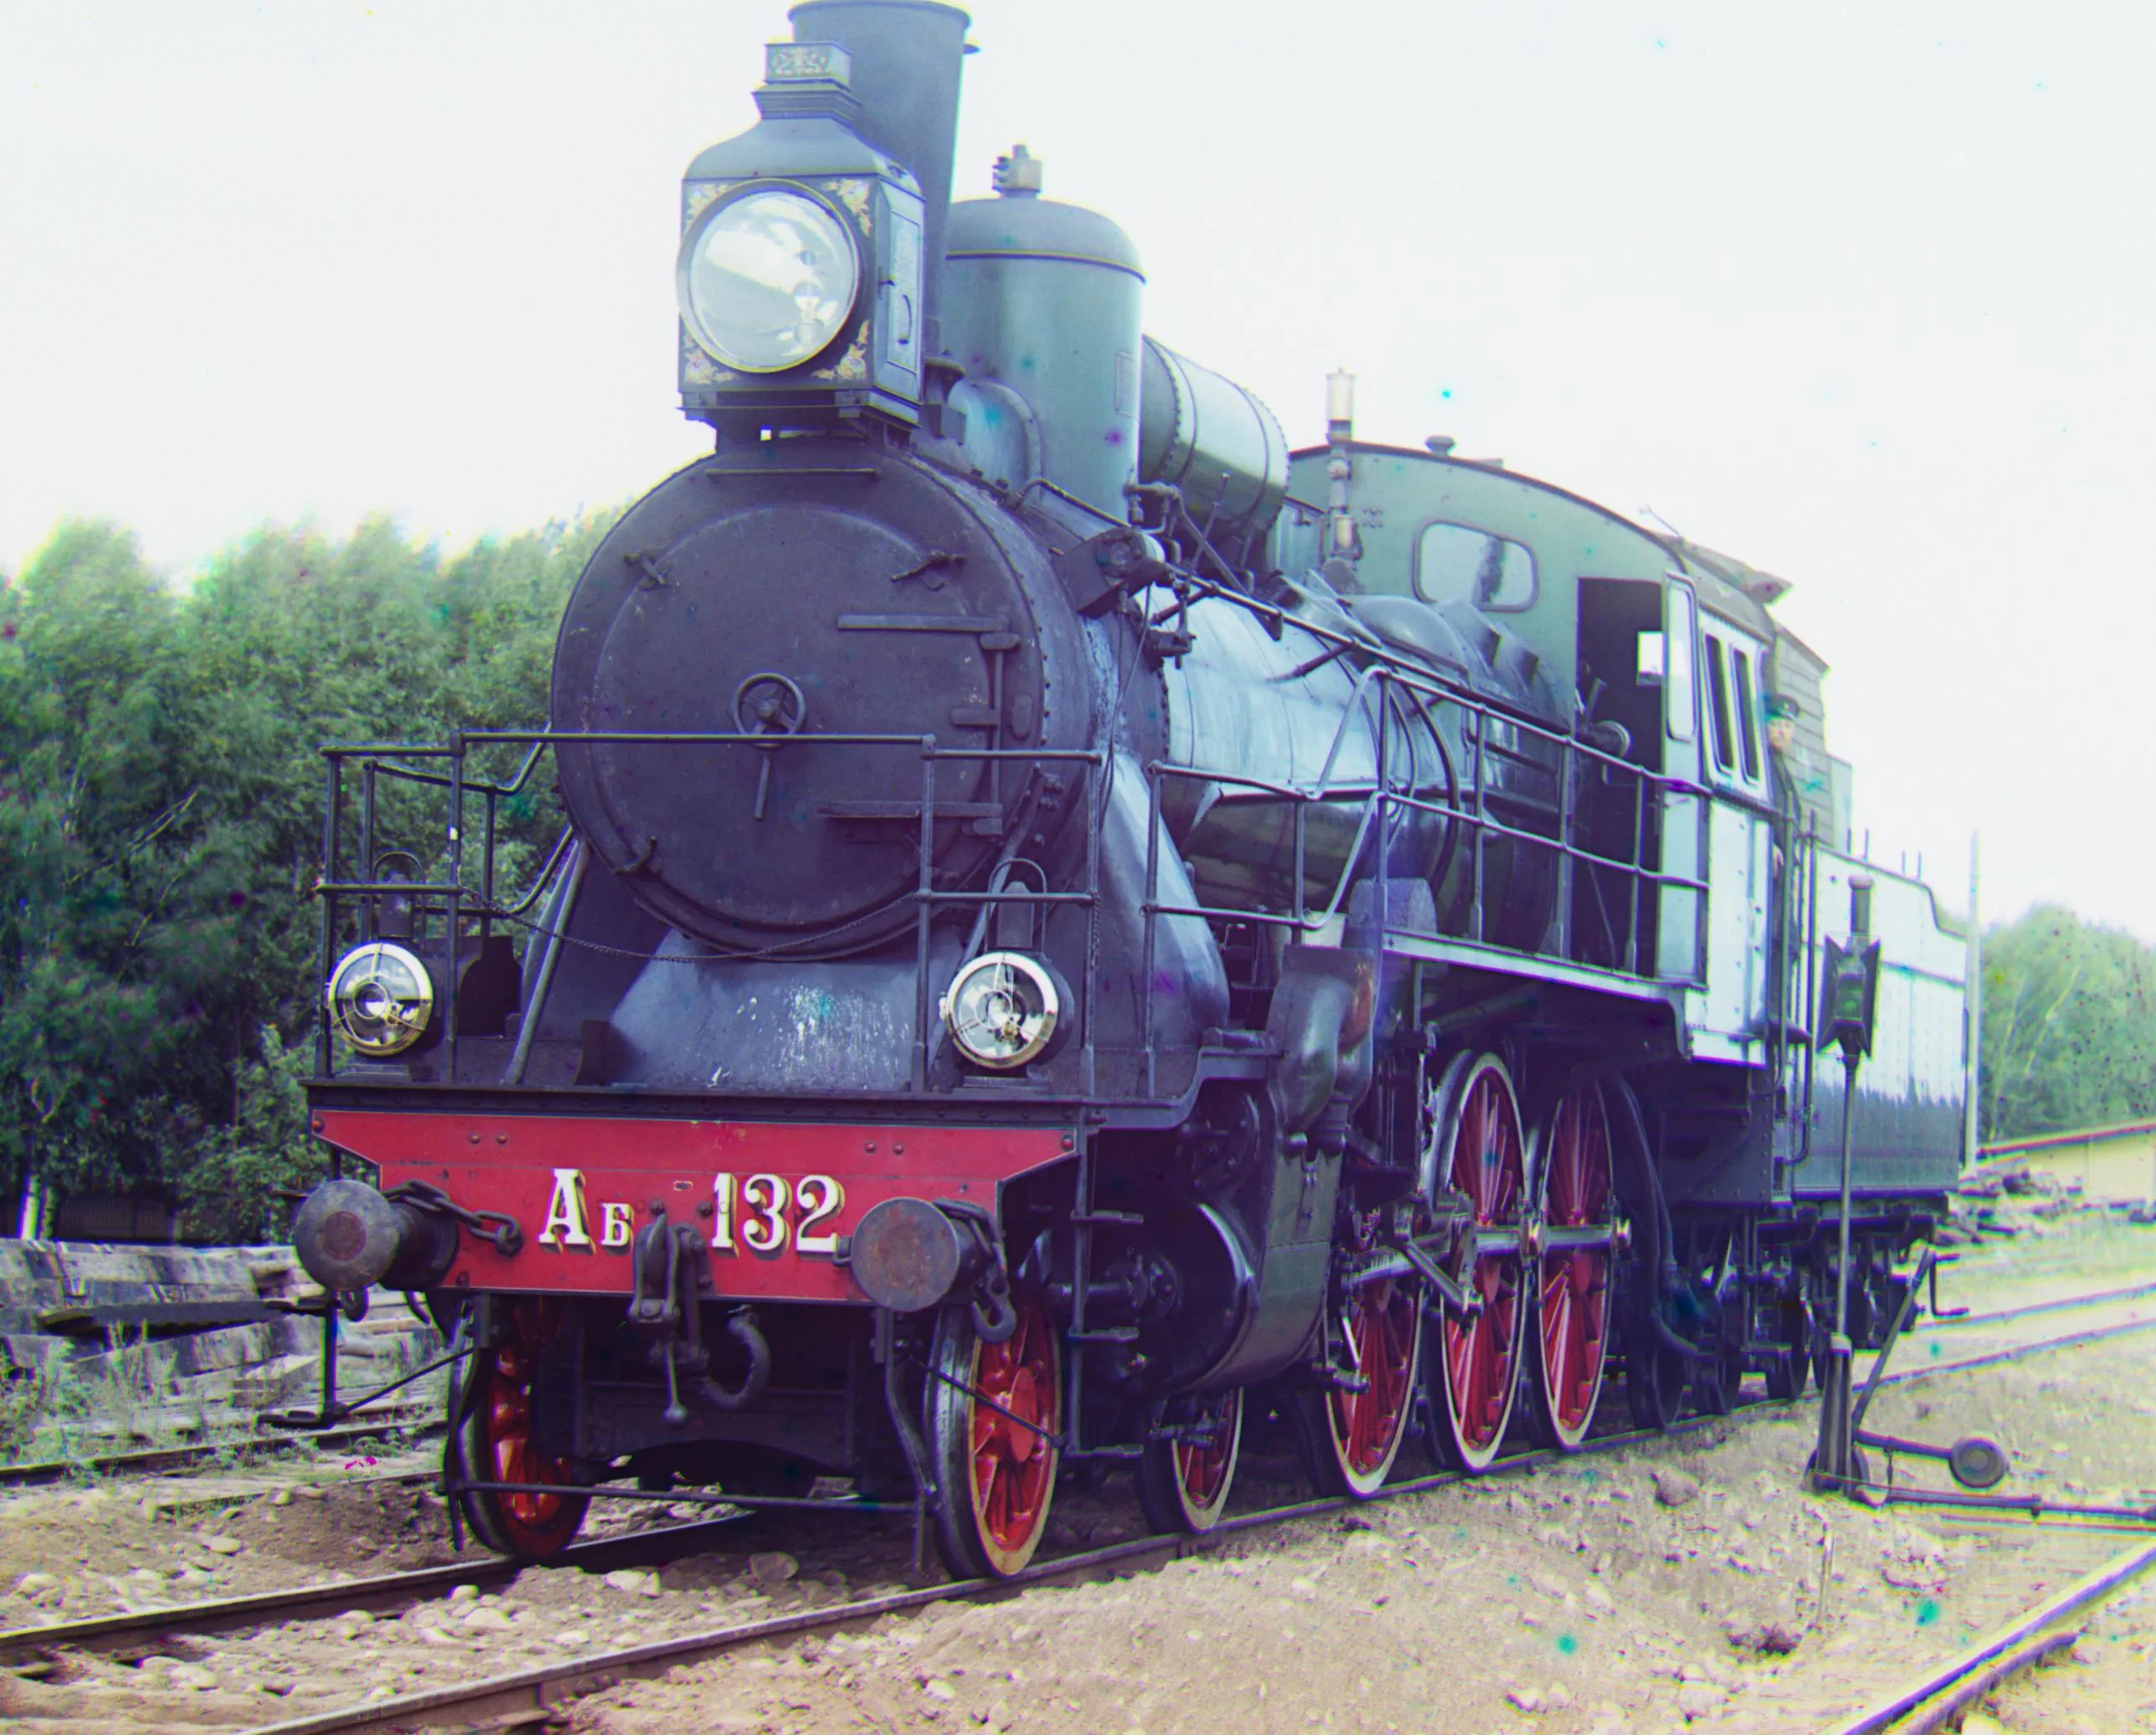
`train.tif` aligned using a gaussian pyramid and bruteforce shifts with L2 norm
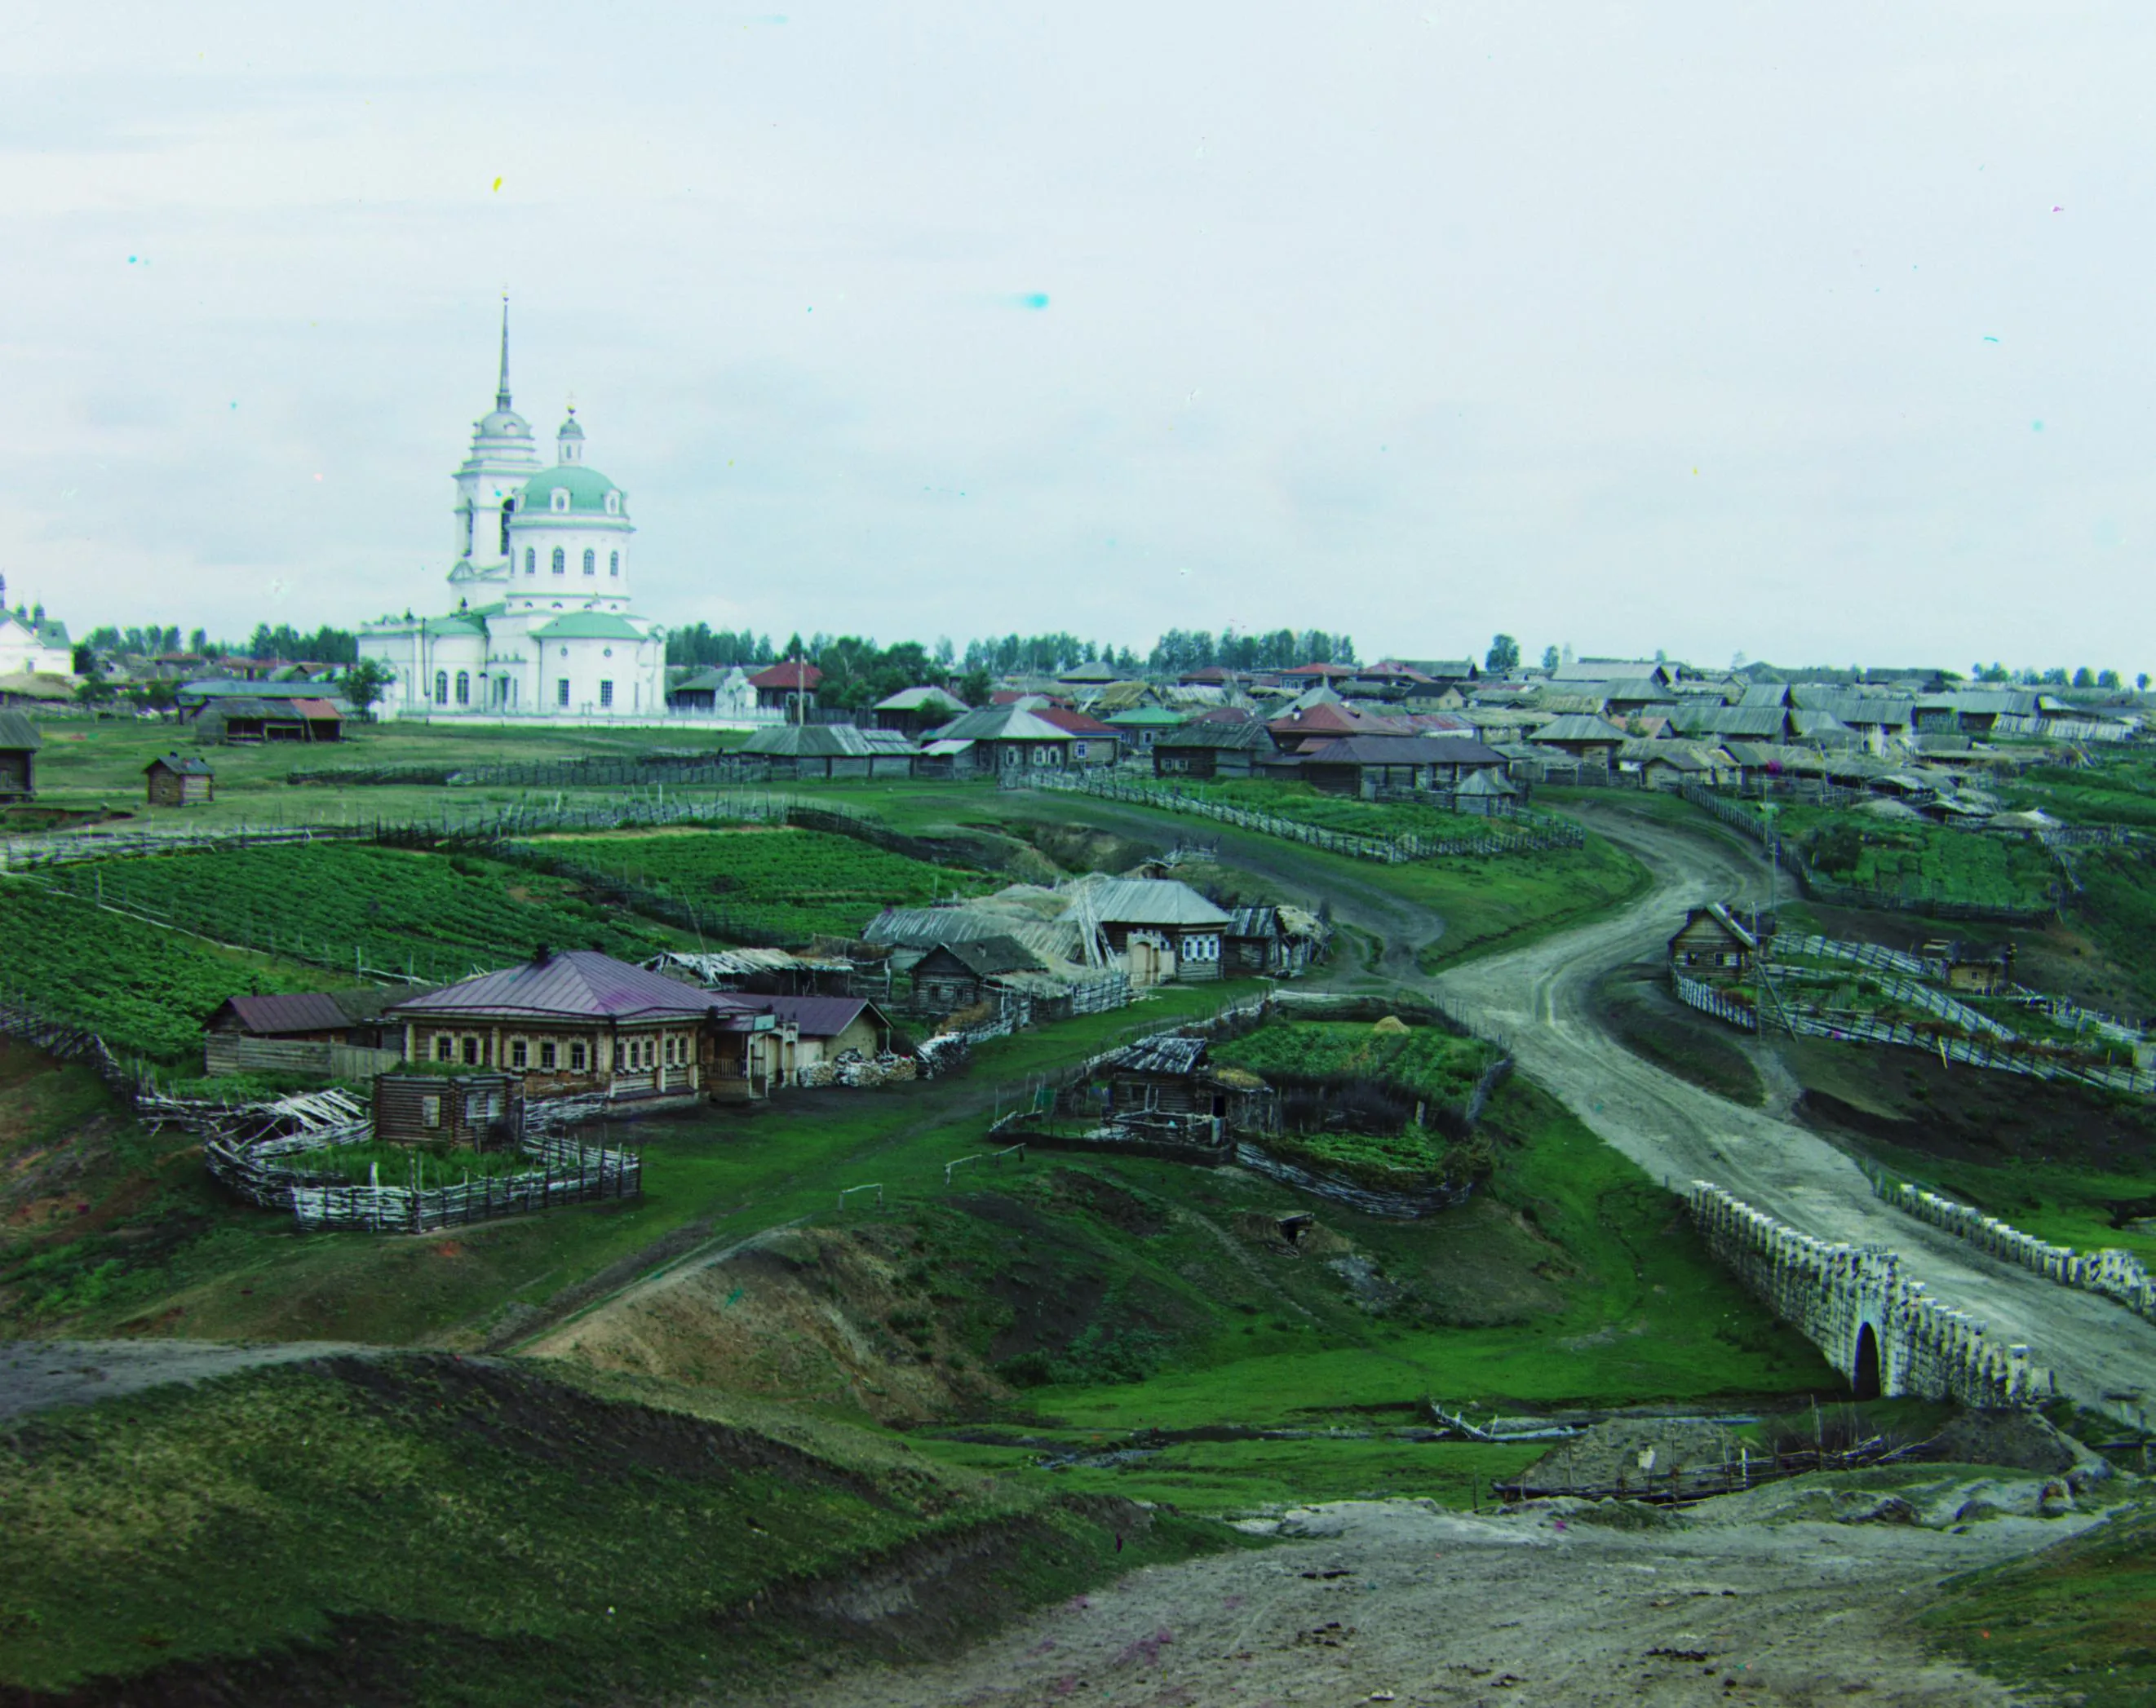
`village.tif` aligned using a gaussian pyramid and bruteforce shifts with L2 Norm
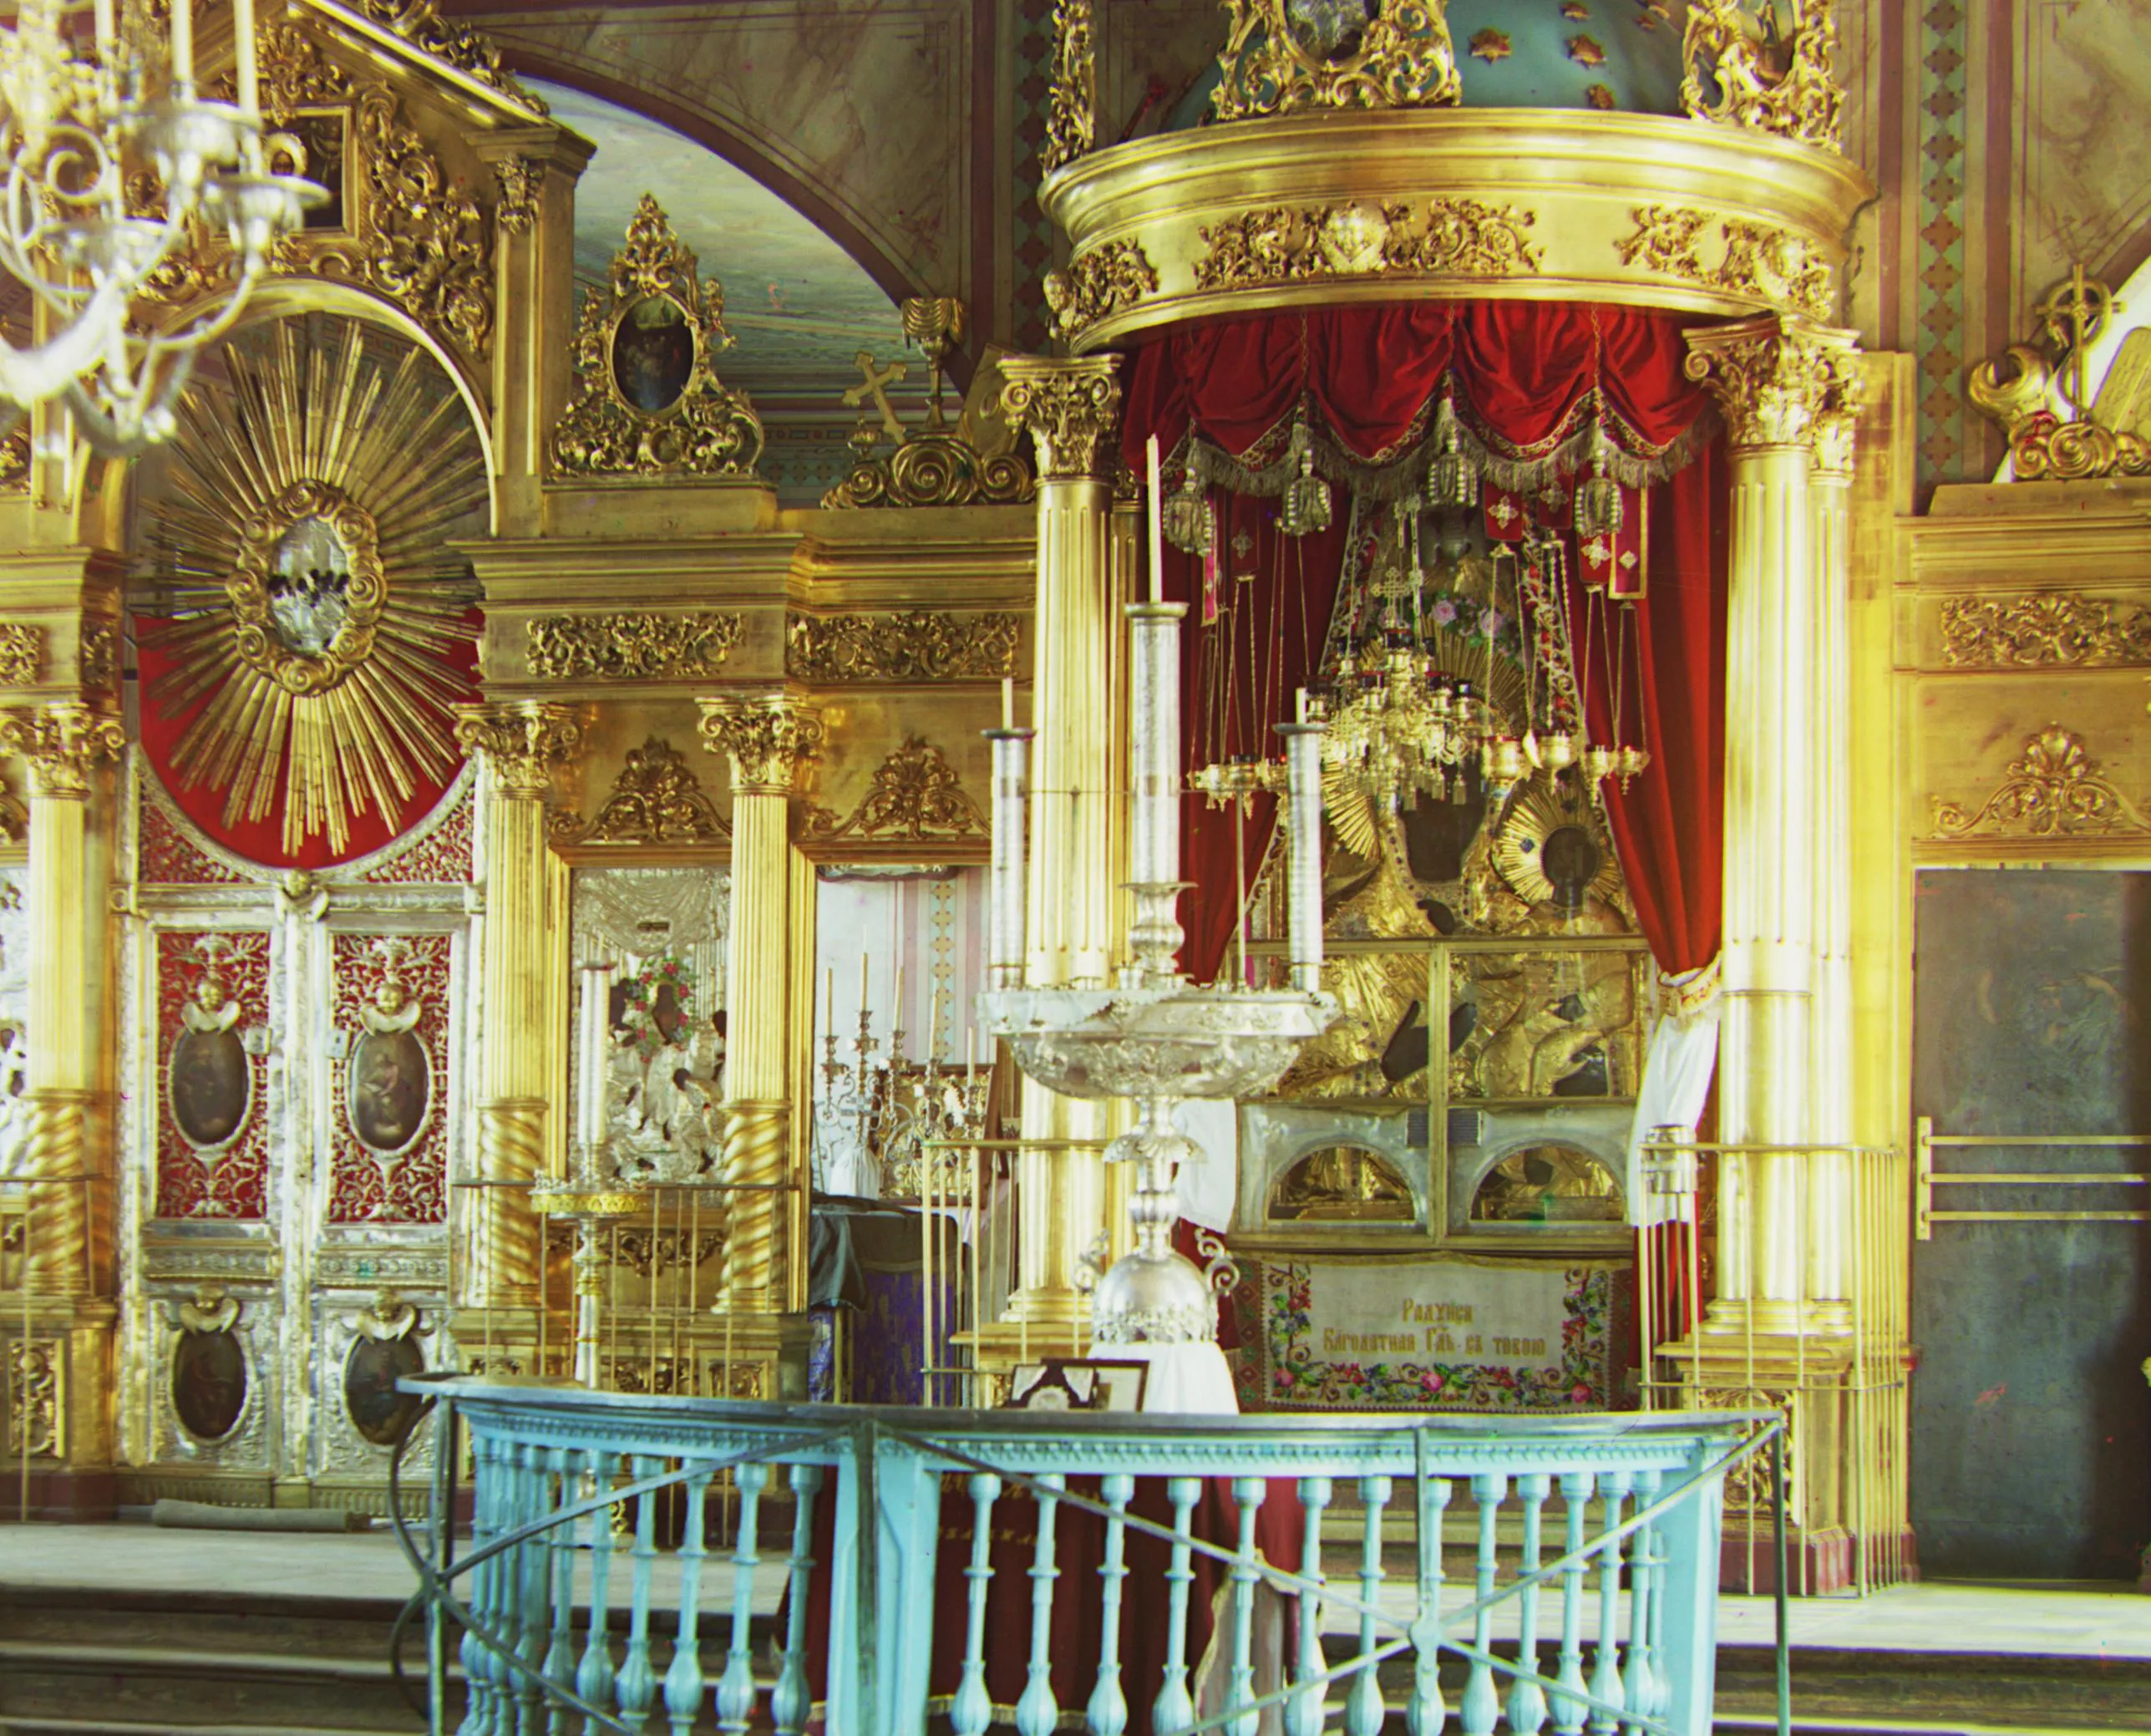
`icon.tif` aligned using a gaussian pyramid and bruteforce shifts L2 Norm
Finally here are my results for all the shifts.
| name | r_shift | g_shift |
|---|---|---|
| cathedral.jpg | (12,3) | (5,2) |
| emir.tif | (65,44) | (49,24) |
| harvesters.tif | (123,14) | (59,17) |
| icon.tif | (89,23) | (41,17) |
| lady.tif | (116,12) | (55,9) |
| self_portrait.tif | (176,37) | (78,29) |
| three_generations.tif | (111,11) | (52,14) |
| train.tif | (87,32) | (42,6) |
| turkmen.tif | (116,28) | (56,21) |
| village.tif | (137,22) | (65,12) |
Brittleness
As I was writing my solutions up I would test everything on cathedral.jpg as that image and
therefore wouldn’t take long to run. Once I confirmed I was getting the same shifts in my pyramid as I was for a
large window with no levels I ran my solution on emir.tif and got bad results as seen below. The
issue was in emir.tif, due to the richness of color in his clothing, comparing raw pixel values
with the norms don’t work well.
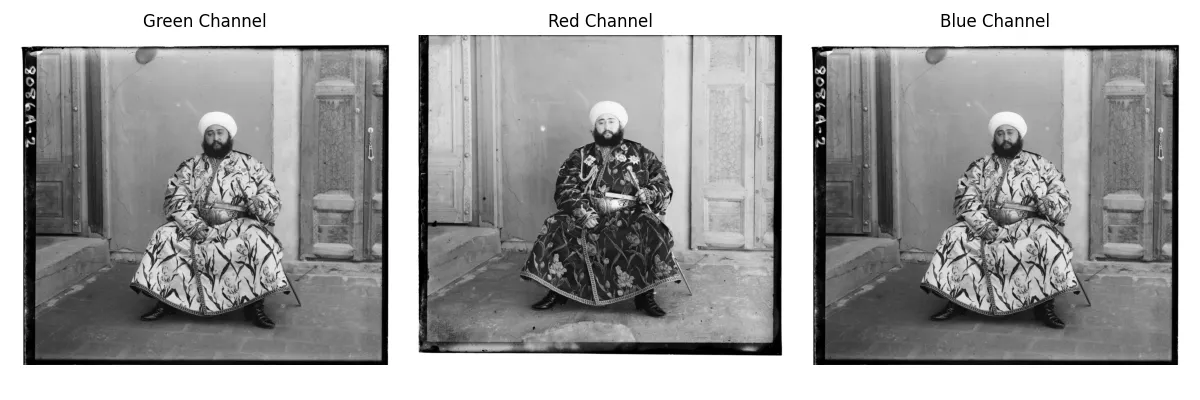
The three channels of Emir. As you can see the variation in raw value is so great naive norms on raw pixels didn’t stand a chance.
I didn’t realize this and thus spent multiple hours debugging only to realize this issue only
plagues emir.tif. Hence in my Bells and Whistles section I set about working on algorithms to work
for emir.tif.
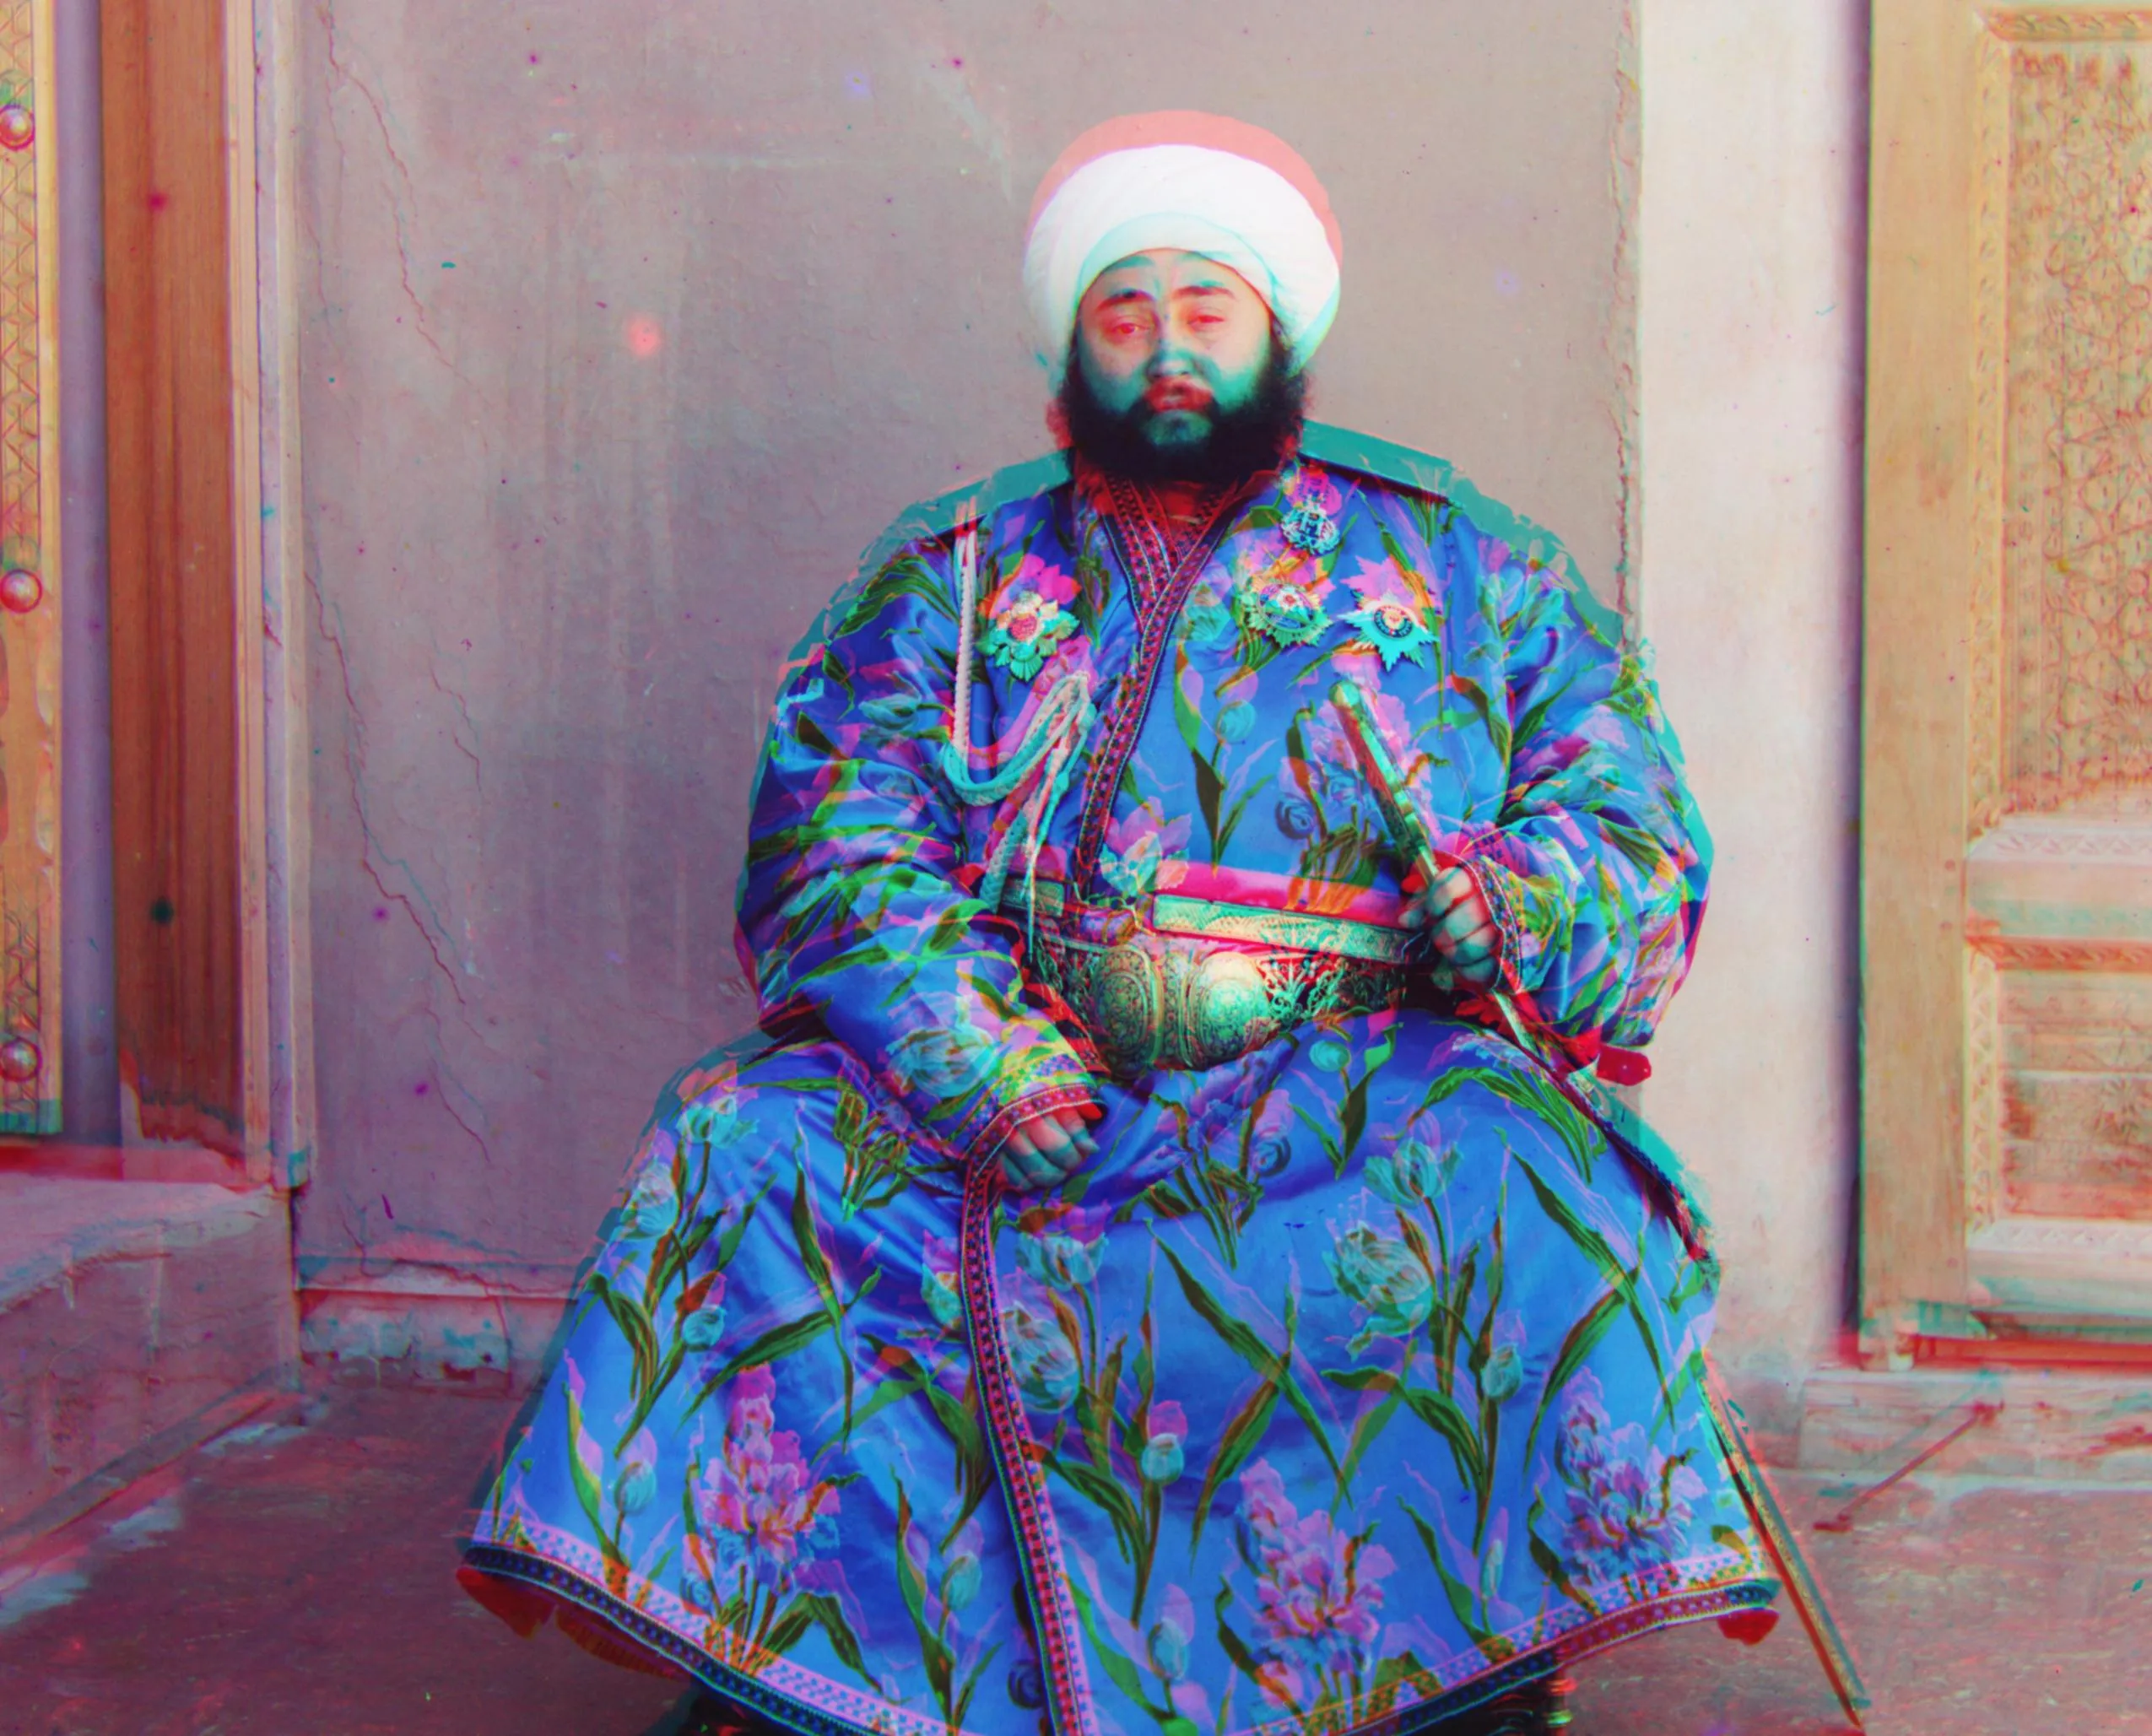
Alignment didn’t work with `emir.tif`
Comparison of Norms
Below you can see the difference in norms for some images. To my untrained eye there isn’t much of a
difference so I just stuck with L2 as it was fastest.
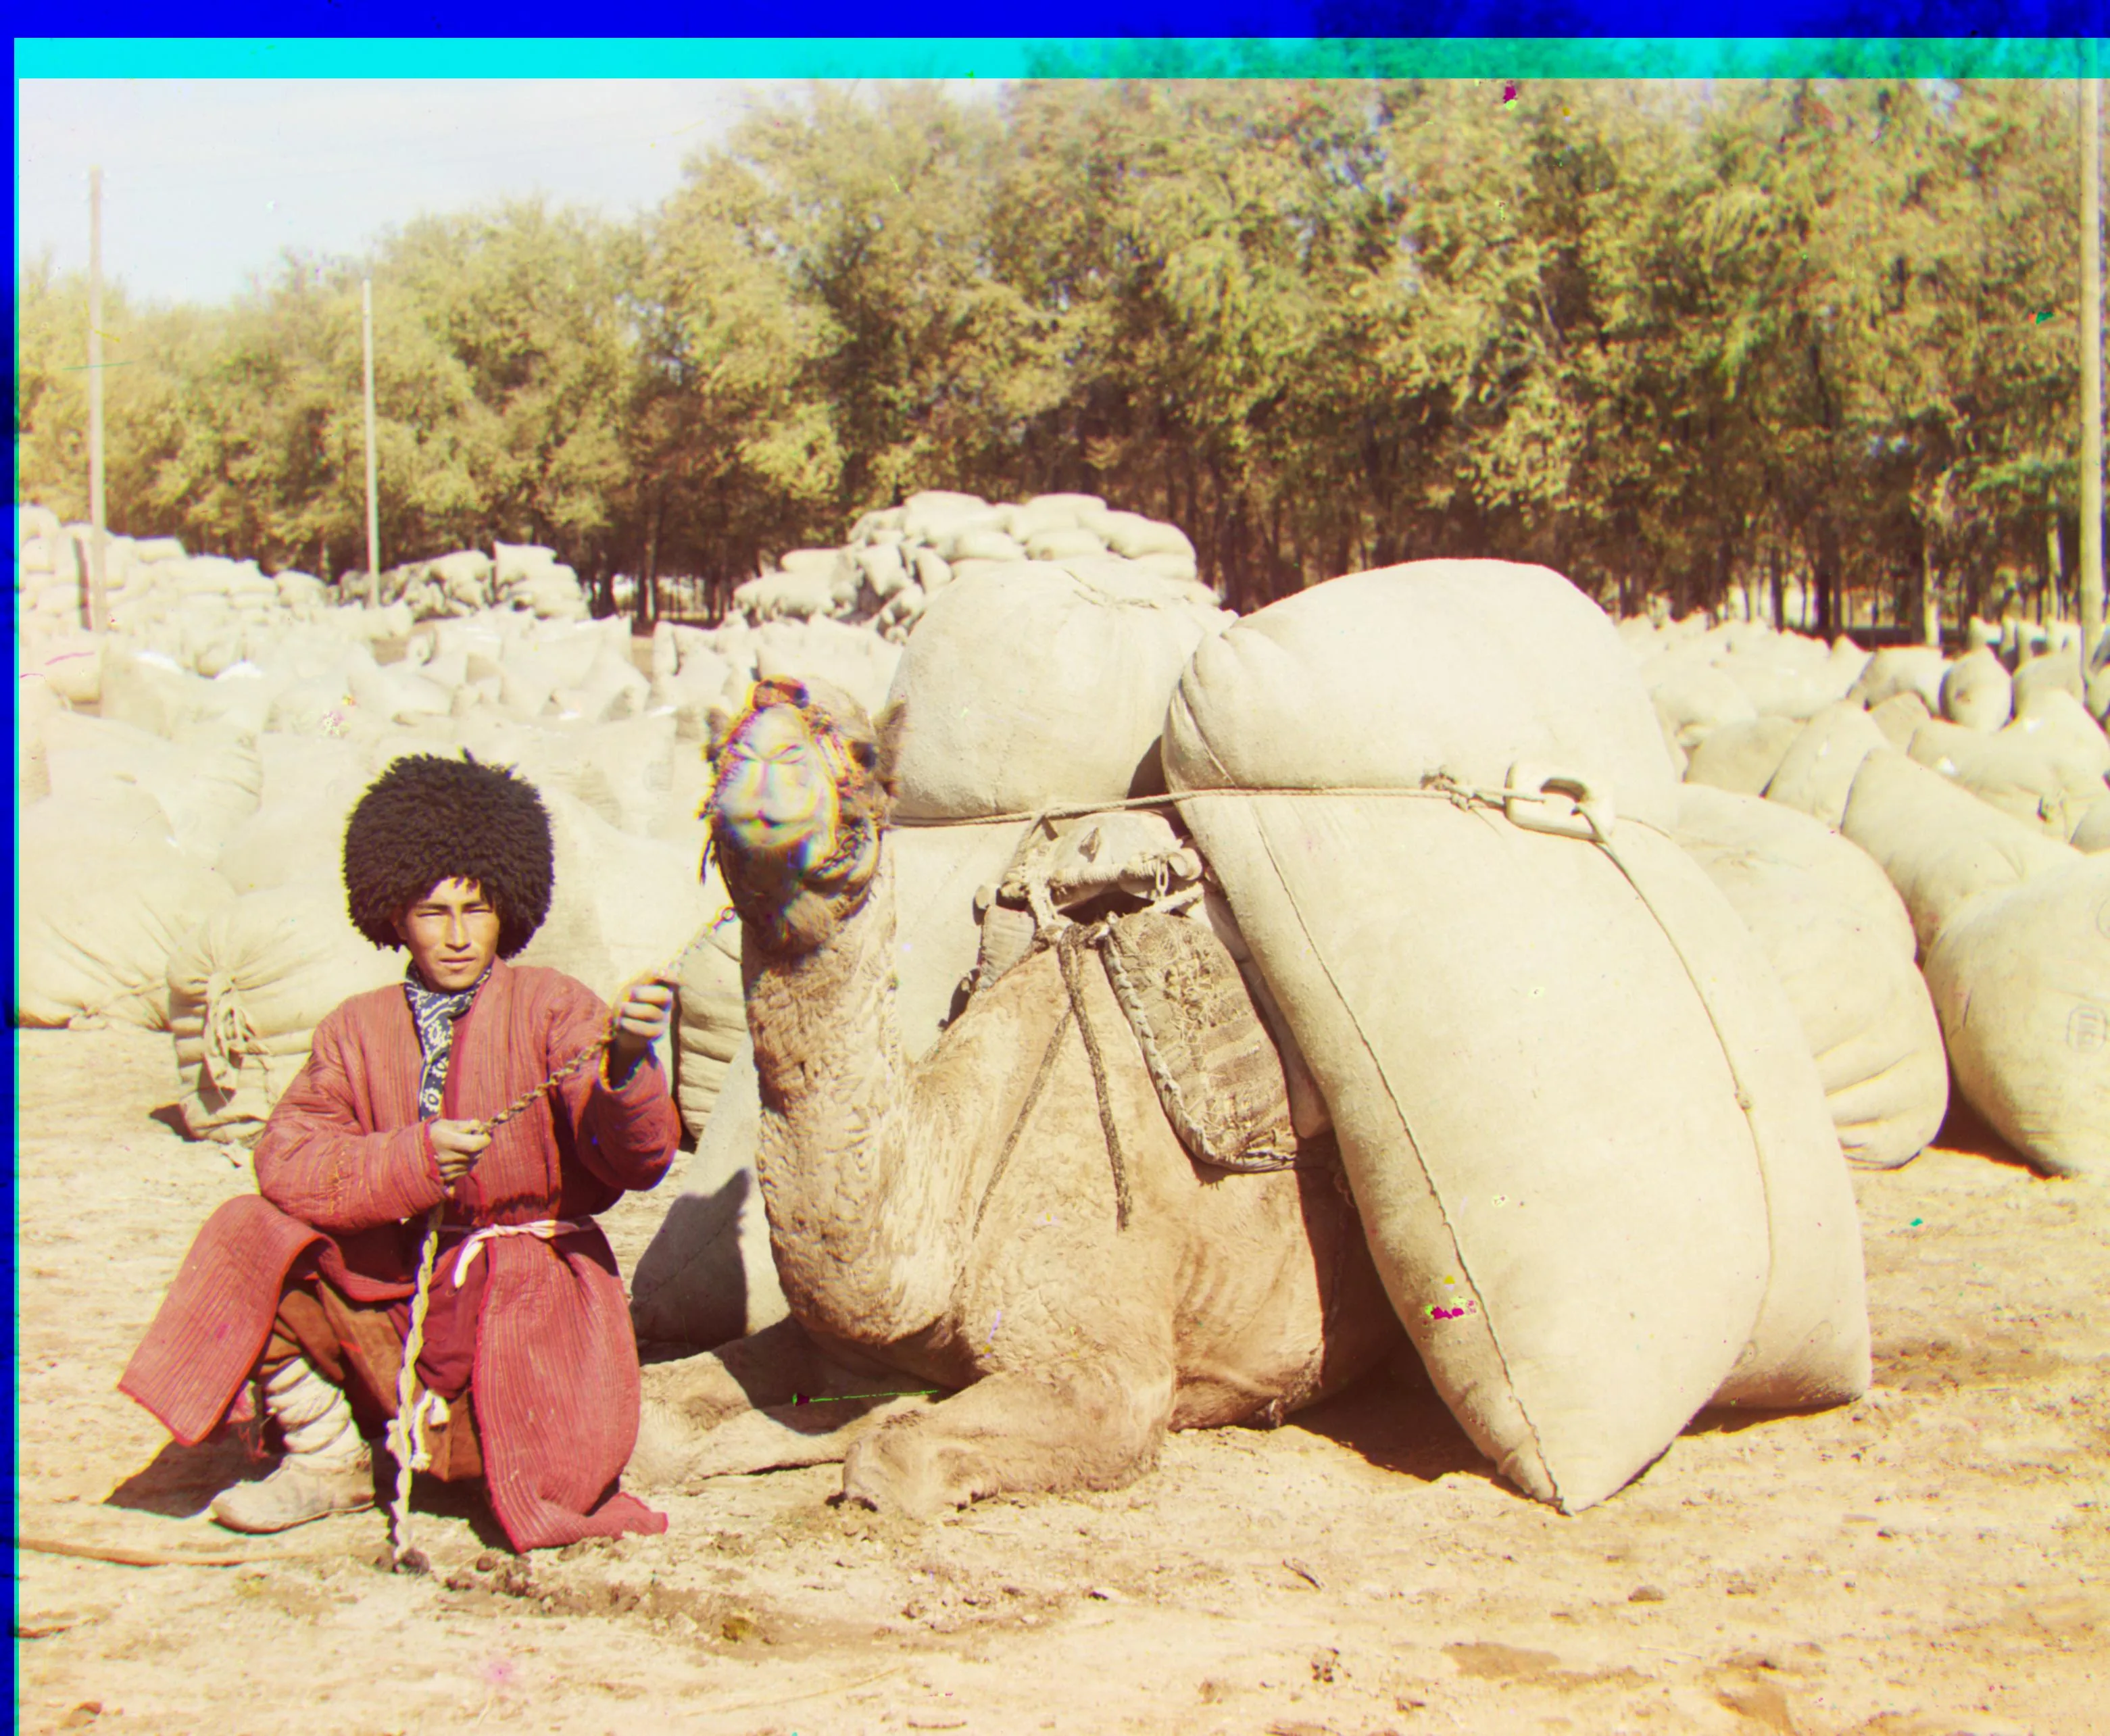
`turkmen.tif` with NCC
`turkmen.tif` with L2 Norm
Bells & Whistles
As I mentioned in the previous section due to the failures I encountered with emir.tif I was
destined to get him to work.
One thing I’ll note is some of my functions are a bit brittle. With further analysis/ tuning of parameters they could probably work better but I would have had to automate the graph search which I didn’t have time for.
Homography
For my first approach to get emir.tif to align I chose to try and use a homography to find the warp between the images.
I chose a homography because why not, it’s the most complicated transformation you can implement between two planes and I
was going to use libraries that would abstract the pain away. In retrospect, this might be the
explanation for my messed up naive approach and it might’ve been better to restrict the degrees of
freedom to just 2.
Naive Approach
A homography is solving for the transformation between two planes. As a naive implementation I tried
to solve for the transformation between the two channels directly.
The idea being for a static scene there would be some transformation that maps one image to the other. While this worked with cathedral.jpg it didn’t work with
emir.tif and was also really slow. In retrospect this was a bad idea because the constraint solver
within the homography helper which is going to try and solve At = B --> t = BA^-1 is going to run
into the same issues as our L2 norm.
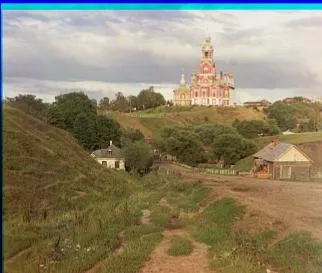
Here’s the direct solve homography working on the cathedral.
Not only did it take way too long for emir.tif but it gave some pretty crazy/wrong results.
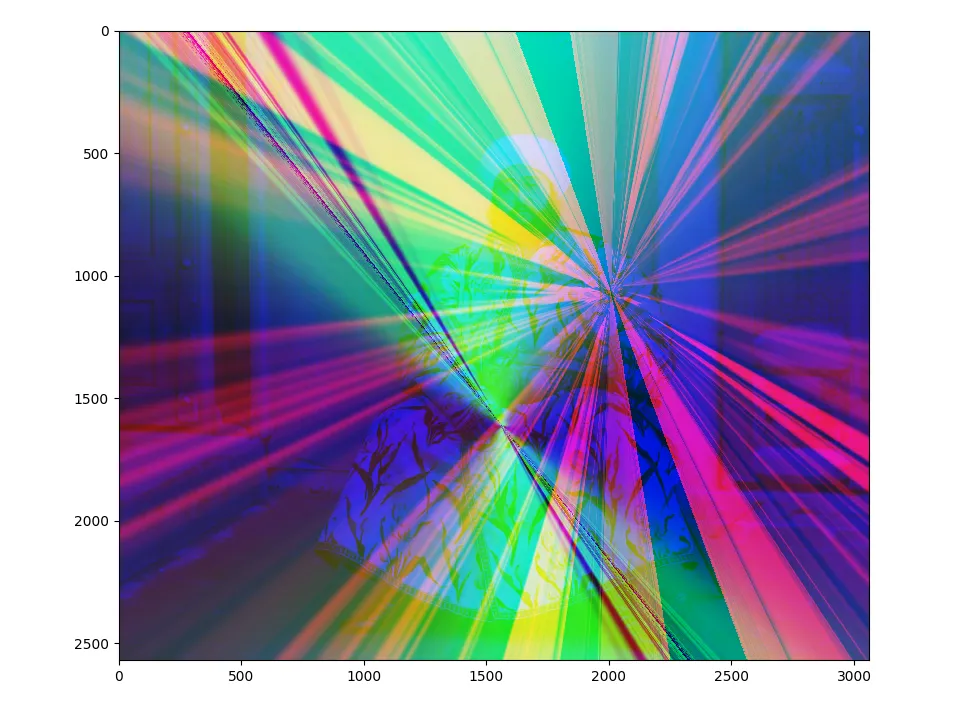
Not entirely sure what happened here…
Leveraging Descriptors
To get around this norm issue we should use descriptors or features that are resistant to changes in
brightness. I chose SIFT
Descriptors because they work
surprisingly effectively and would have the resistant property we want. I could’ve gone with a
simpler descriptor or even used something simple like edge patches but I chose SIFT. After finding
my descriptors I found matches between them using
RANSAC and then solved for the homography between them. This is
way faster as the matrix is going to be bounded in size by the number of matching descriptors and
the descriptors are matching the same logical (x,y) points so they’re resistant to our norm
problem from before. Then I take the resulting warp matrix and just warp the red and green channel
to the blue channel.
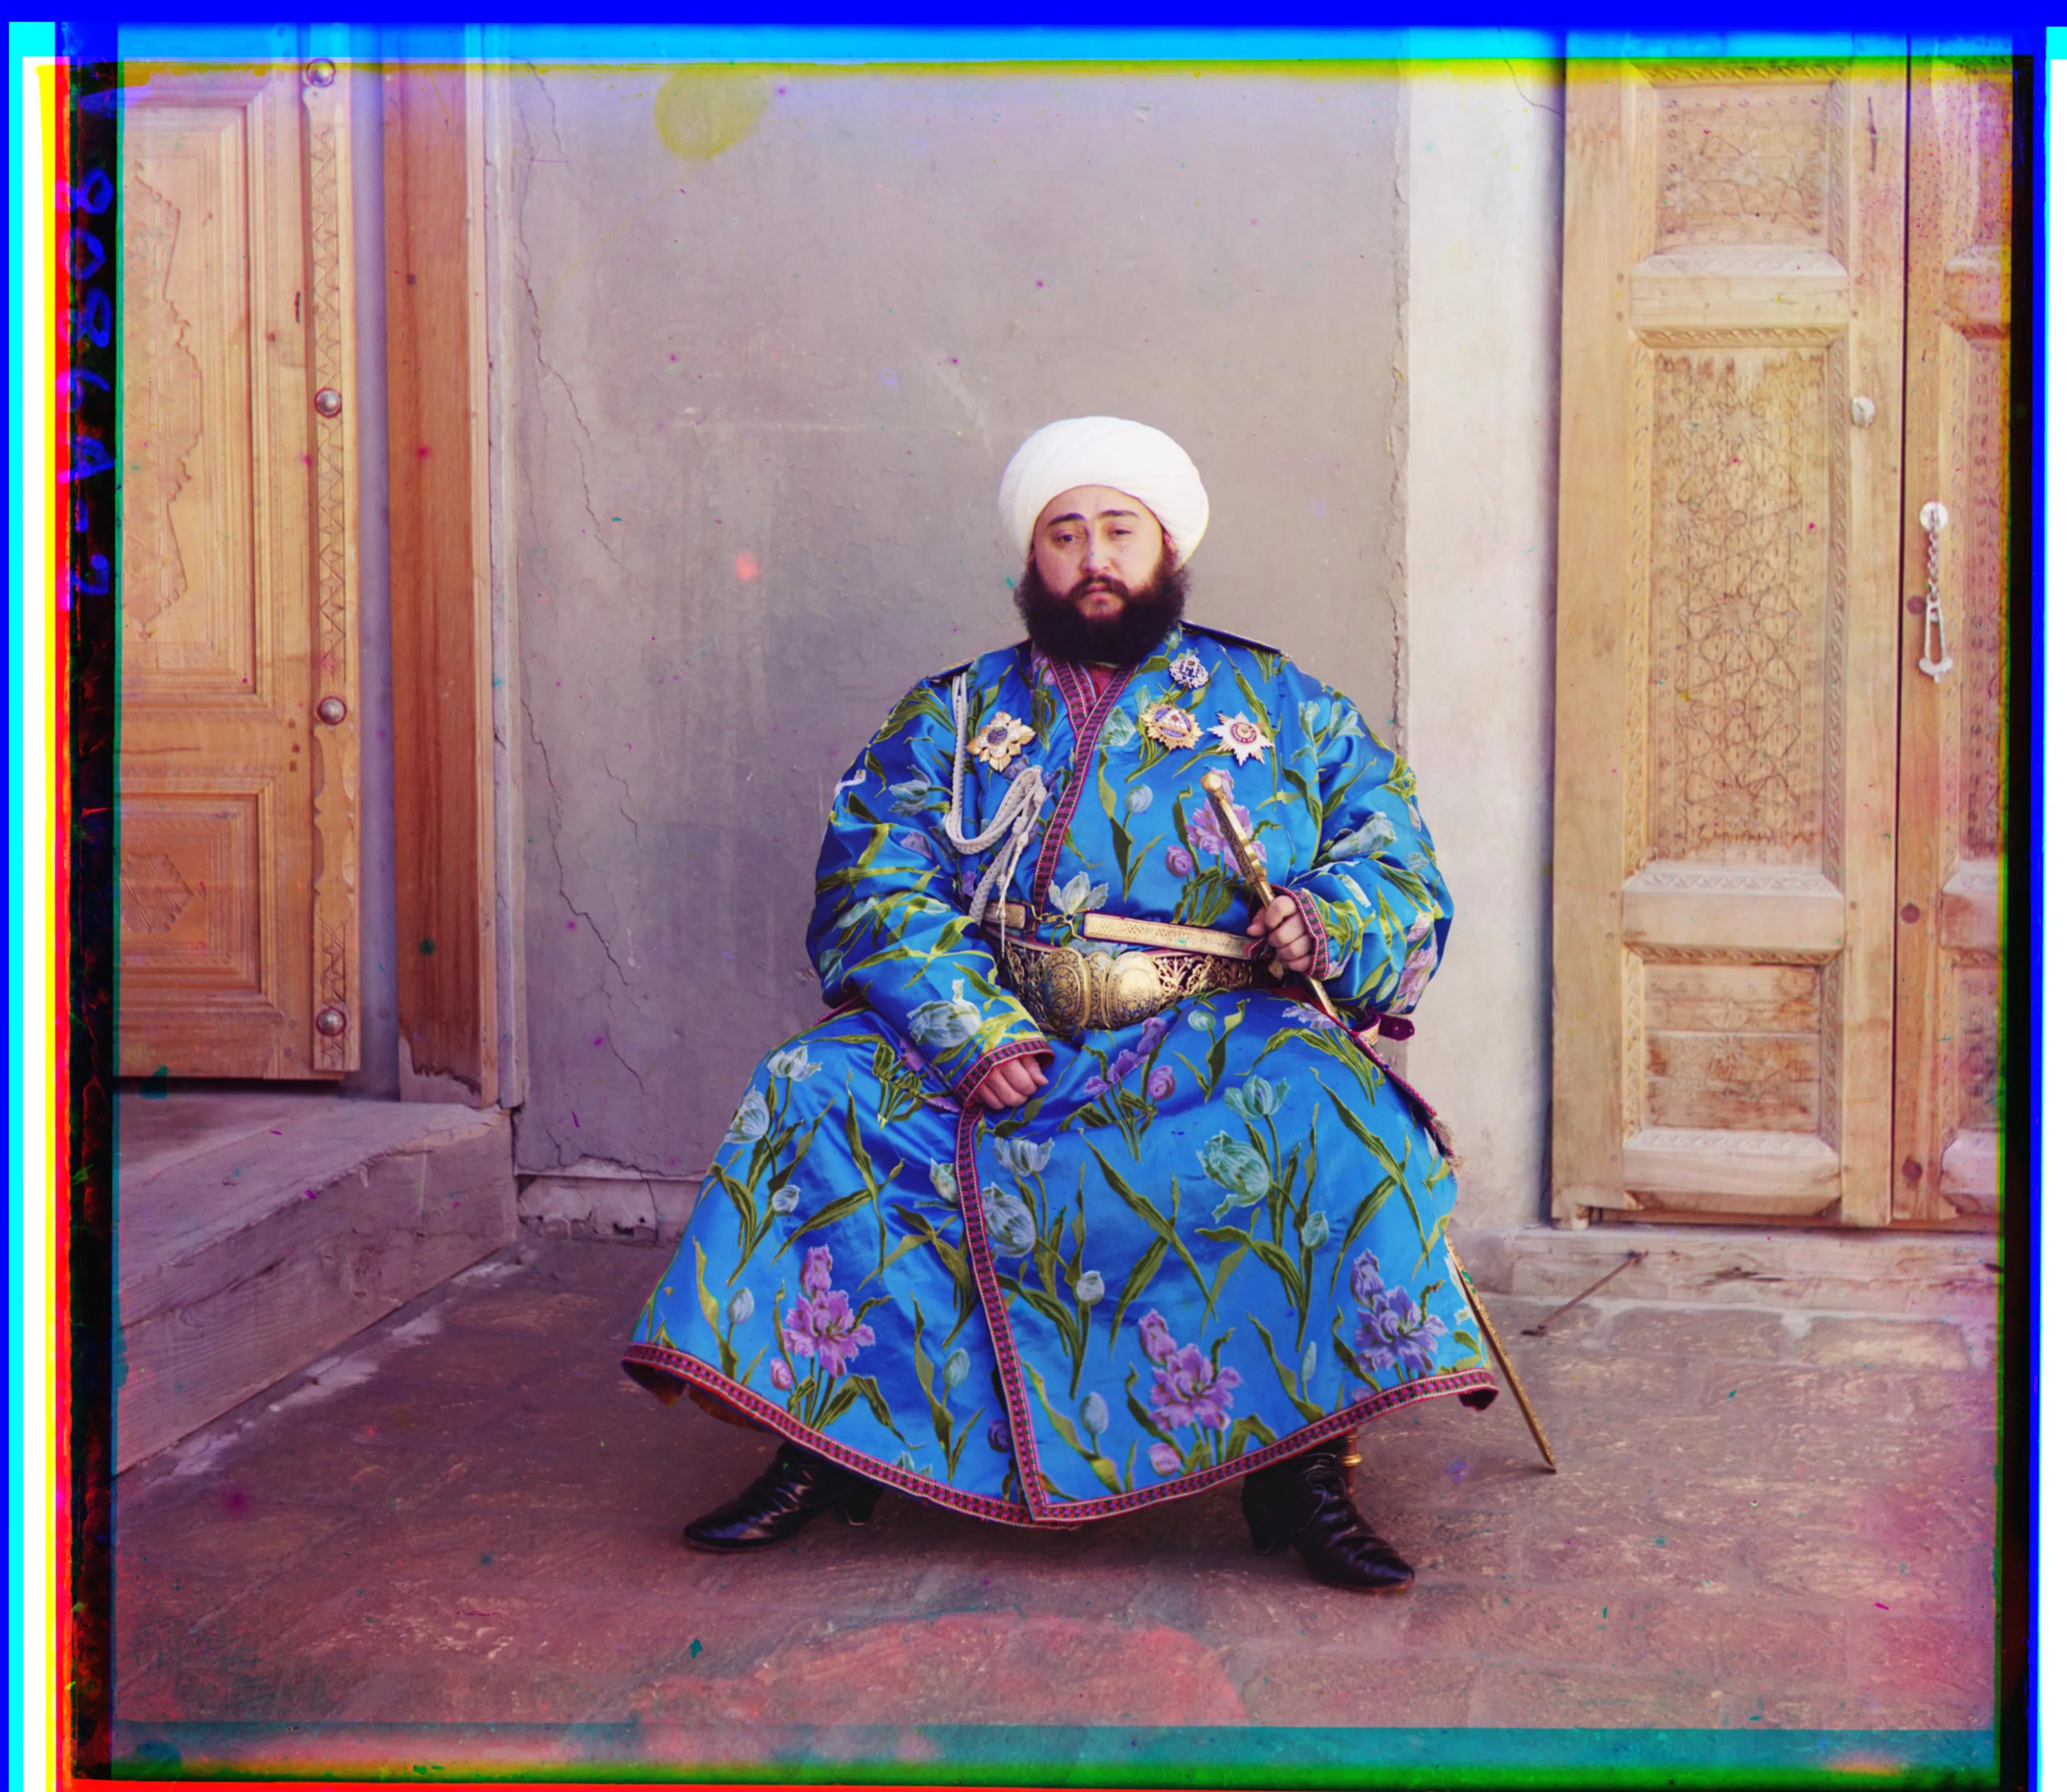
Anyways, it pretty much worked first try :)
Auto Cropping
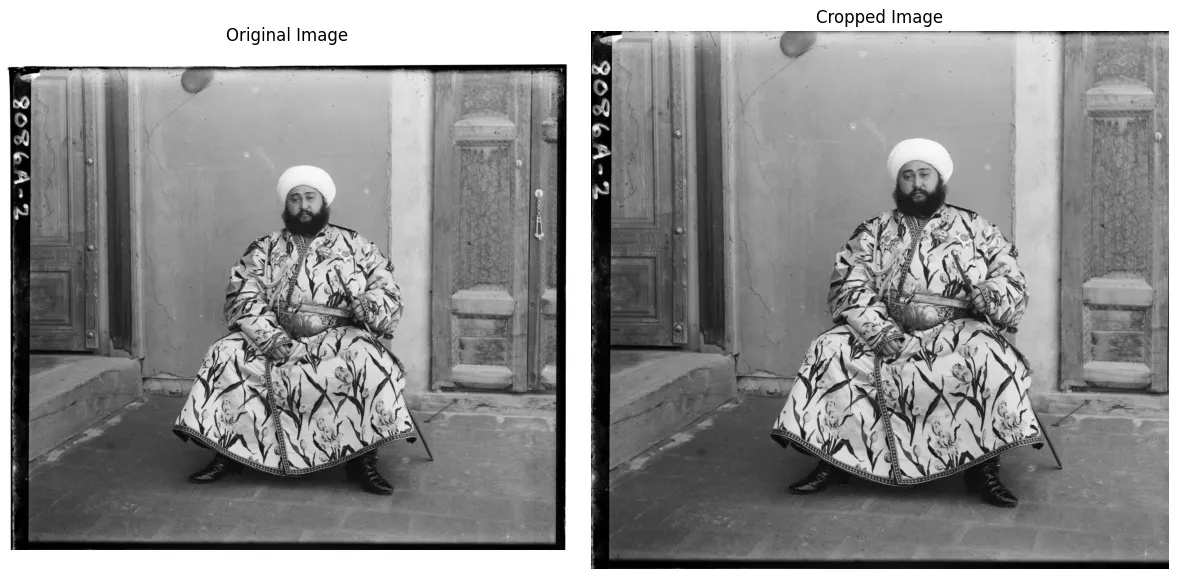
My next bell & whistle was auto cropping. I was really excited after I implemented this only to
realize there was some edge cases that would take further analysis to fully figure out. The basic
idea behind autocropping was I’d get the border region and apply a derivative filter so the
y-derivative would be convolved against the top border. The strongest change should be when we go
from the black image border to the lighter pixel values. I would then sum along the rows which if
there was a strong activation at an edge would hopefully show up when I take the argmax of the
aggregate. This works really well but does run into some issues. For one some images don’t have
black frame border from the negative, no worries we can check how strong our activation was and if
it isn’t strong enough then we just don’t crop. The other issue I noticed is some of the negatives
have two borders. One is black space between the slide and the scanner and then the other is between
the border of the negative and the image itself. This latter border could be somewhat dirty leading
to a less strong activation. Some possible solutions to make this more robust are run successive
rounds of autocropping or convolve a gaussian/scale the aggregate border down to make that second
border response greater, or just be smarter about an initial precrop.
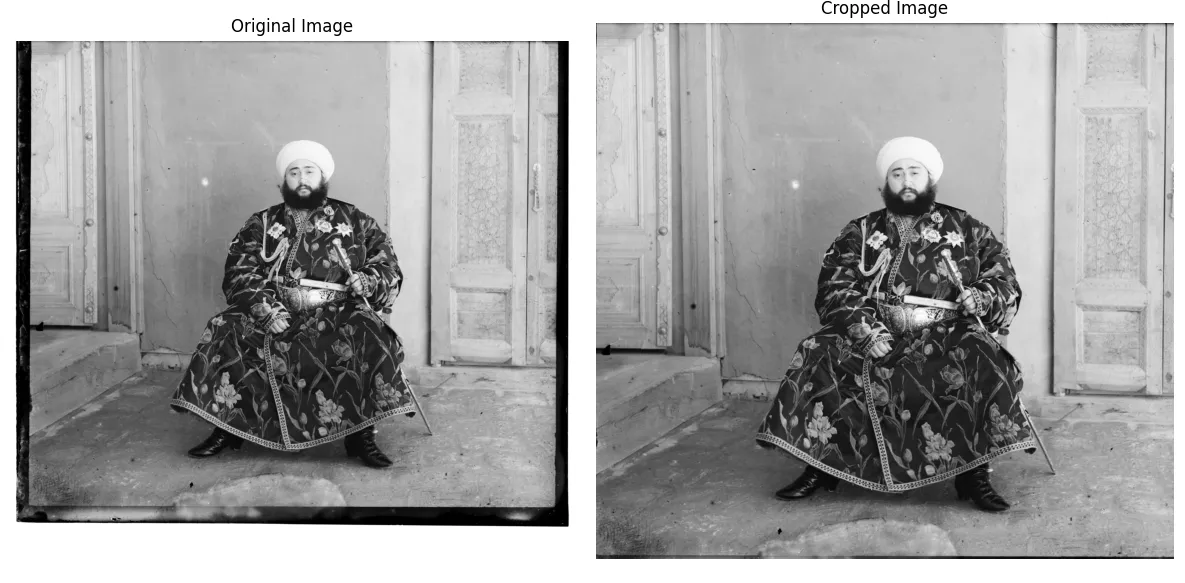
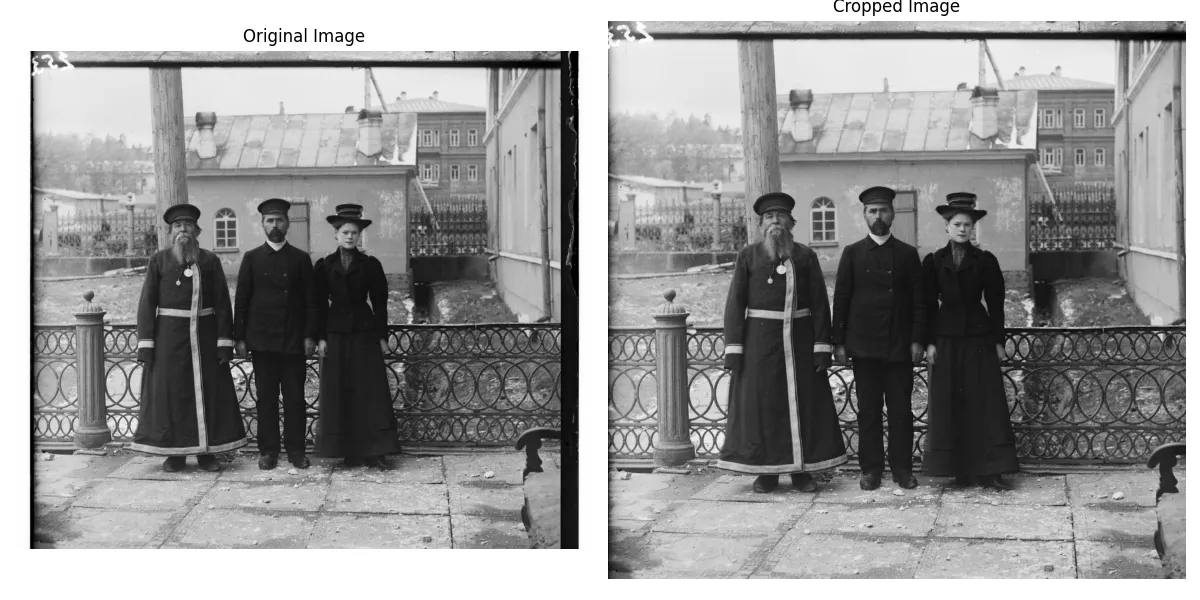
Here’s an instance where the crop algorithm works really well. This was done on the red plate of `emir.tif`
In this instance the crop doesn’t work as well, this was the blue plate.
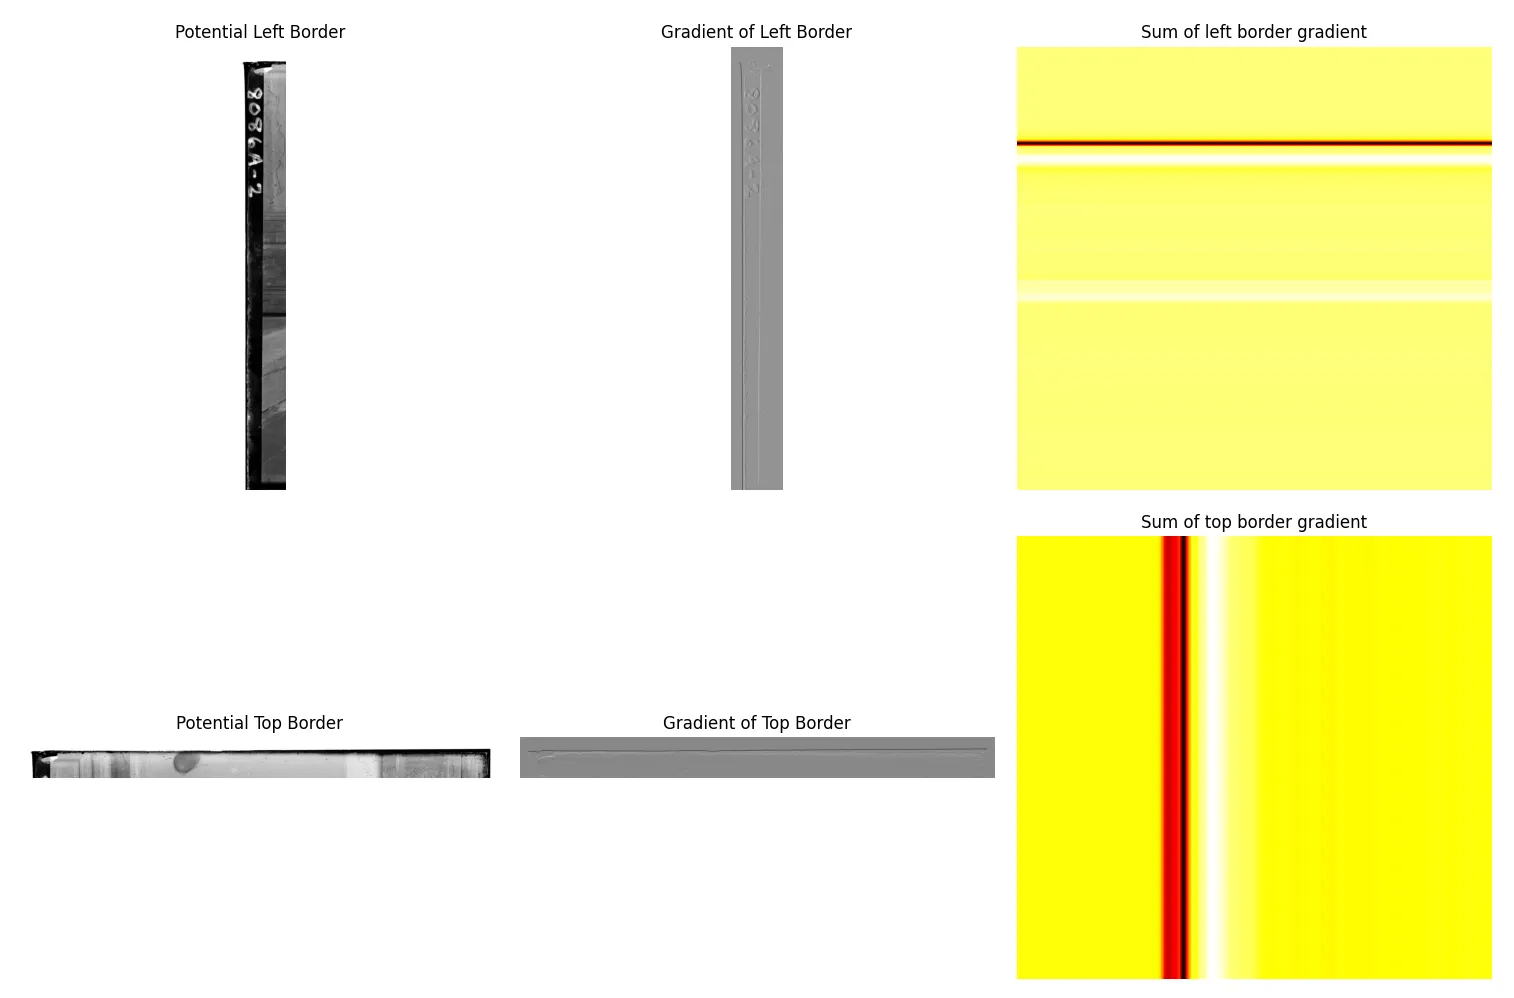
This is the top and left borders showing the initial approximation, the edge activations as well as their aggregate sum. The argmax is going to correspond to the lighest row/column which may be hard to see as it’s rerpesented by pure white here. Note that the top rightmost figure should be flipped.
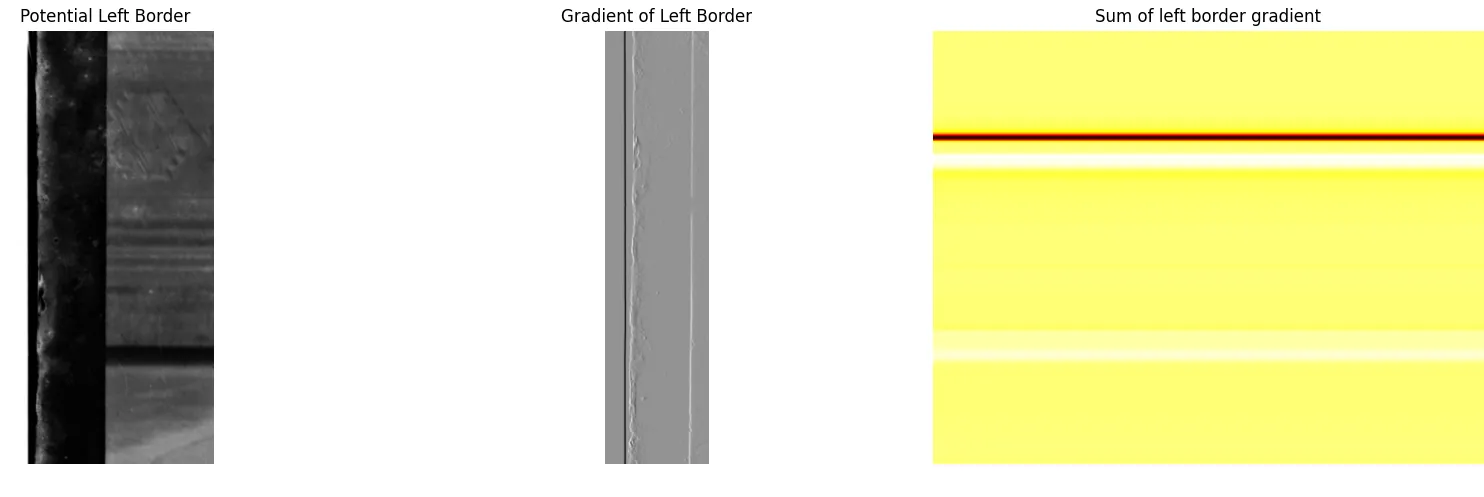
This shows the two borders I was talking about the border between the scanner and the negative as well as the border between the negative and the image. You can also see the edge activations and how my naive aggregate got tricked on this test case. Once again the rightmost figure should be rotate 90 degrees counter clockwise.
To make this more robust we could try using houghlines instead or something similar to detect non straight lines / we could maybe share crop information between images once they’re aligned. ie align all images and then choose the best crop amongst them and apply that to all.
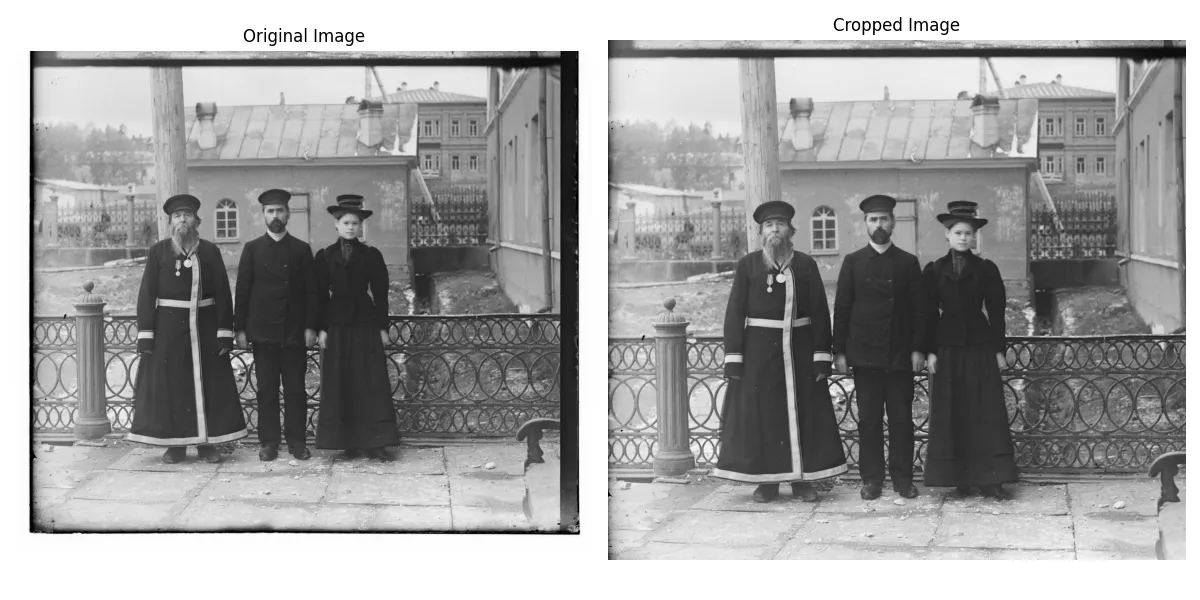
Some more examples of auto cropping
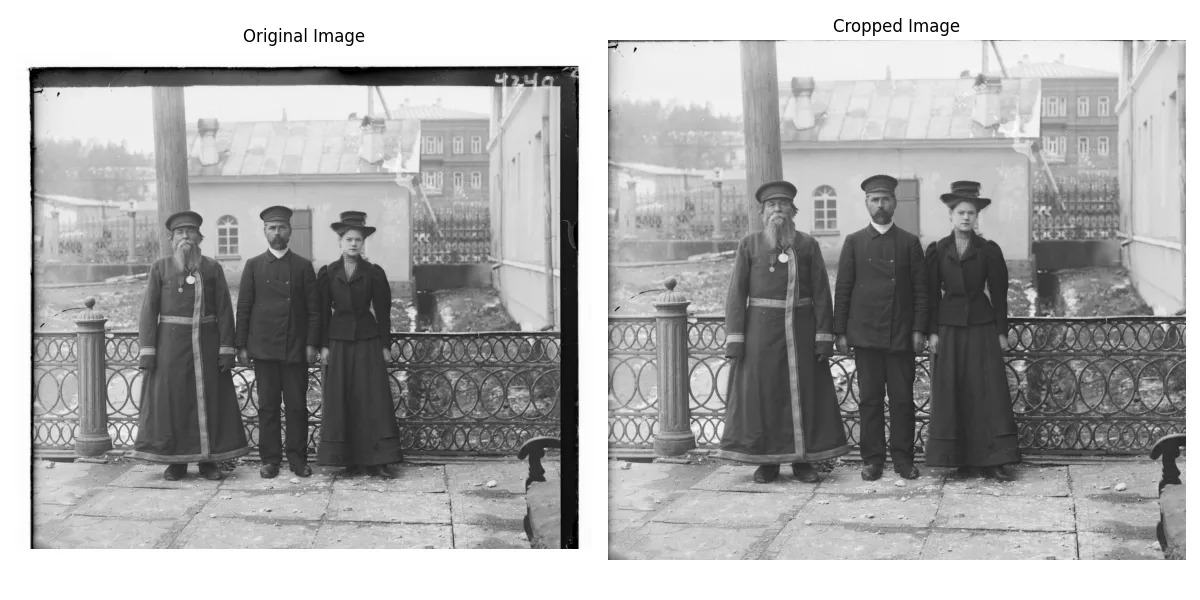
`three_generations.tif` blue channel
`three_generations.tif` green channel
`three_generations.tif` red channel
As you can see. The autocropping does work but can be brittle. I think the best solution in the end might be align, autocrop all of them, find the best autocrop, and then apply that to all.
Better Colormapping
In between implementing naive homography and homography with descriptors I thought that maybe
normalizing the histogram would help with align for emir.tif because hopefully histogram normalization would
fix our aforementioned norm problem. This didn’t work which was unfortunate but it did make the
pictures look really nice so that’s a plus. I used openCV’s
CLAHE implementation to achieve
this.
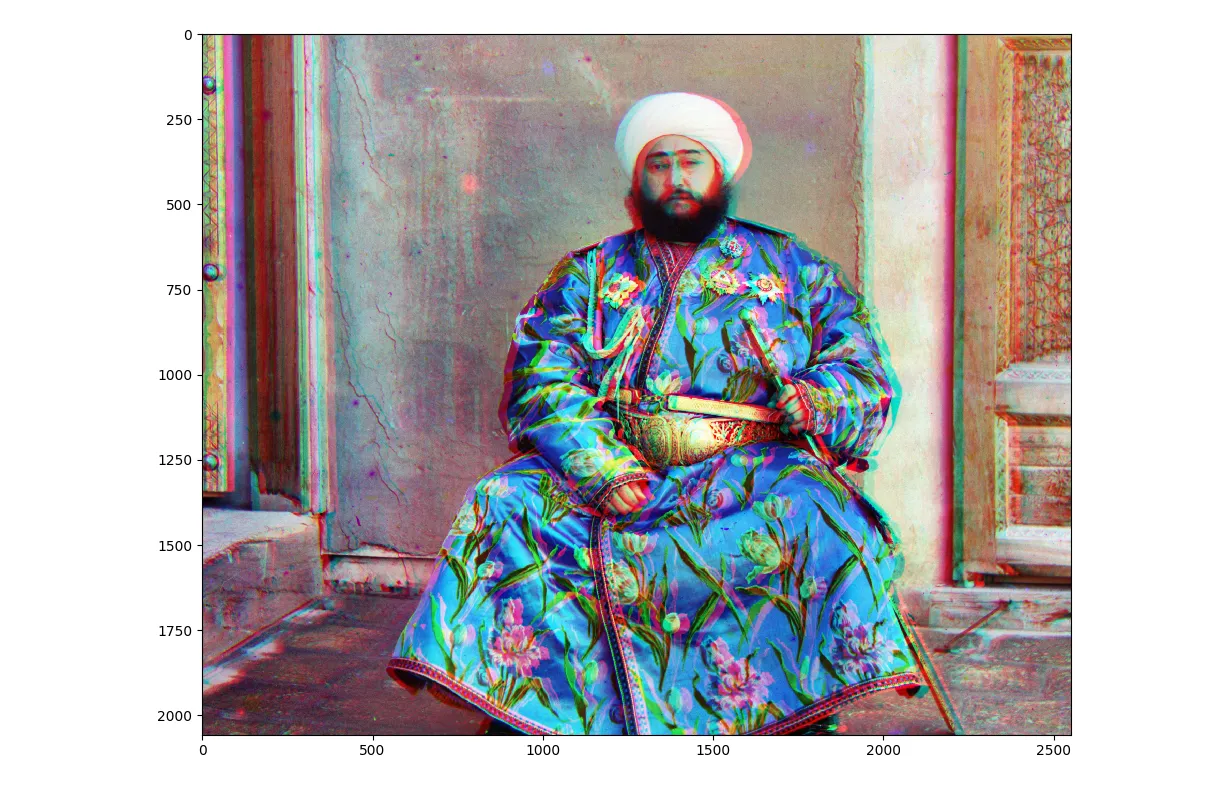
Initial attempts of using the laplacian align with histogram normalization
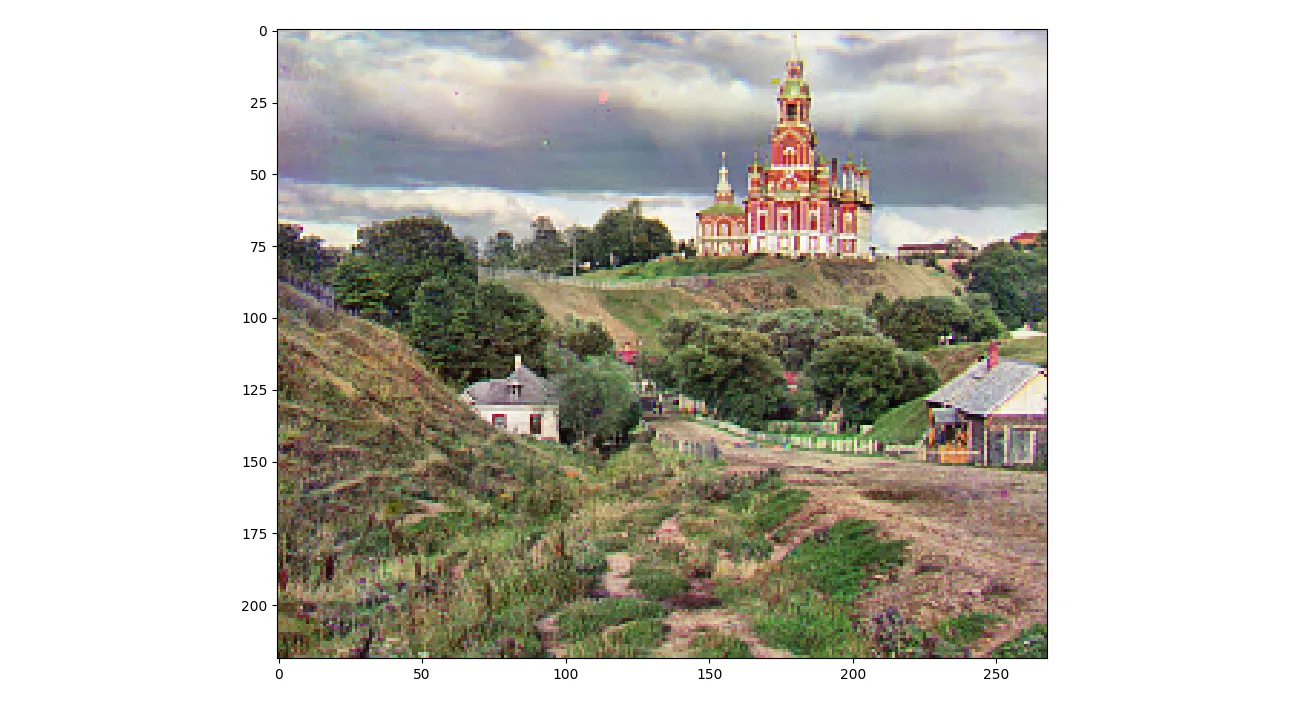
Better colors though is nice and does work!
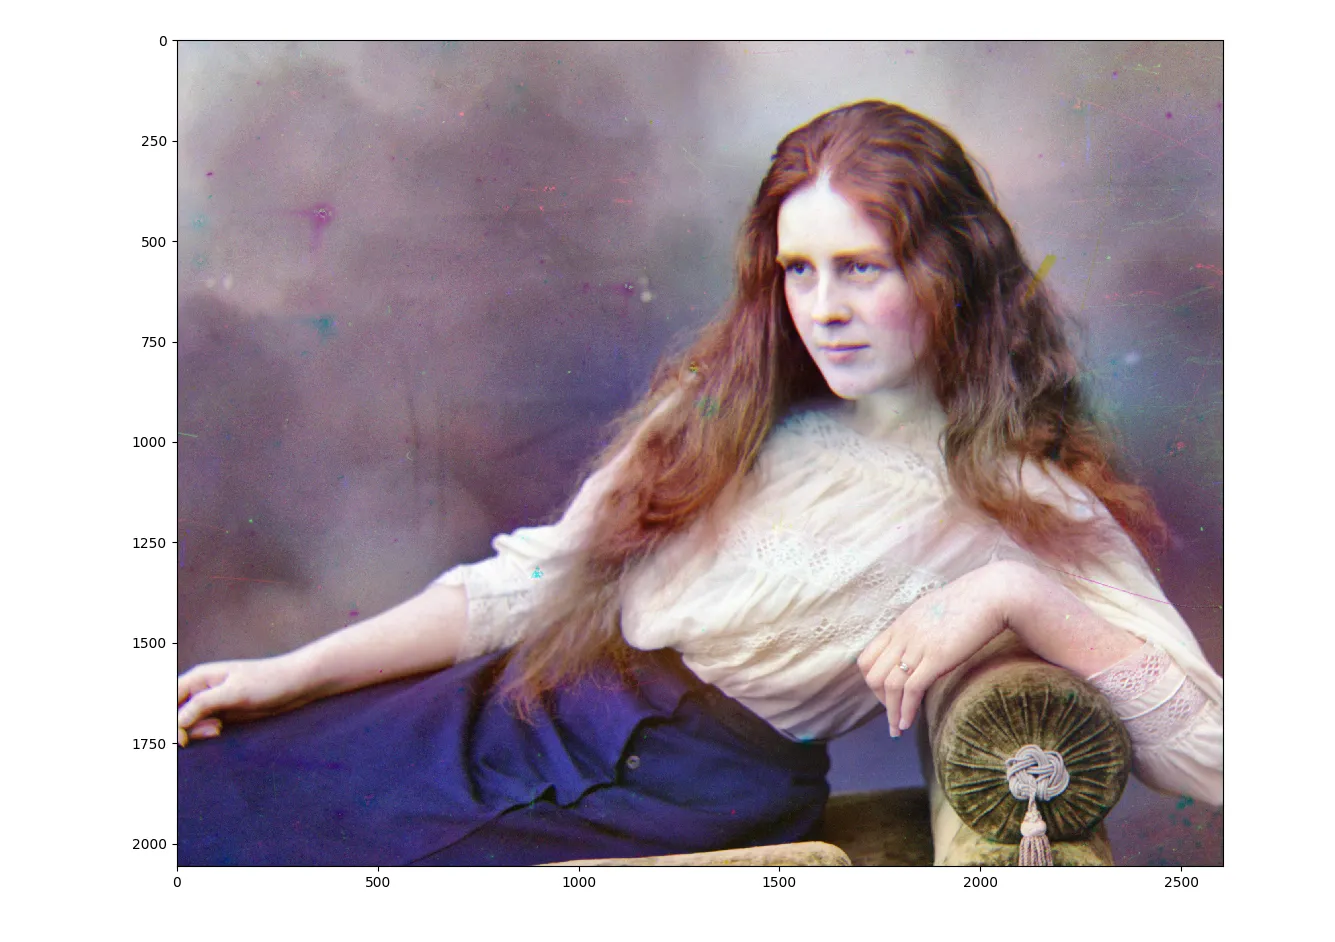
`lady.tif` with better colors
and for reference this is the initial lady.tif

`lady.tif` with better colors
as you can see CLAHE made the skin tones better / removed some color weirdness but it did make
some artifacts like the splotches on the background worse.