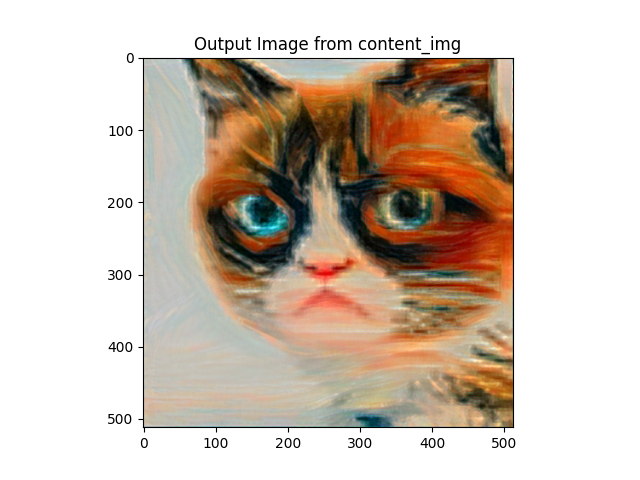
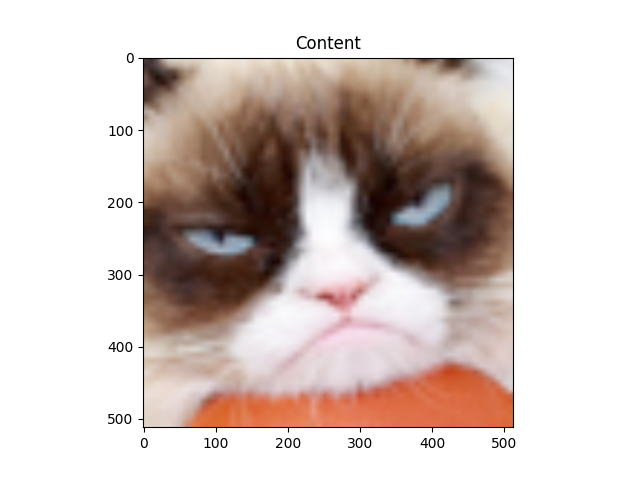
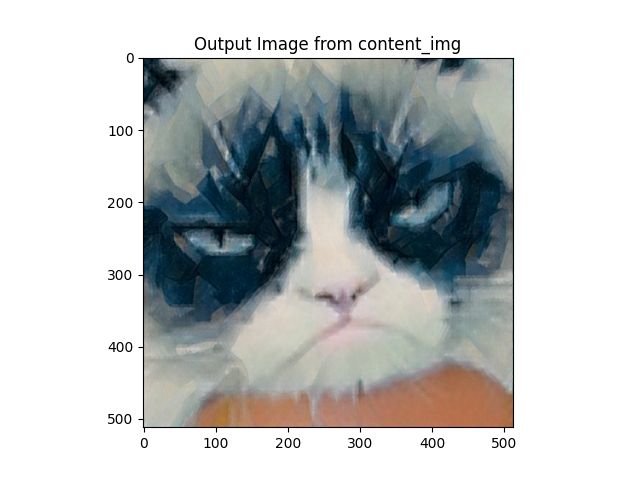
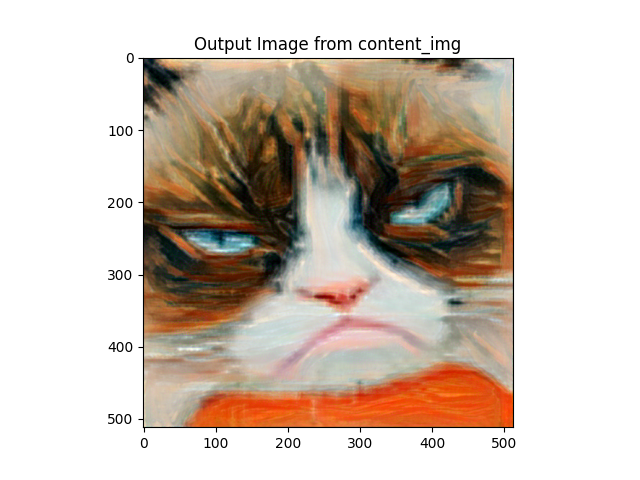
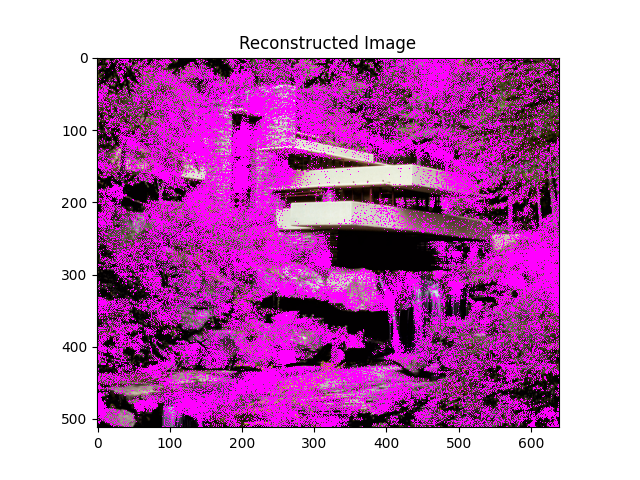
Optimizing content loss at layer 1
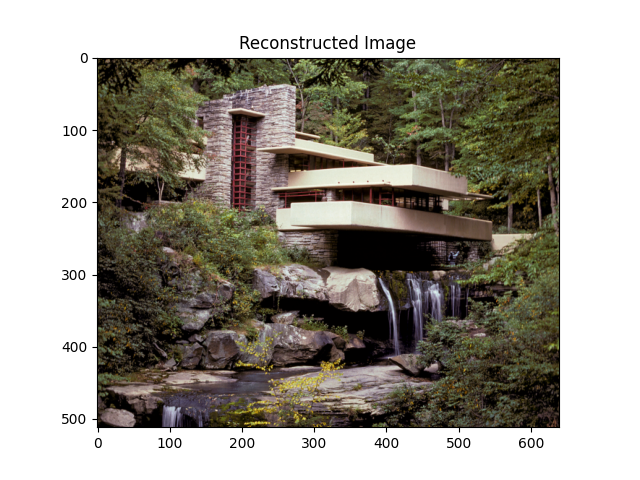
Optimizing content loss at layer 3
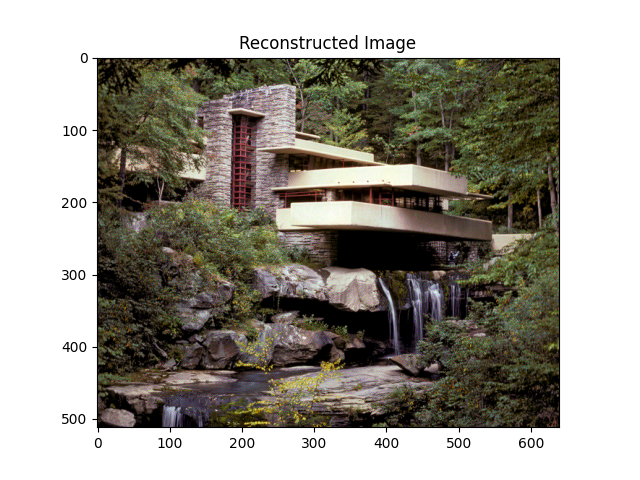
Optimizing content loss at layer 6
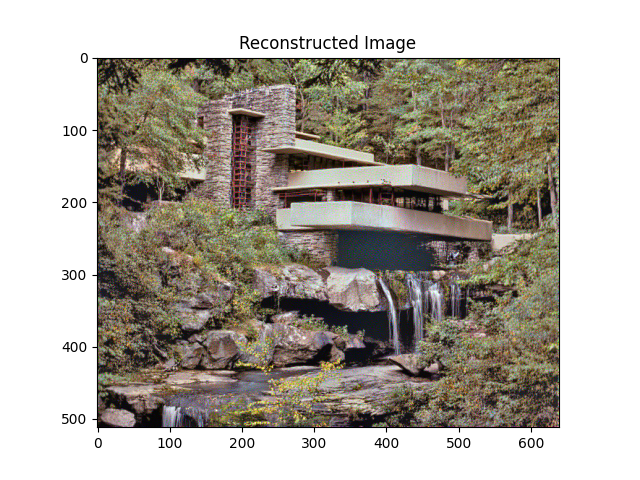
Optimizing content loss at layer 9
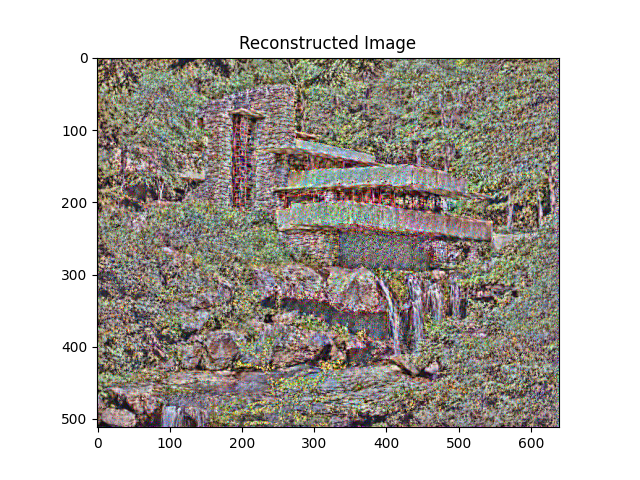
python3 run.py ./images/style/frida_kahlo.jpeg ./images/content/fallingwater.png
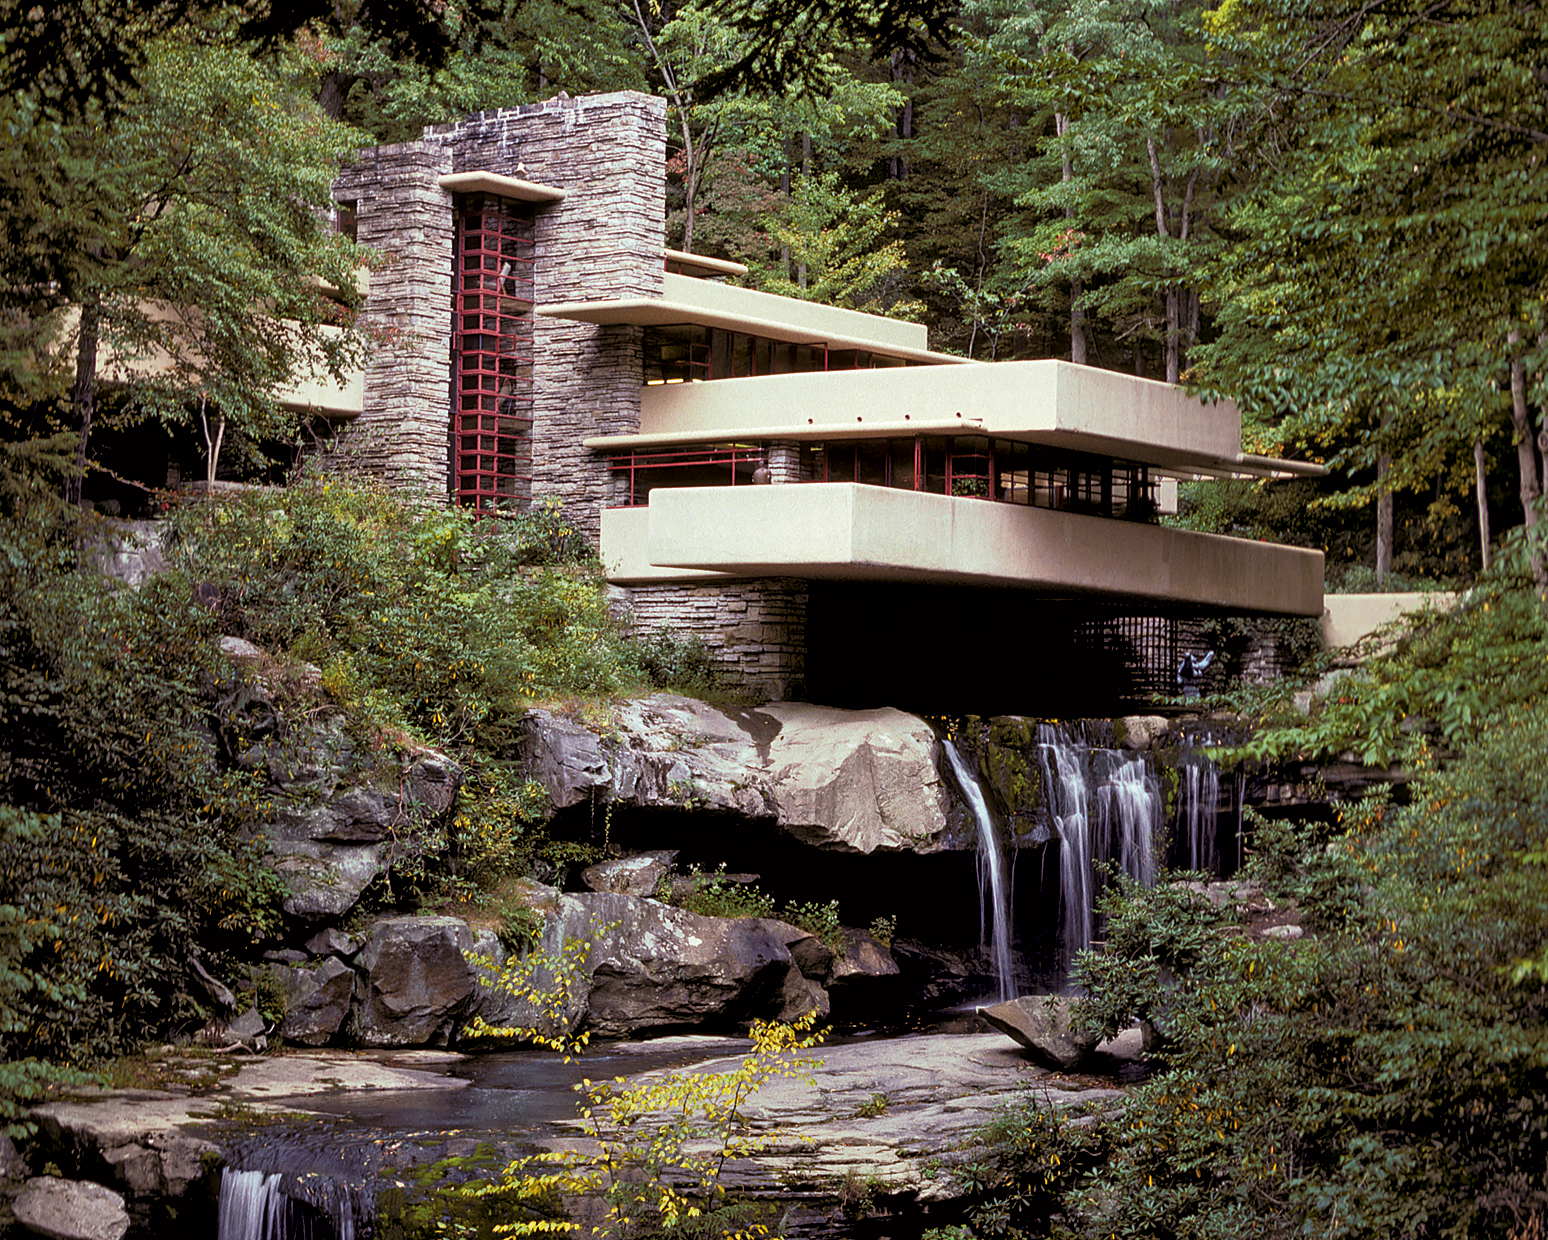
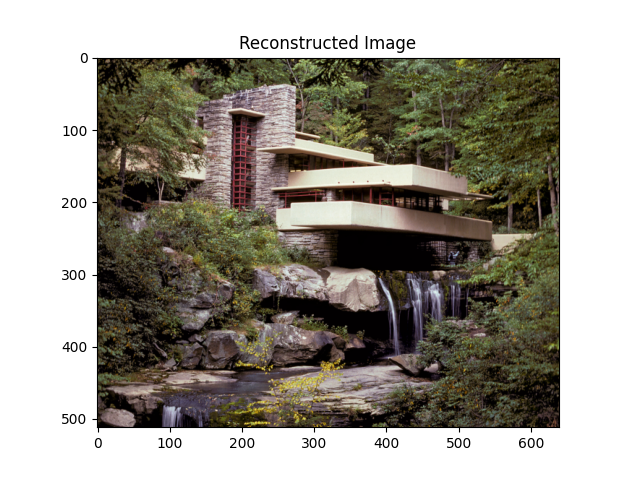
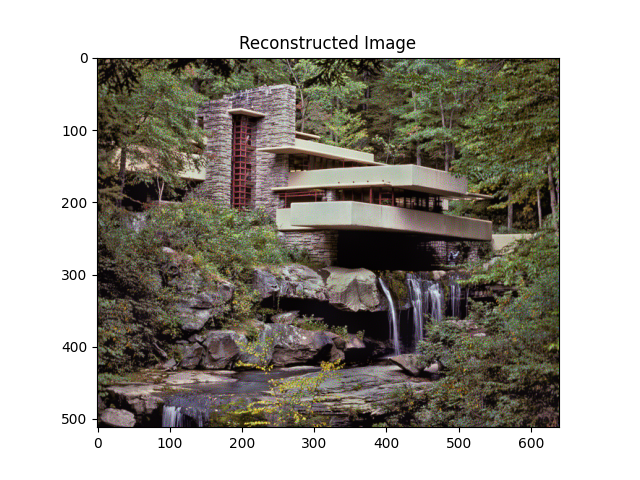
Original image and optimizing content loss on the 4 different layers are shown below. My favorite is optimizing on the 1st or 3rd layer, as the reconstructed image looks more like an actual photo instead of a painting, and the colors look more realistic and more similar to the original image.
Optimizing content loss at layer 1
Optimizing content loss at layer 3
Optimizing content loss at layer 6
Optimizing content loss at layer 9
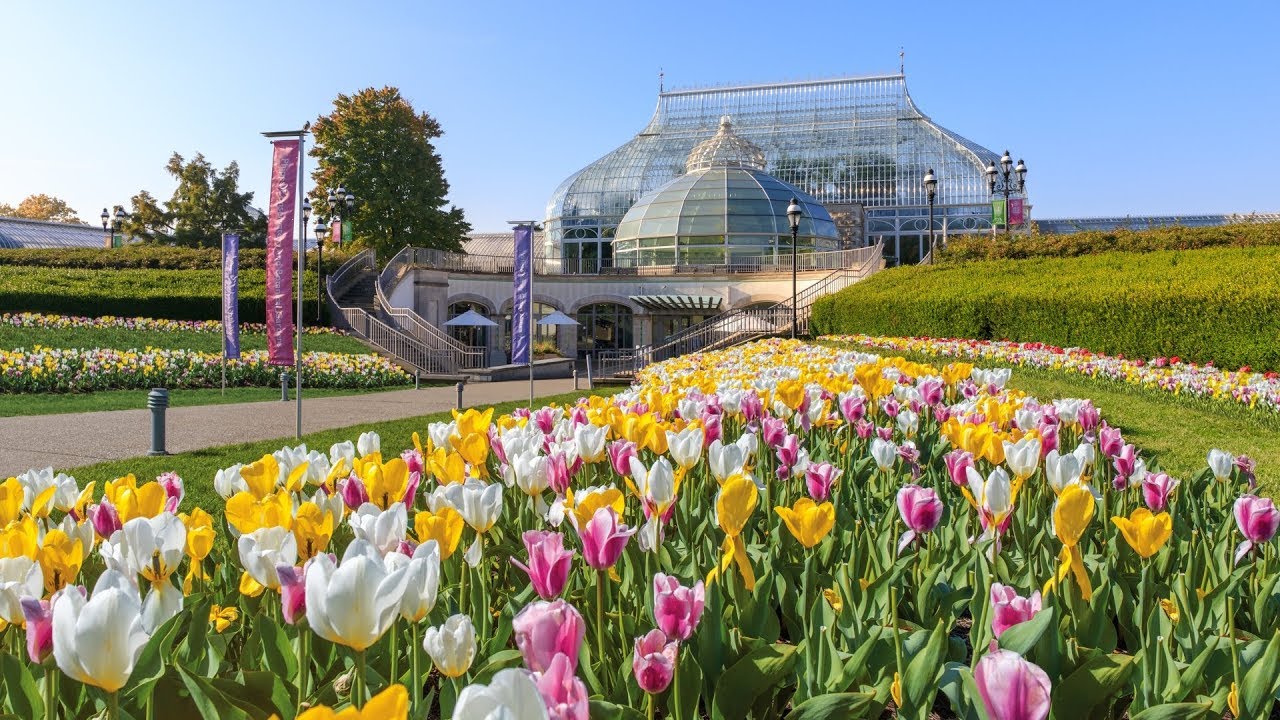
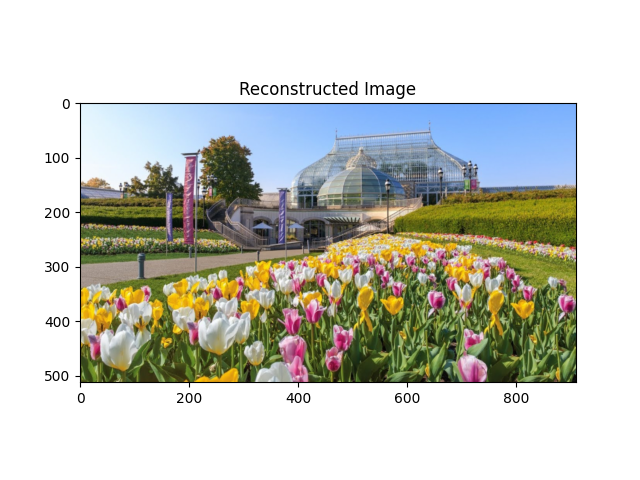
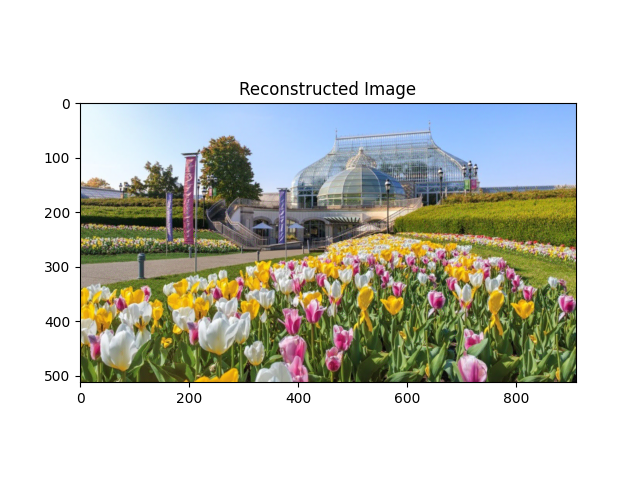
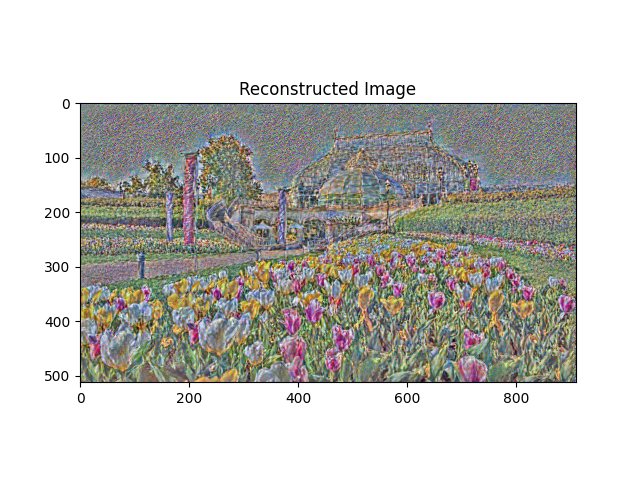
The original image of Phipps Botanical Garden and reconstruction results are shown below. Same as the above, my favorite results are the ones optimizing on the 1st and 3rd layers. Optimizing on the 3rd layer produced slightly more natural colors in this case.
Optimizing content loss at layer 1
Optimizing content loss at layer 3
COptimizing content loss at layer 6
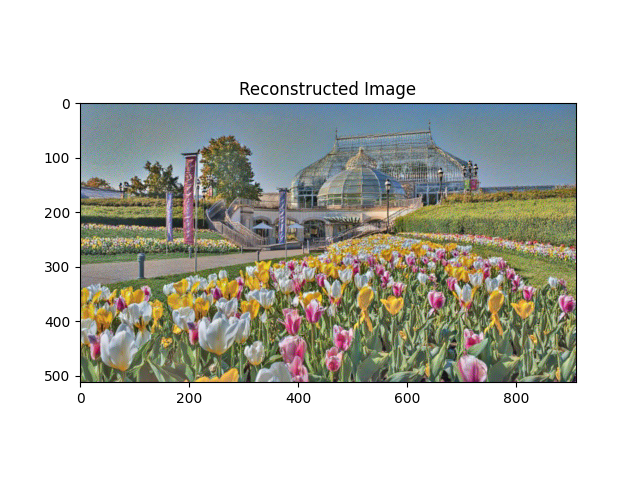
Optimizing content loss at layer 9
Original
Random noise 1 (seed 48)
Difference
Difference over the original image
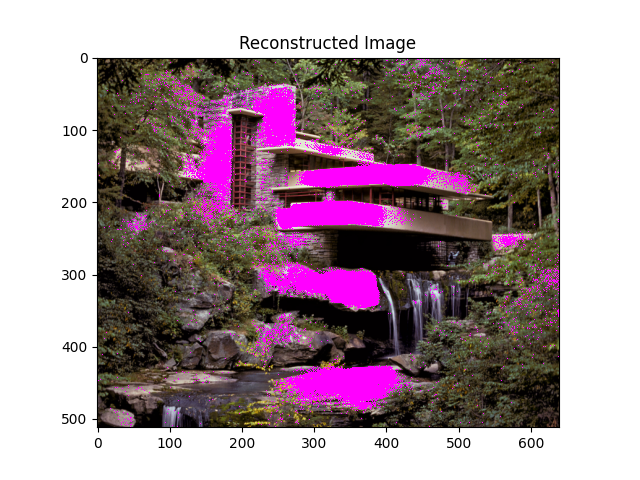
Original
Random noise 2 (seed 12)
Difference
Difference over the original image
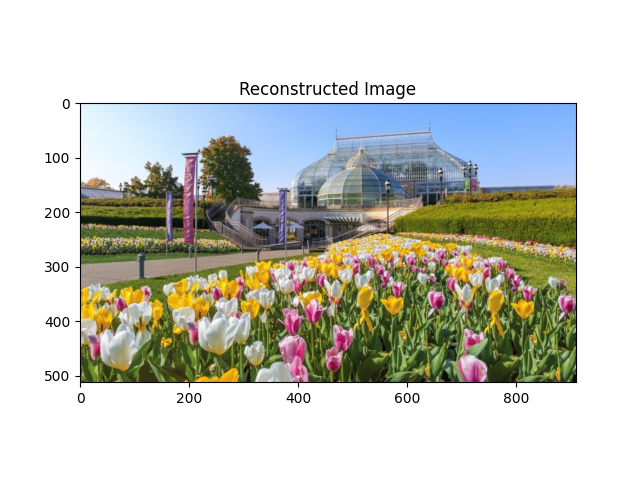
Original
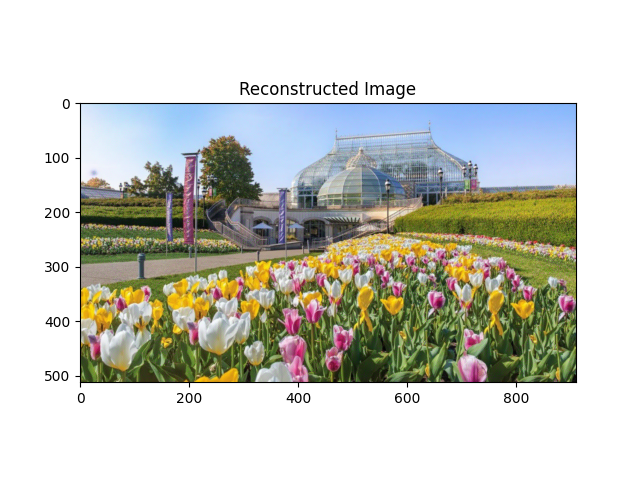
Random noise 1 (seed 48)
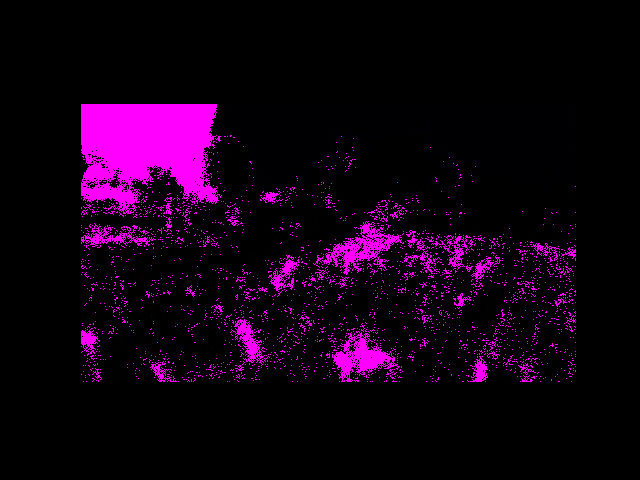
Difference
Difference over the original image
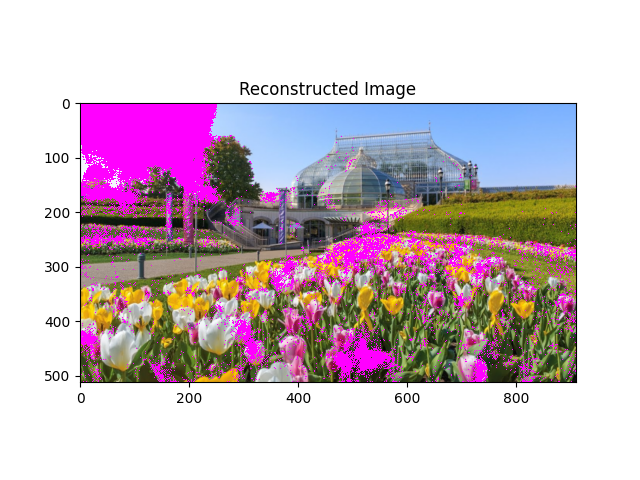
Original
Random noise 2 (seed 12)
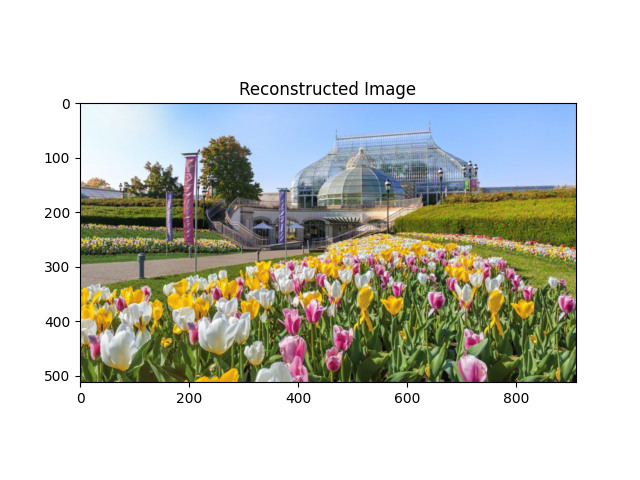
Difference
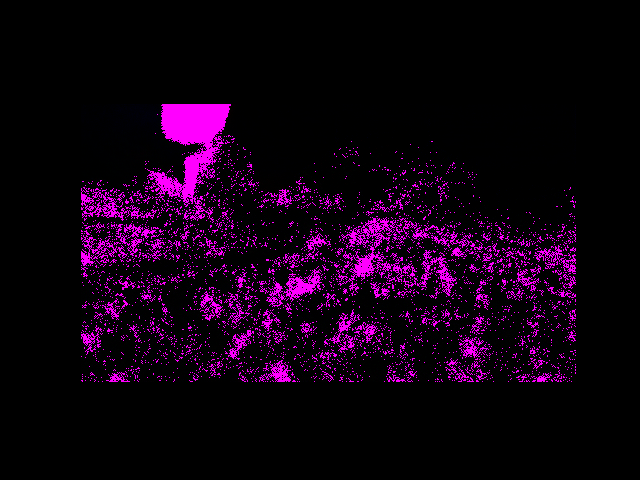
Difference over the original image
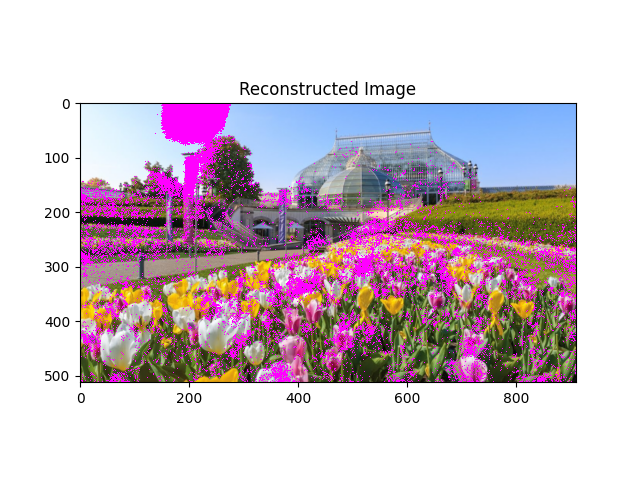
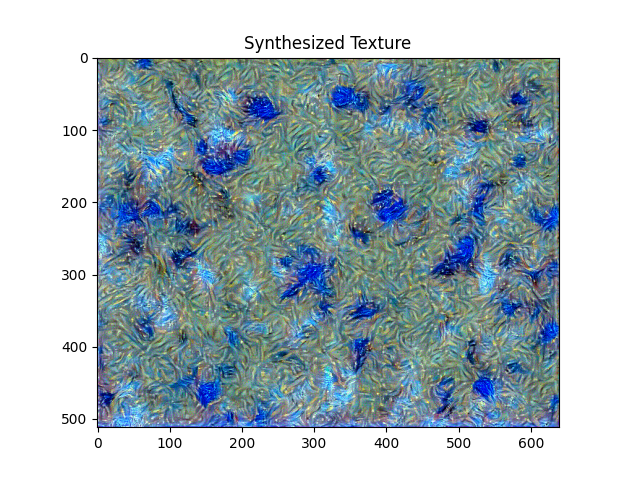
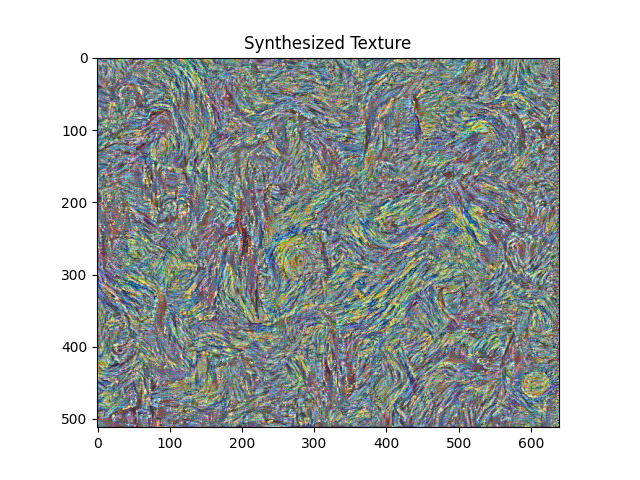
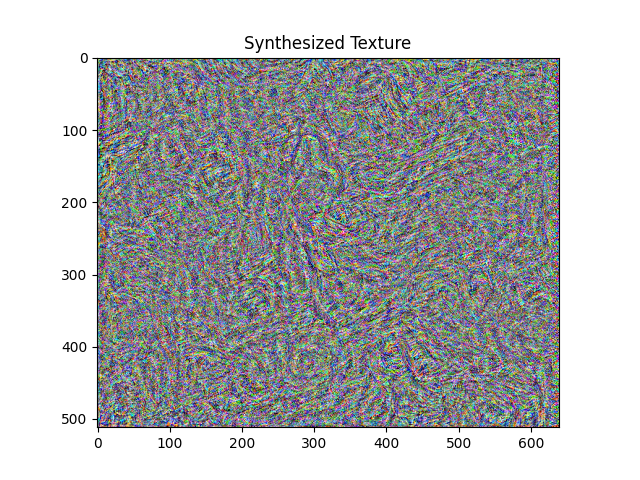
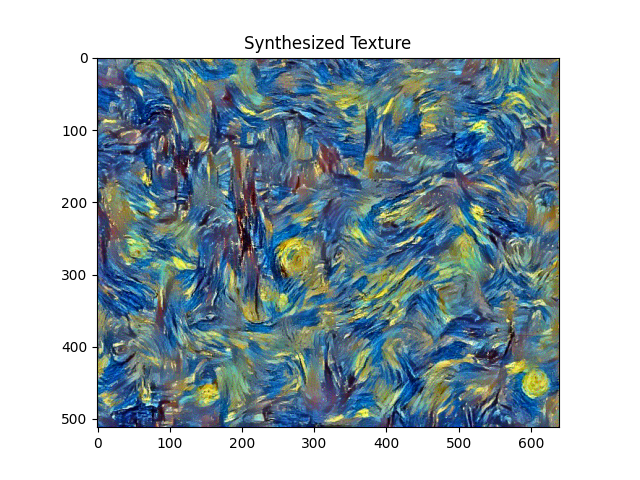
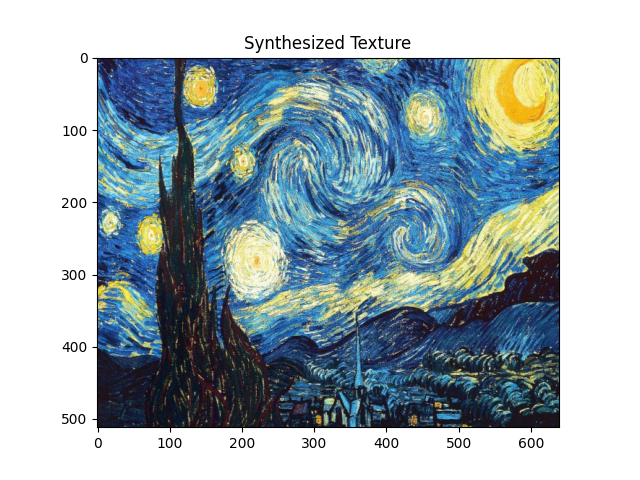
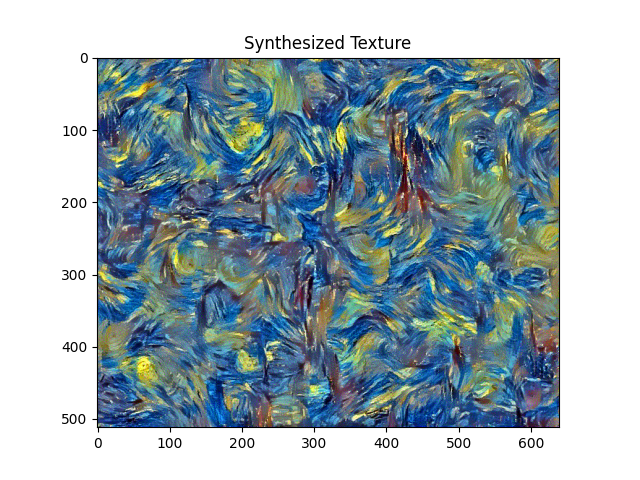
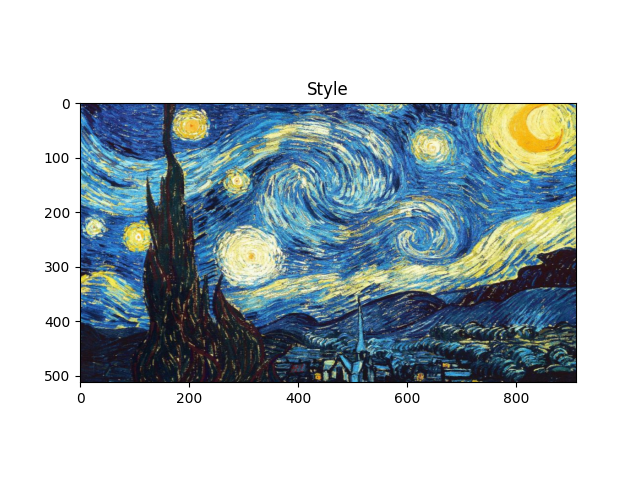
I am using starry night as the style in this case. My favorite is optimizing style loss on layers 1-10. This way the style and colors are most accurately preserved.
layers 1-5
layers 6-10
layers 11-15
layers 1-10
Original
Random noise 1 (seed 24)
Difference
Difference over the original image
Original
Random noise 2 (seed 36)
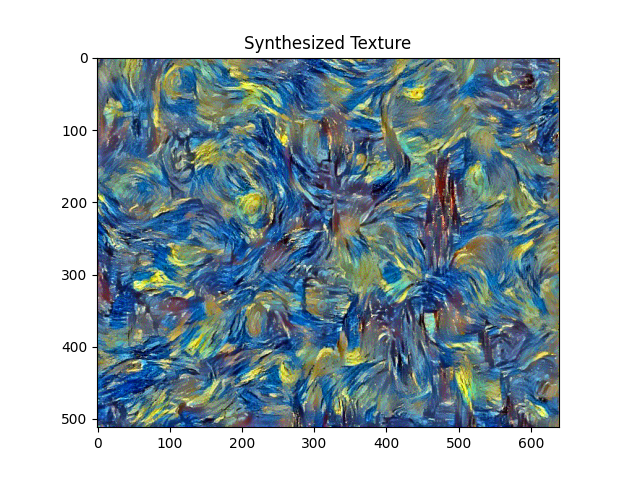
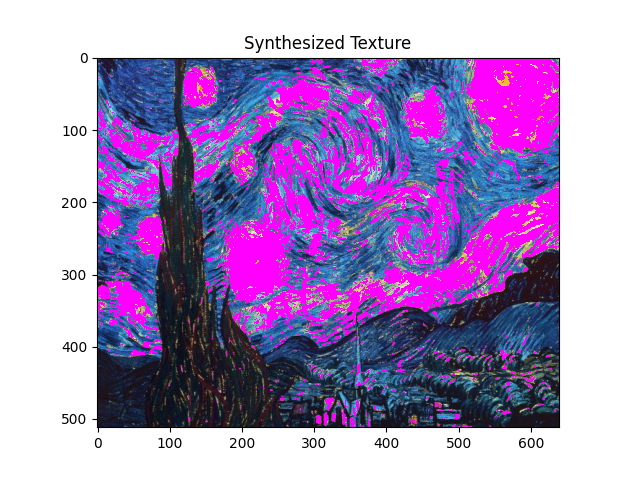
Difference
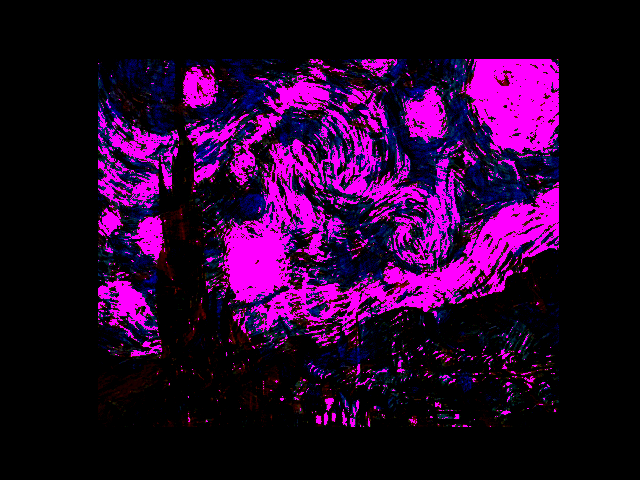
Difference over the original image
Optimize content on layer 3, optimize style on layers 1-10.
I normalize the values of the gram matrix by dividing by the number of element in each feature maps.
Content weight: 1
Style weight: 10000
Optimization steps: 600
Content / Style
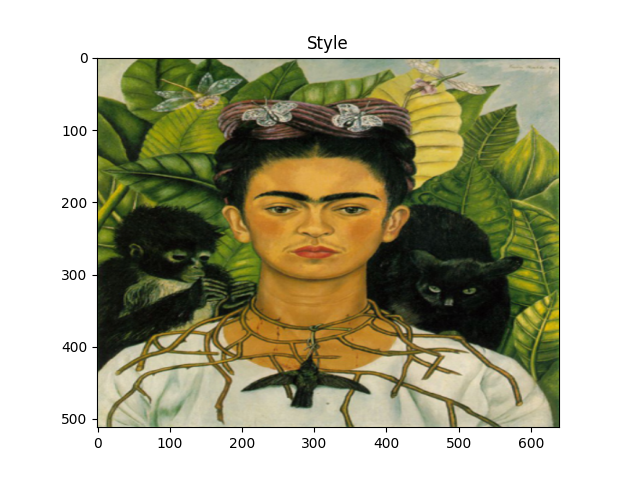
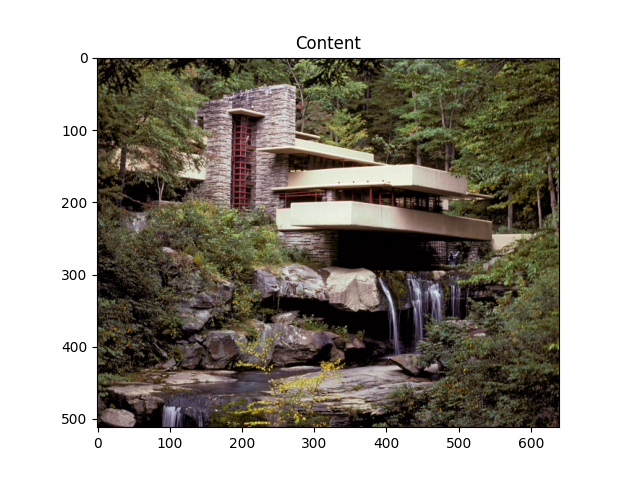
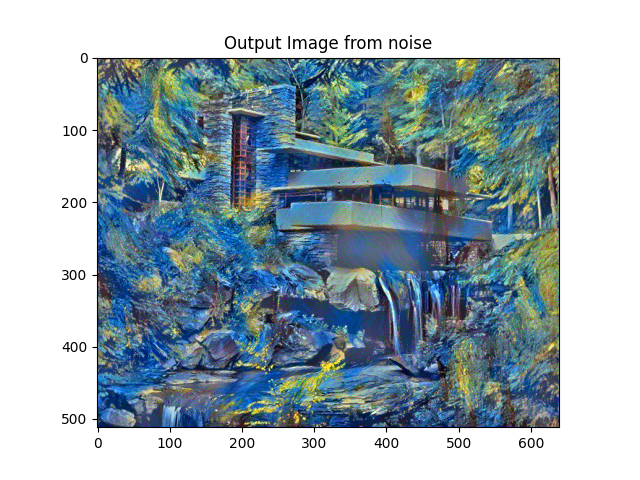
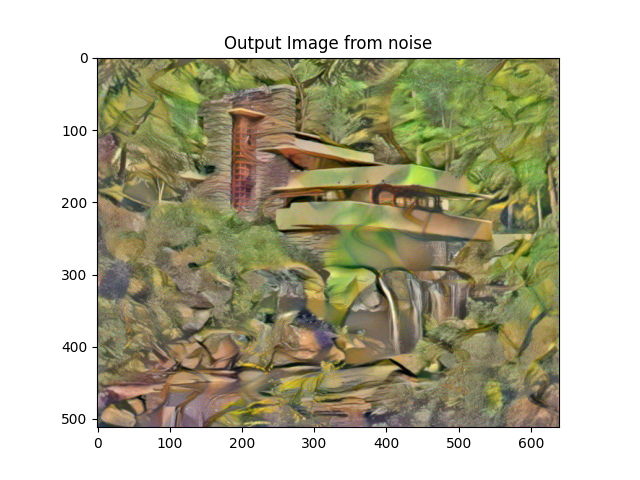
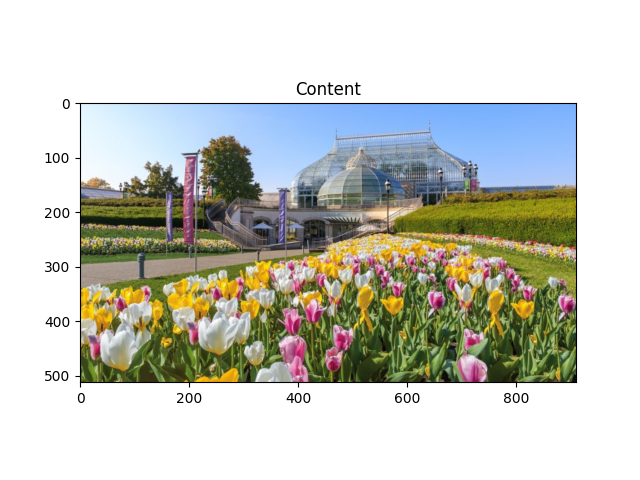
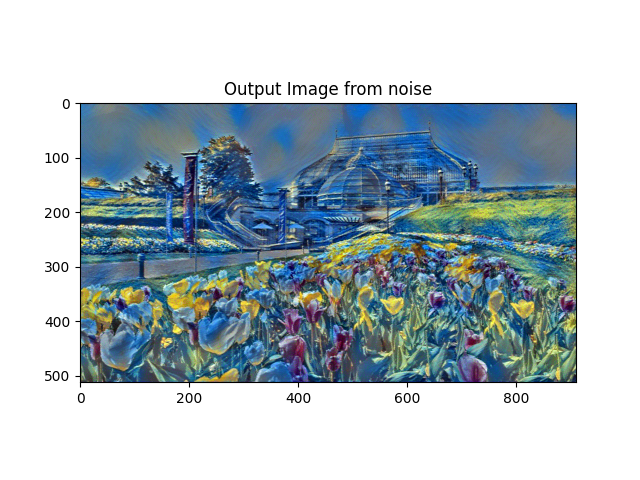
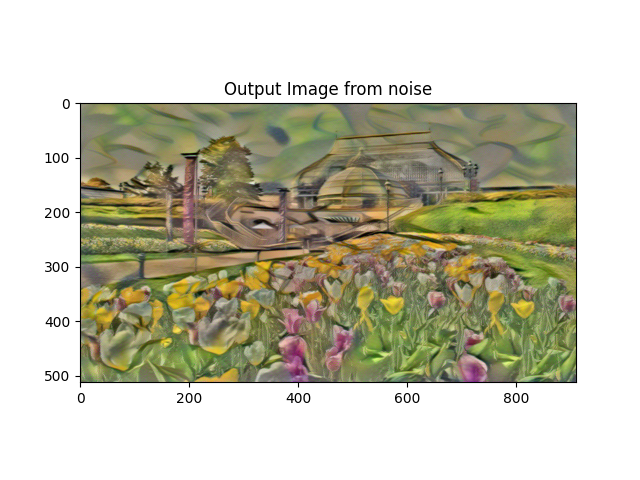
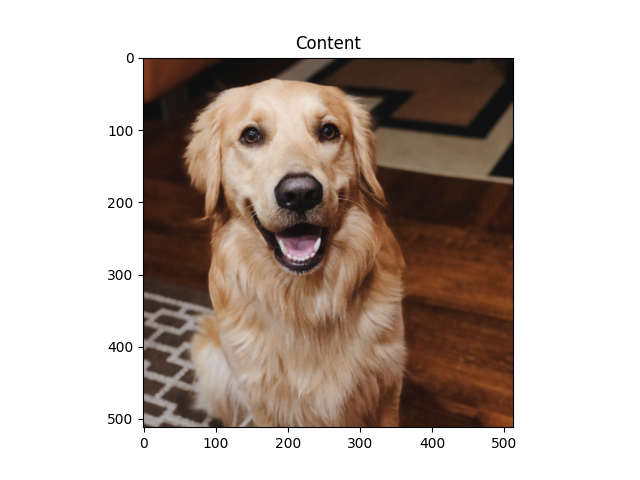
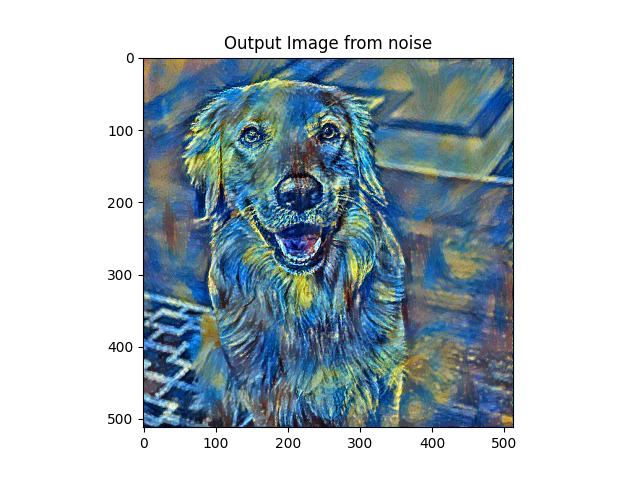
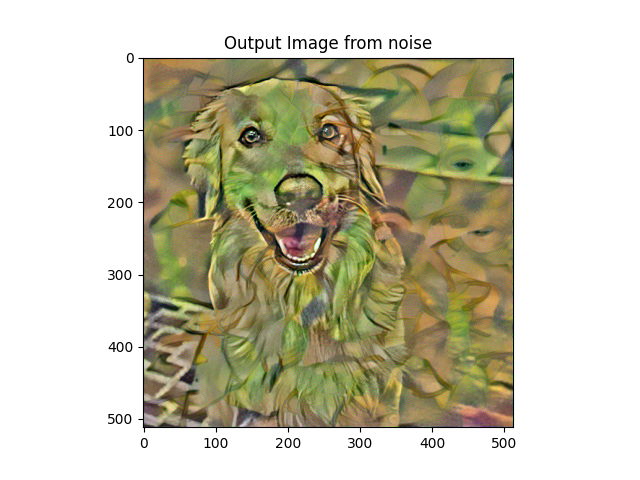
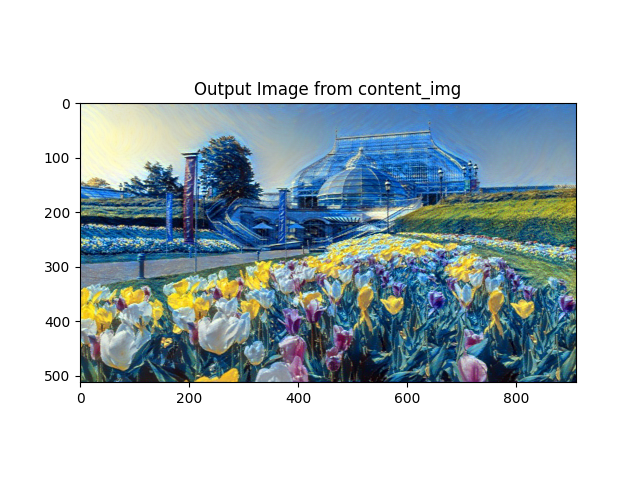
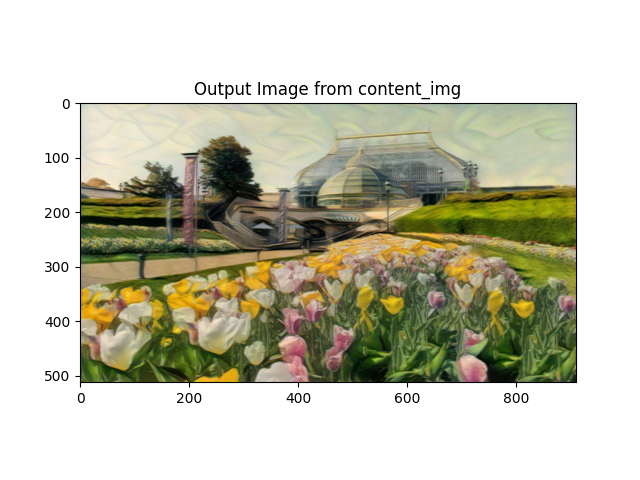
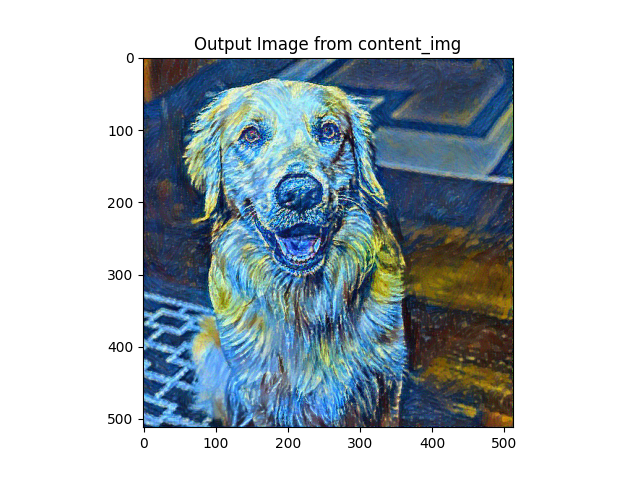
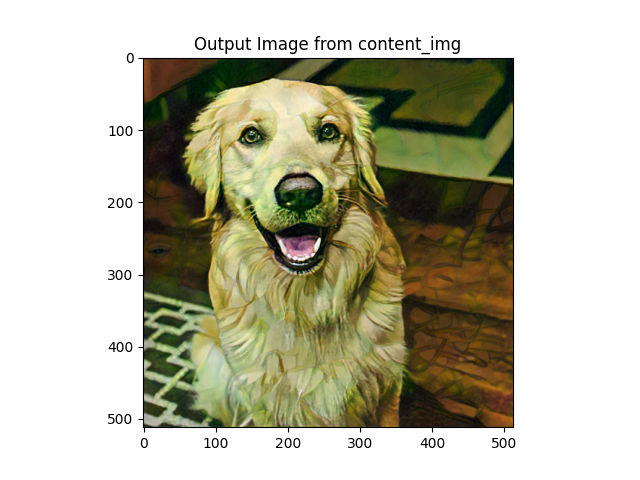
The below results show input as content images. Comoparing with the above where input images are random noises, the below results preserved much more content features, and the style and content blend better.
The objects in the below images also have clearer boundaries. More details and textures from the content images are preserved. For example, the texture of the dog's fur (and its highlighs), The shiny texture of the botanical garden, etc.
The botanical garden synthesized with the frida kahlo style image looks especially pretty as if it was an oil painting.
As for runtime, on my 4060 GPU, synthesizing from random noise and from a content image both take less than 1 minute to run and don't differ much.
Content / Style
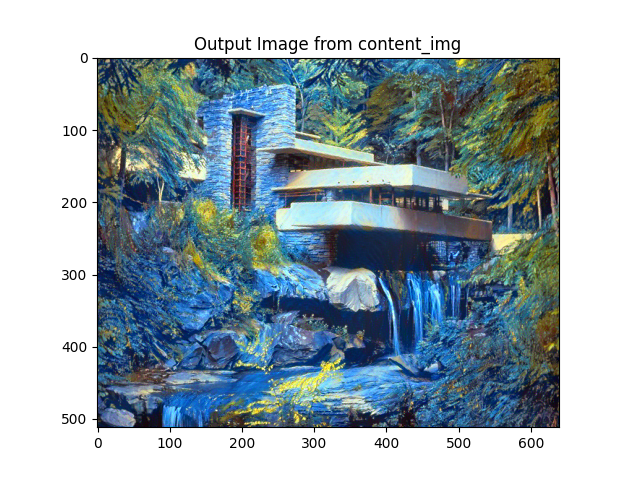
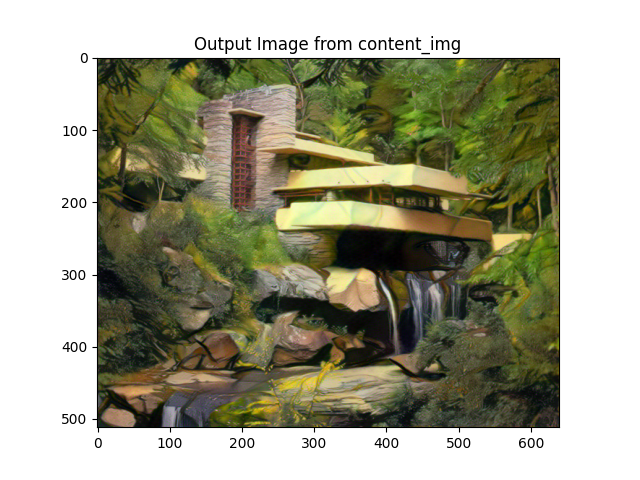
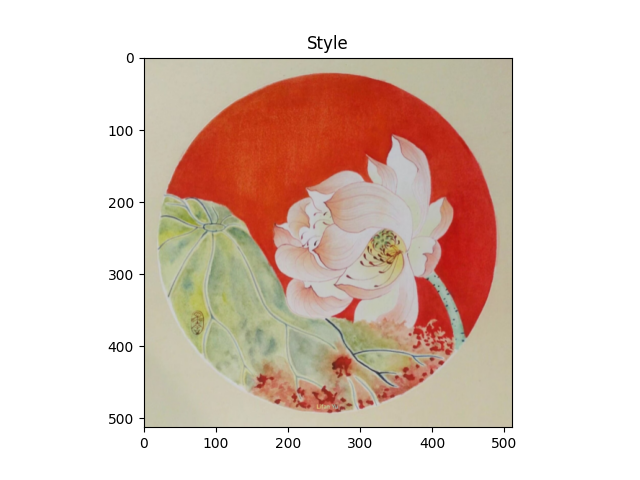
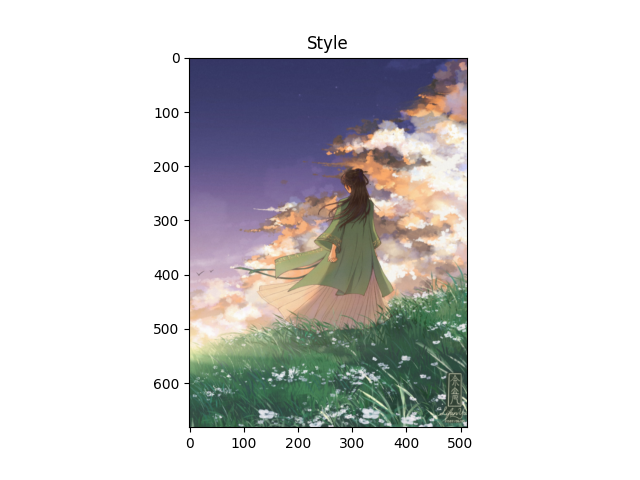
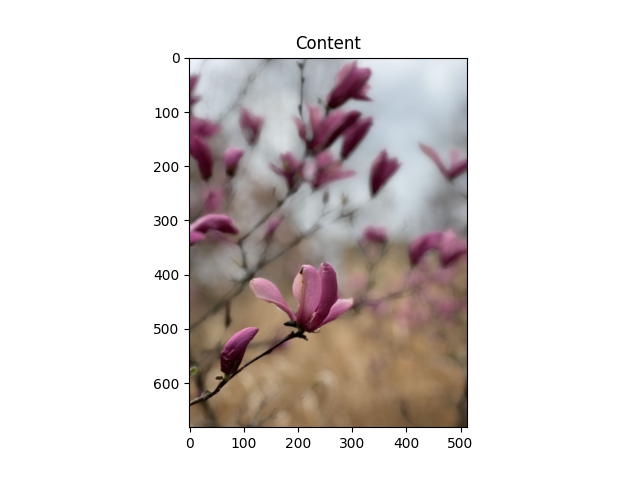
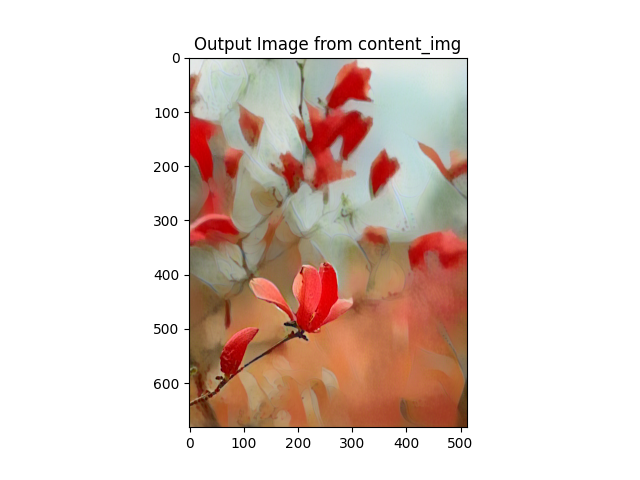
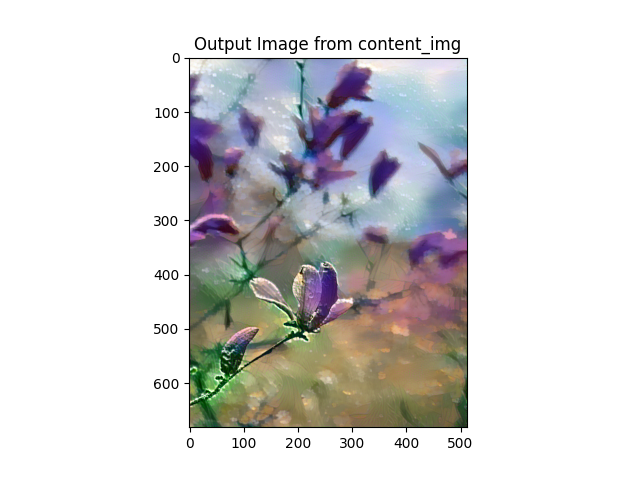
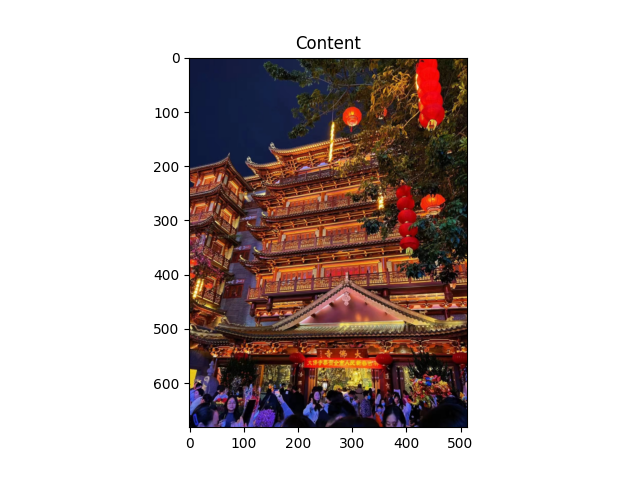
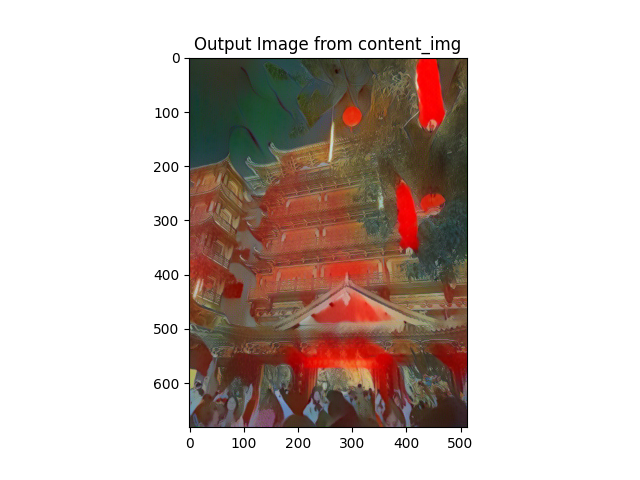
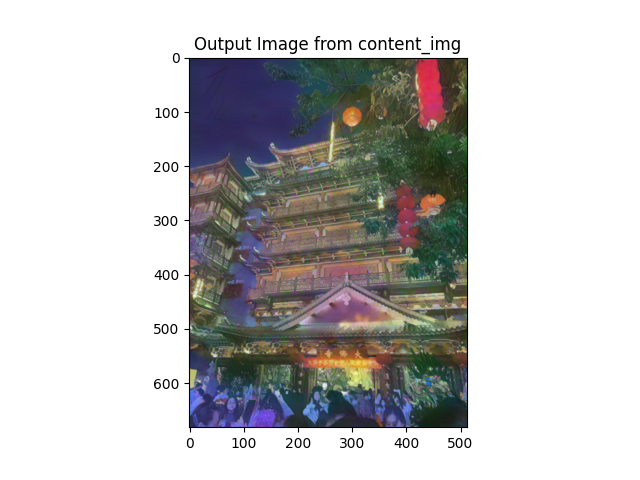
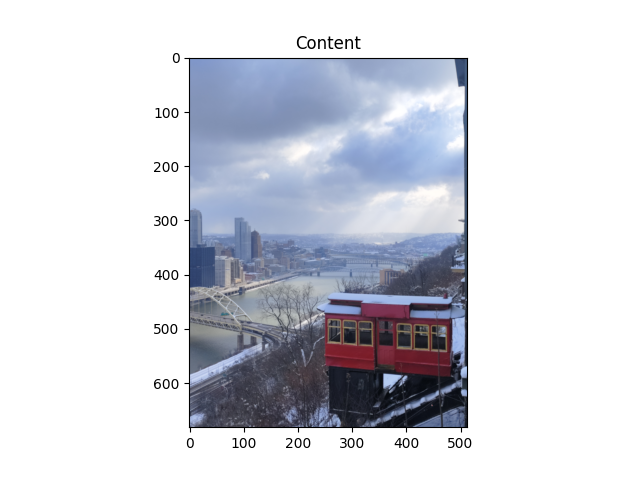
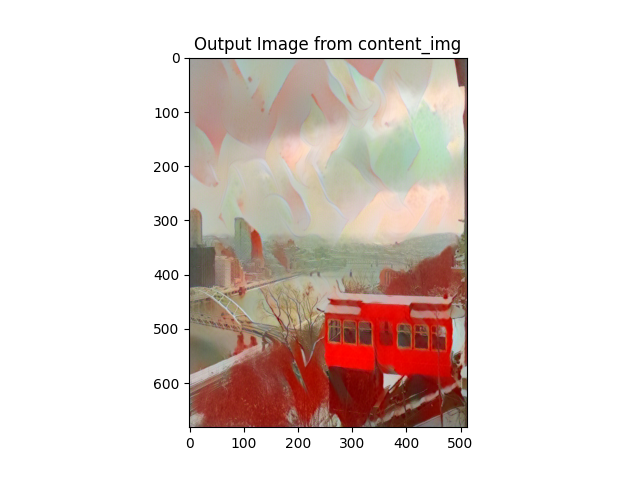
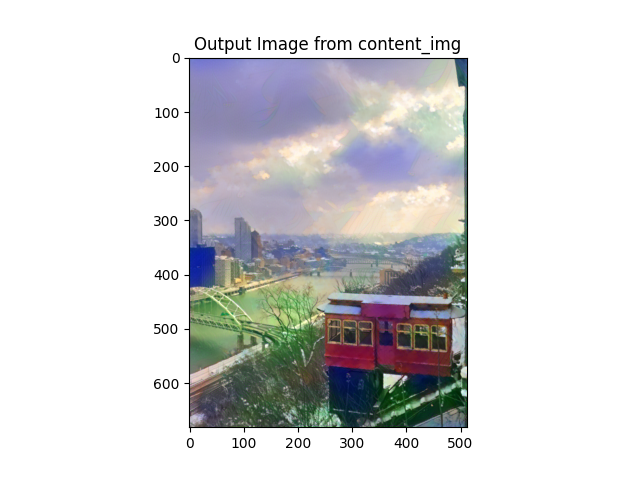
I used my own artworks as style images, source: https://www.artstation.com/lifanyu. Content image1 credits: Haoyue Liu. Content image2: A temple in Guangzhou, China. Content image3: Duquesne Incline.
Content images without too complicated features, or have similar textures with the style images, produce better style transfer results, especially the flowers with style1 and duquesne incline photo with style2.
Content / Style
Content / Style