16-726 Assignment #1: Colorizing the Prokudin-Gorskii Photo Collection
Shruti Nair
Andrew ID: shrutina
Single-scale Implementation
For this project, we are given a set of digitized Prokudin-Gorskii glass plate images to attempt to create a color image out of it. A sample image of cathedral.jpg is shown below.
We divide this image into 3 parts, the first part representing the red channel, second representing the green channel, and last representing the blue channel. Using stacking functions, when layered on top of each other, a color image is produced, as shown below:
As we can see, this image is not perfect. This is because the segmented channels do not perfectly overlap each other. We attempt to solve this problem in this assignment. The first method is a brute force single-scale method. This consists of taking either the red or green channel, and shifting it in such a way that it overlaps well with the blue channel.
In order to determine the best alignment, we take in a parameter named "displacement" and shift the channel in both the x and y direction from the range of [-displacement, displacement]. We choose the translation that gives us the best value for our objective function. There are 2 objective functions we have considered:
sum(sum((image1-image2).^2))
We try to MINIMIZE this objective function. The higher the value, the more the difference between the 2 images.
dot_product(image1./||image1|| , image2./||image2||)
We try to MAXIMIZE this value. NCC indicates correlation, so the higher the value, the more correlated the images are.
NCC is in general, more ideal of a metric, because the issue with SSD is that it assumes that the channels should have similar brightness values. Because they are different channels, SSD would penalize differences based on pixel intensity, which do not necessarily indicate bad alignment. Hence, correlation is generally a better metric to use in our case. In my experiment, NCC and SSD only had a difference in time (where NCC was more time consuming) but this may be due to how I set up my image pyramid (a more thorough search than most) and because of how I have cropped my borders.

| Metric | Best Displacement for R | Best Displacement for G |
|---|---|---|
| SSD | [12., 3.] | [5., 2.] |
| NCC | [12., 3.] | [5., 2.] |
Using the brute force method can be very time consuming on large images because of the great amount of computation that needs to be done. This becomes expensive, especially for large displacement values. Hence for the .tiff images, it was better to use the multi-scale approach that is described in the next section.
Multi-scale Implementation
The idea behind the multi-scale implementation of alignment is to find the good alignment without having to go through a very time-expensive search process. For this, we use the image pyramid algorithm.
We first subsample the image or scale it down by some factor (I used 2 as advised by the assignment write-up.) Subsampling in this manner acts like a "blurring" step. As we scale down till we reach a small representation of the image, we call our original single-scale alignment function. We search the smaller image for the best alignment, and this value is returned to the upscaled image that is immediately below it on the pyramid. Because the upscaled image is twice the size of the image we were just looking at, the best displacement we found also needs to be upscaled by the same amount, i.e: the best displacement found is multiplied by 2 every time it goes down a level. This ensures that we are looking at the part of the image that our alignment at a higher level told us would be most likely to have our best alignment. This process is repeated till we reach our original sized image. A diagram that helps explain this process is shown below and was taken from this link
Additional Steps
Image alignments were not looking too great on some of the images and this was mainly due to the borders. The black borders that surround each channel are not uniform across all channels, meaning that they do not help in alignment. So when metrics like SSD and NCC are used, they greatly suffer when they meet an unaligned border. For this reason, to get better results, I cropped 7.5% of the height/width of the channel from both ends. This is not a perfect method because borders are often not uniform in that way, but the alignment results improved after that and looked better. Another method I could have tried was only calculating metrics on the inner pixels, or a weighted metric that gives higher value to the pixels closer to the center.
| File Name | Metric | Best Displacement for R | Best Displacement for G | Time Taken to Run Alignments (s) |
|---|---|---|---|---|
| lady.tif | SSD | [112., 11.] | [49., 9.] | 111.87 |
| lady.tif | NCC | [112., 11.] | [49., 9.] | 158.54 |
| self_portrait.tif | SSD | [176., 37.] | [78., 29.] | 105.09 |
| self_portrait.tif | NCC | [176., 37.] | [78., 29.] | 118.69 |
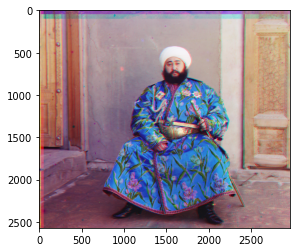
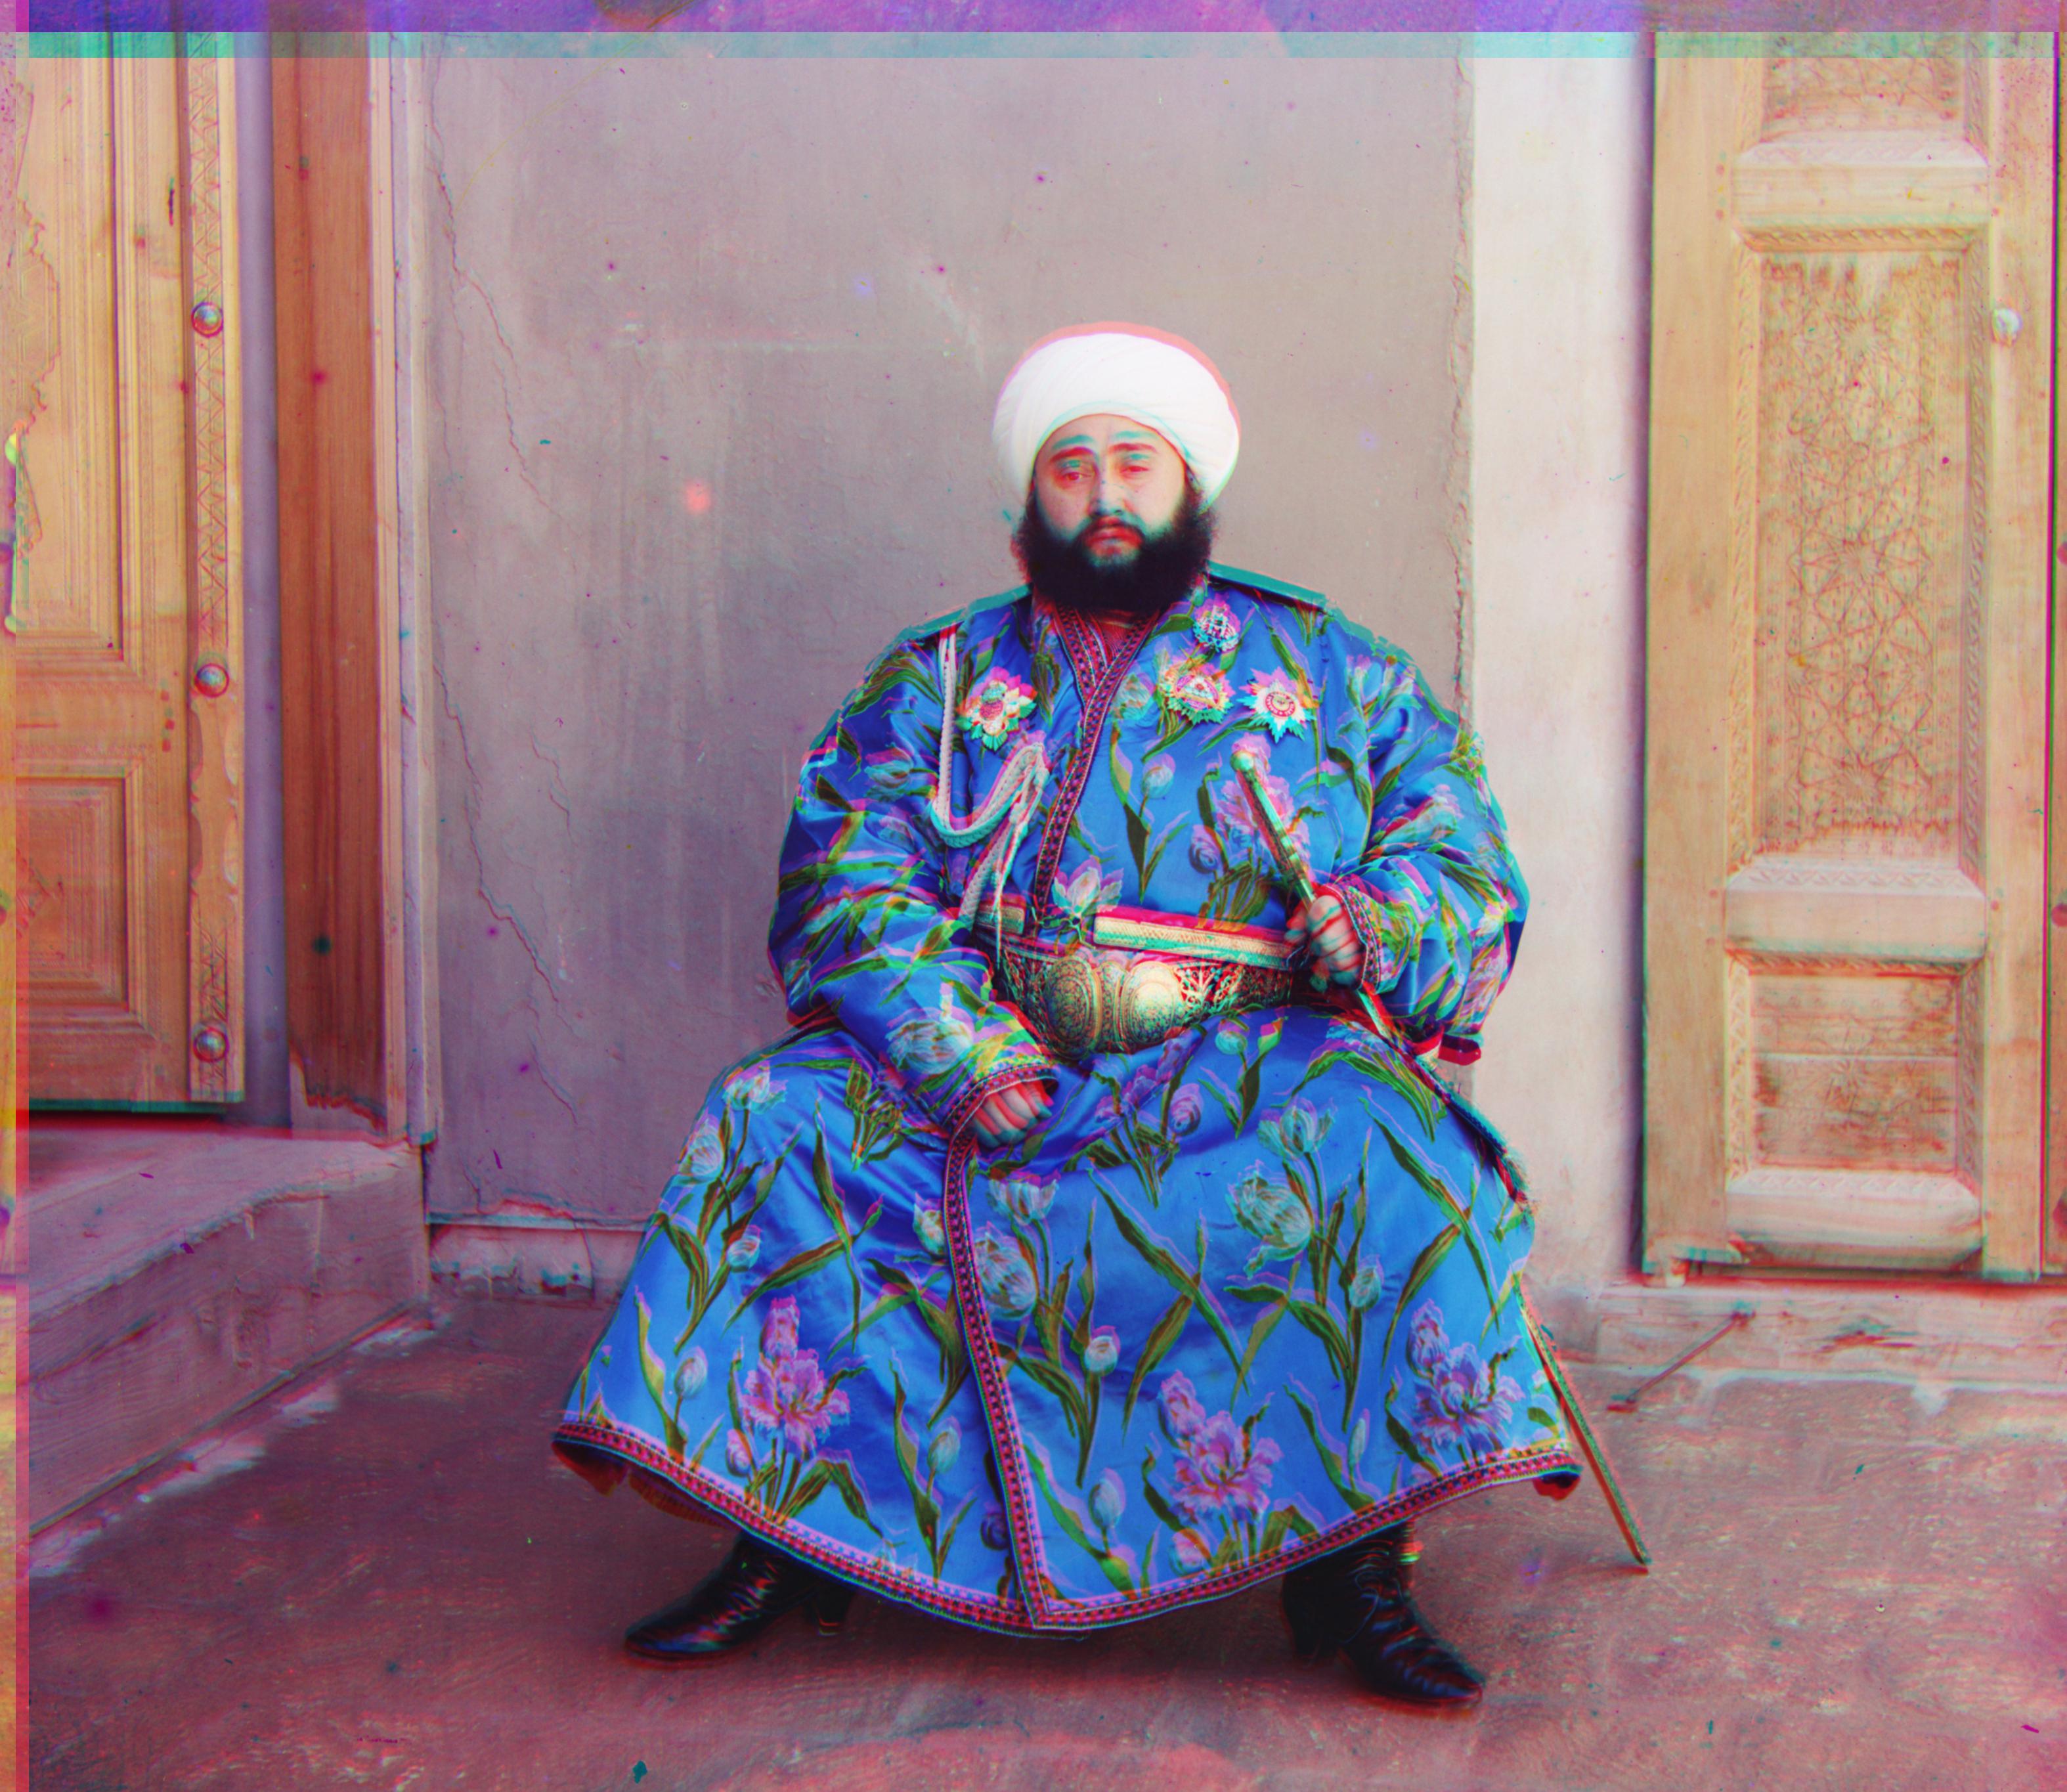
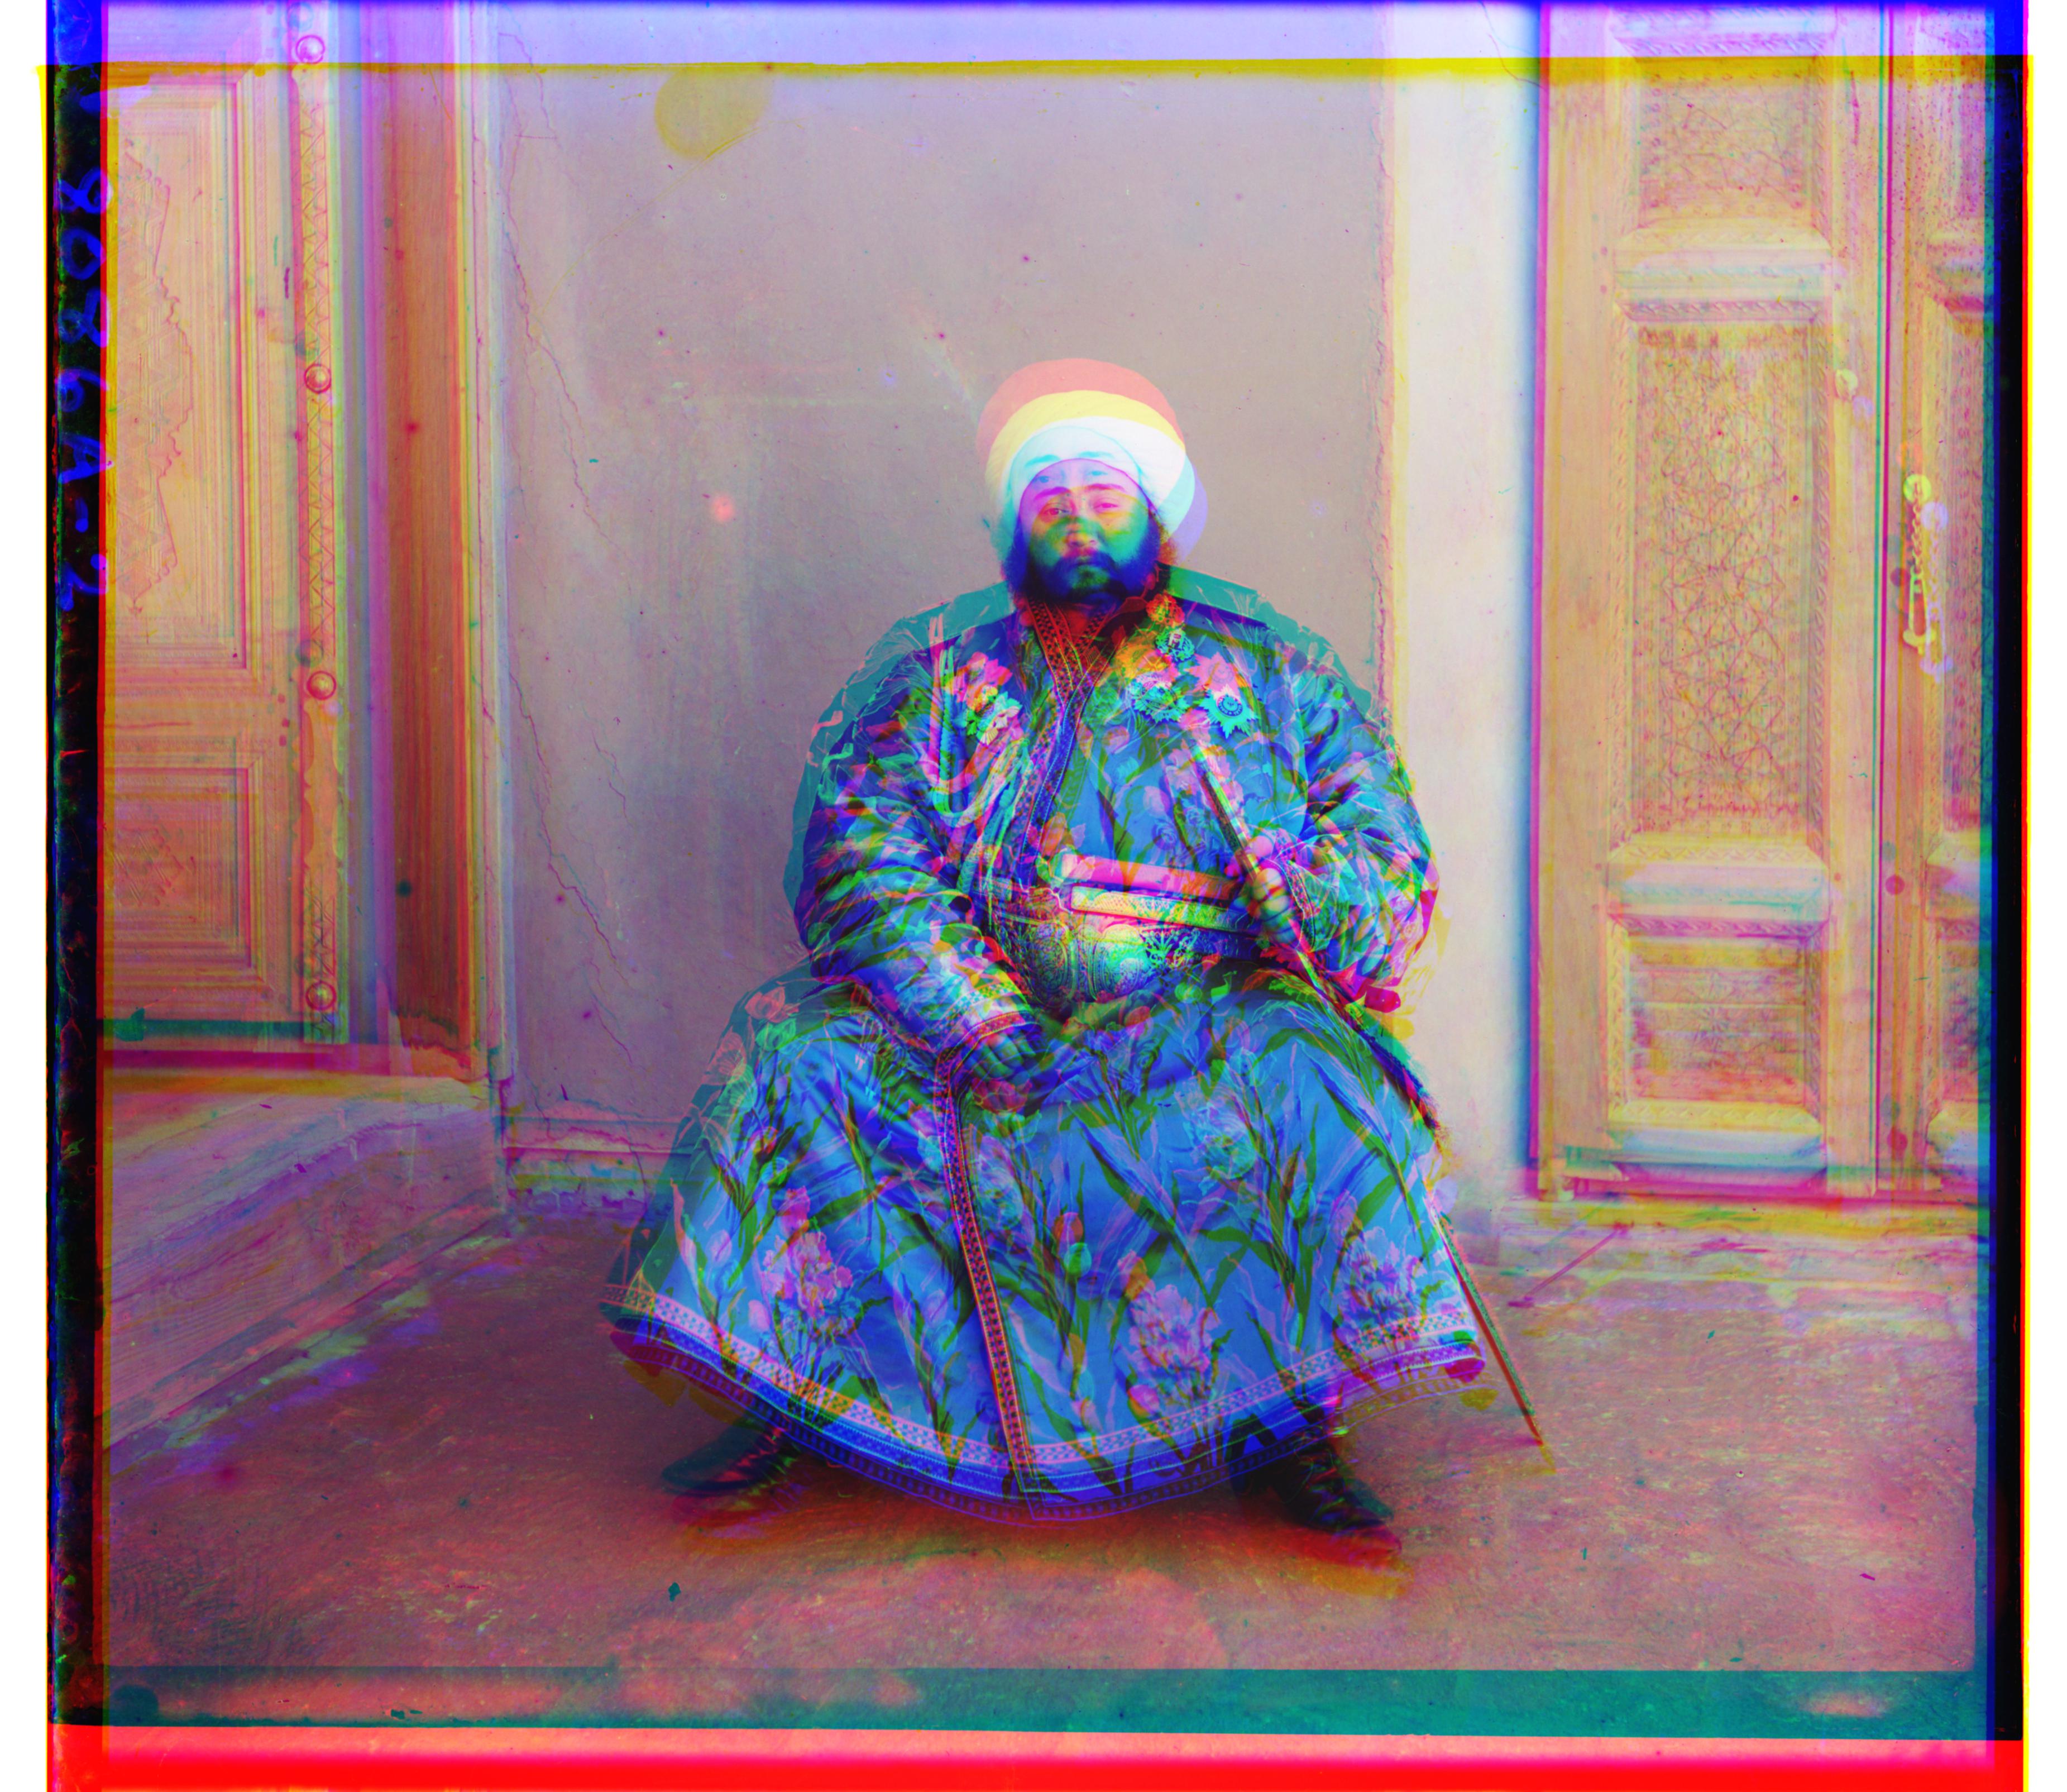
| emir.tif | SSD | [88., 44.] | [49., 24.] | 71.68 |
| emir.tif | NCC | [88., 44.] | [49., 24.] | 142.69 |
| harvesters.tif | SSD | [124., 13.] | [59., 16.] | 100.43 |
| harvesters.tif | NCC | [124., 13.] | [59., 16.] | 143.69 |
| icon.tif | SSD | [89., 23.] | [41., 17.] | 103.82 |
| icon.tif | NCC | [89., 23.] | [41., 17.] | 125.69 |
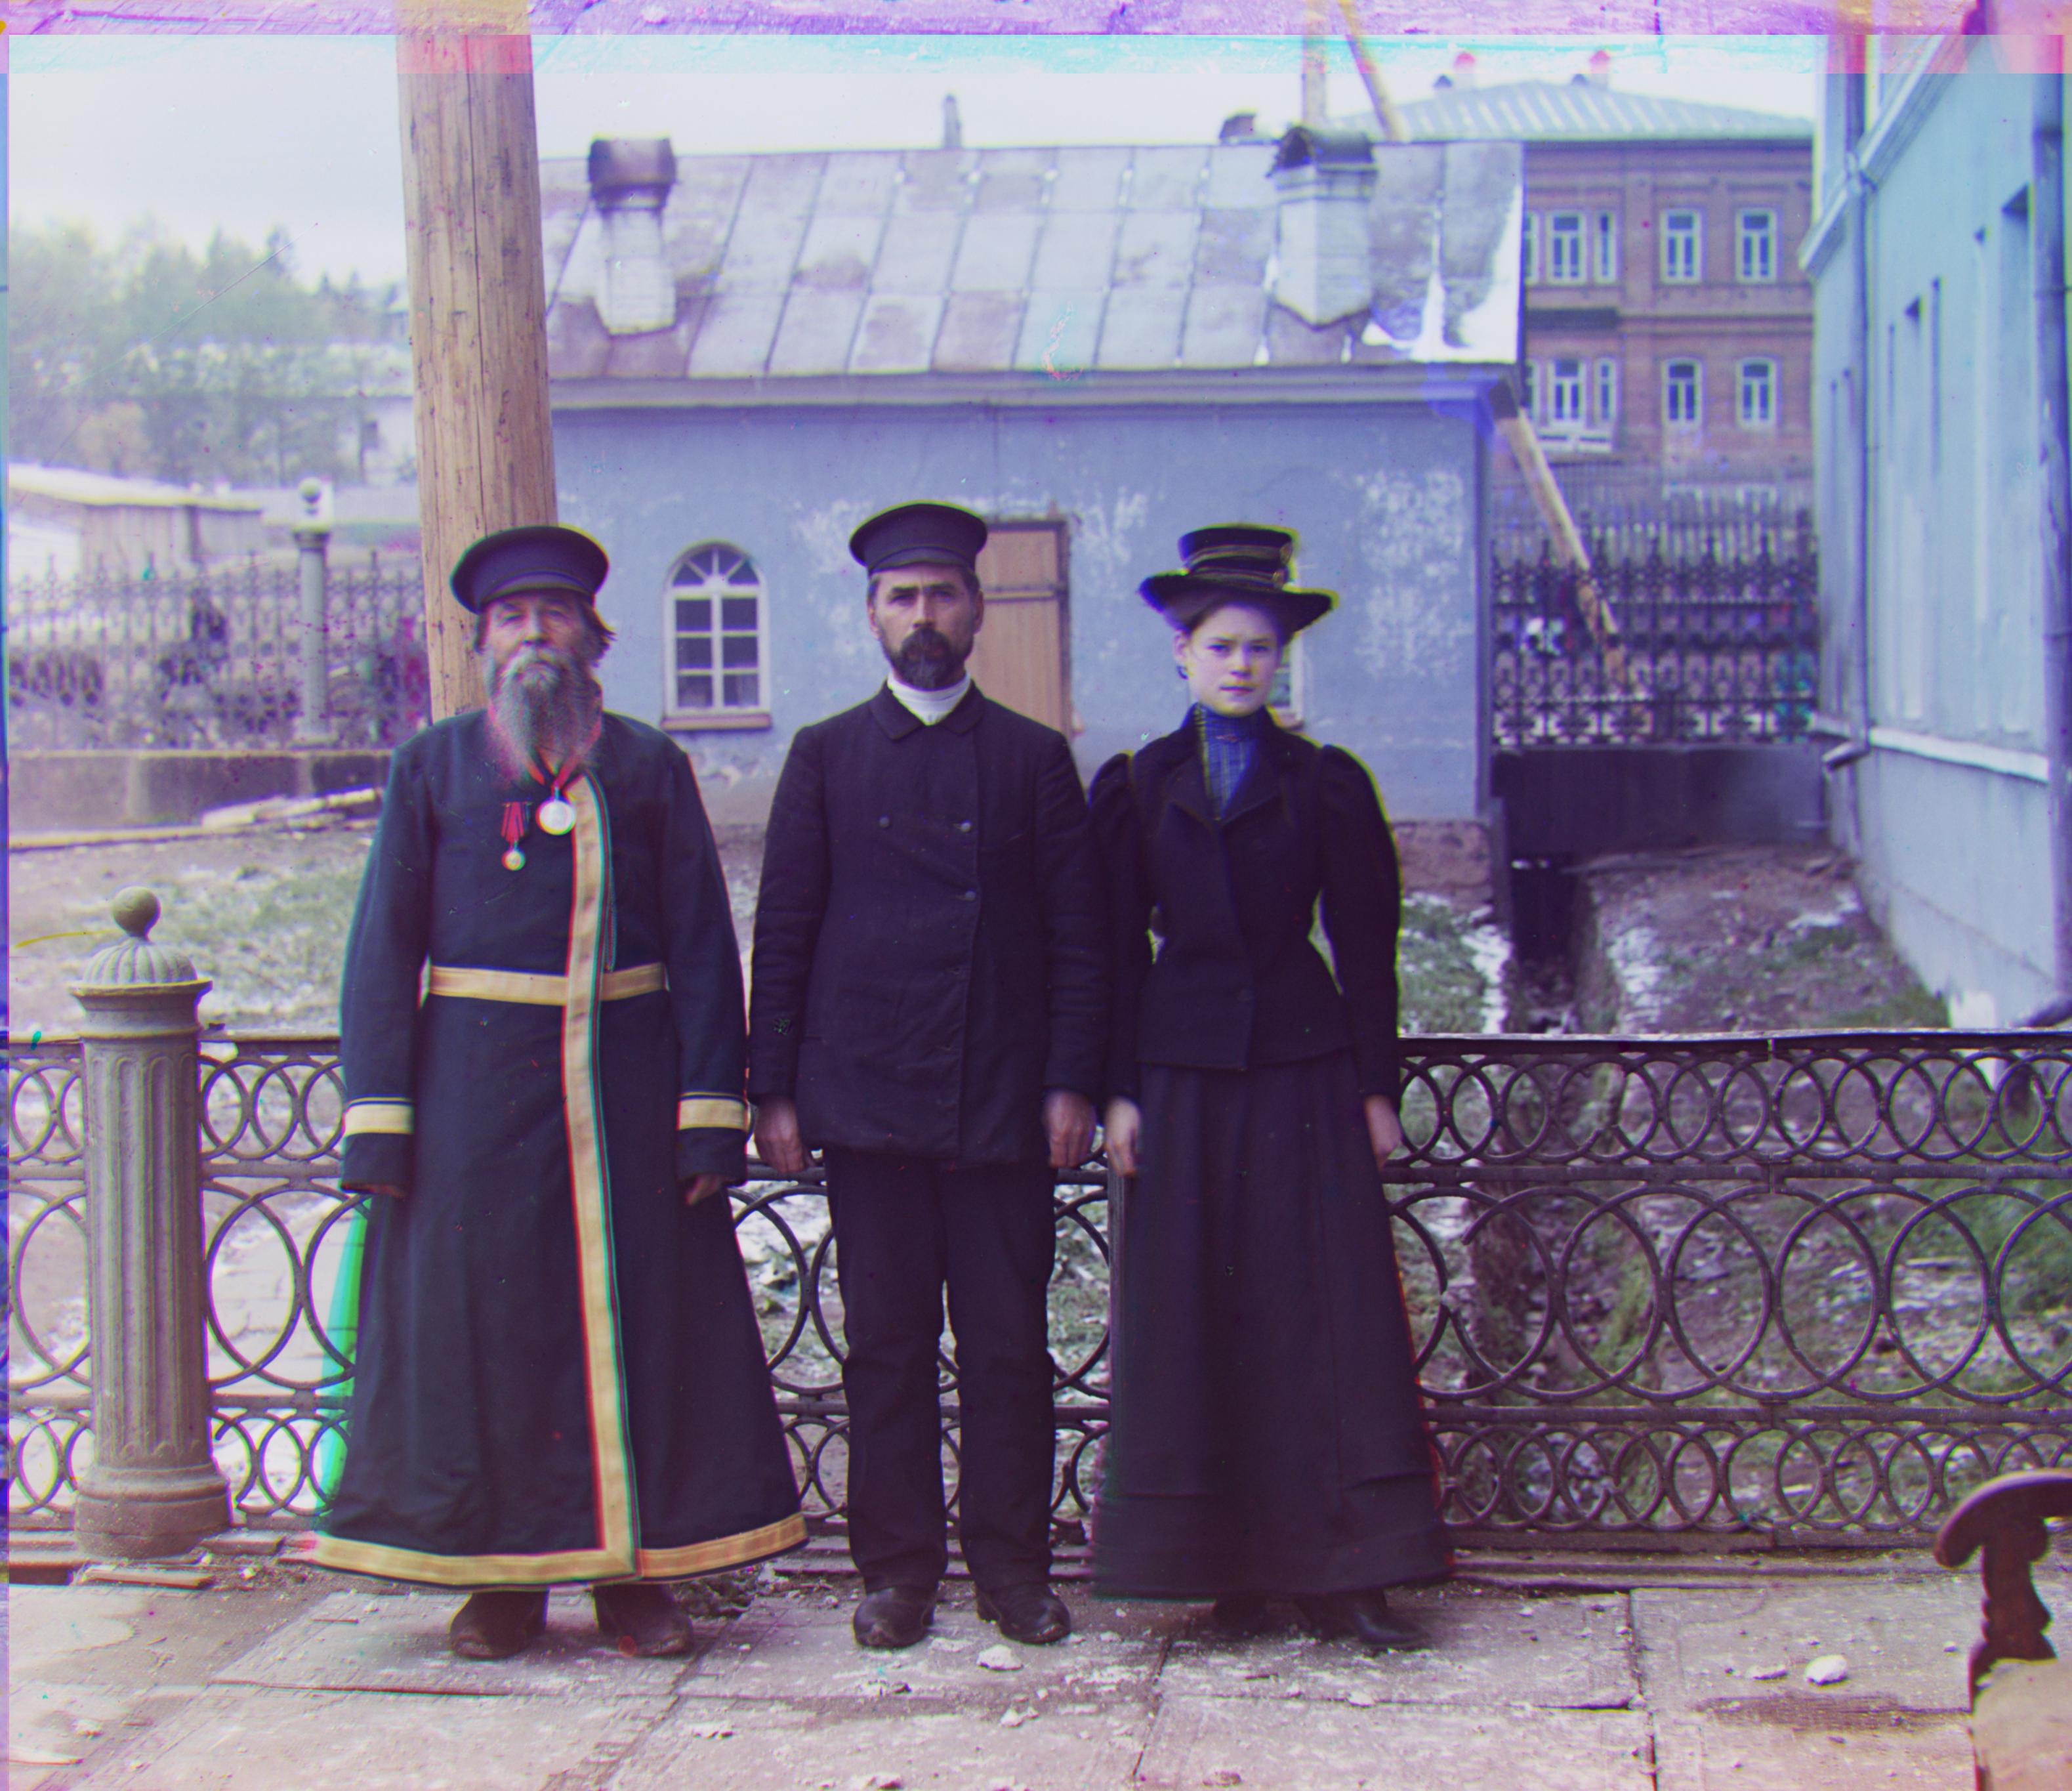
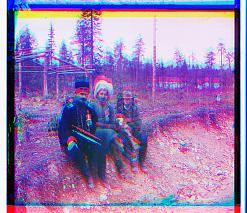
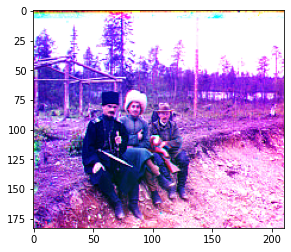
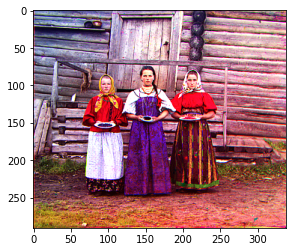
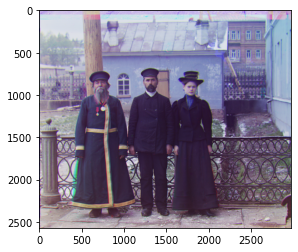
| three_generations.tif | SSD | [112., 11.] | [53., 14.] | 112.95 |
| three_generations.tif | NCC | [112., 11.] | [53., 14.] | 113.29 |
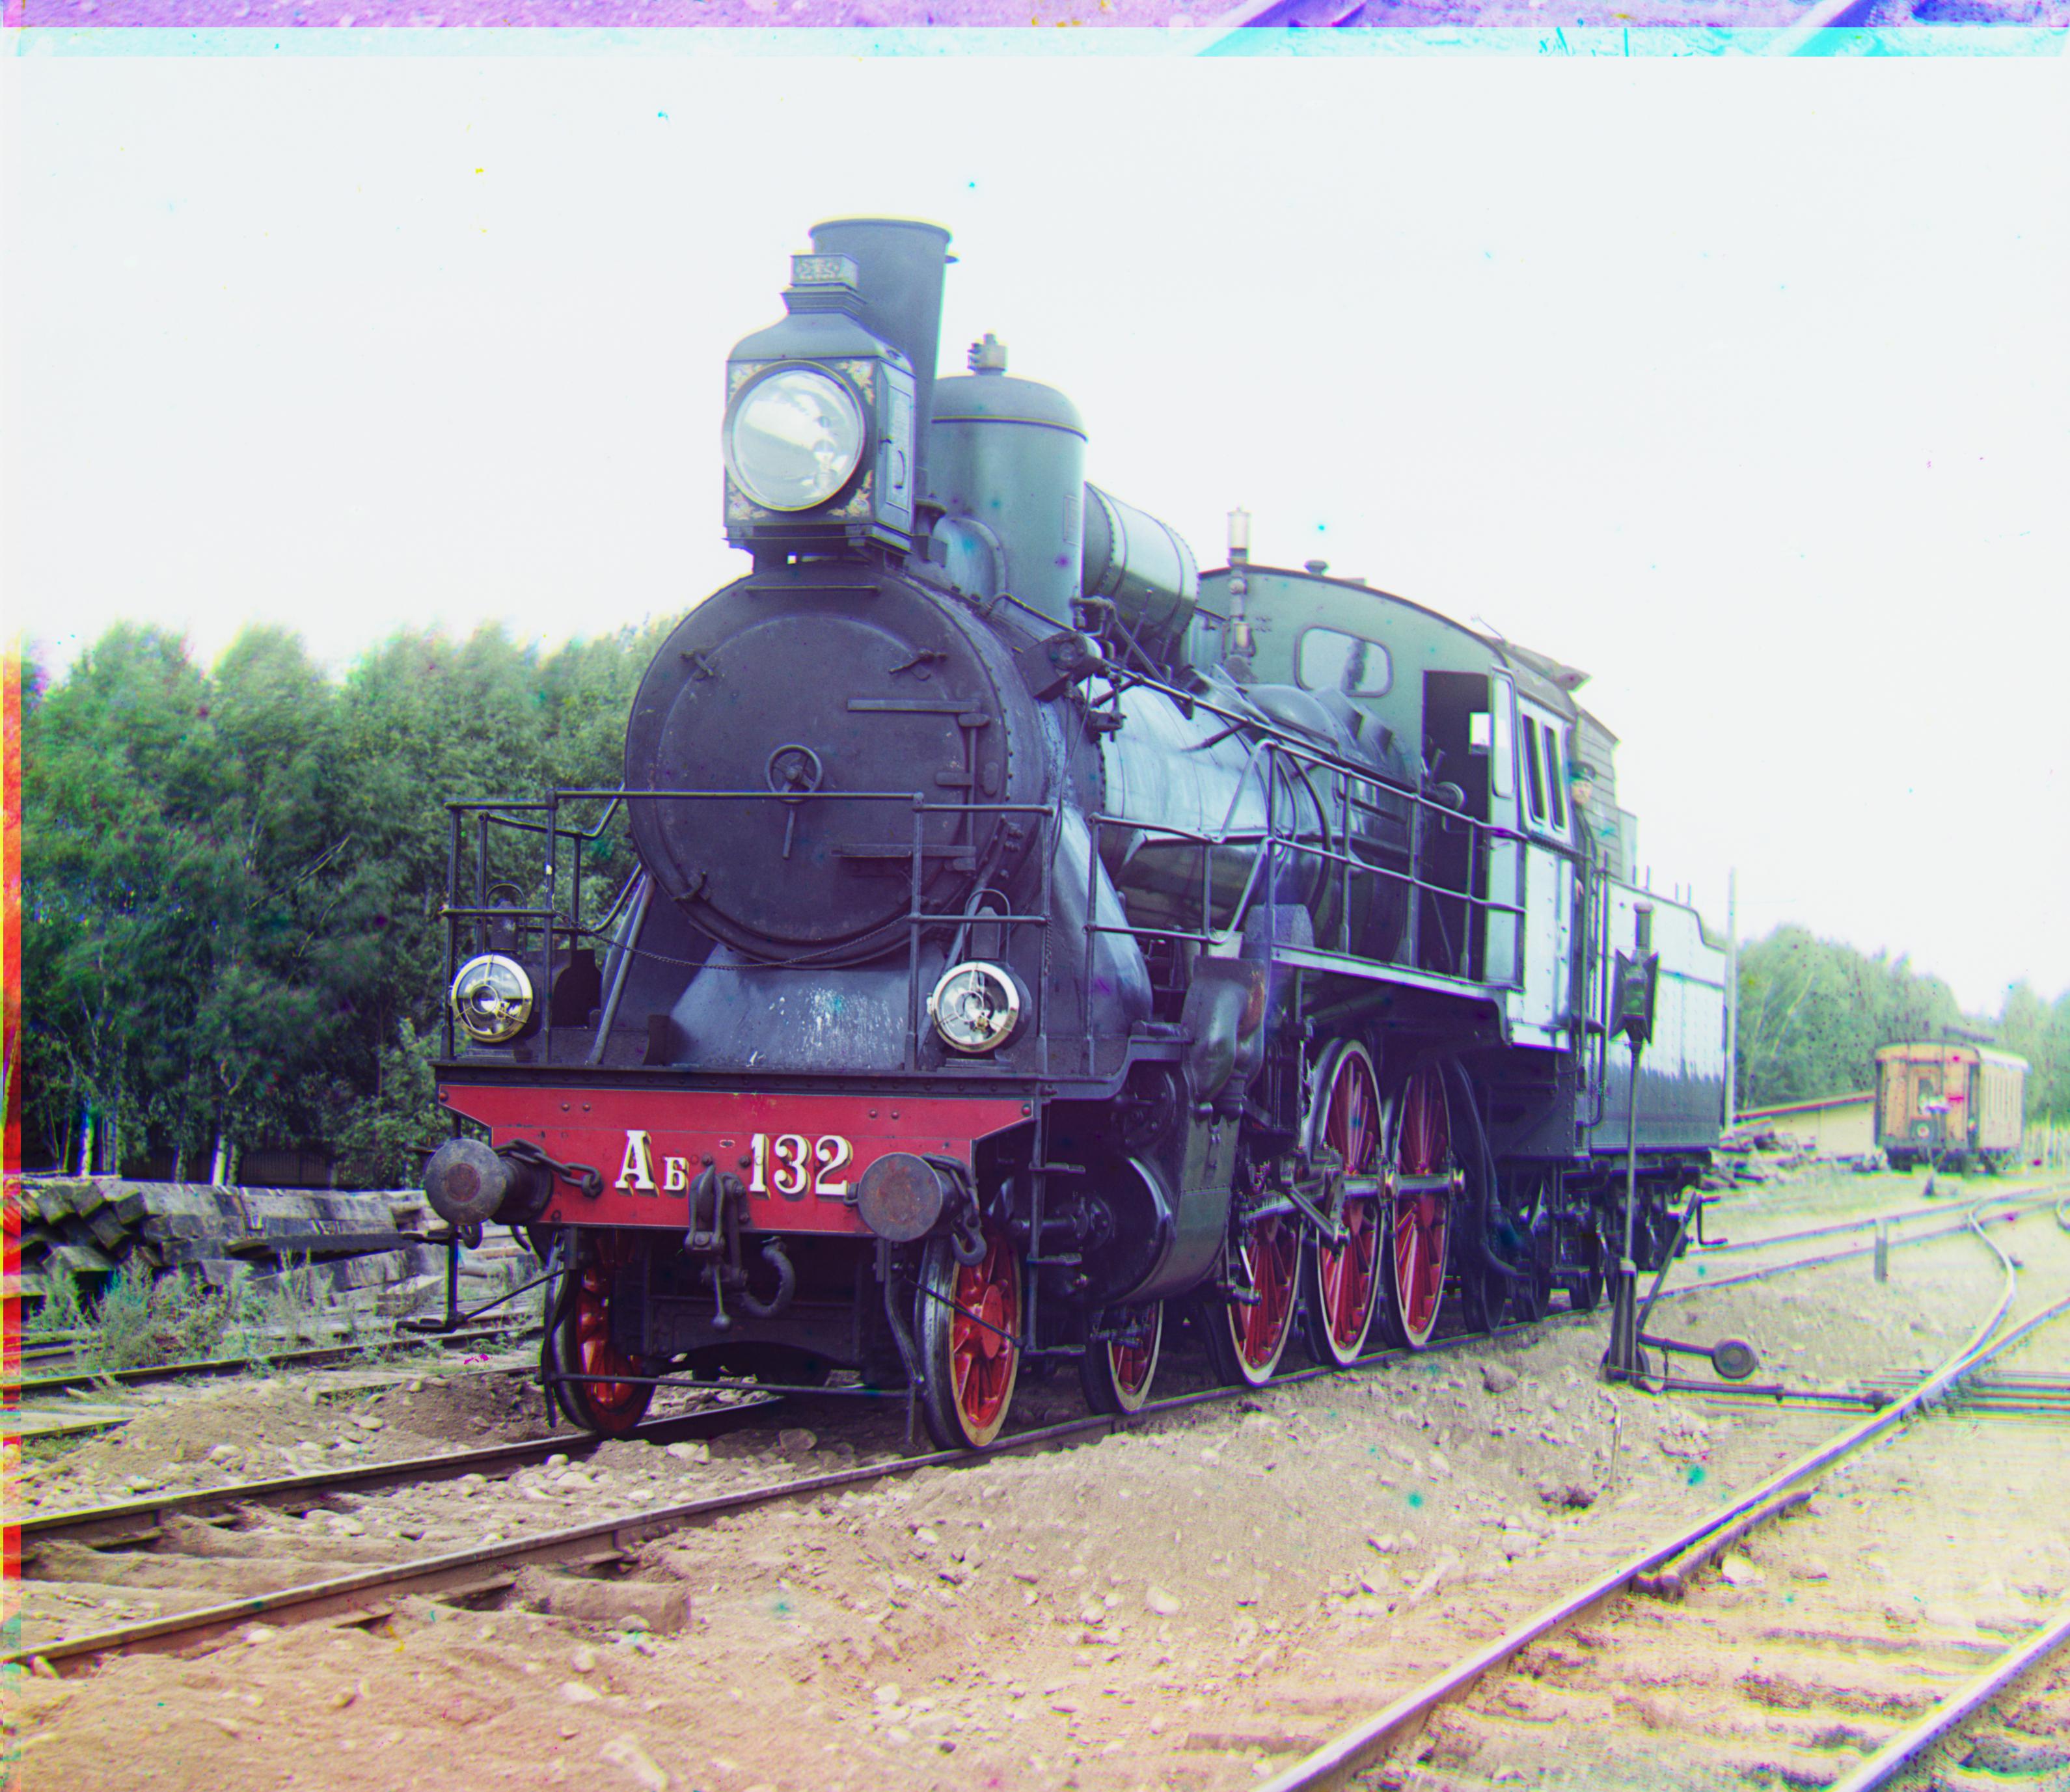
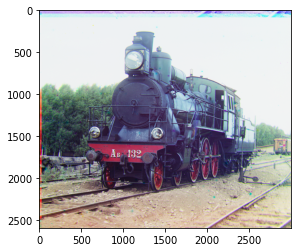
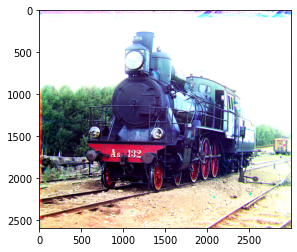
| train.tif | SSD | [87., 32.] | [42., 5.] | 102.4 |
| train.tif | NCC | [87., 32.] | [42., 5.] | 115.52 |
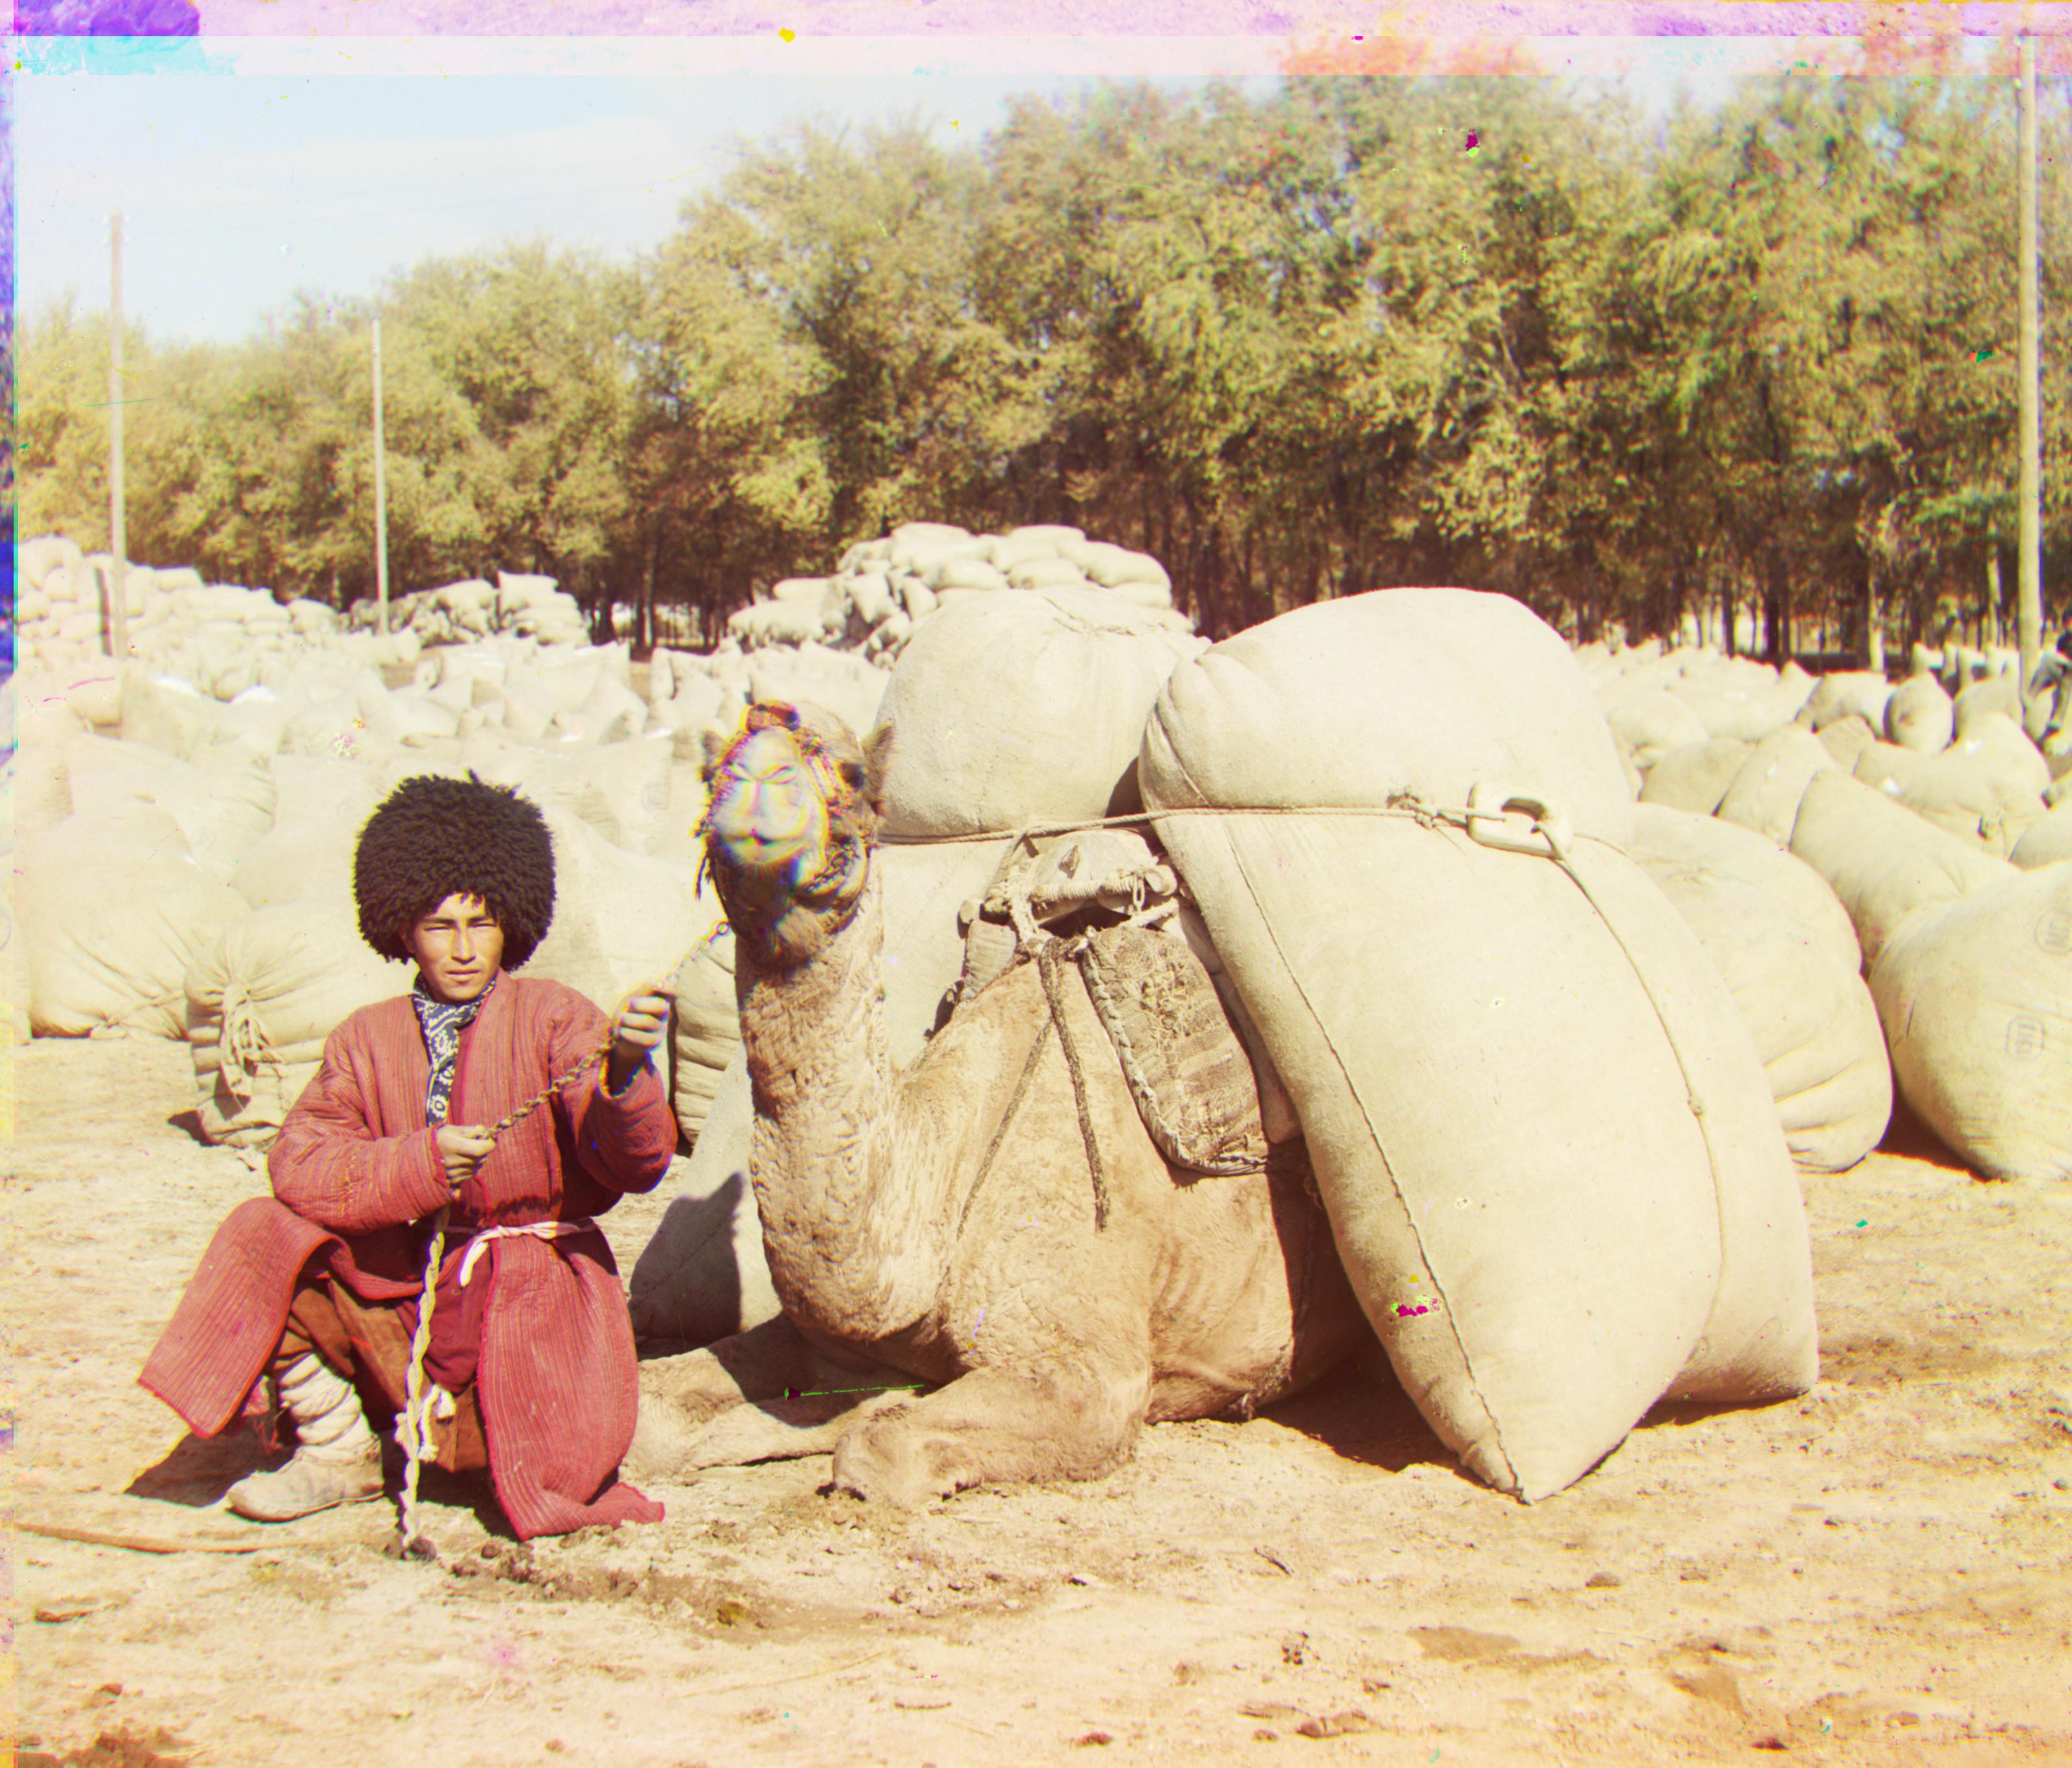
| turkmen.tif | SSD | [116., 28.] | [56., 21.] | 103.11 |
| turkmen.tif | NCC | [116., 28.] | [56., 21.] | 117.72 |
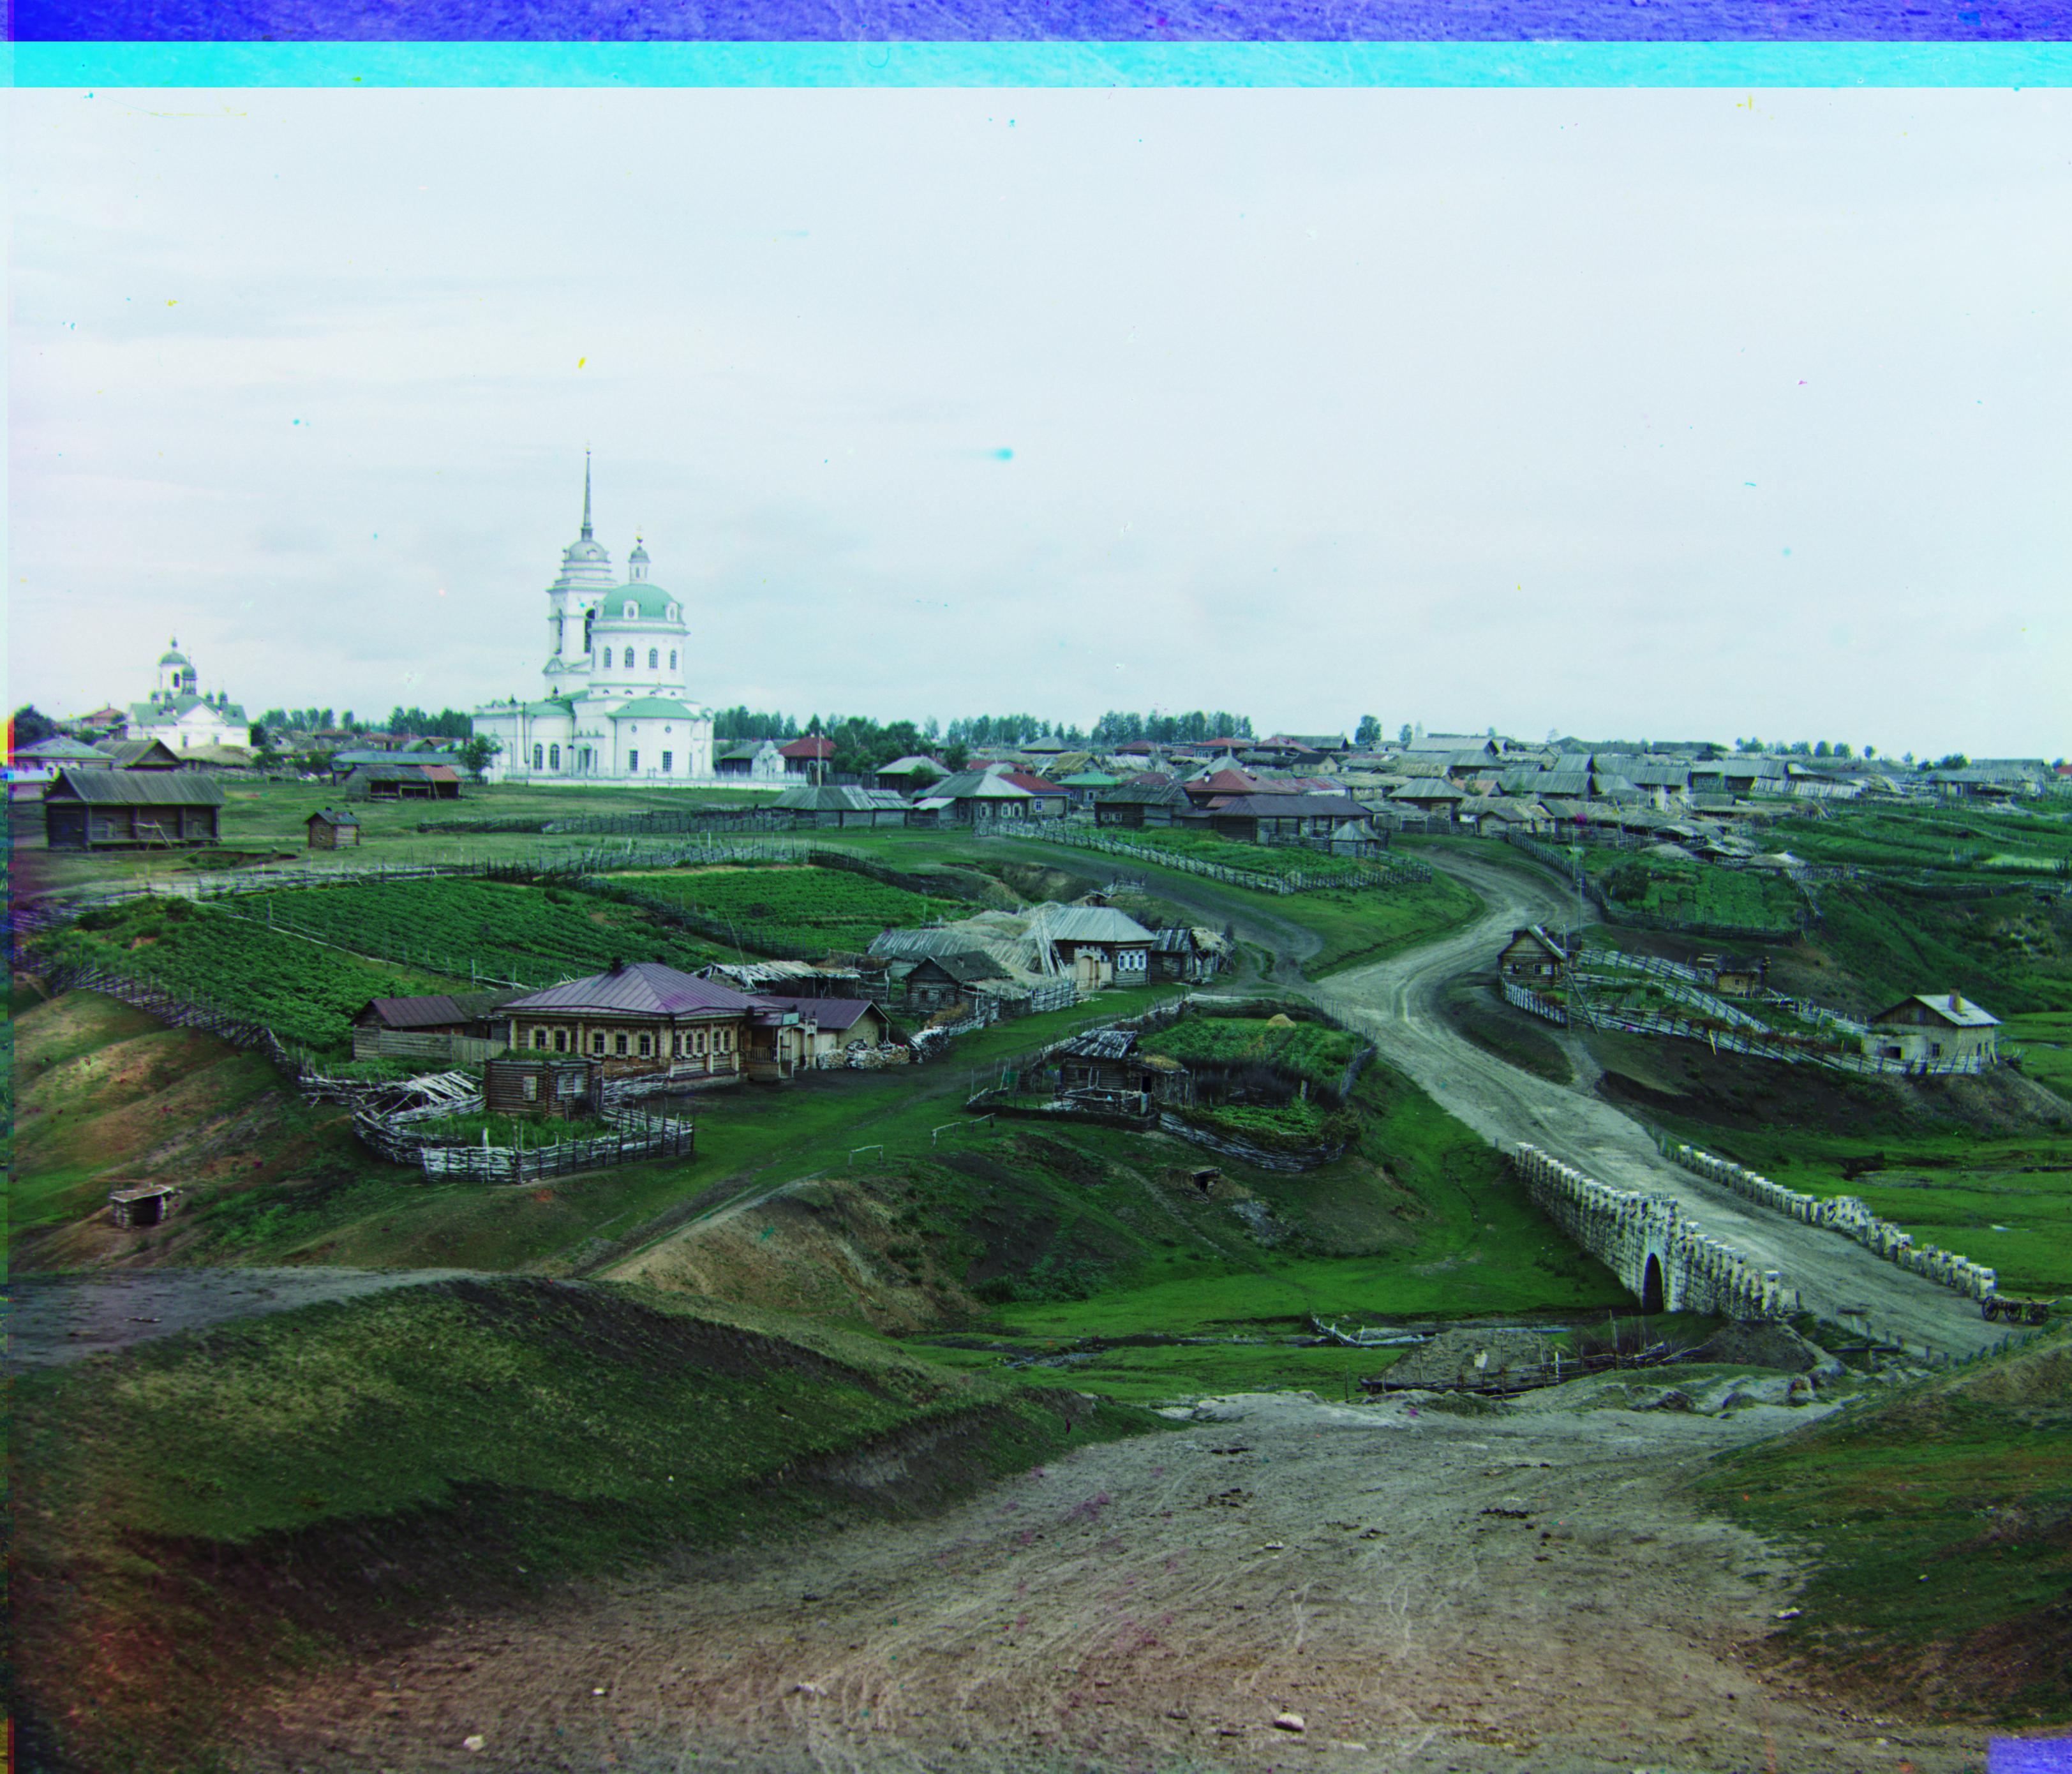
| village.tif | SSD | [137., 22.] | [65., 12.] | 74.45 |
| village.tif | NCC | [137., 22.] | [65., 12.] | 118.07 |

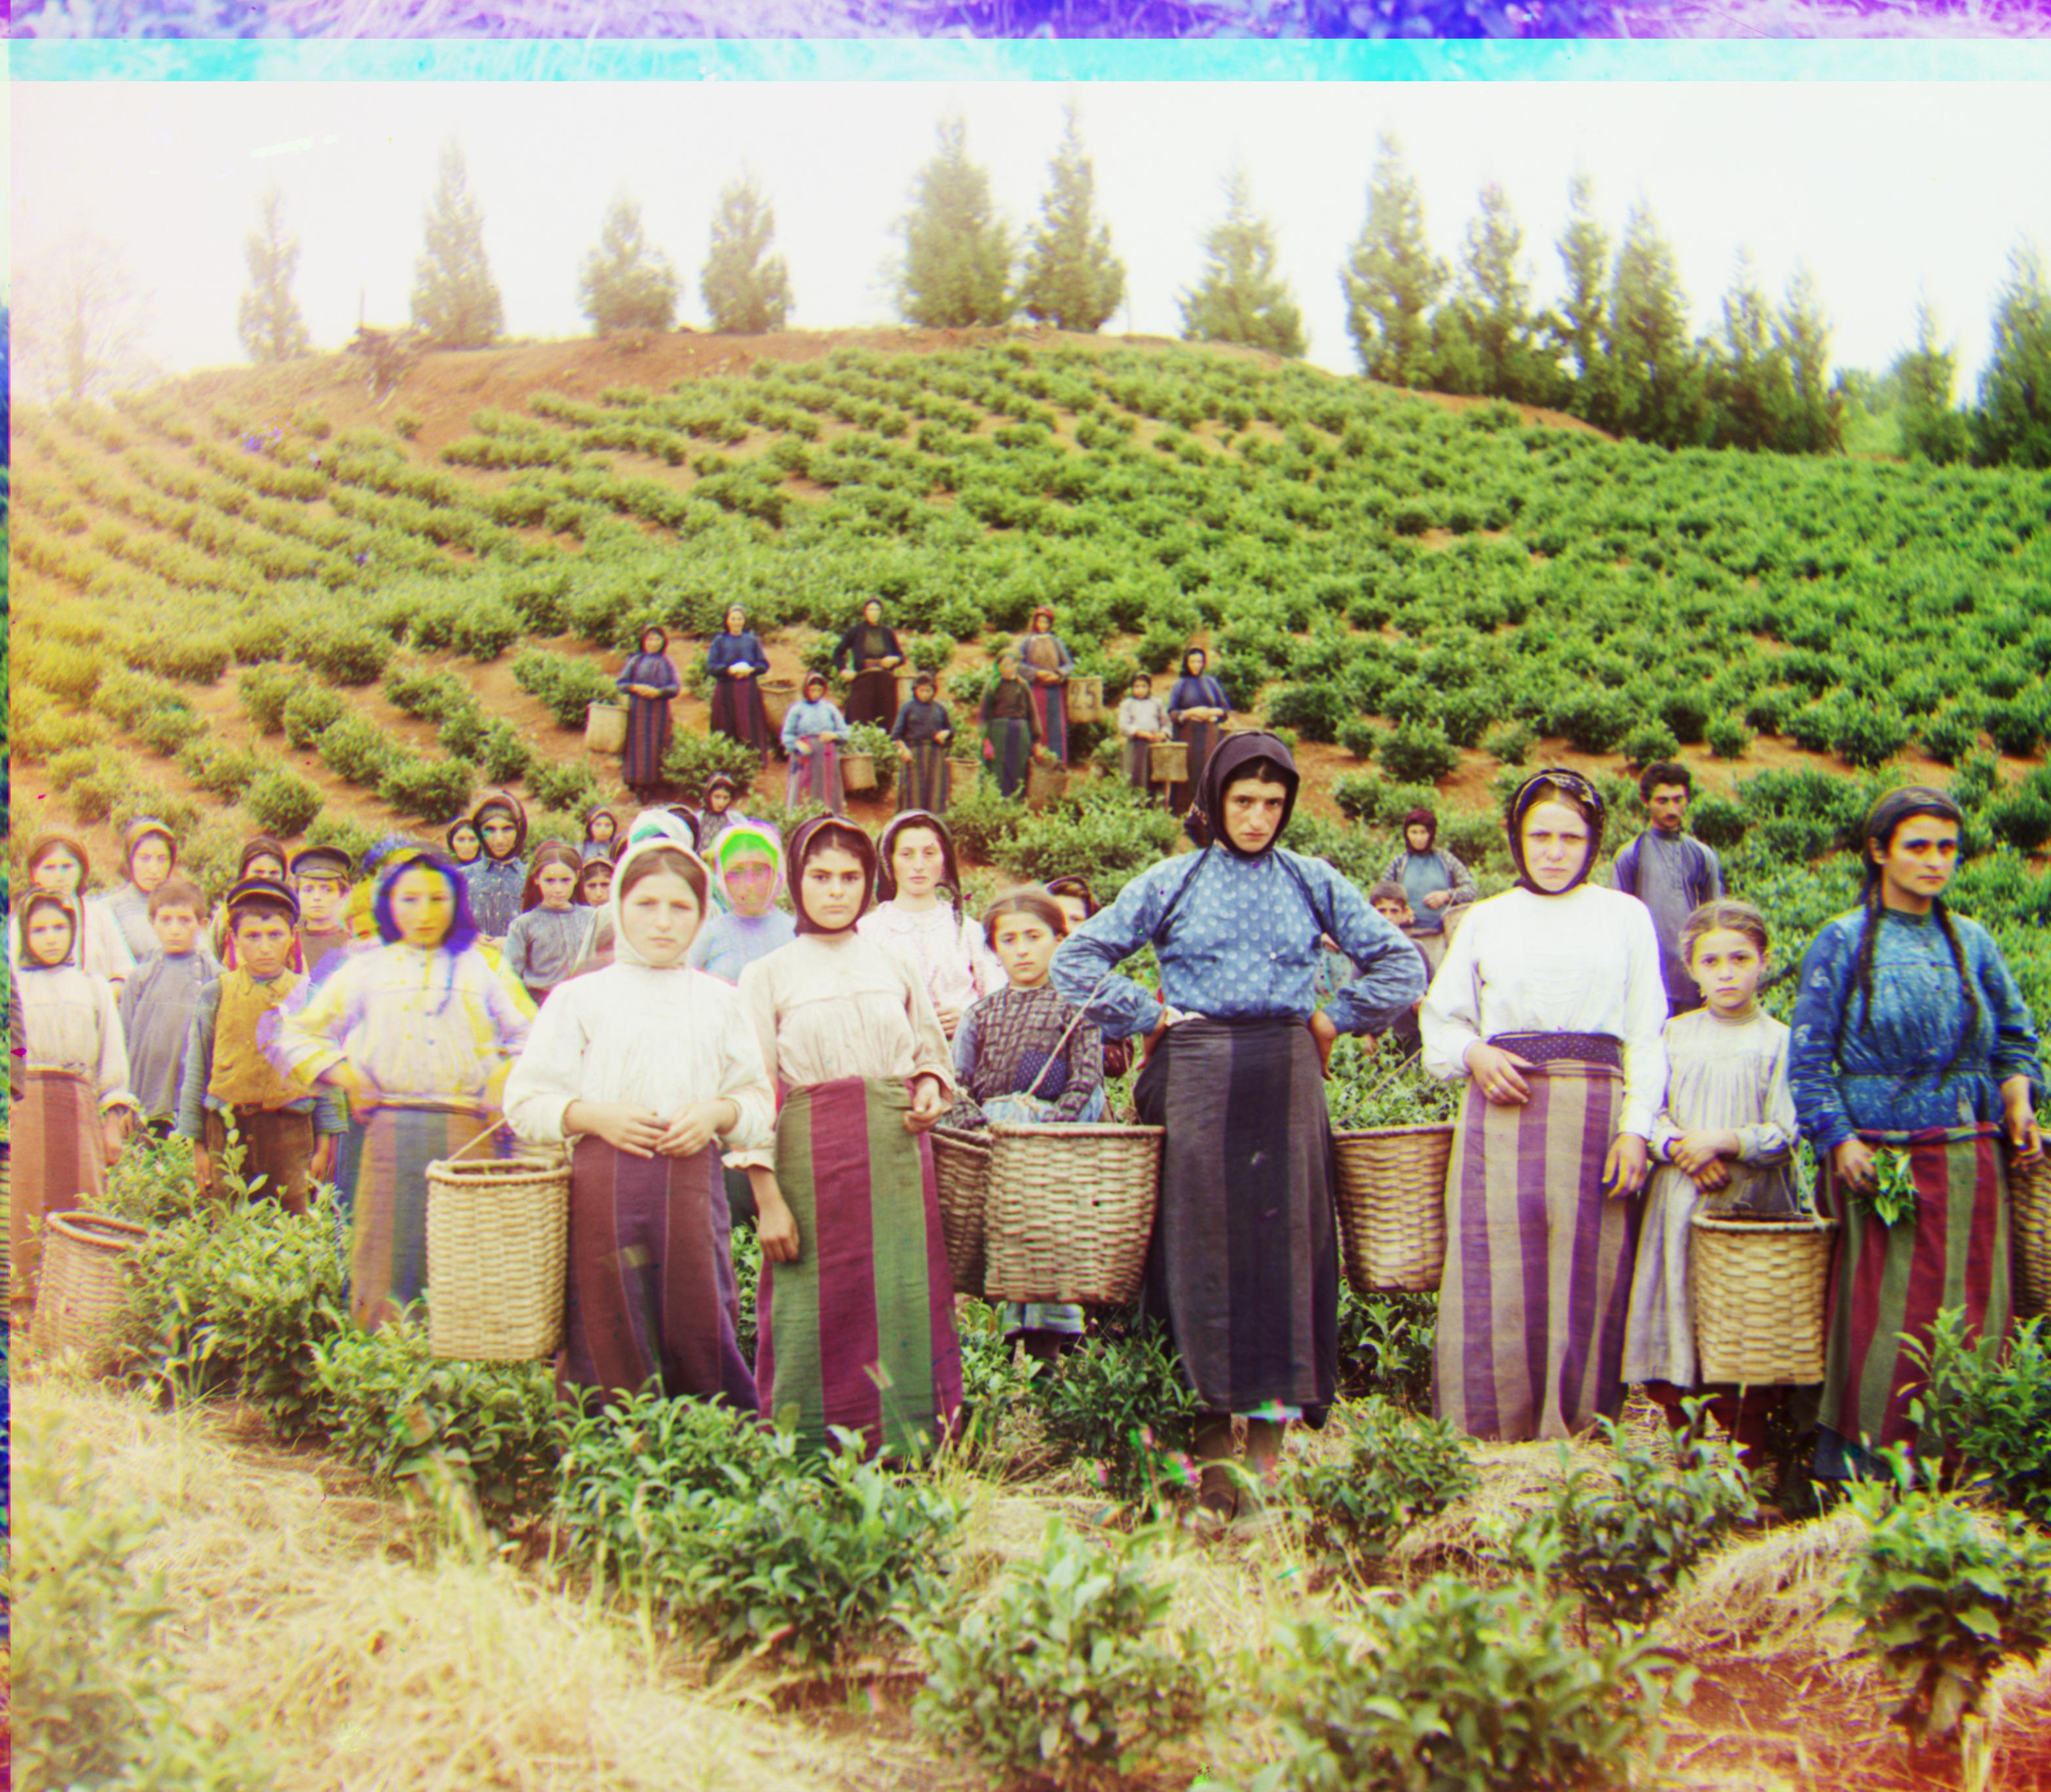
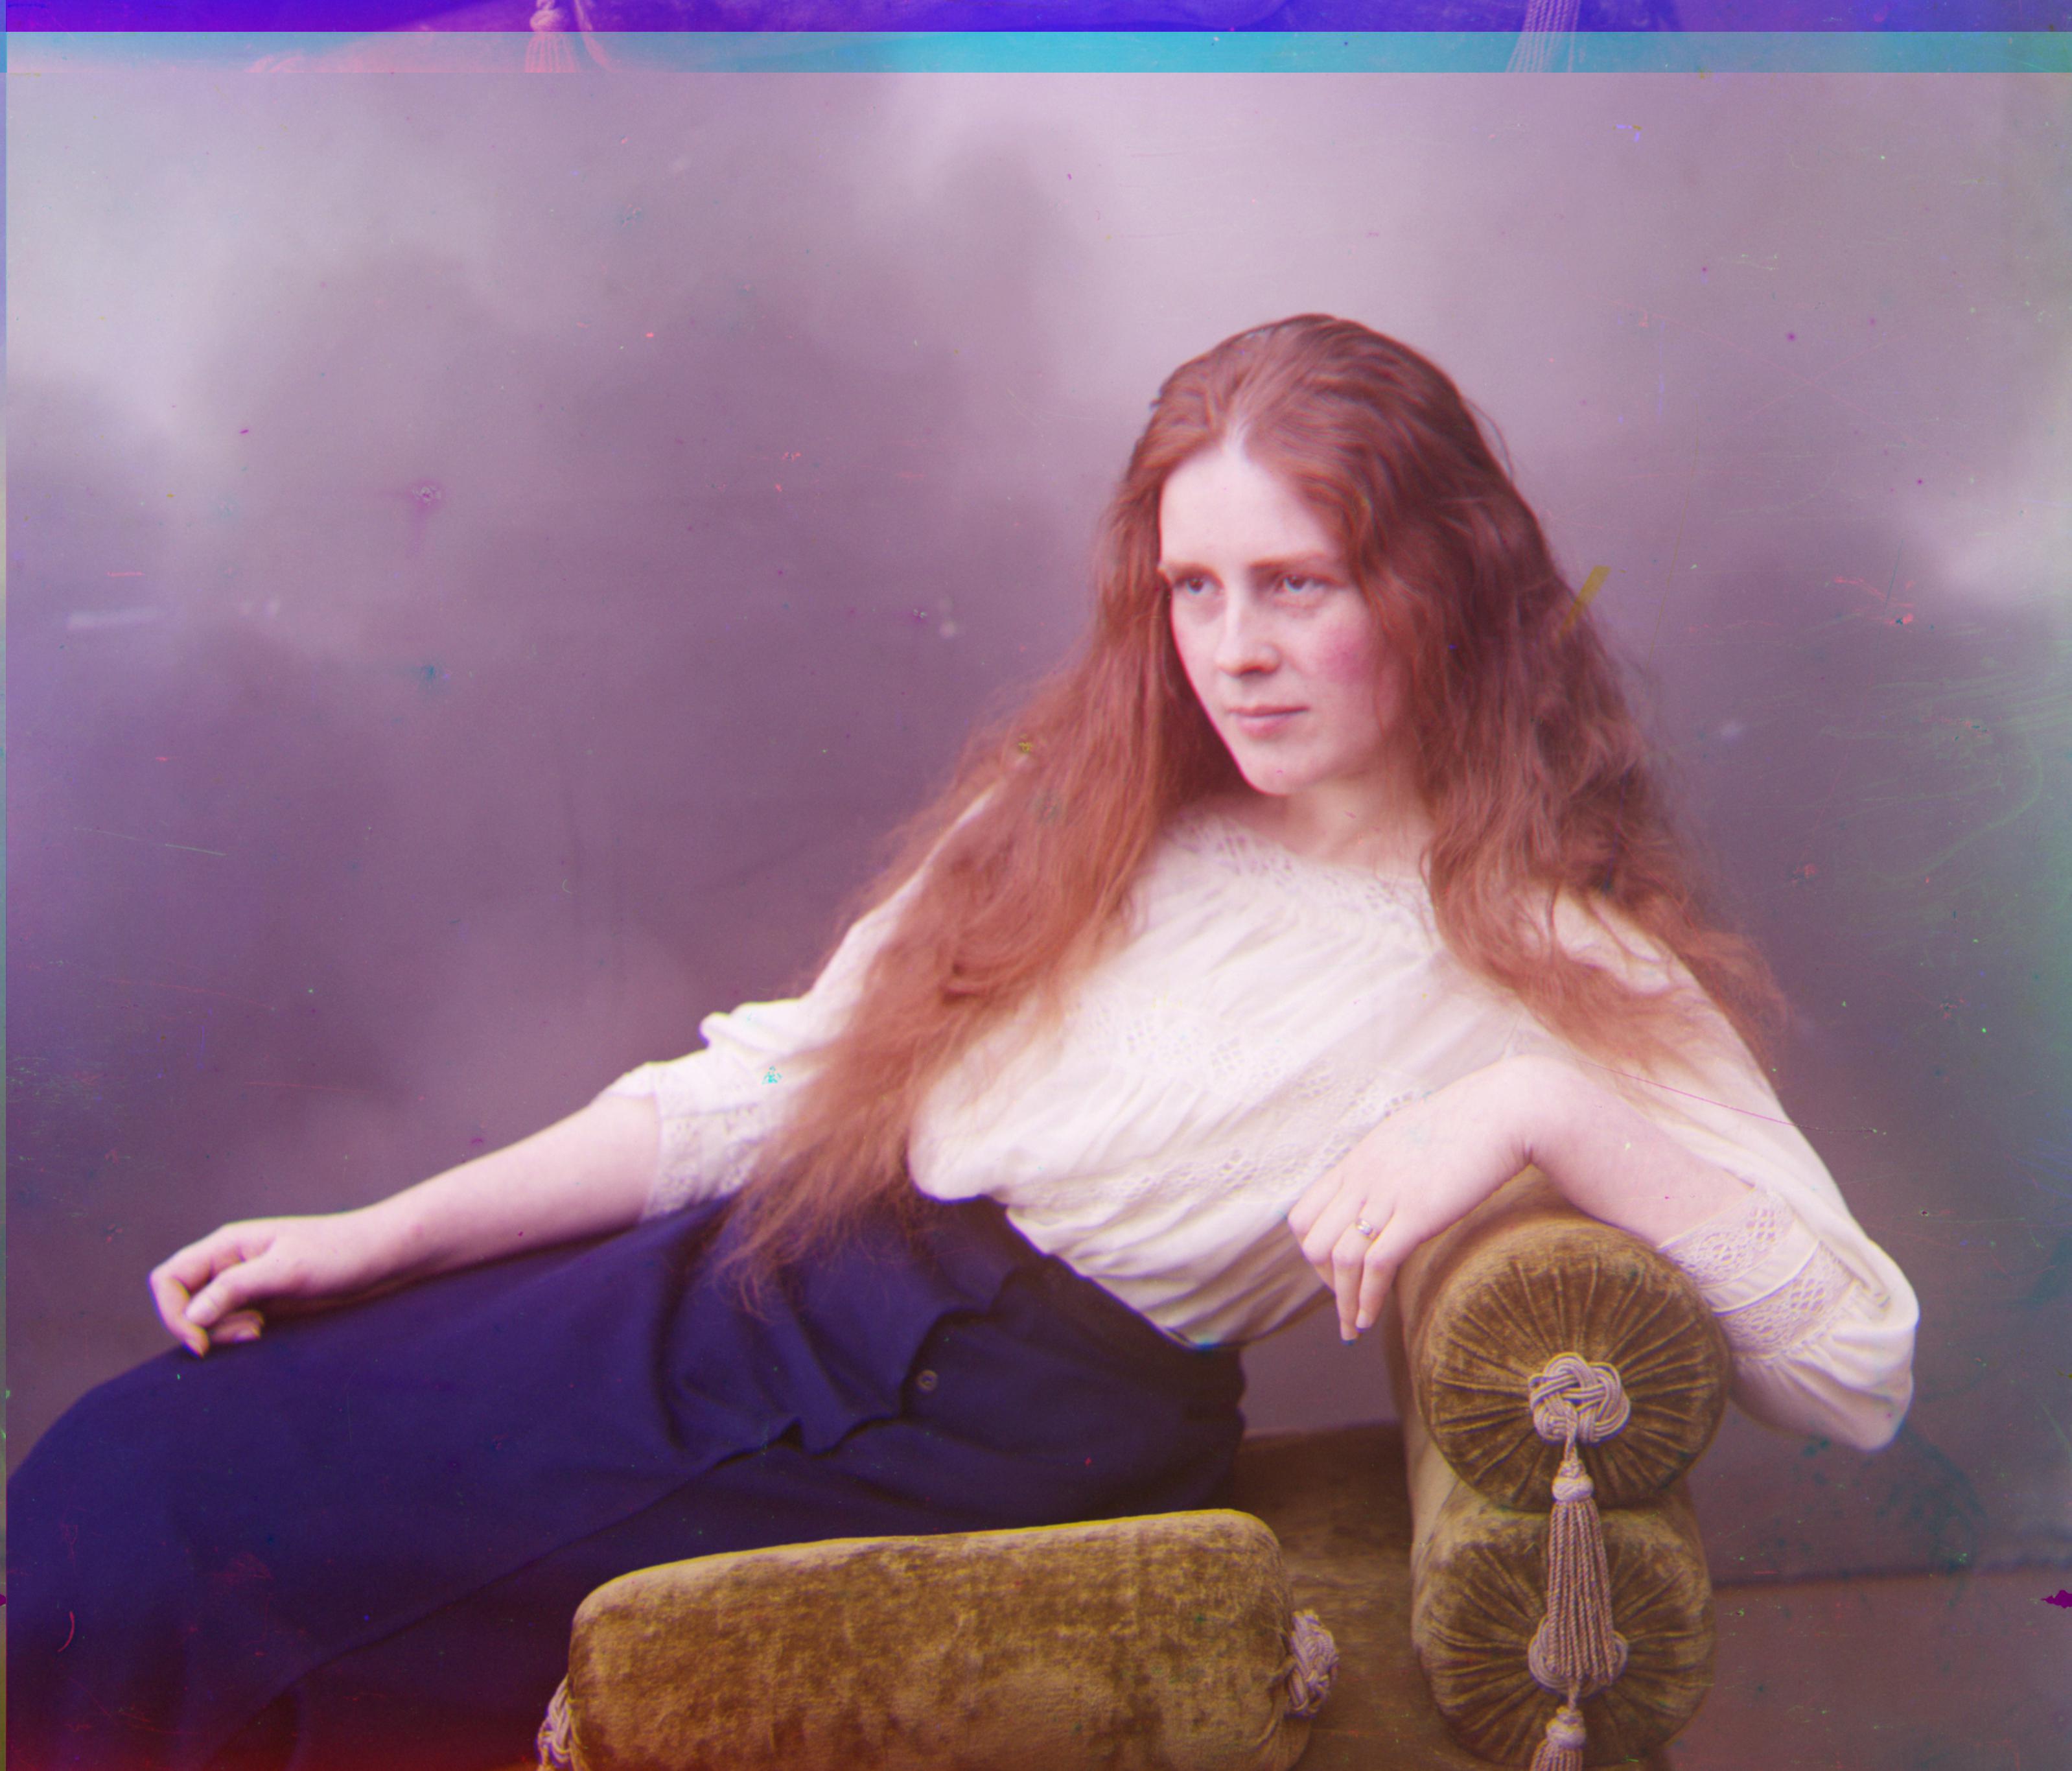
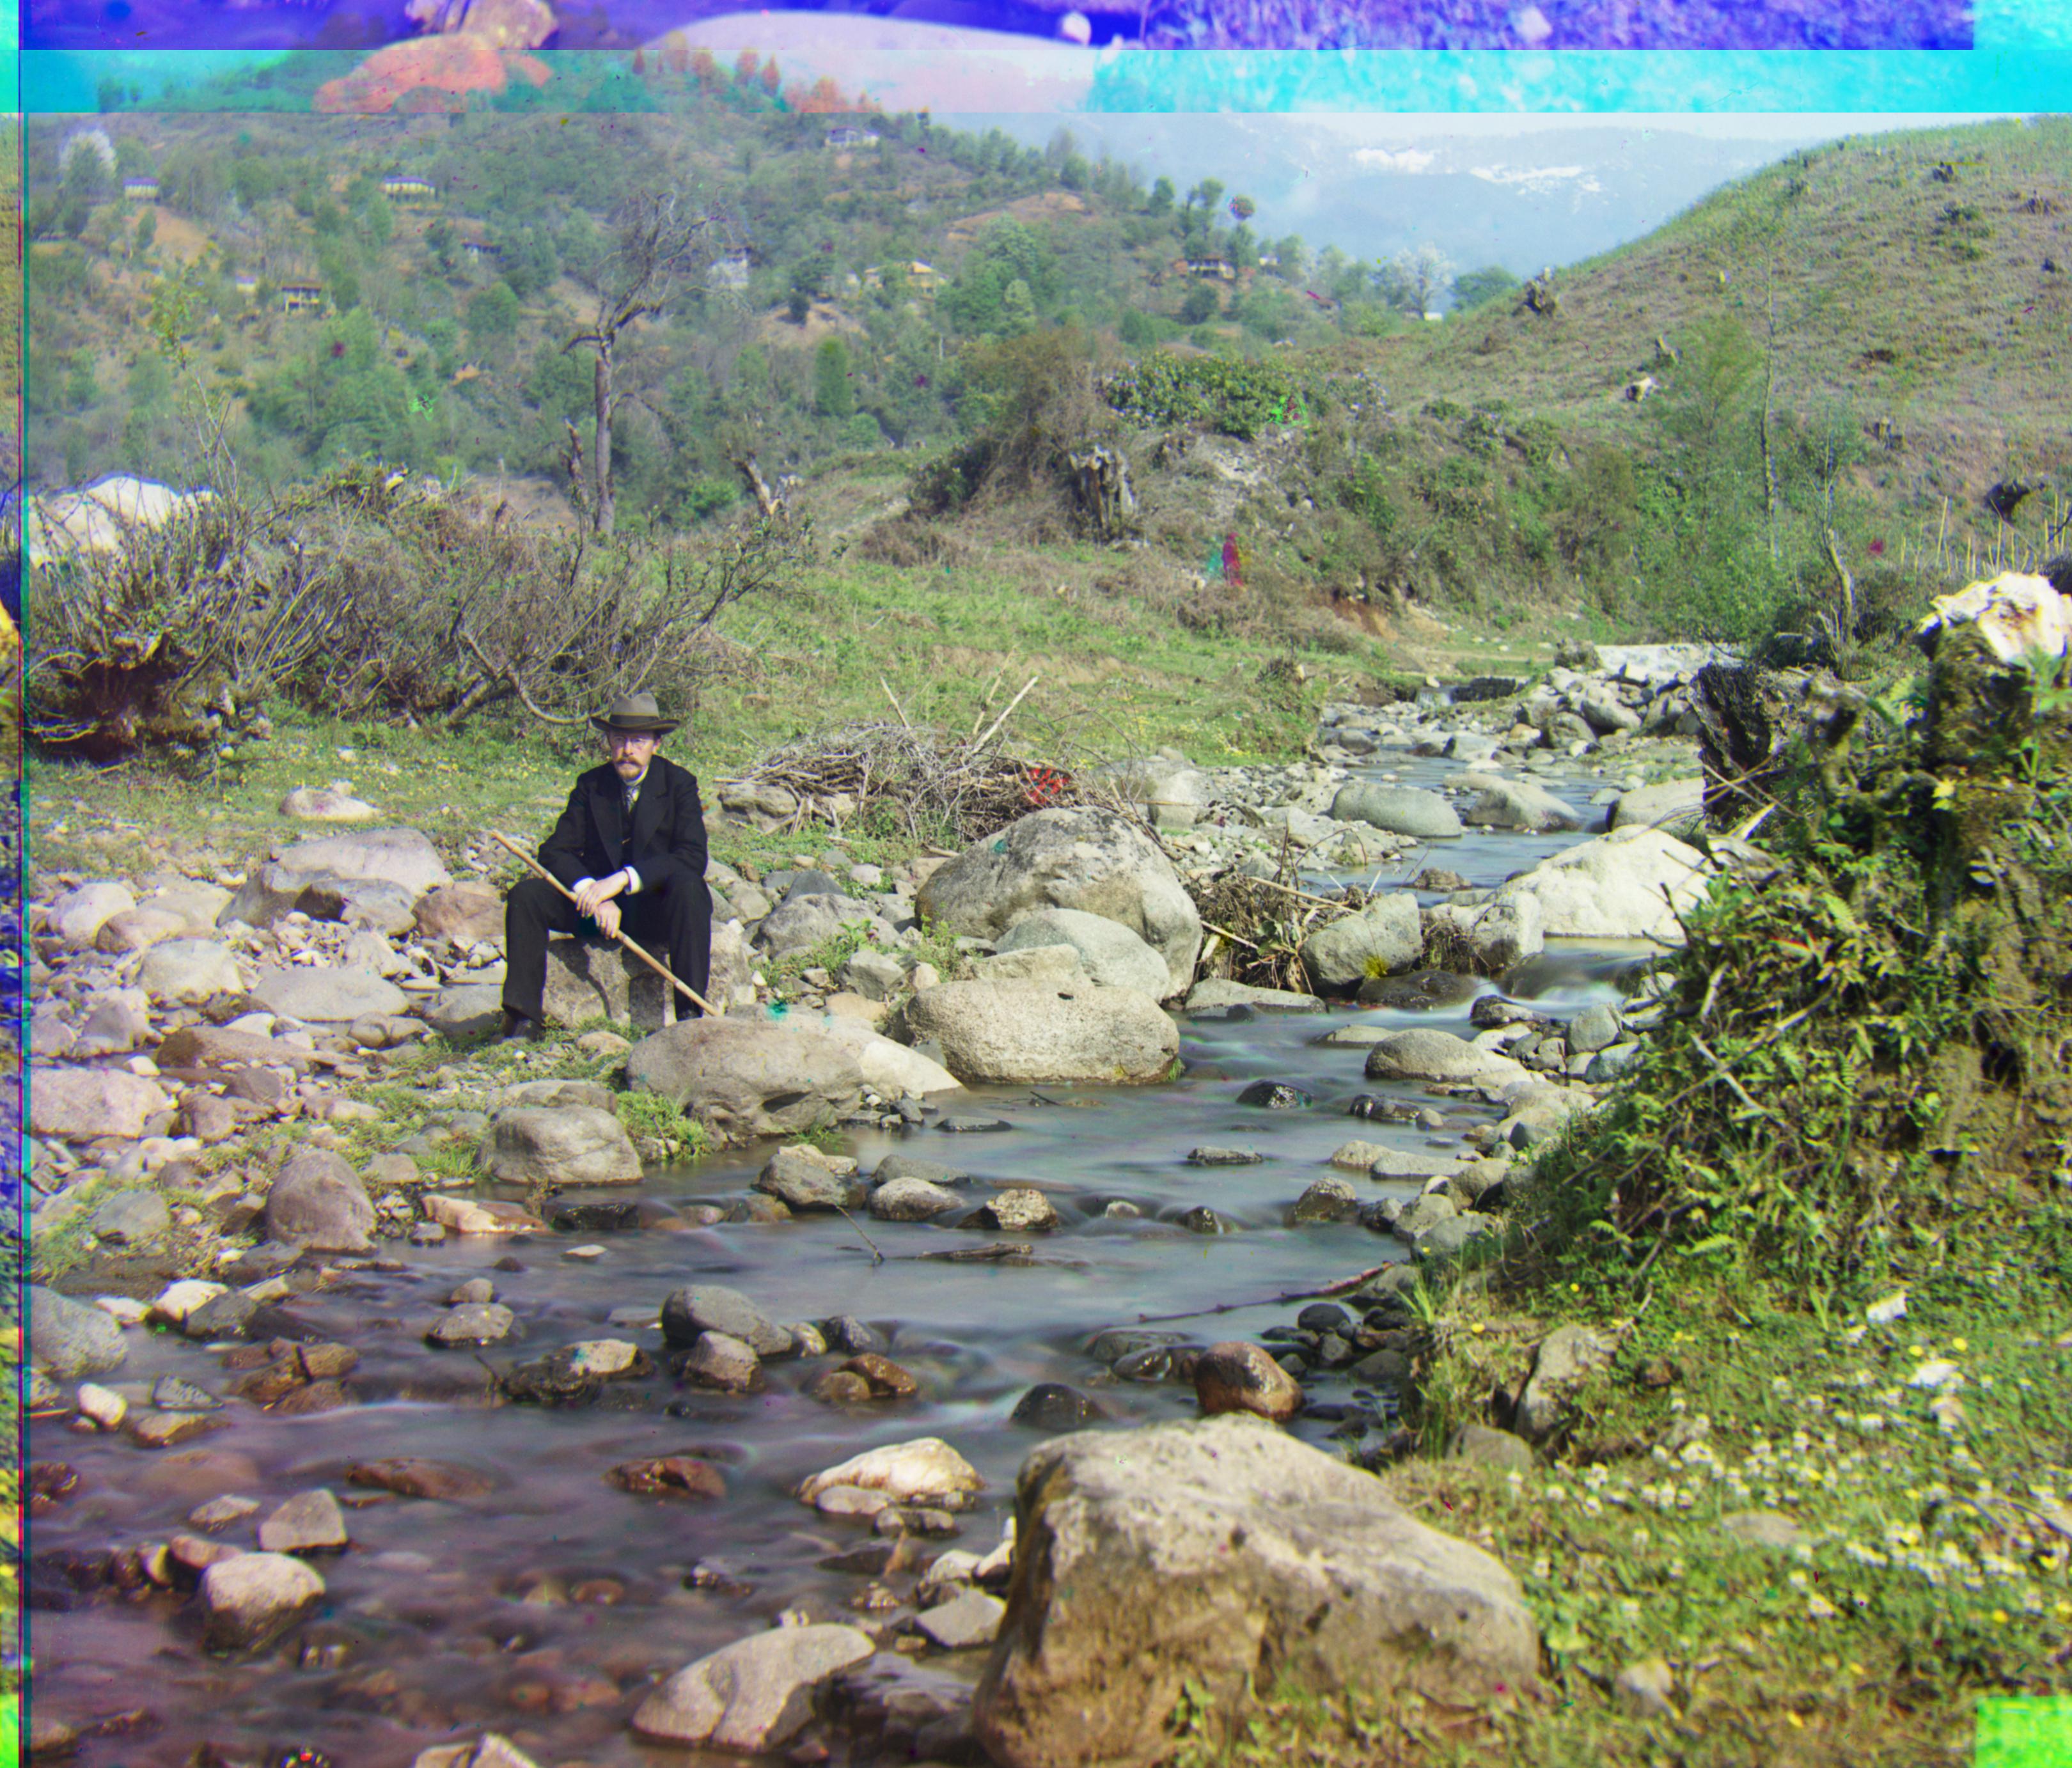
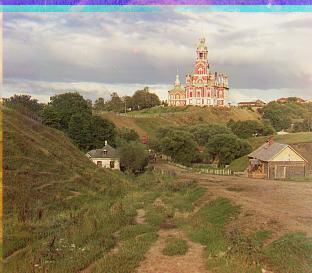
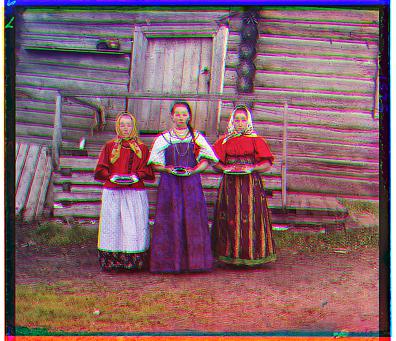
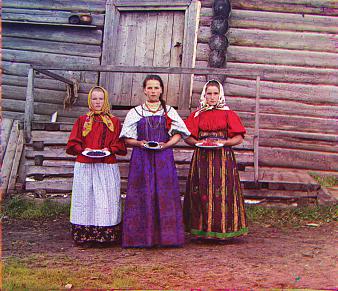
Results On New Images from Collection

So the algorithm seems to be working pretty well for most of the images. The only one that remains a problem is emir.tif. After looking at the original image, I believe this is because there is a very significant difference in the intensity of the pixels across the channels. The difference is more subtle across the other images, which may be why SSD and NCC were able to find good alignments for them. I believe if I performed better color mapping, or perhaps normalization of the channels, then I could get a better alignment for emir.tif. Otherwise, if I had aligned using gradients, I probably would have received better results because the edges in this image are relatively defined. I did not get time to experiment with this idea though.
Bells and Whistles
Bells & Whistles #1: PyTorch Implementation
The 2 main algorithms described in this project was entirely implemented in PyTorch. Numpy was NOT used (not even imported in this code).
Bells & Whistles #2: Automatic contrasting
Automatic contrasting was performed by finding the minimum and maximum values of the pixels in the channel, and then updating every pixel value with:.
pixel = (pixel - minimum) / (maximum - minimum)
This is also known as min-max scaling.
This improved the image by a bit, but to really get more color and richness from the image, torchvision.transforms.functional was imported to use functions such as autocontrast, adjust_brightness, adjust_contrast, adjust_saturation, and adjust_gamma. You can observe the difference below. The richness in color can also be observed above for the new images that were downloaded from the Prokudin-Gorskii collection.
Own Attempt at Bells and Whistle
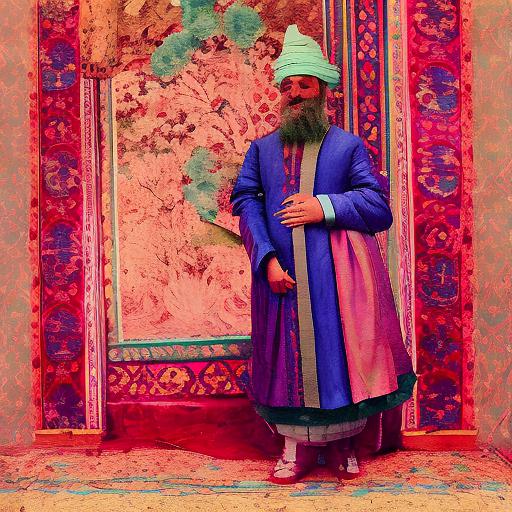
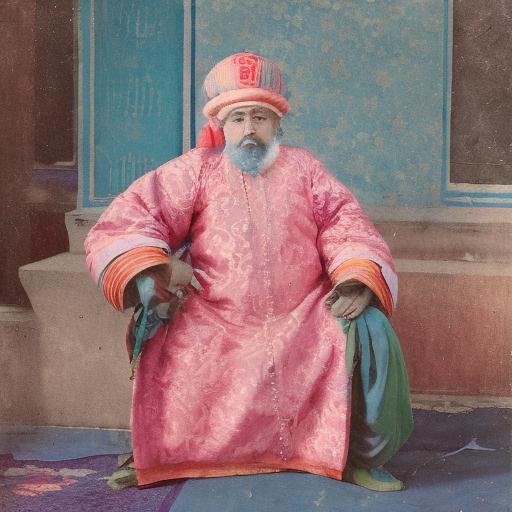
Now I don't know whether this would count as my own Bells and Whistles but it was something I enjoyed trying out. Stable Diffusion Image Variations. I tried applying it to some random aligned images to see whether alignment would give any variation to the images generated using stable diffusion.
The model was imported from HuggingFace, and is present in lambdalabs/sd-image-variations-diffusers. You can access it here.
The imported model was fine tuned from CompVis/stable-diffusion-v1-4-original and uses CLIP embeddings instead of text embeddings. CLIP is a model from OpenAI that "learns visual concepts from natural language supervision".
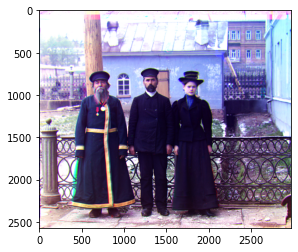
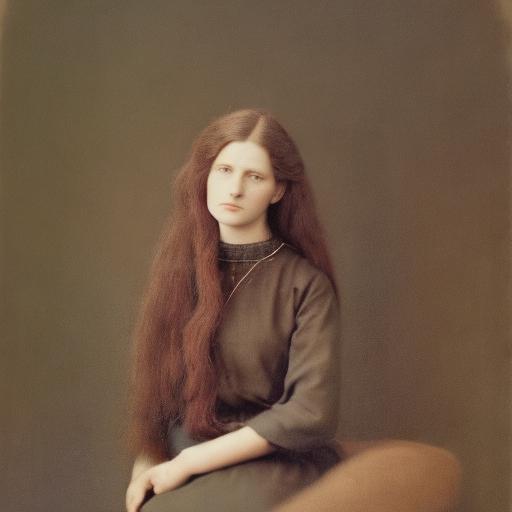
I also wanted to compare how the stable diffusion images would vary depending on the alignment of the image. The results looked interesting! I do like how the misalignment is reflected in the generated images, giving a sort of "ghost" look. Very visually aesthetic.
With Alignment

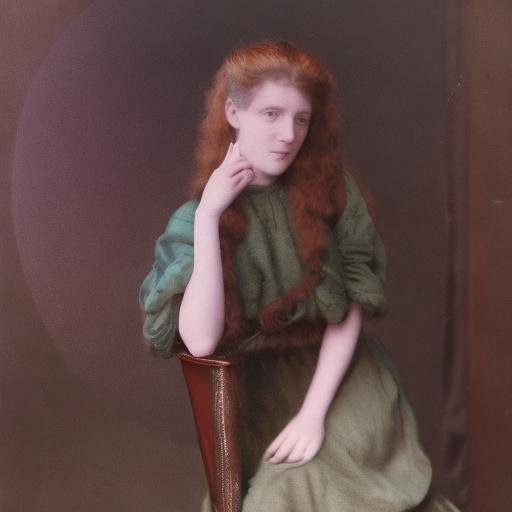
Without Alignment
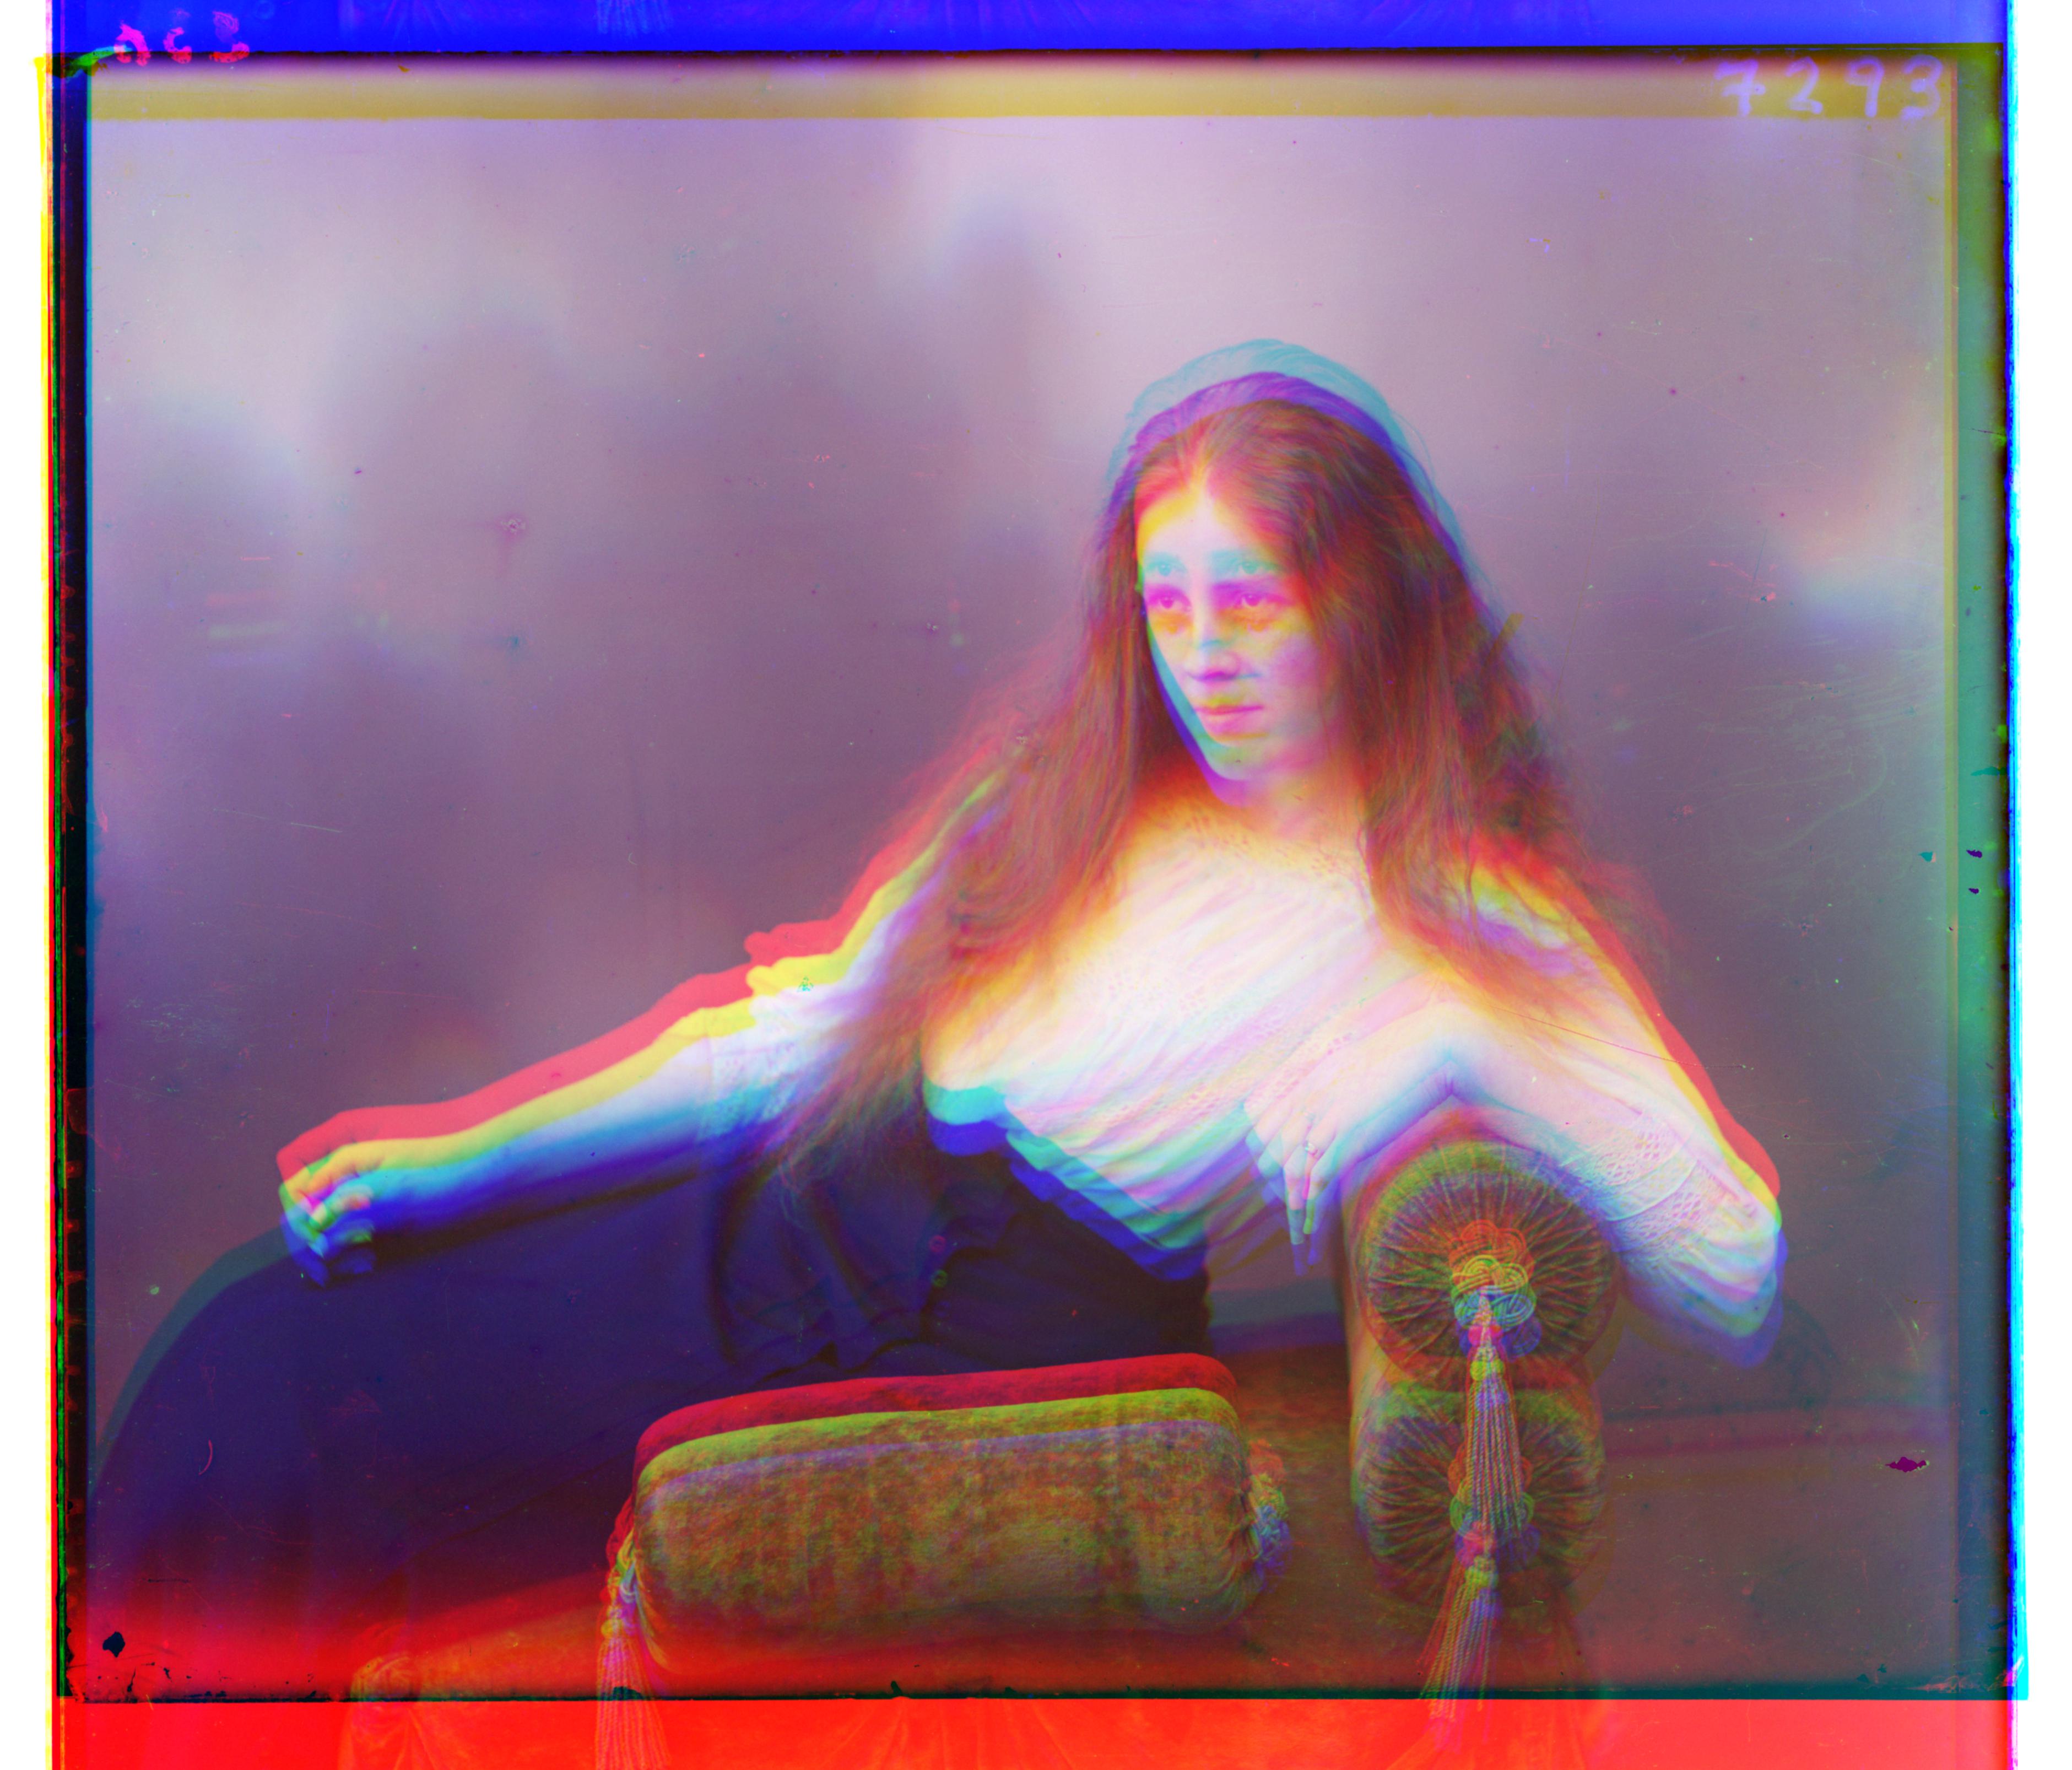
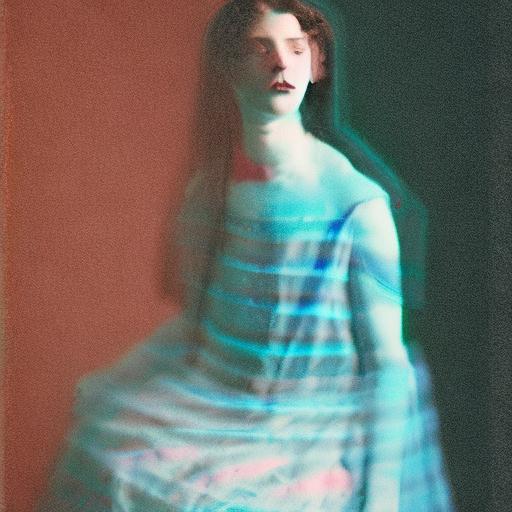
With Alignment
Without Alignment
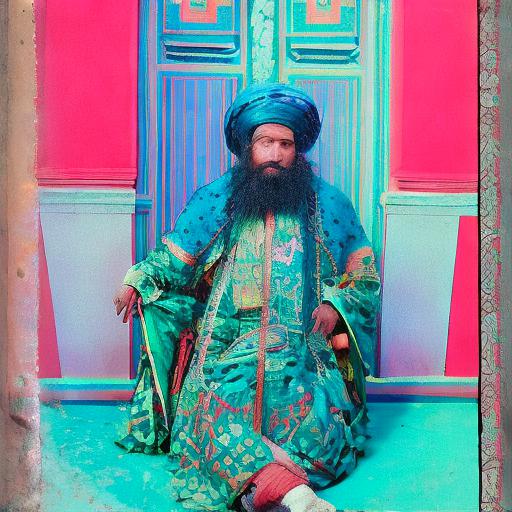
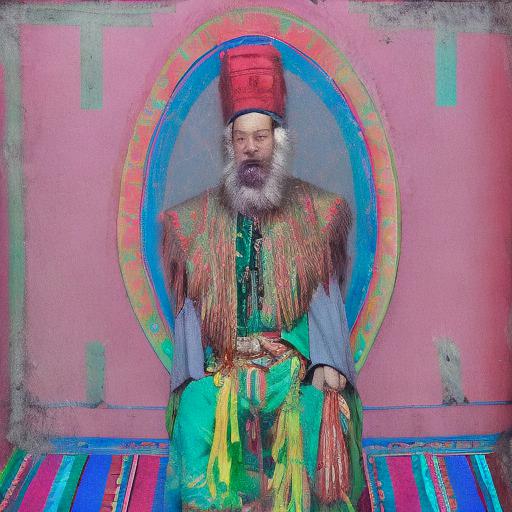
With Alignment

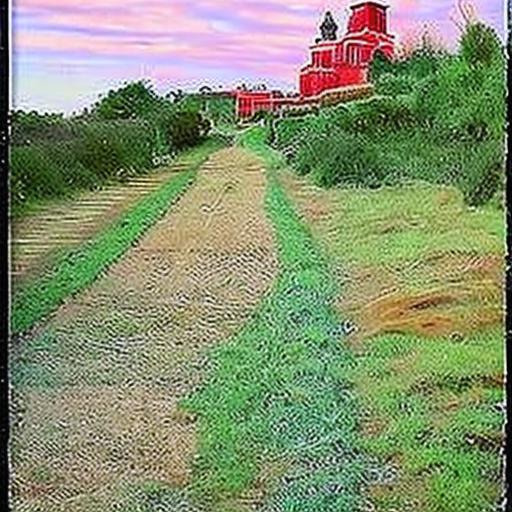
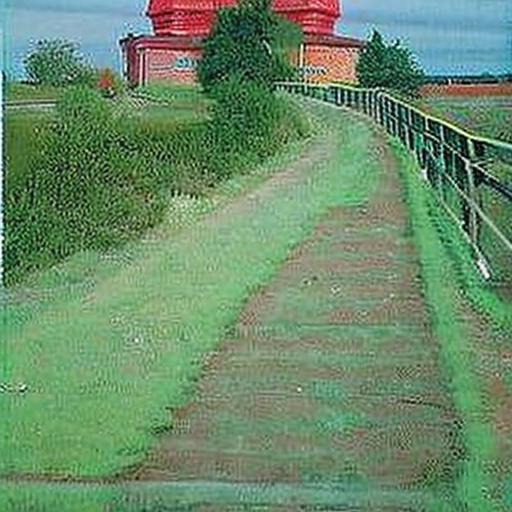
Without Alignment
.jpg)

The last set of cathedral images was especially interesting because the misaligned images seem more realistic than the original aligned image.