Assignment #1 - Colorizing the Prokudin-Gorskii Photo Collection
Adithya Praveen
I. Project Introduction
Overview
In this homework, I explain my experiments and results in colorizing the Prokudin-Gorskii Photo Collection!
Approach
Implemented two algorithms for image alignment:
Additionally, I tried image alignment using raw pixel values and edge values as features - in combination with techniques like adaptive border cropping. I go into a lot more detail about my assumptions and experiment settings in the Results and Bells and Whistles sections.
Challenges
In no particular order, I would say the more challenging aspects of this homework were:
II. Results
Alignment using Raw Pixels
Before displaying the results of my best algorithm, let's take a look at the results of my implementation of the multiscale image alignment using just raw pixel intensities as features for alignment.
A few notes:
np.roll, there's no change in channel shape during enrollment - said differently, I don't crop off the rows / cols of pixels that don't align - they simply roll
over to the other end (horizontally, or vertically).
Therefore, to make alignment work, I use a thresholding mechanism (as described in 3. Automatic Border Cropping) to remove borders, and minimize
artifacts that result from the alignment process.
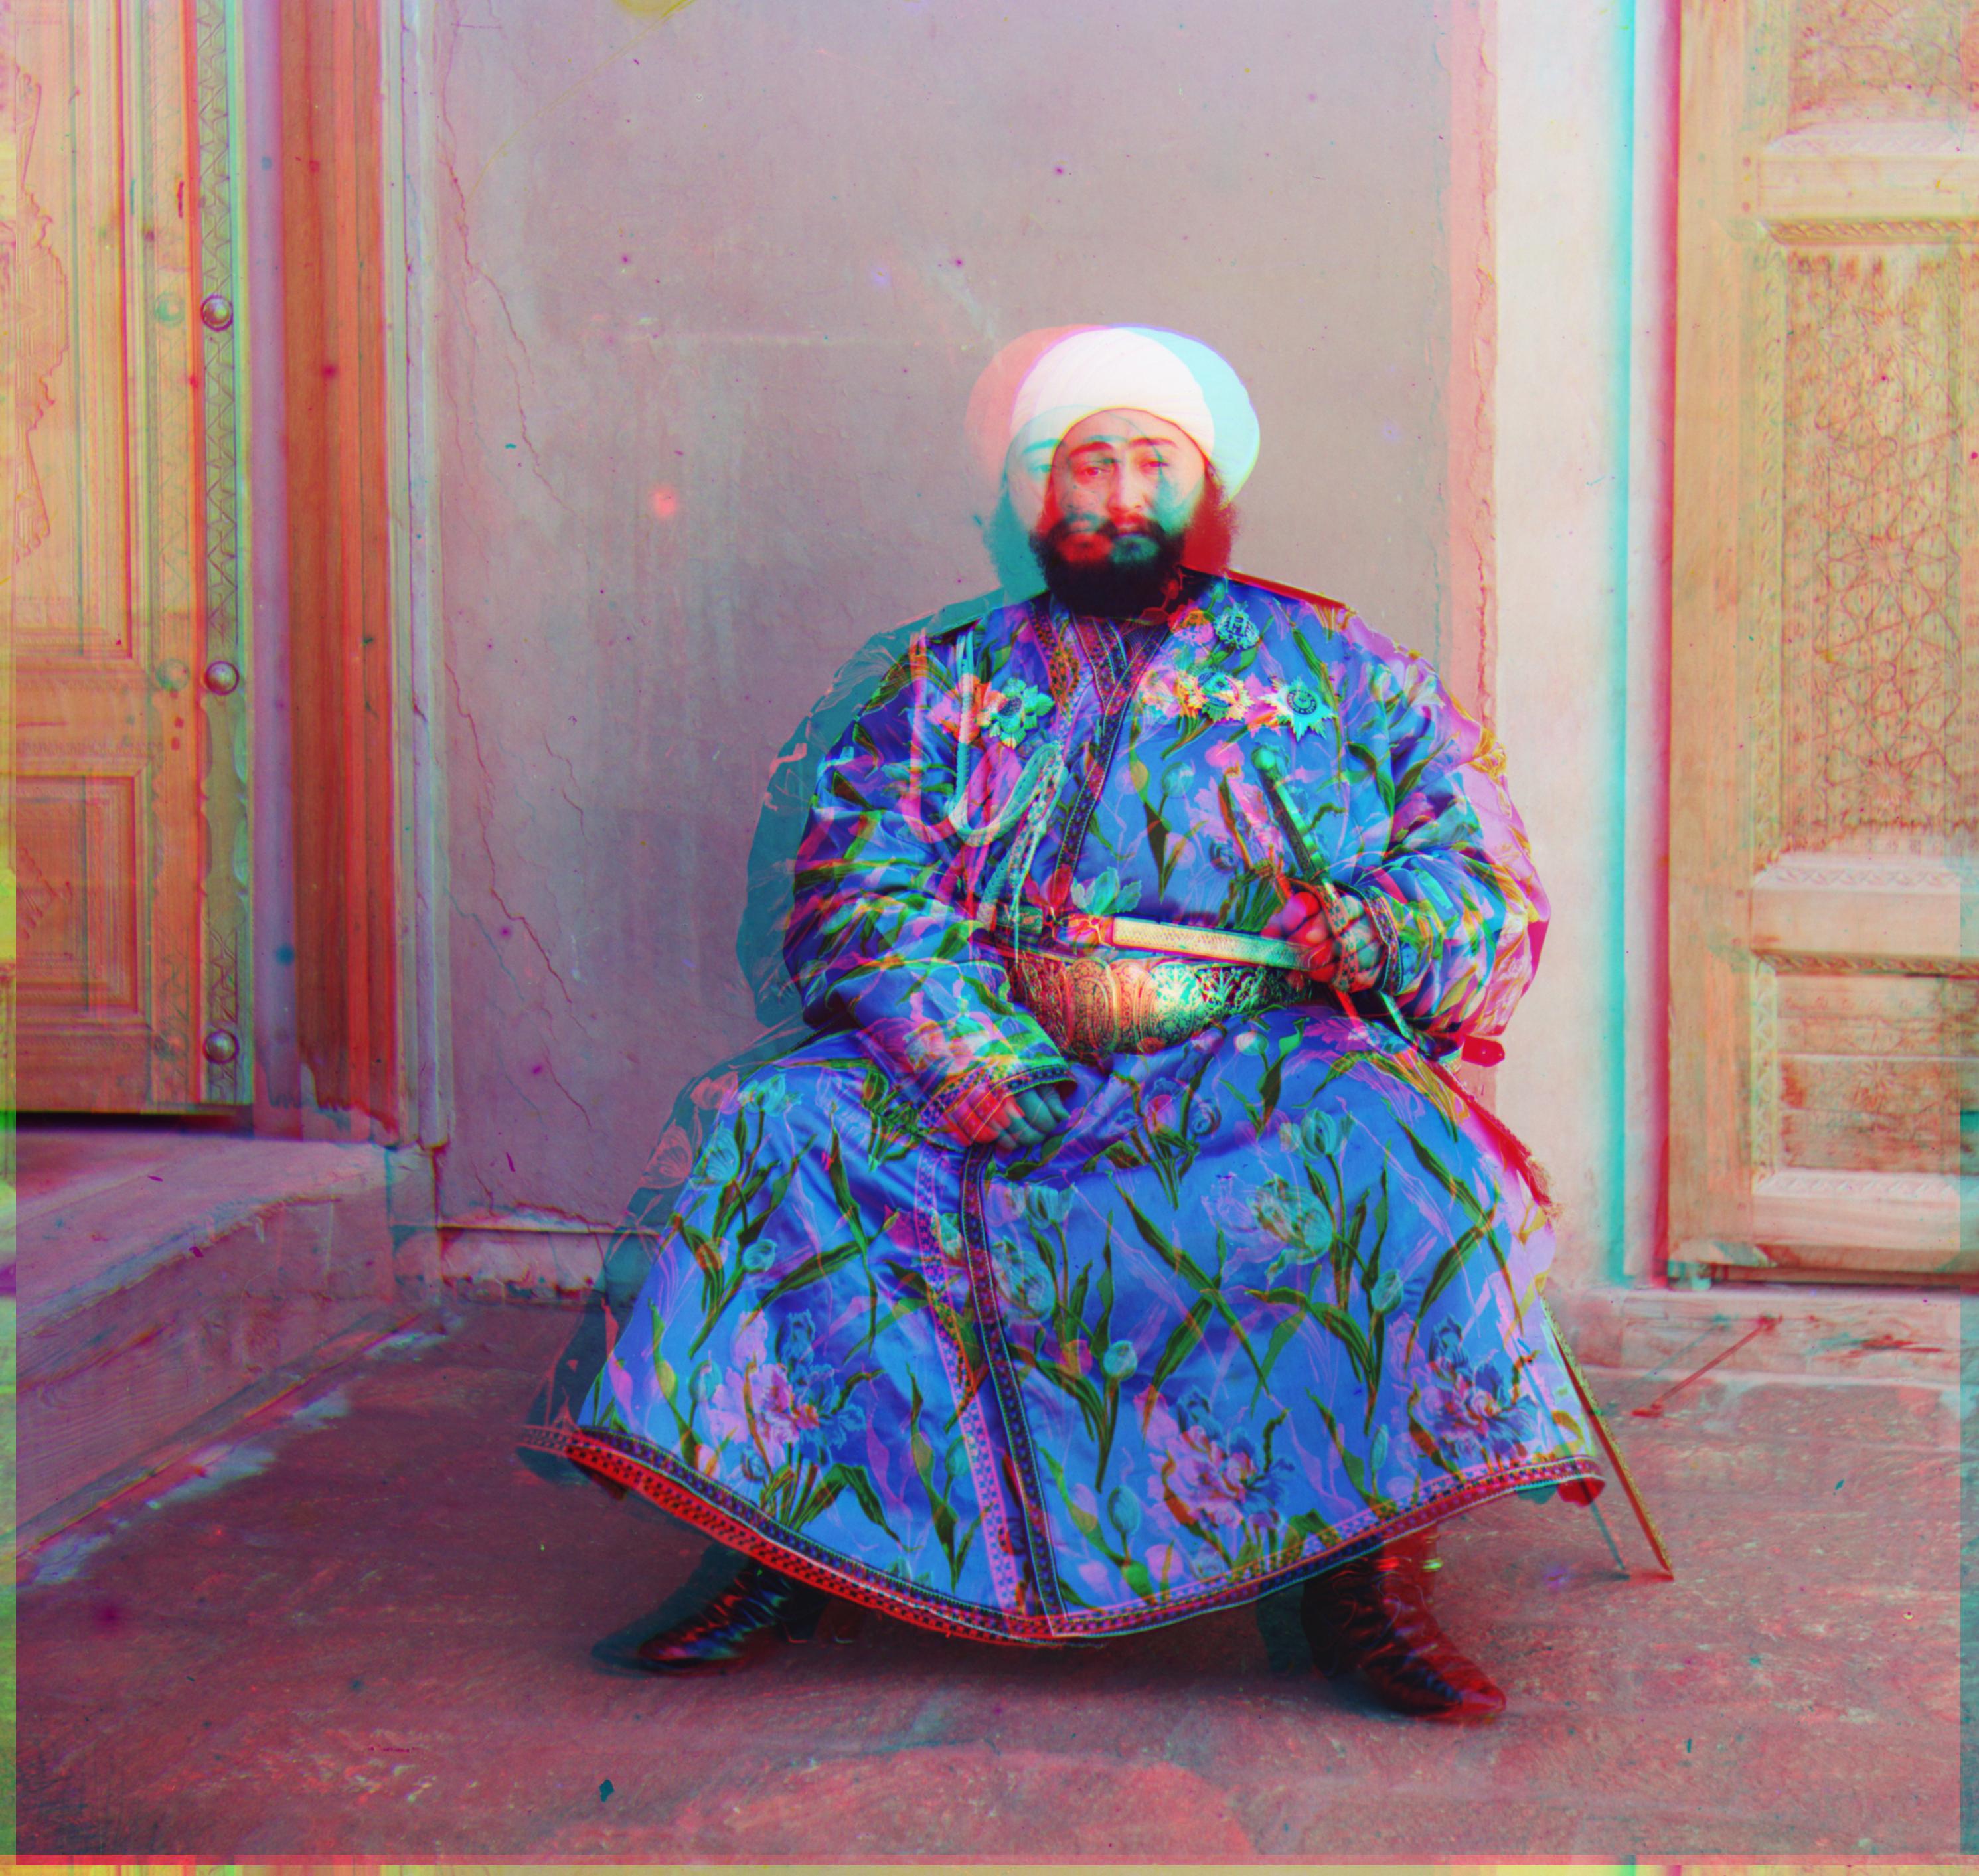
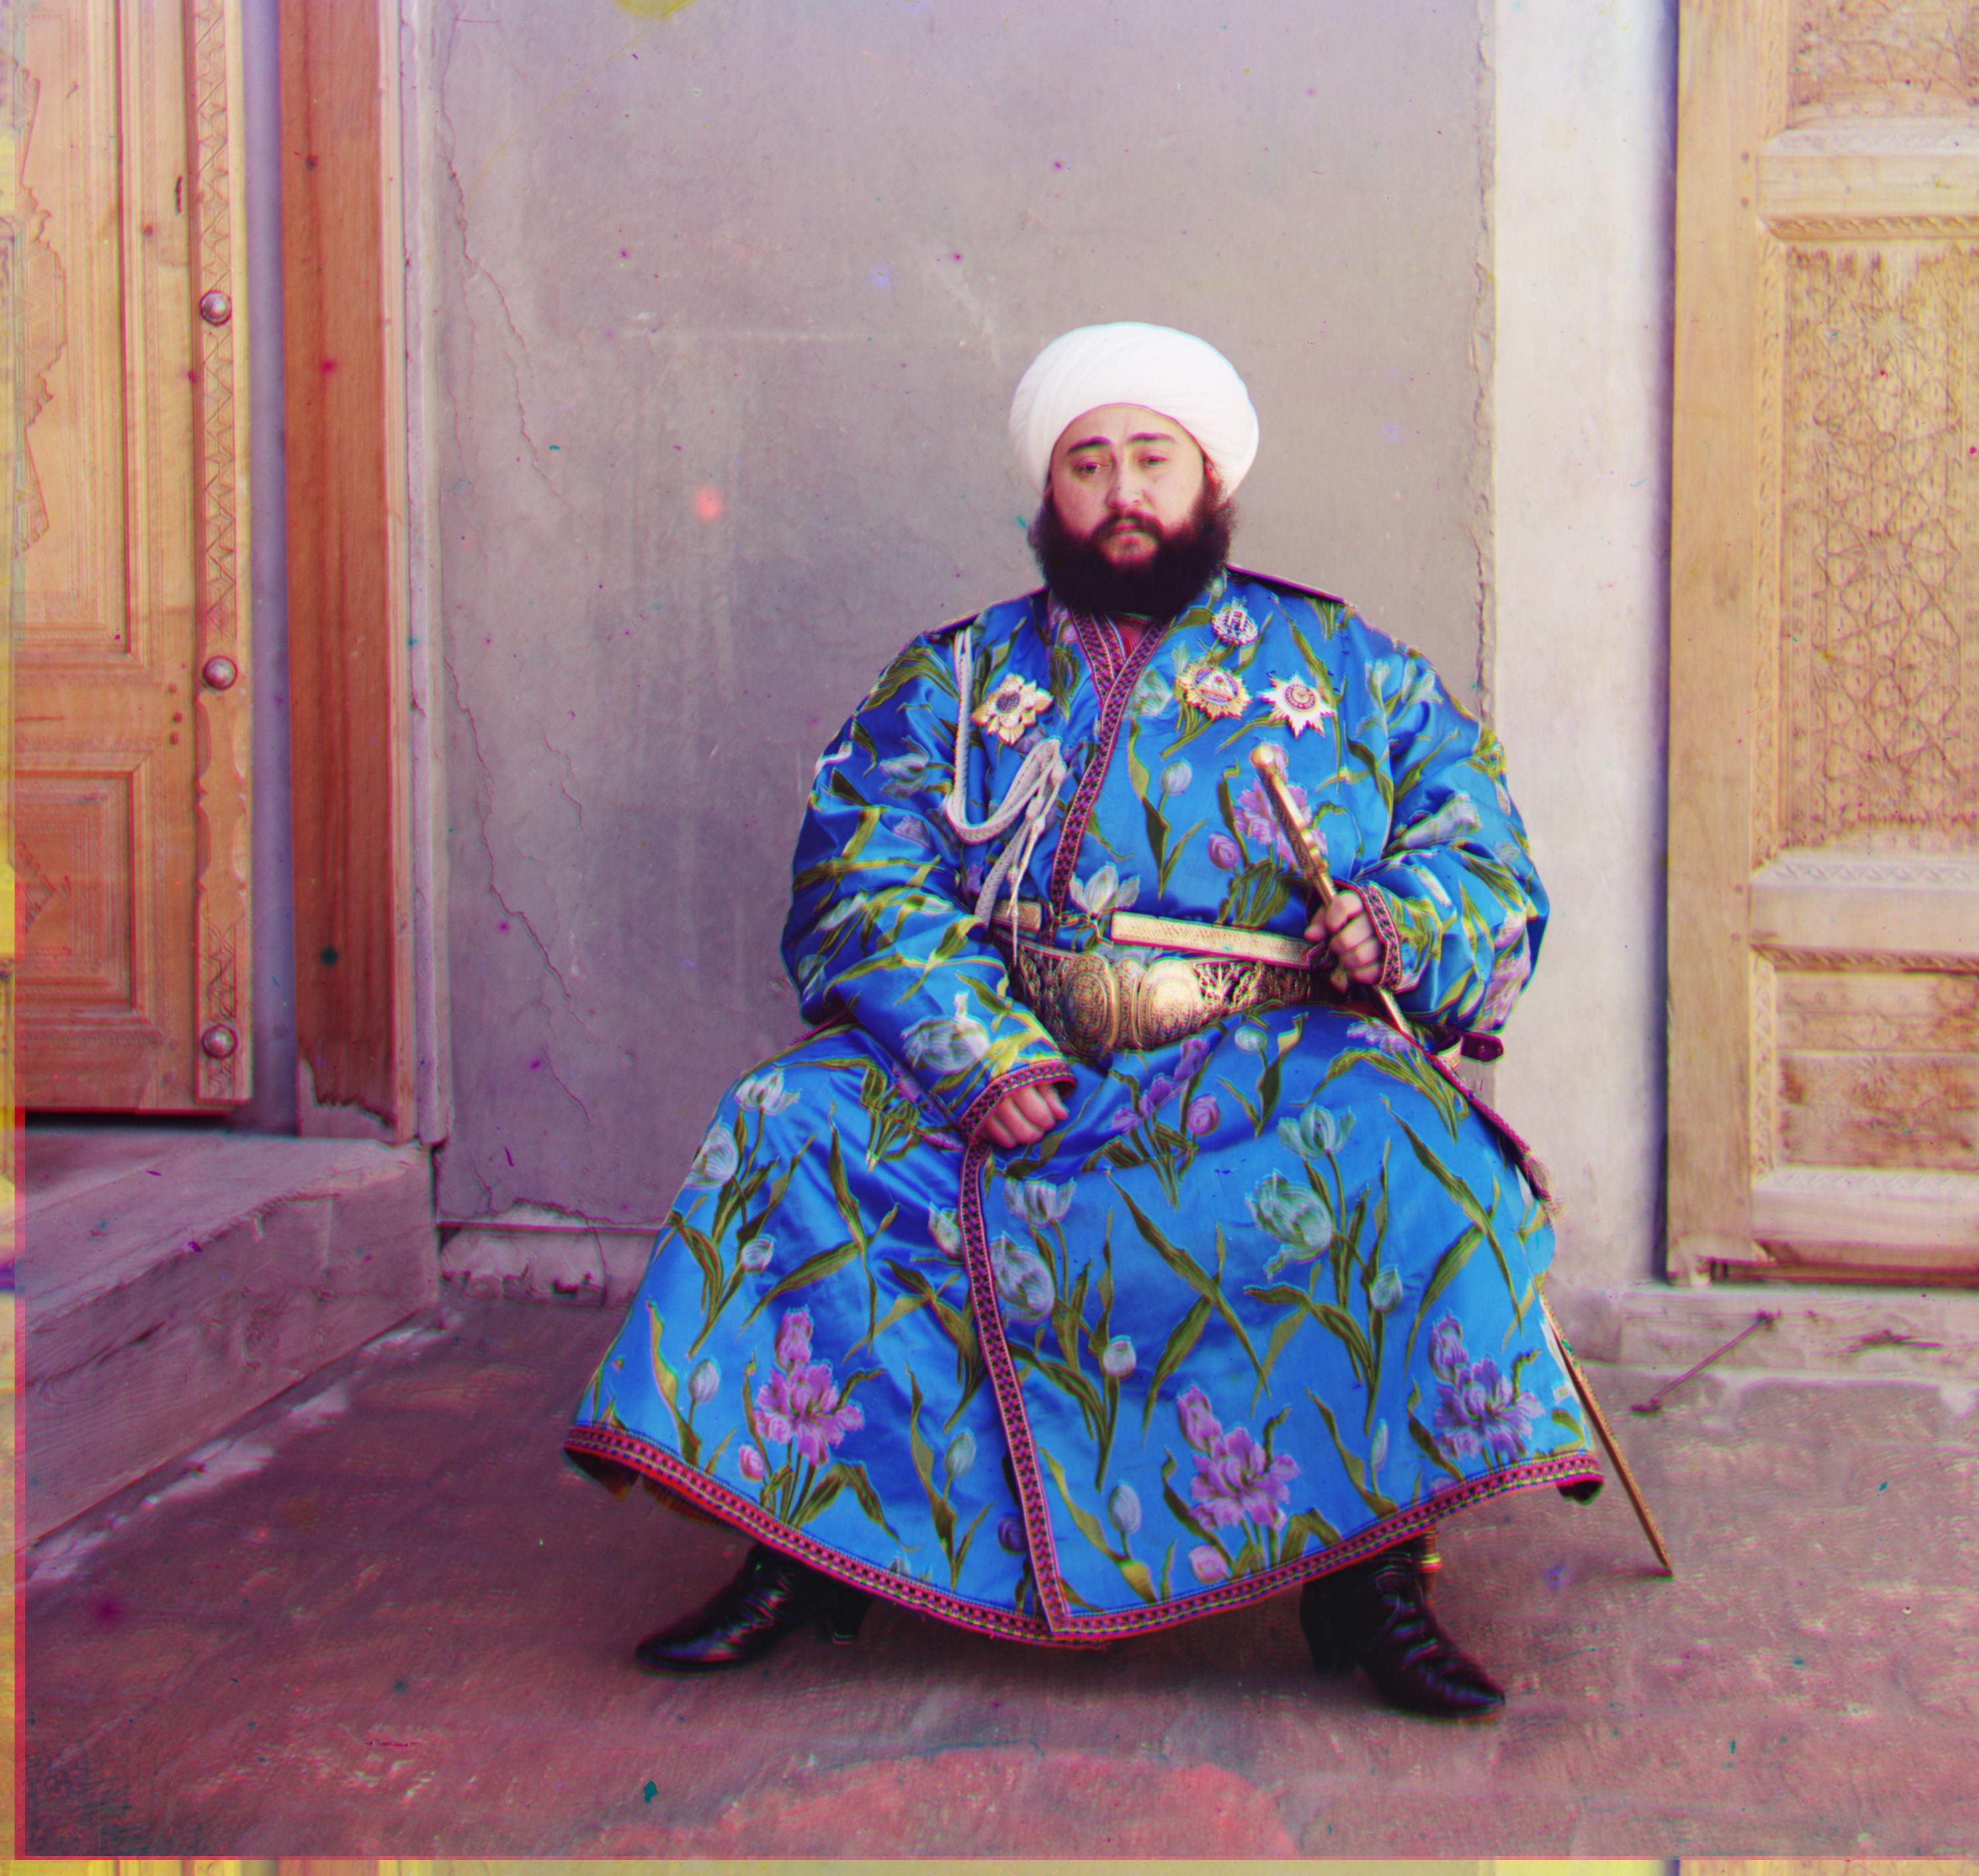
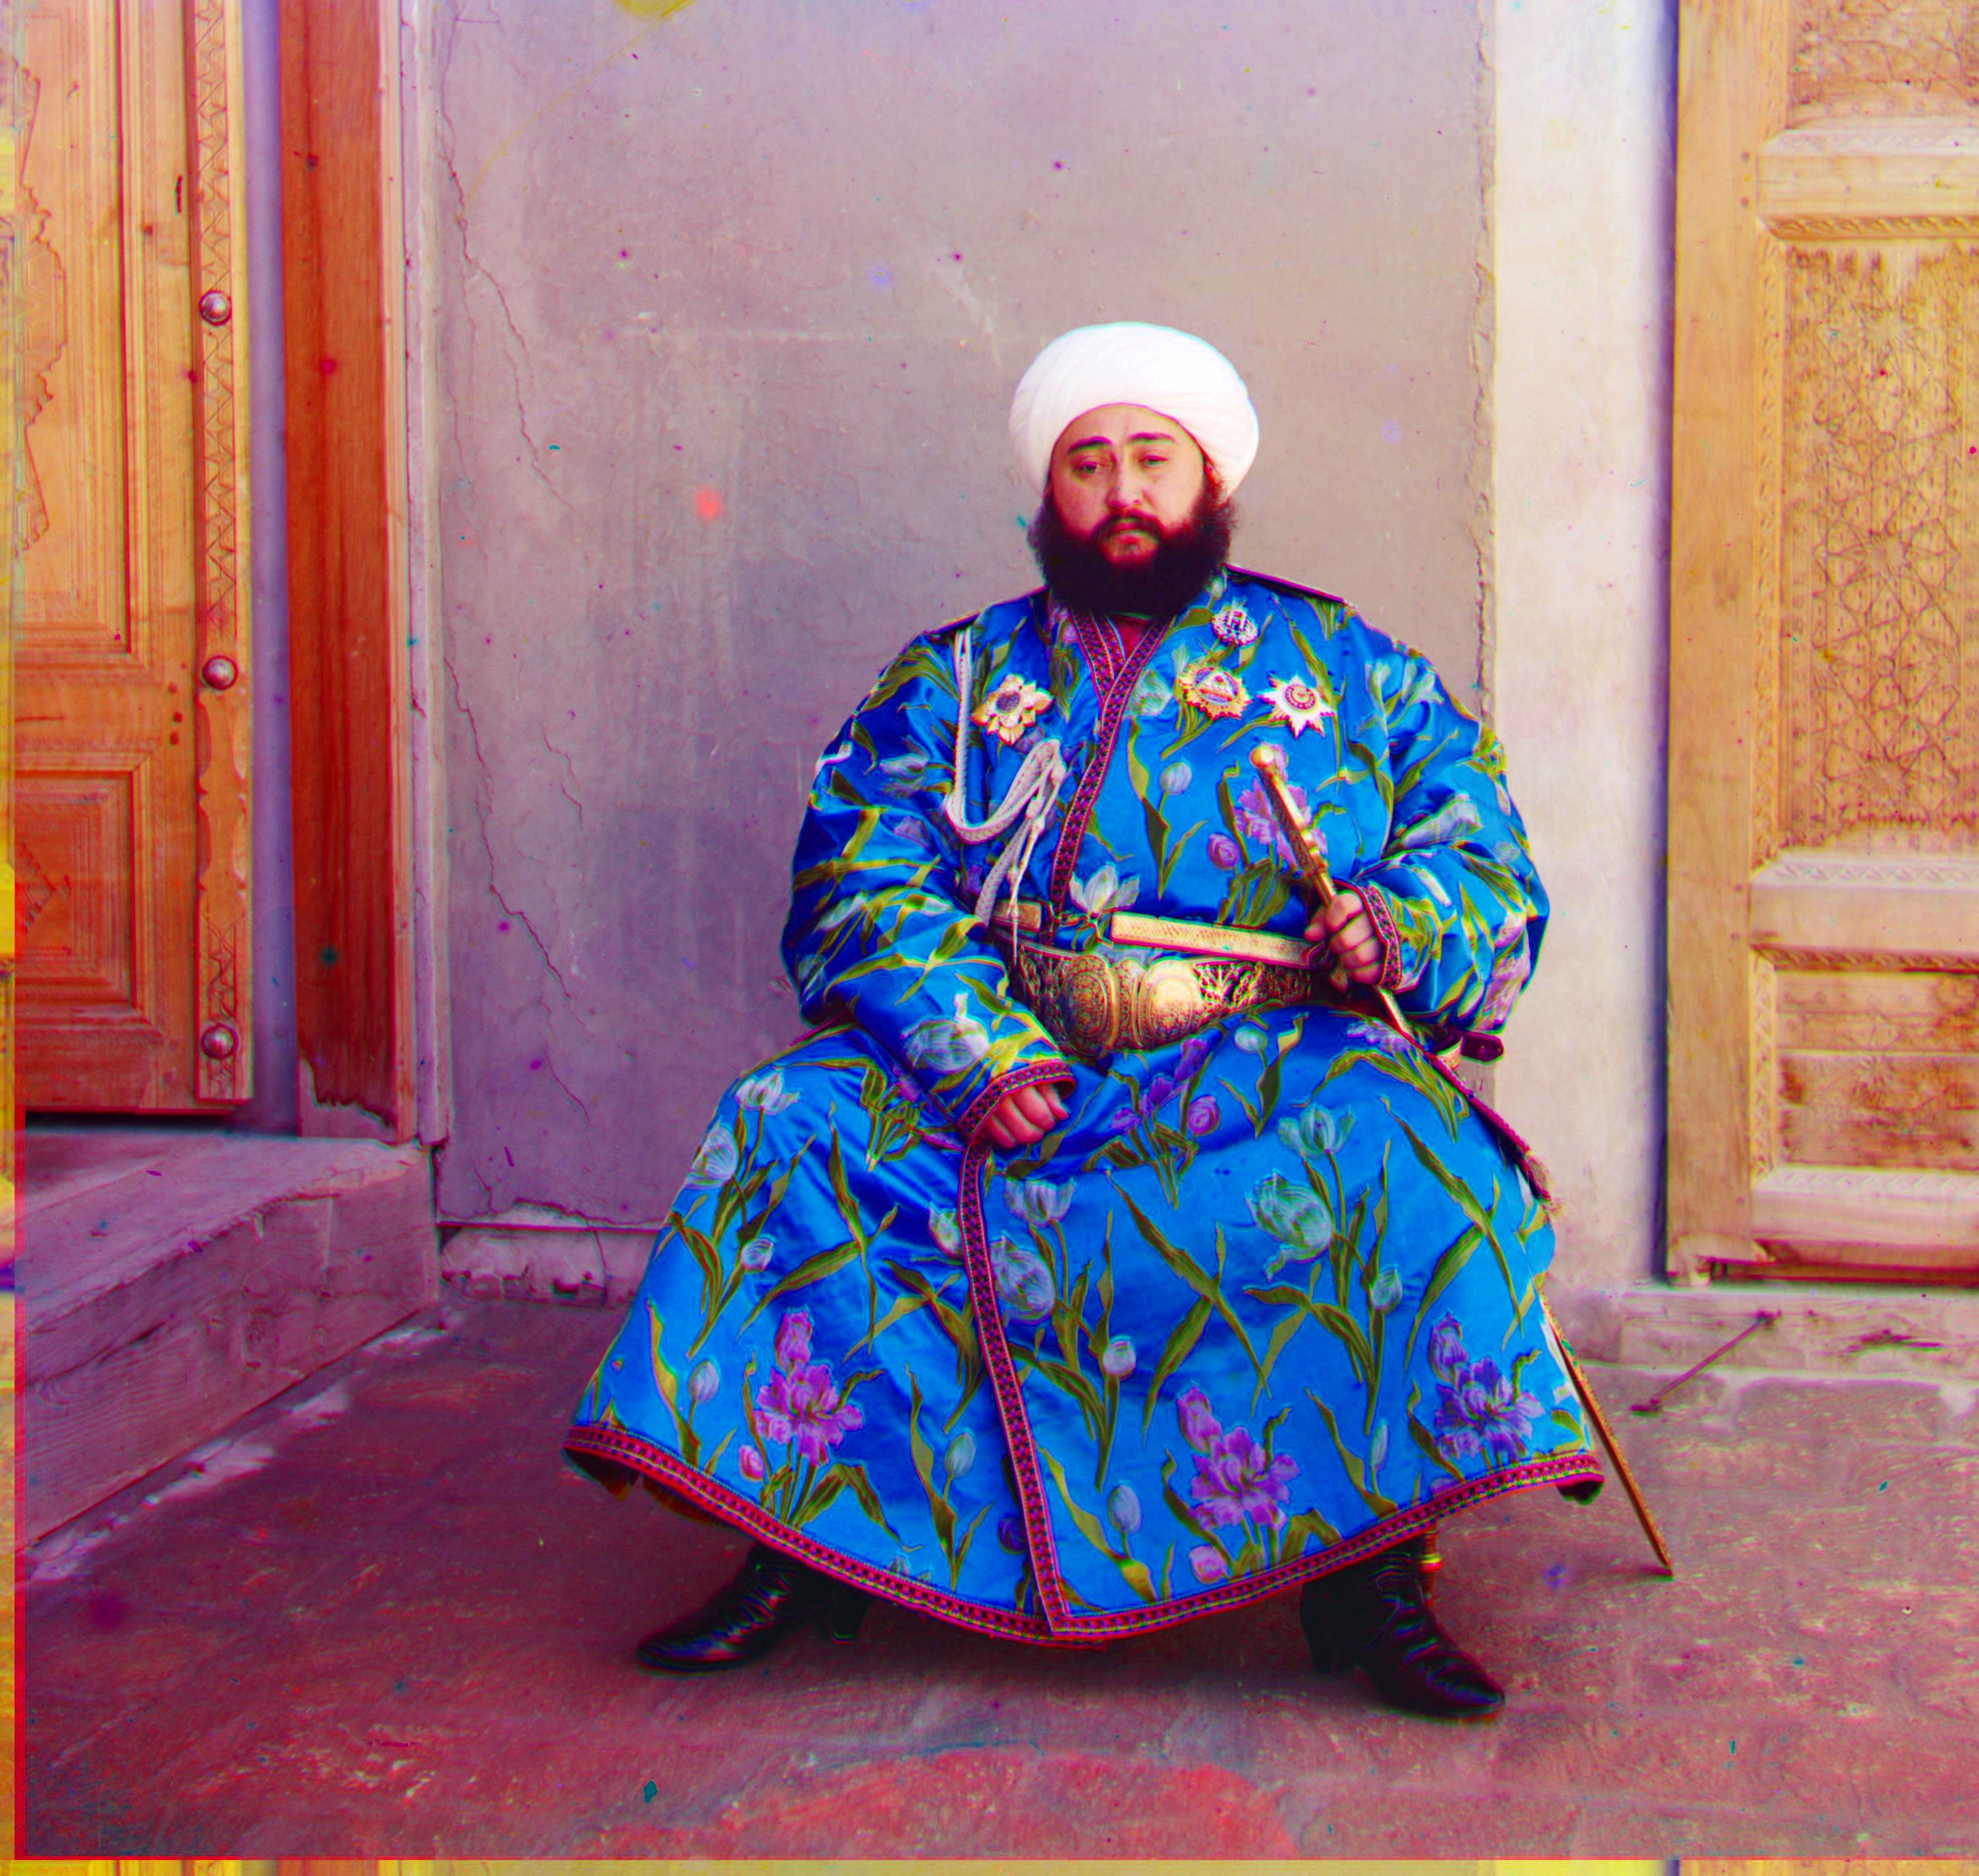
Conclusion: The results looks decent, except that the Emir of Bukhara would be rolling in his grave if he saw his aligned image :( - checkout 1. Better Features - Canny Edge where we fix this issue!
Note: The values in the red and green boxes, denote the alignment offsets for red and green channels respectively.
Low Res Images
High Res Images
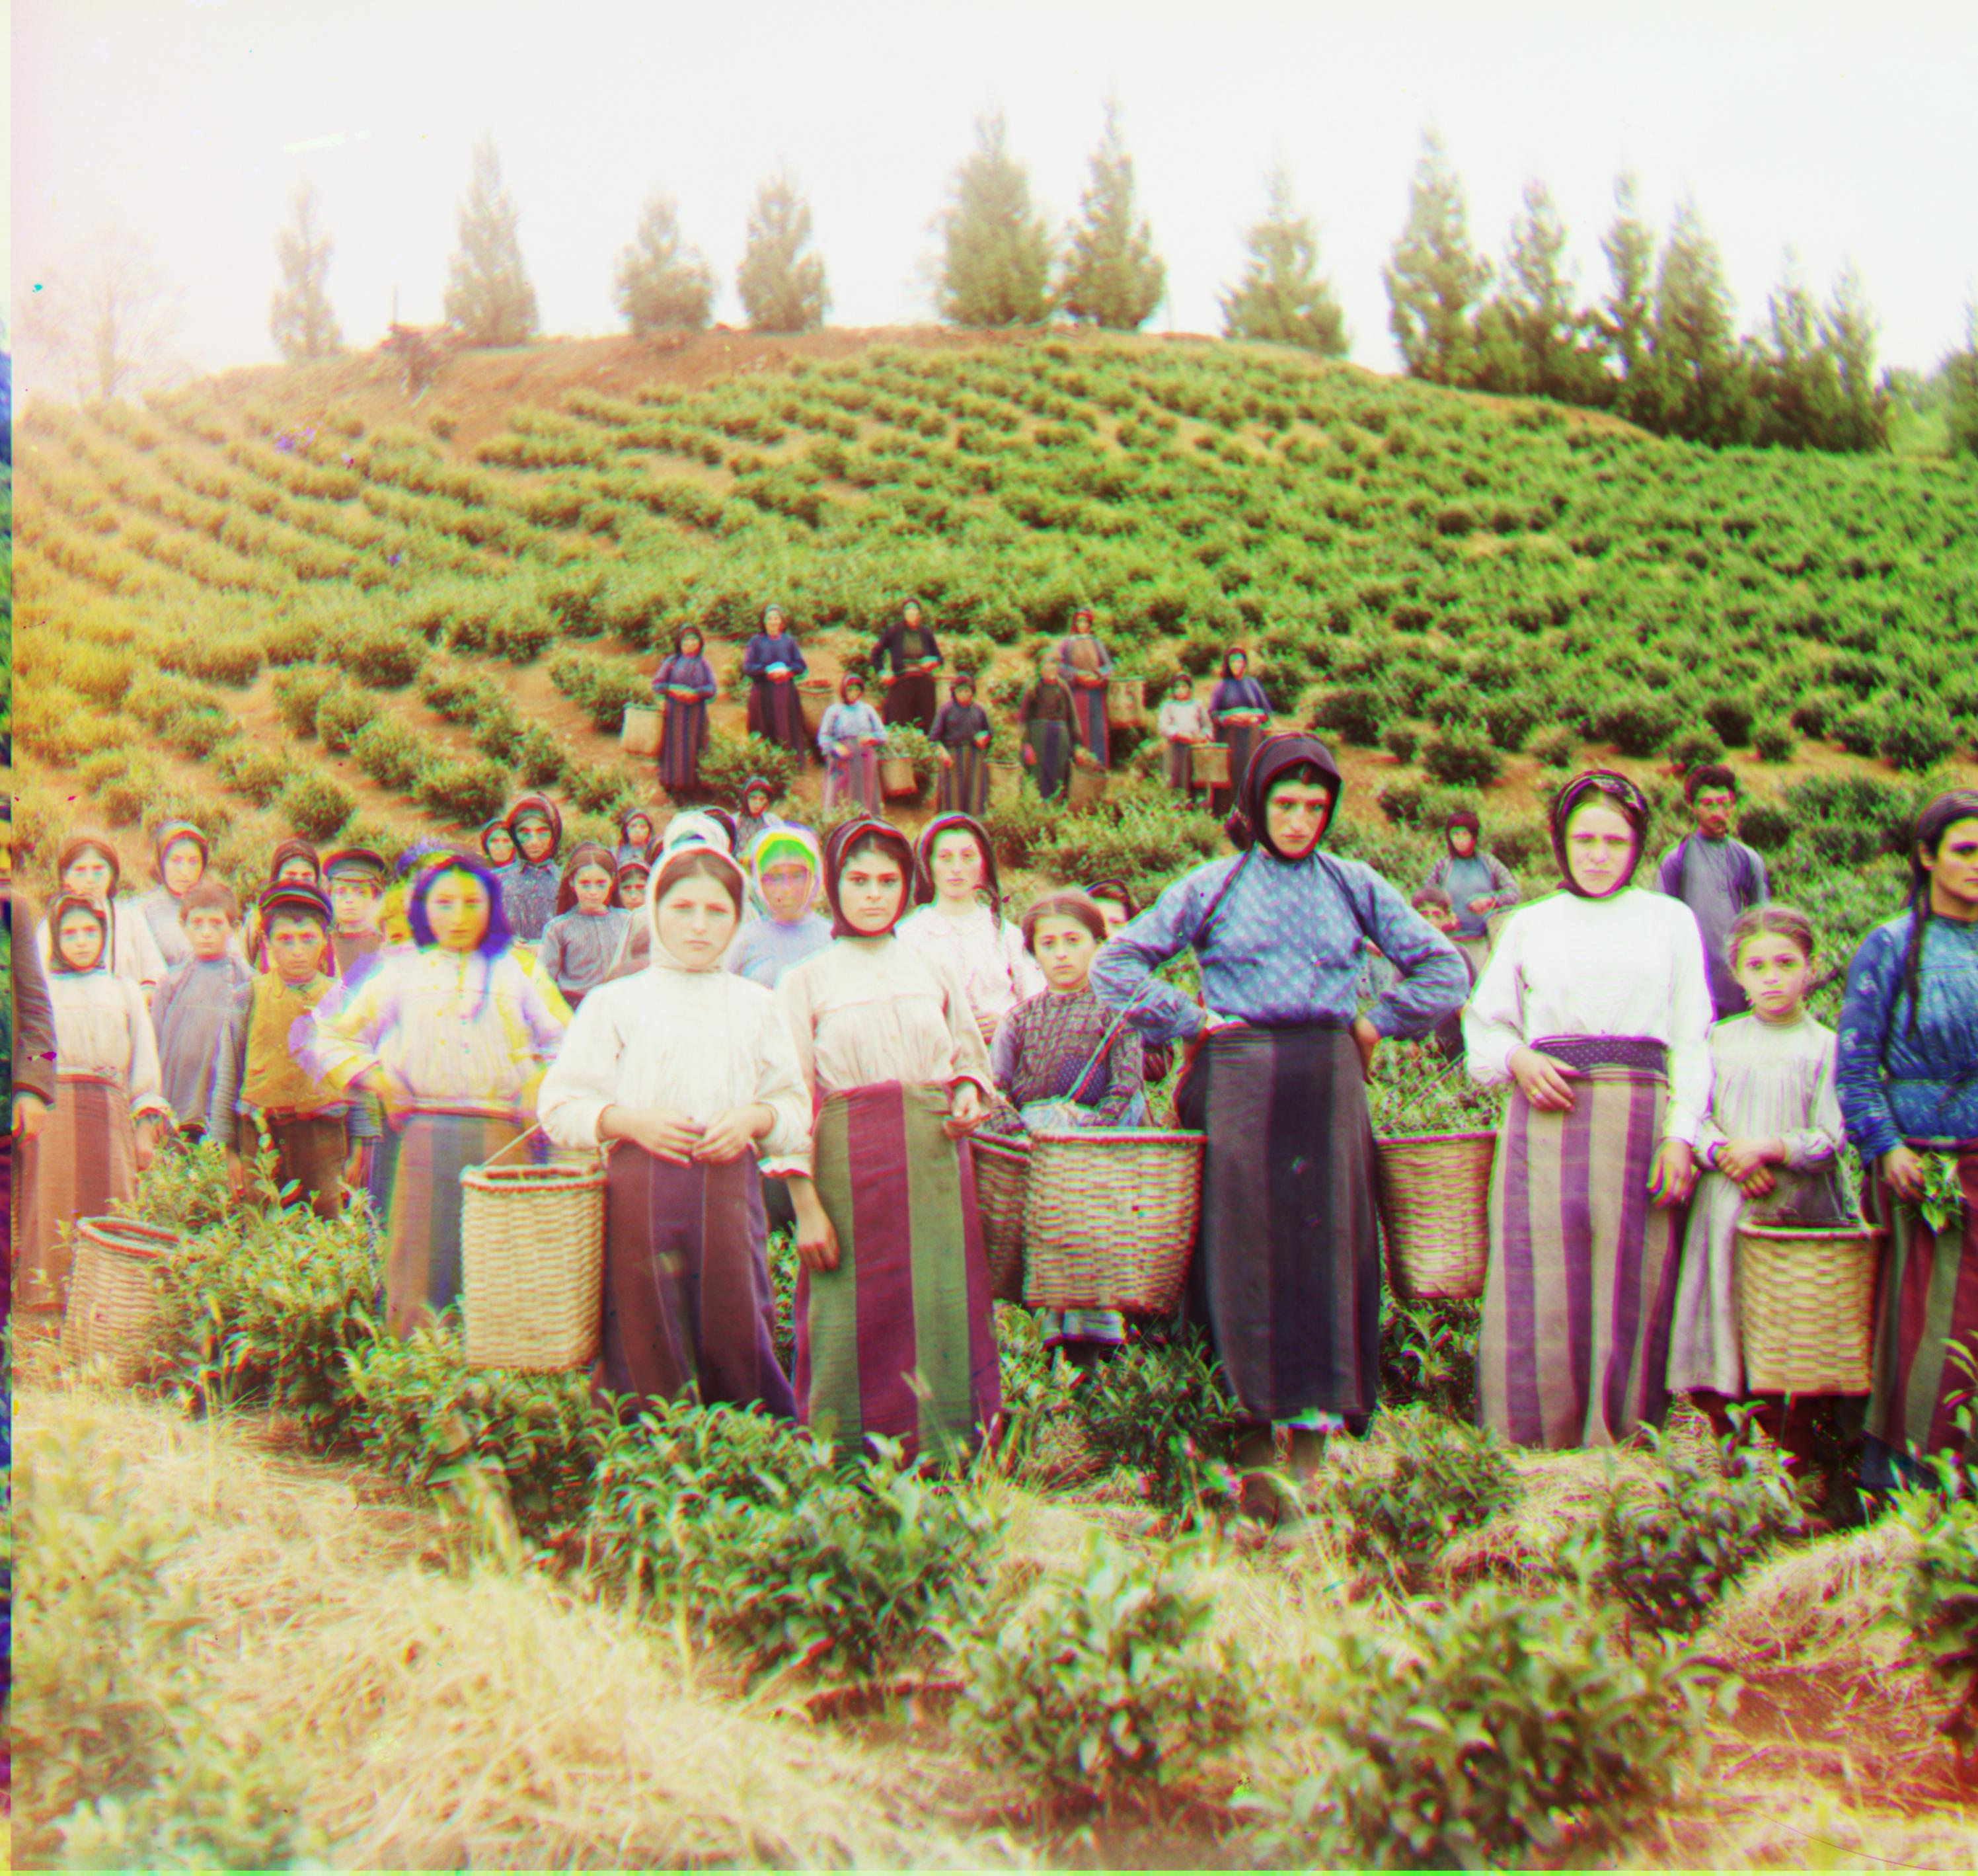

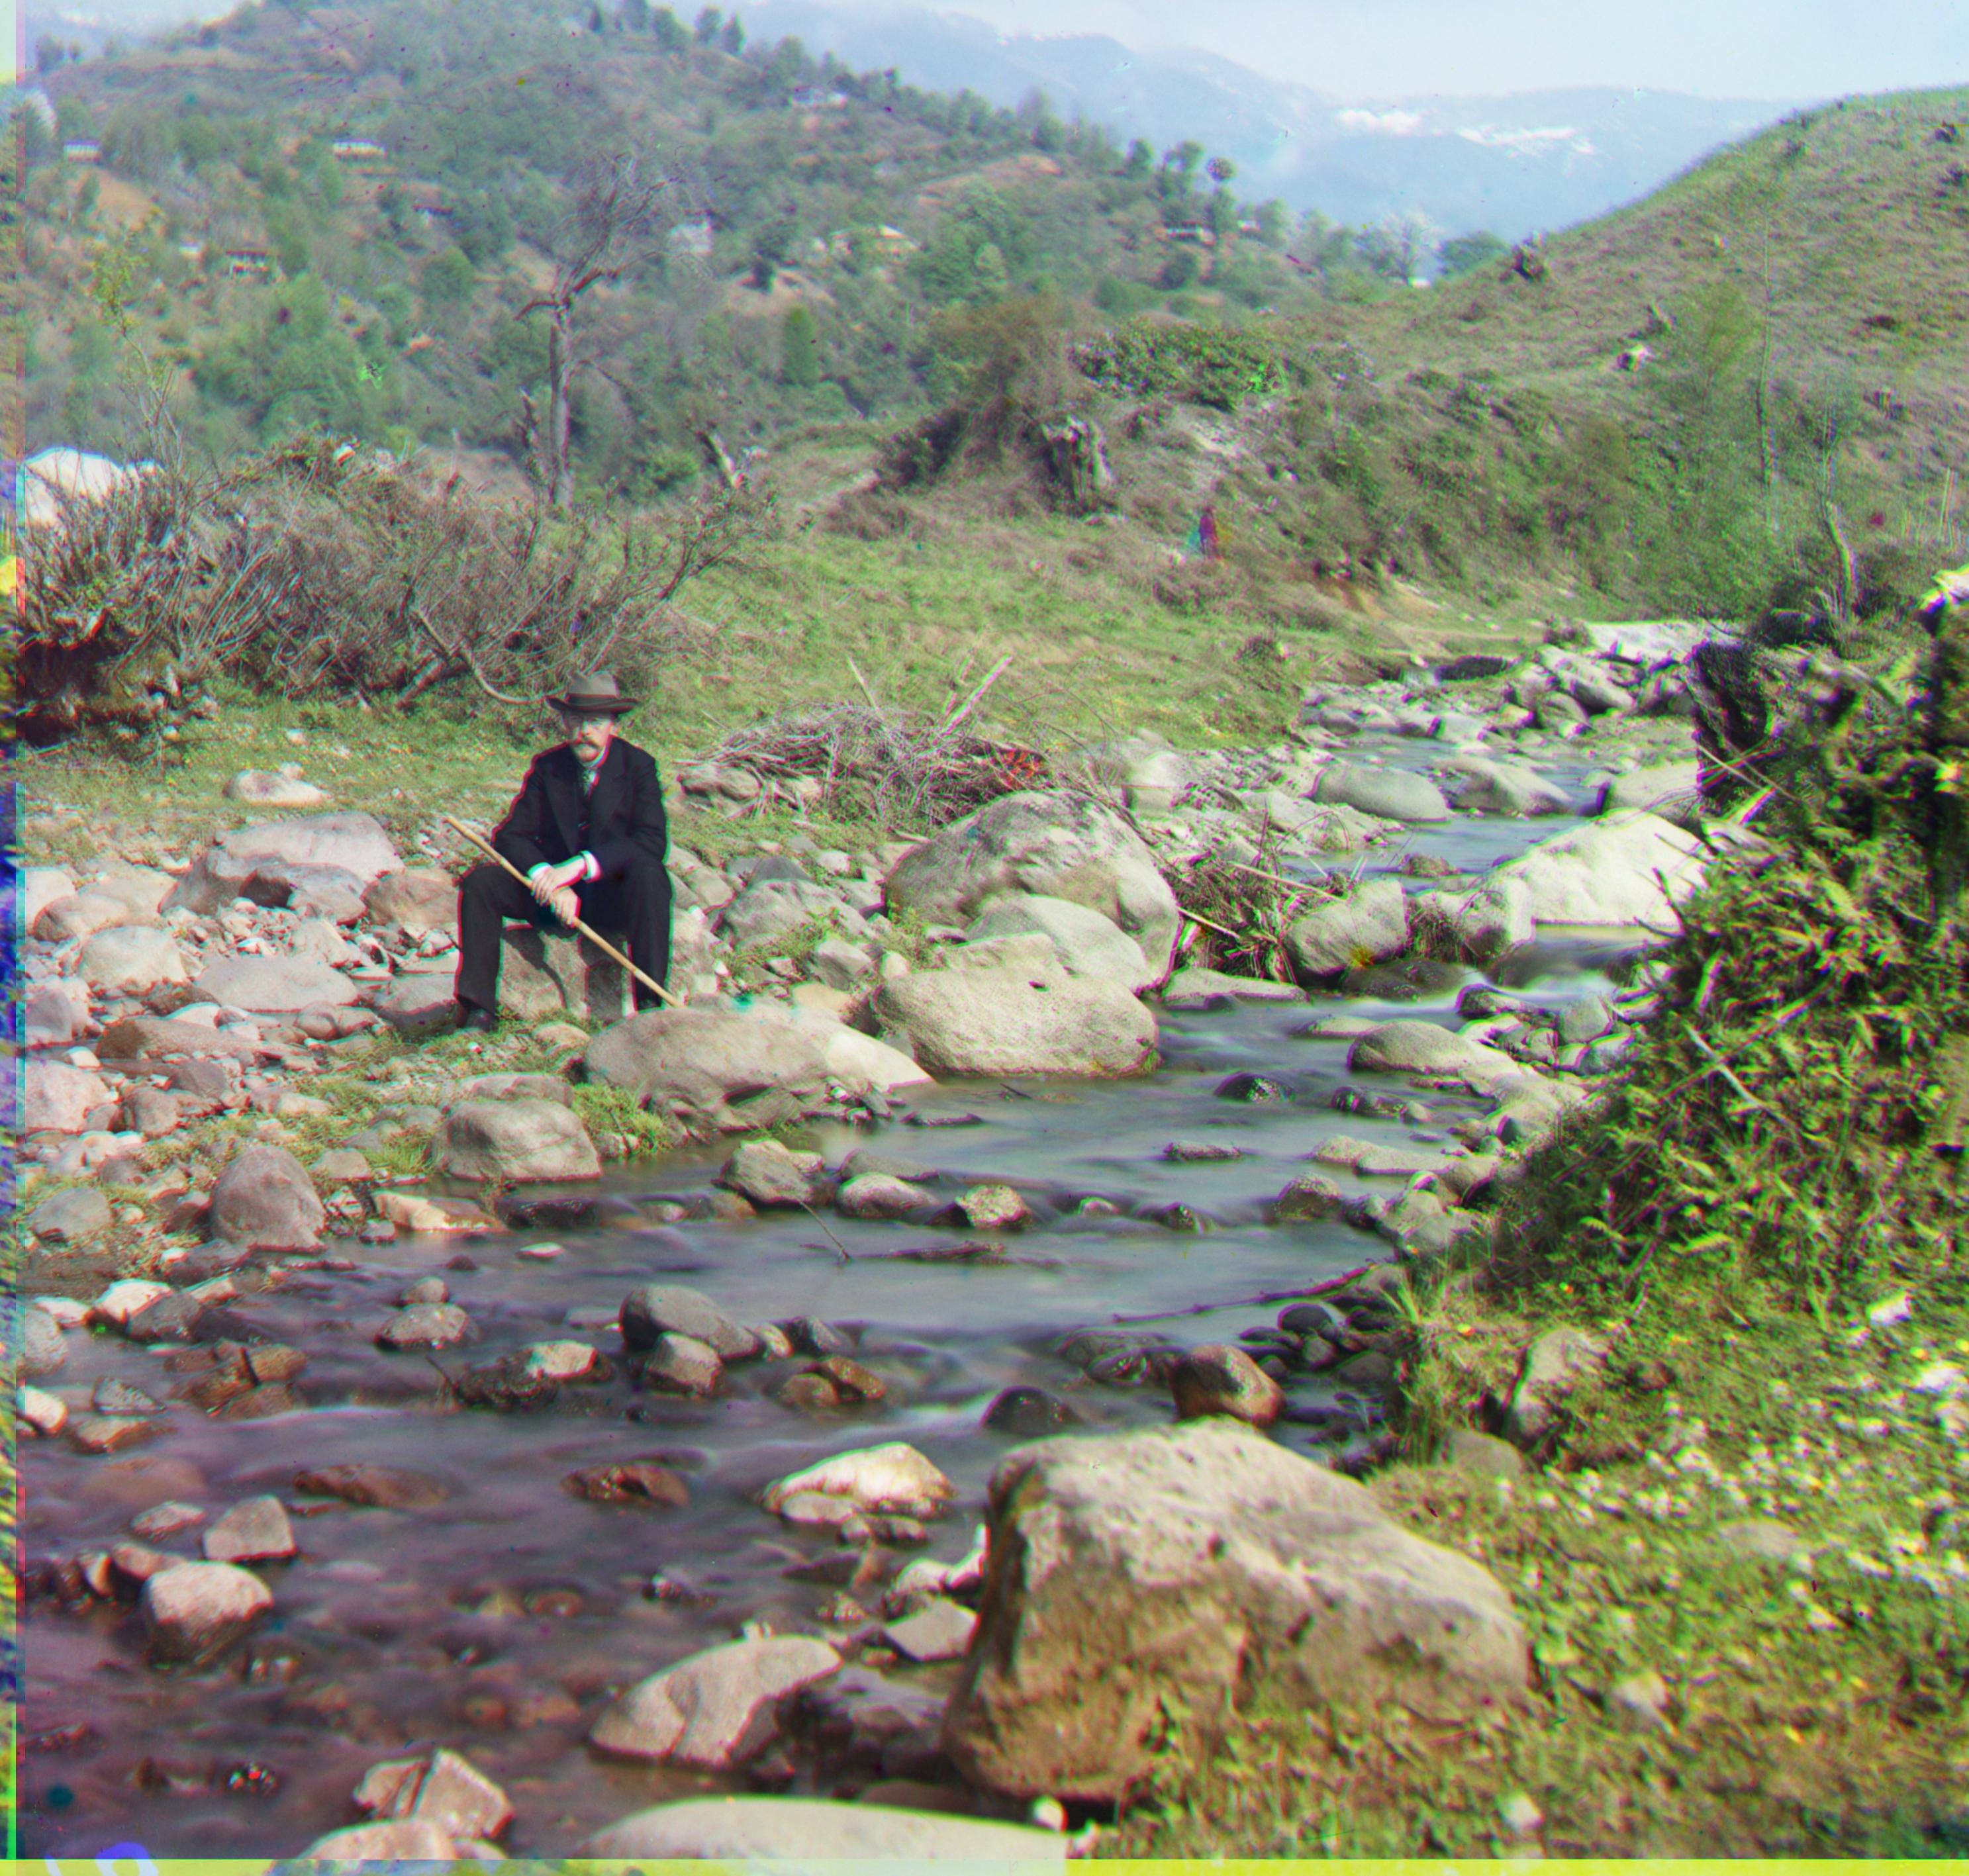

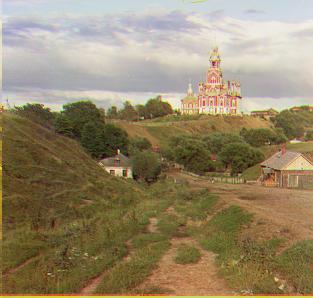
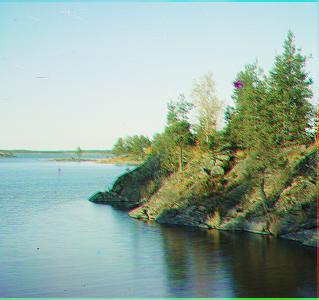
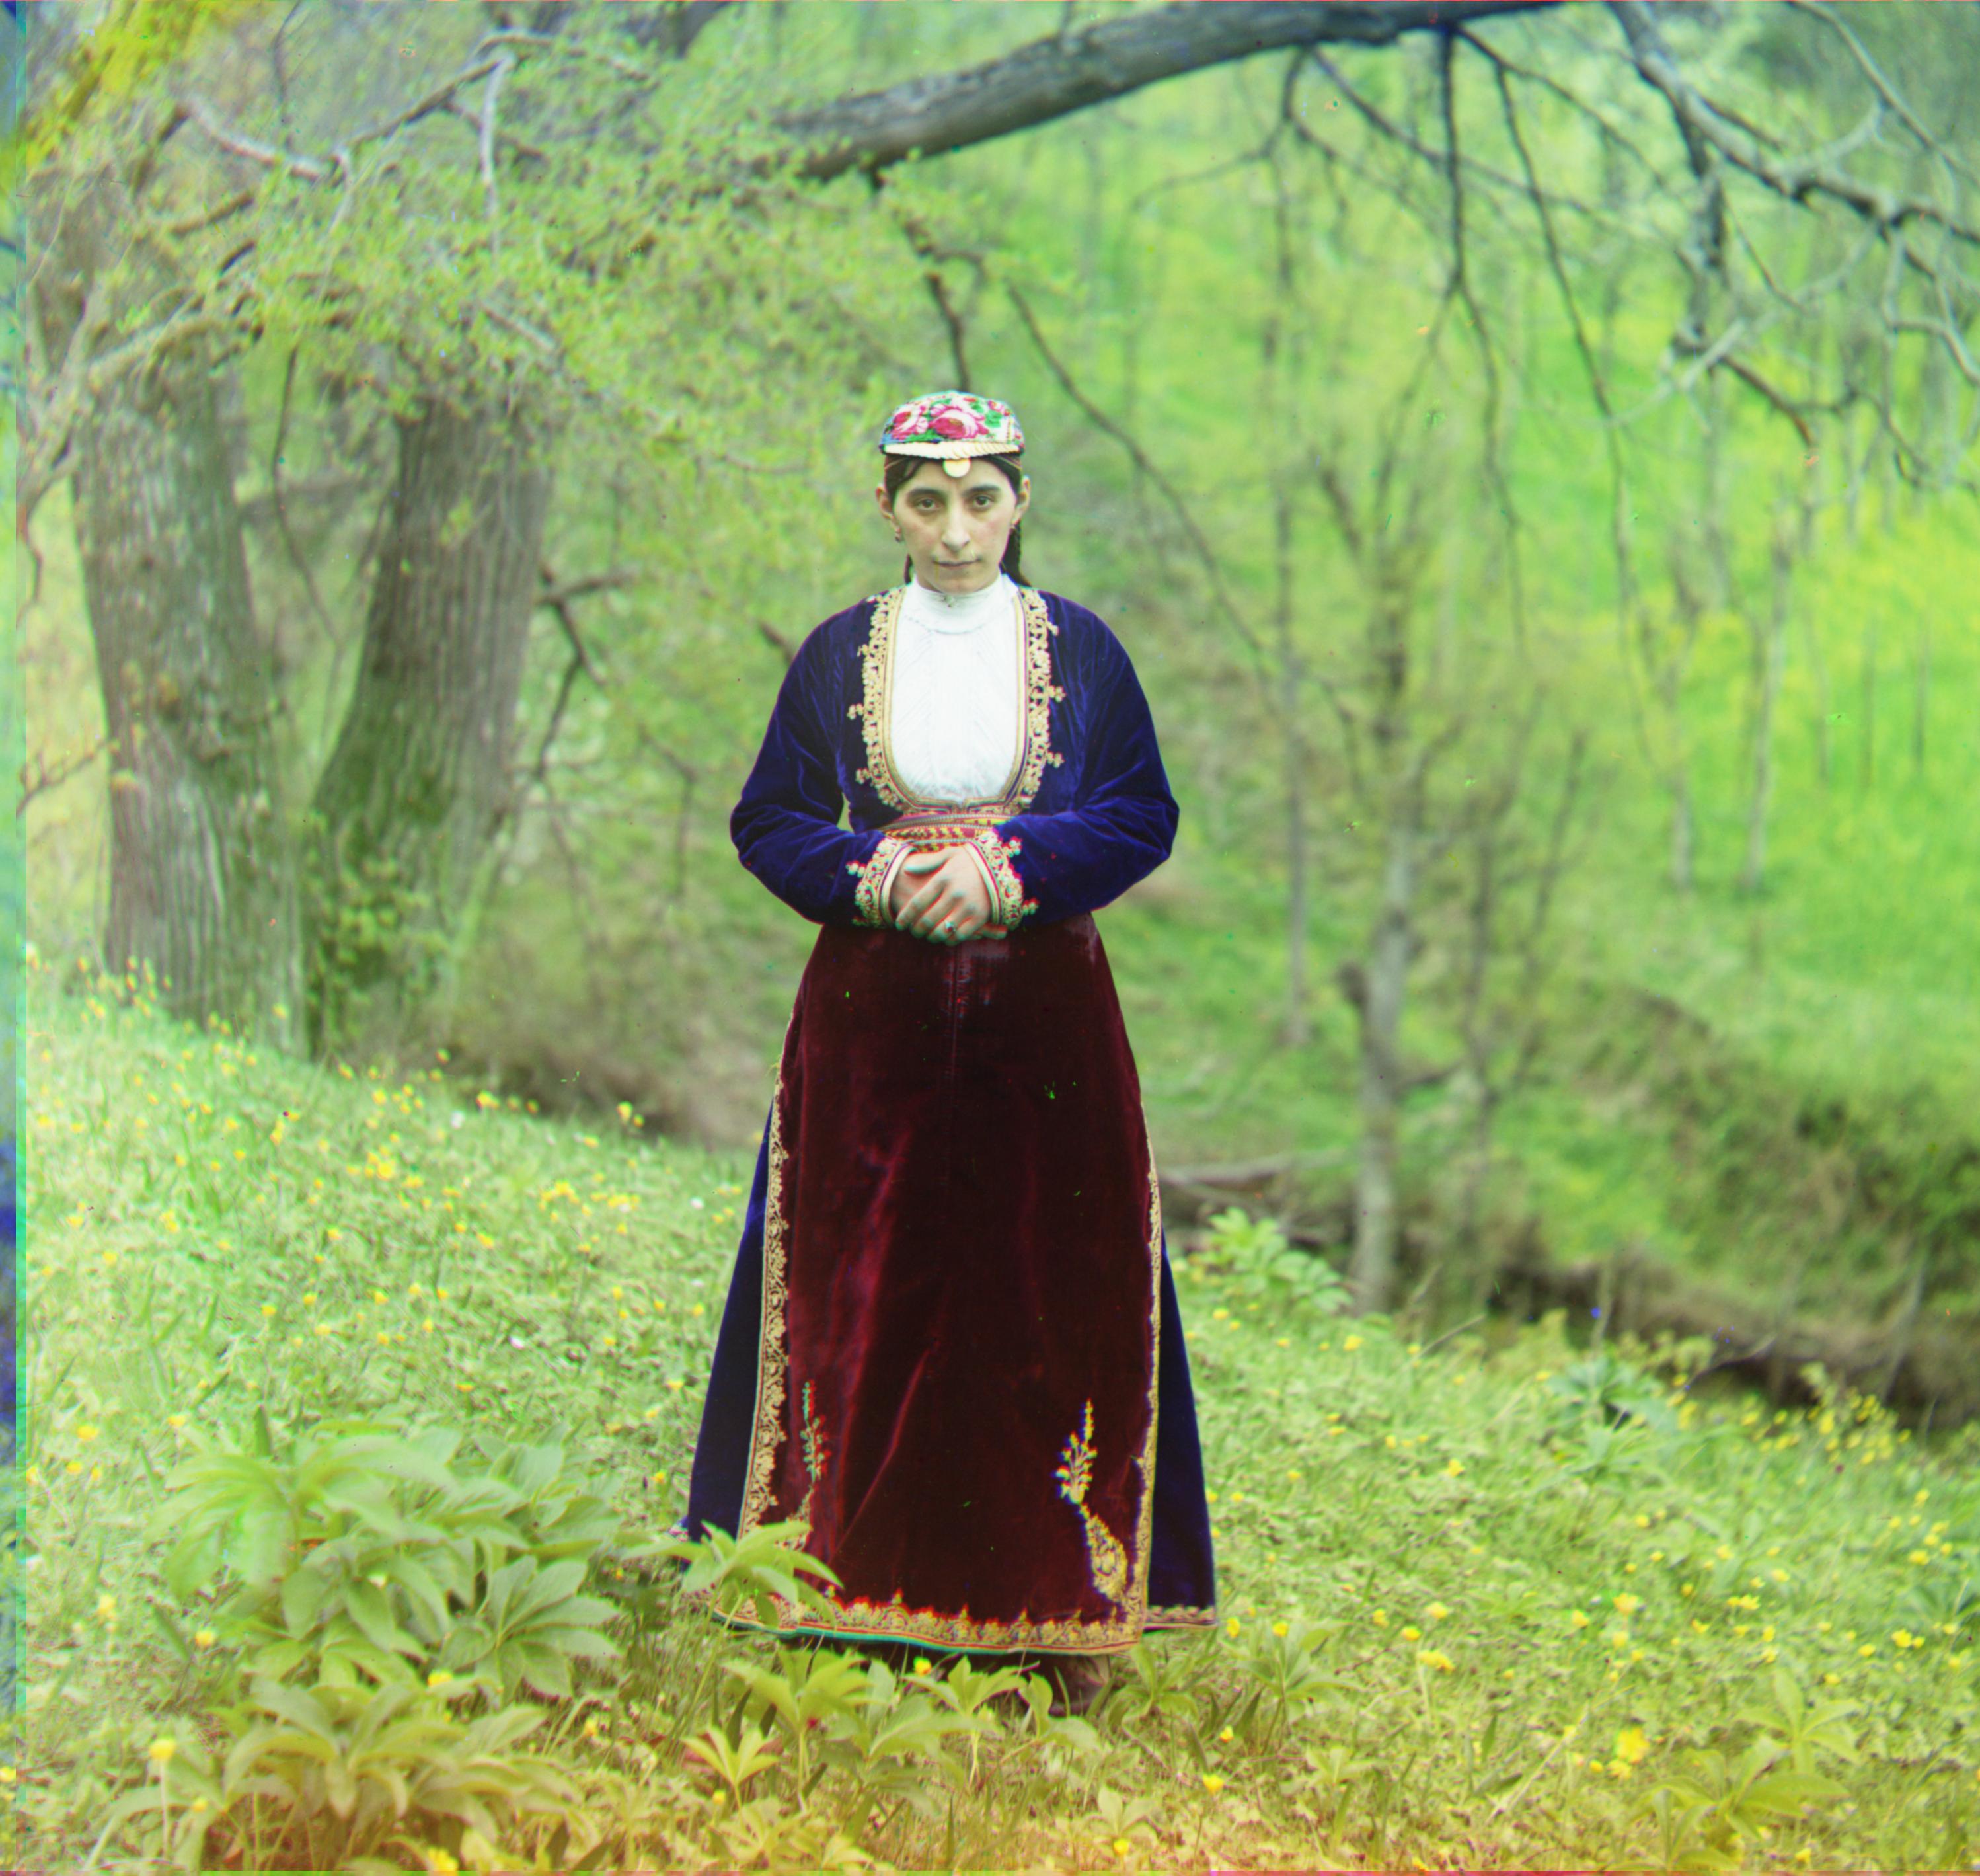
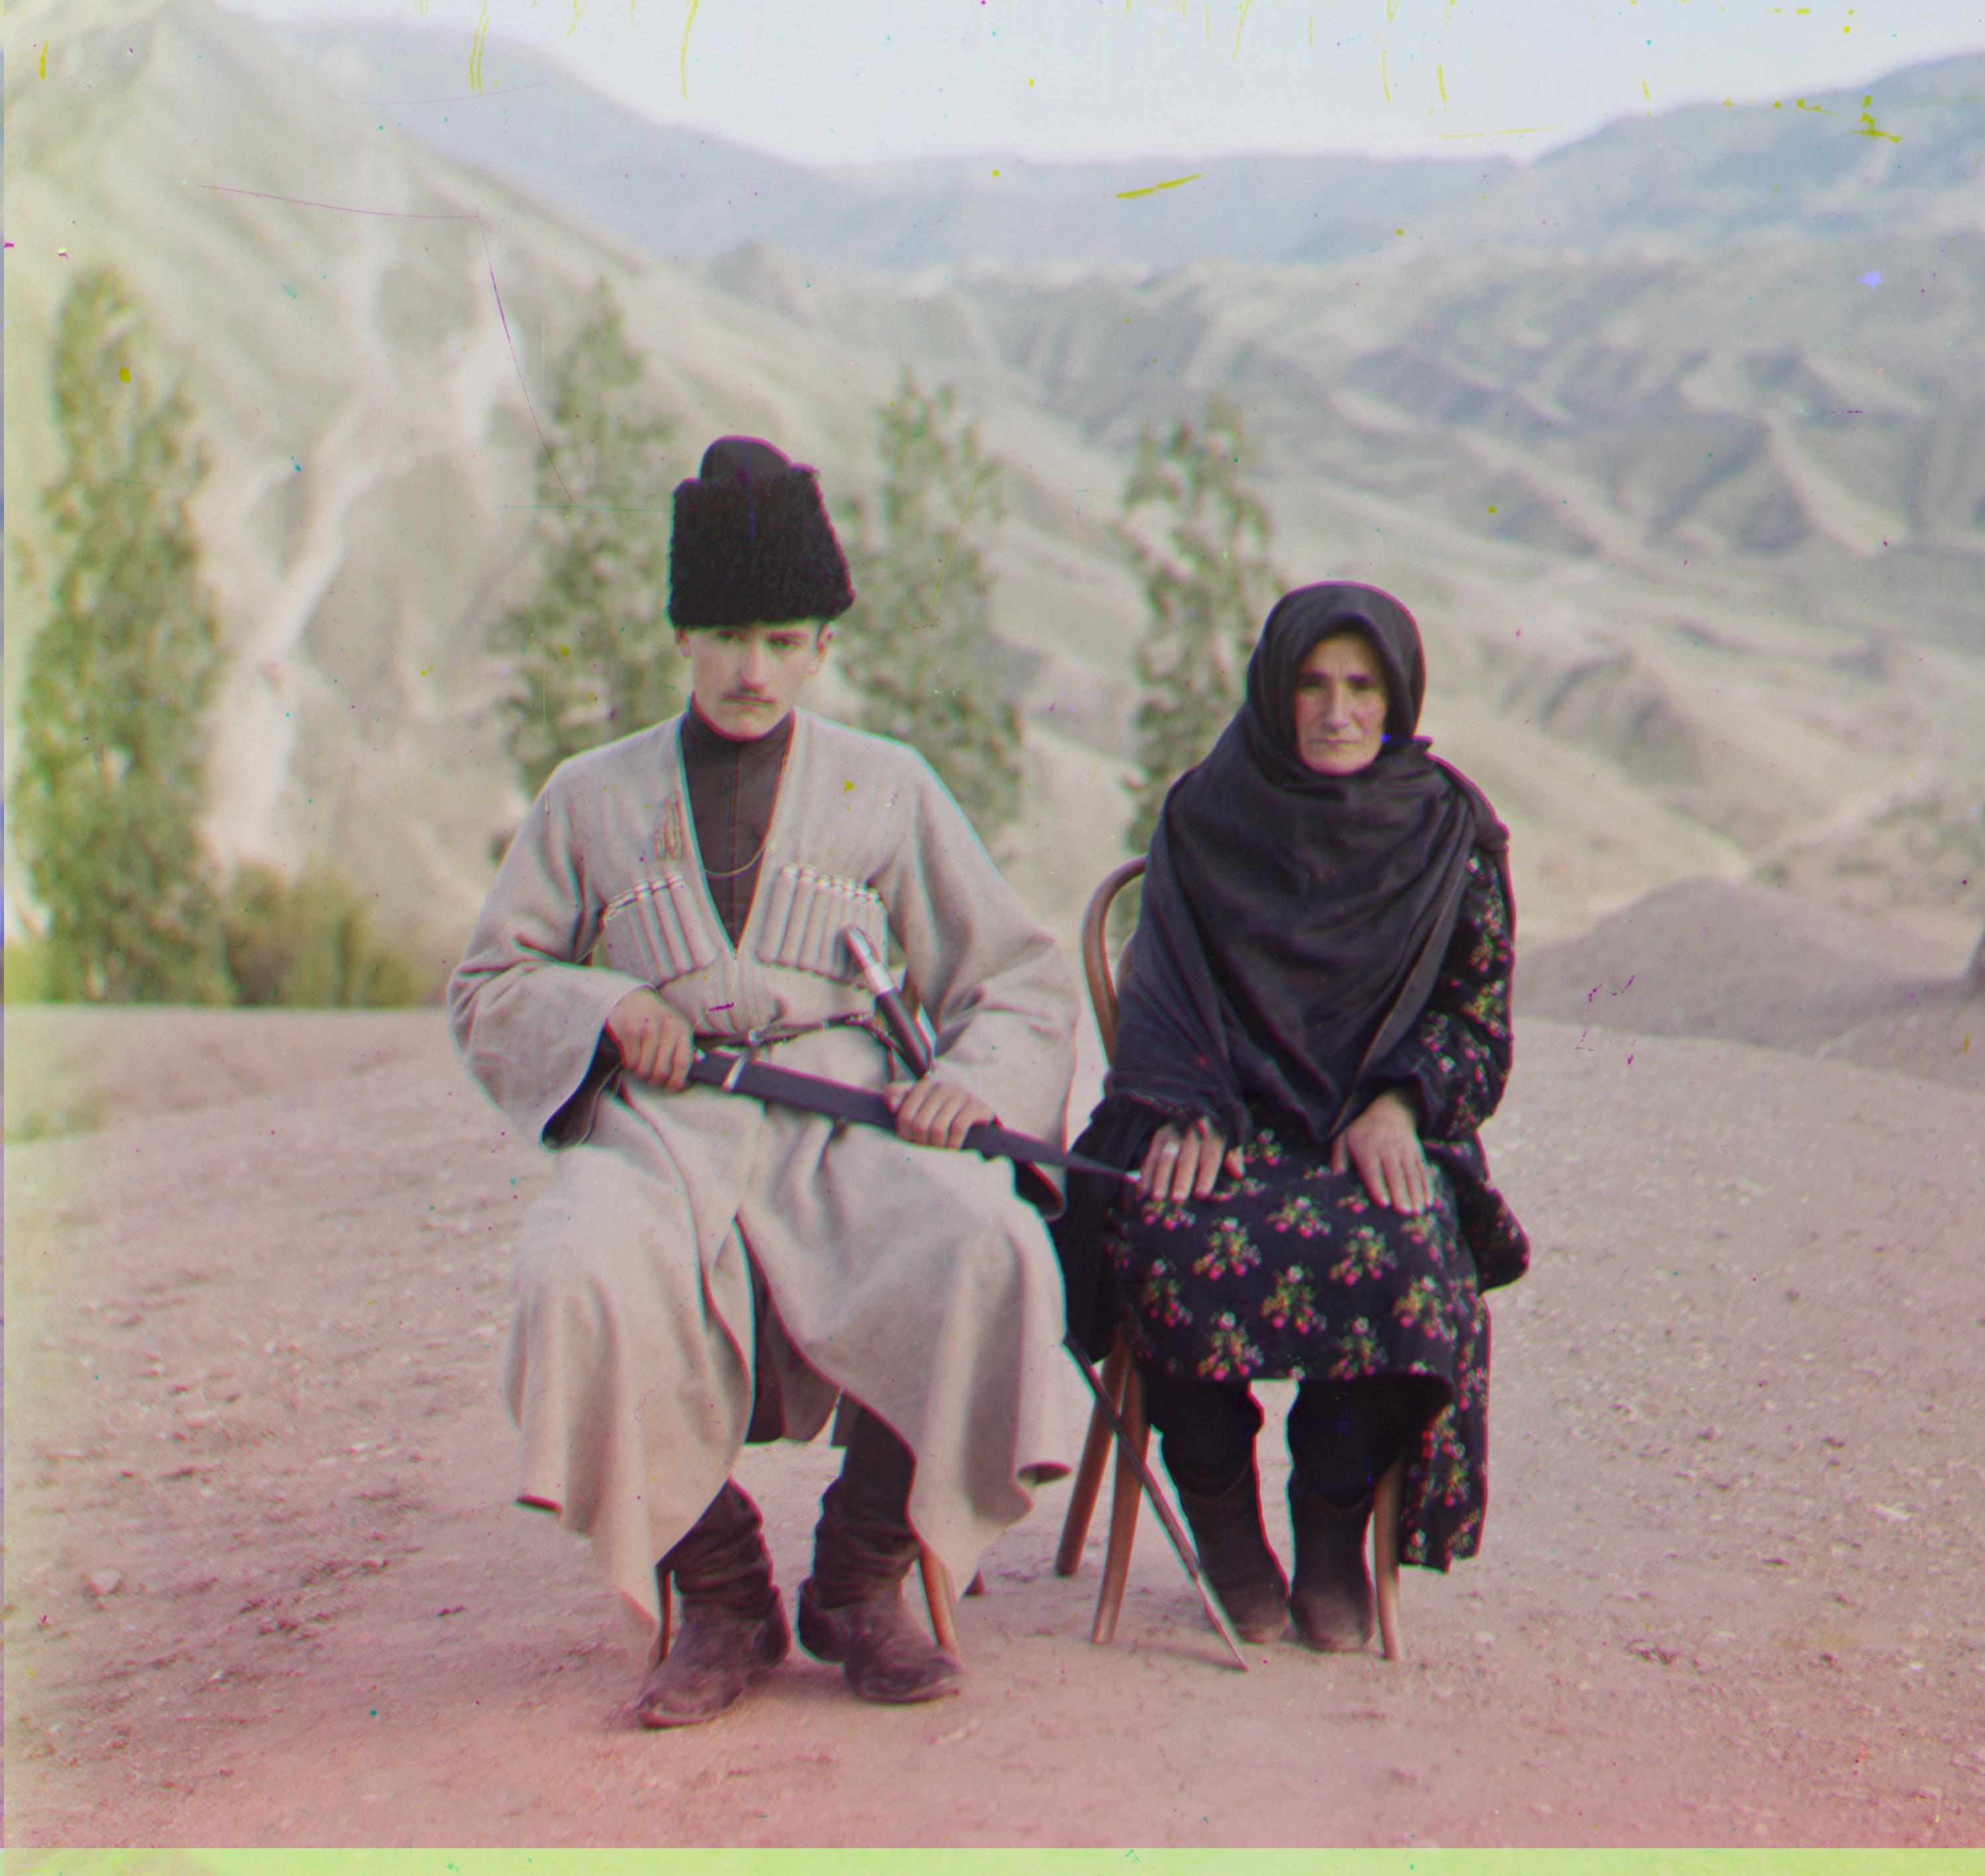
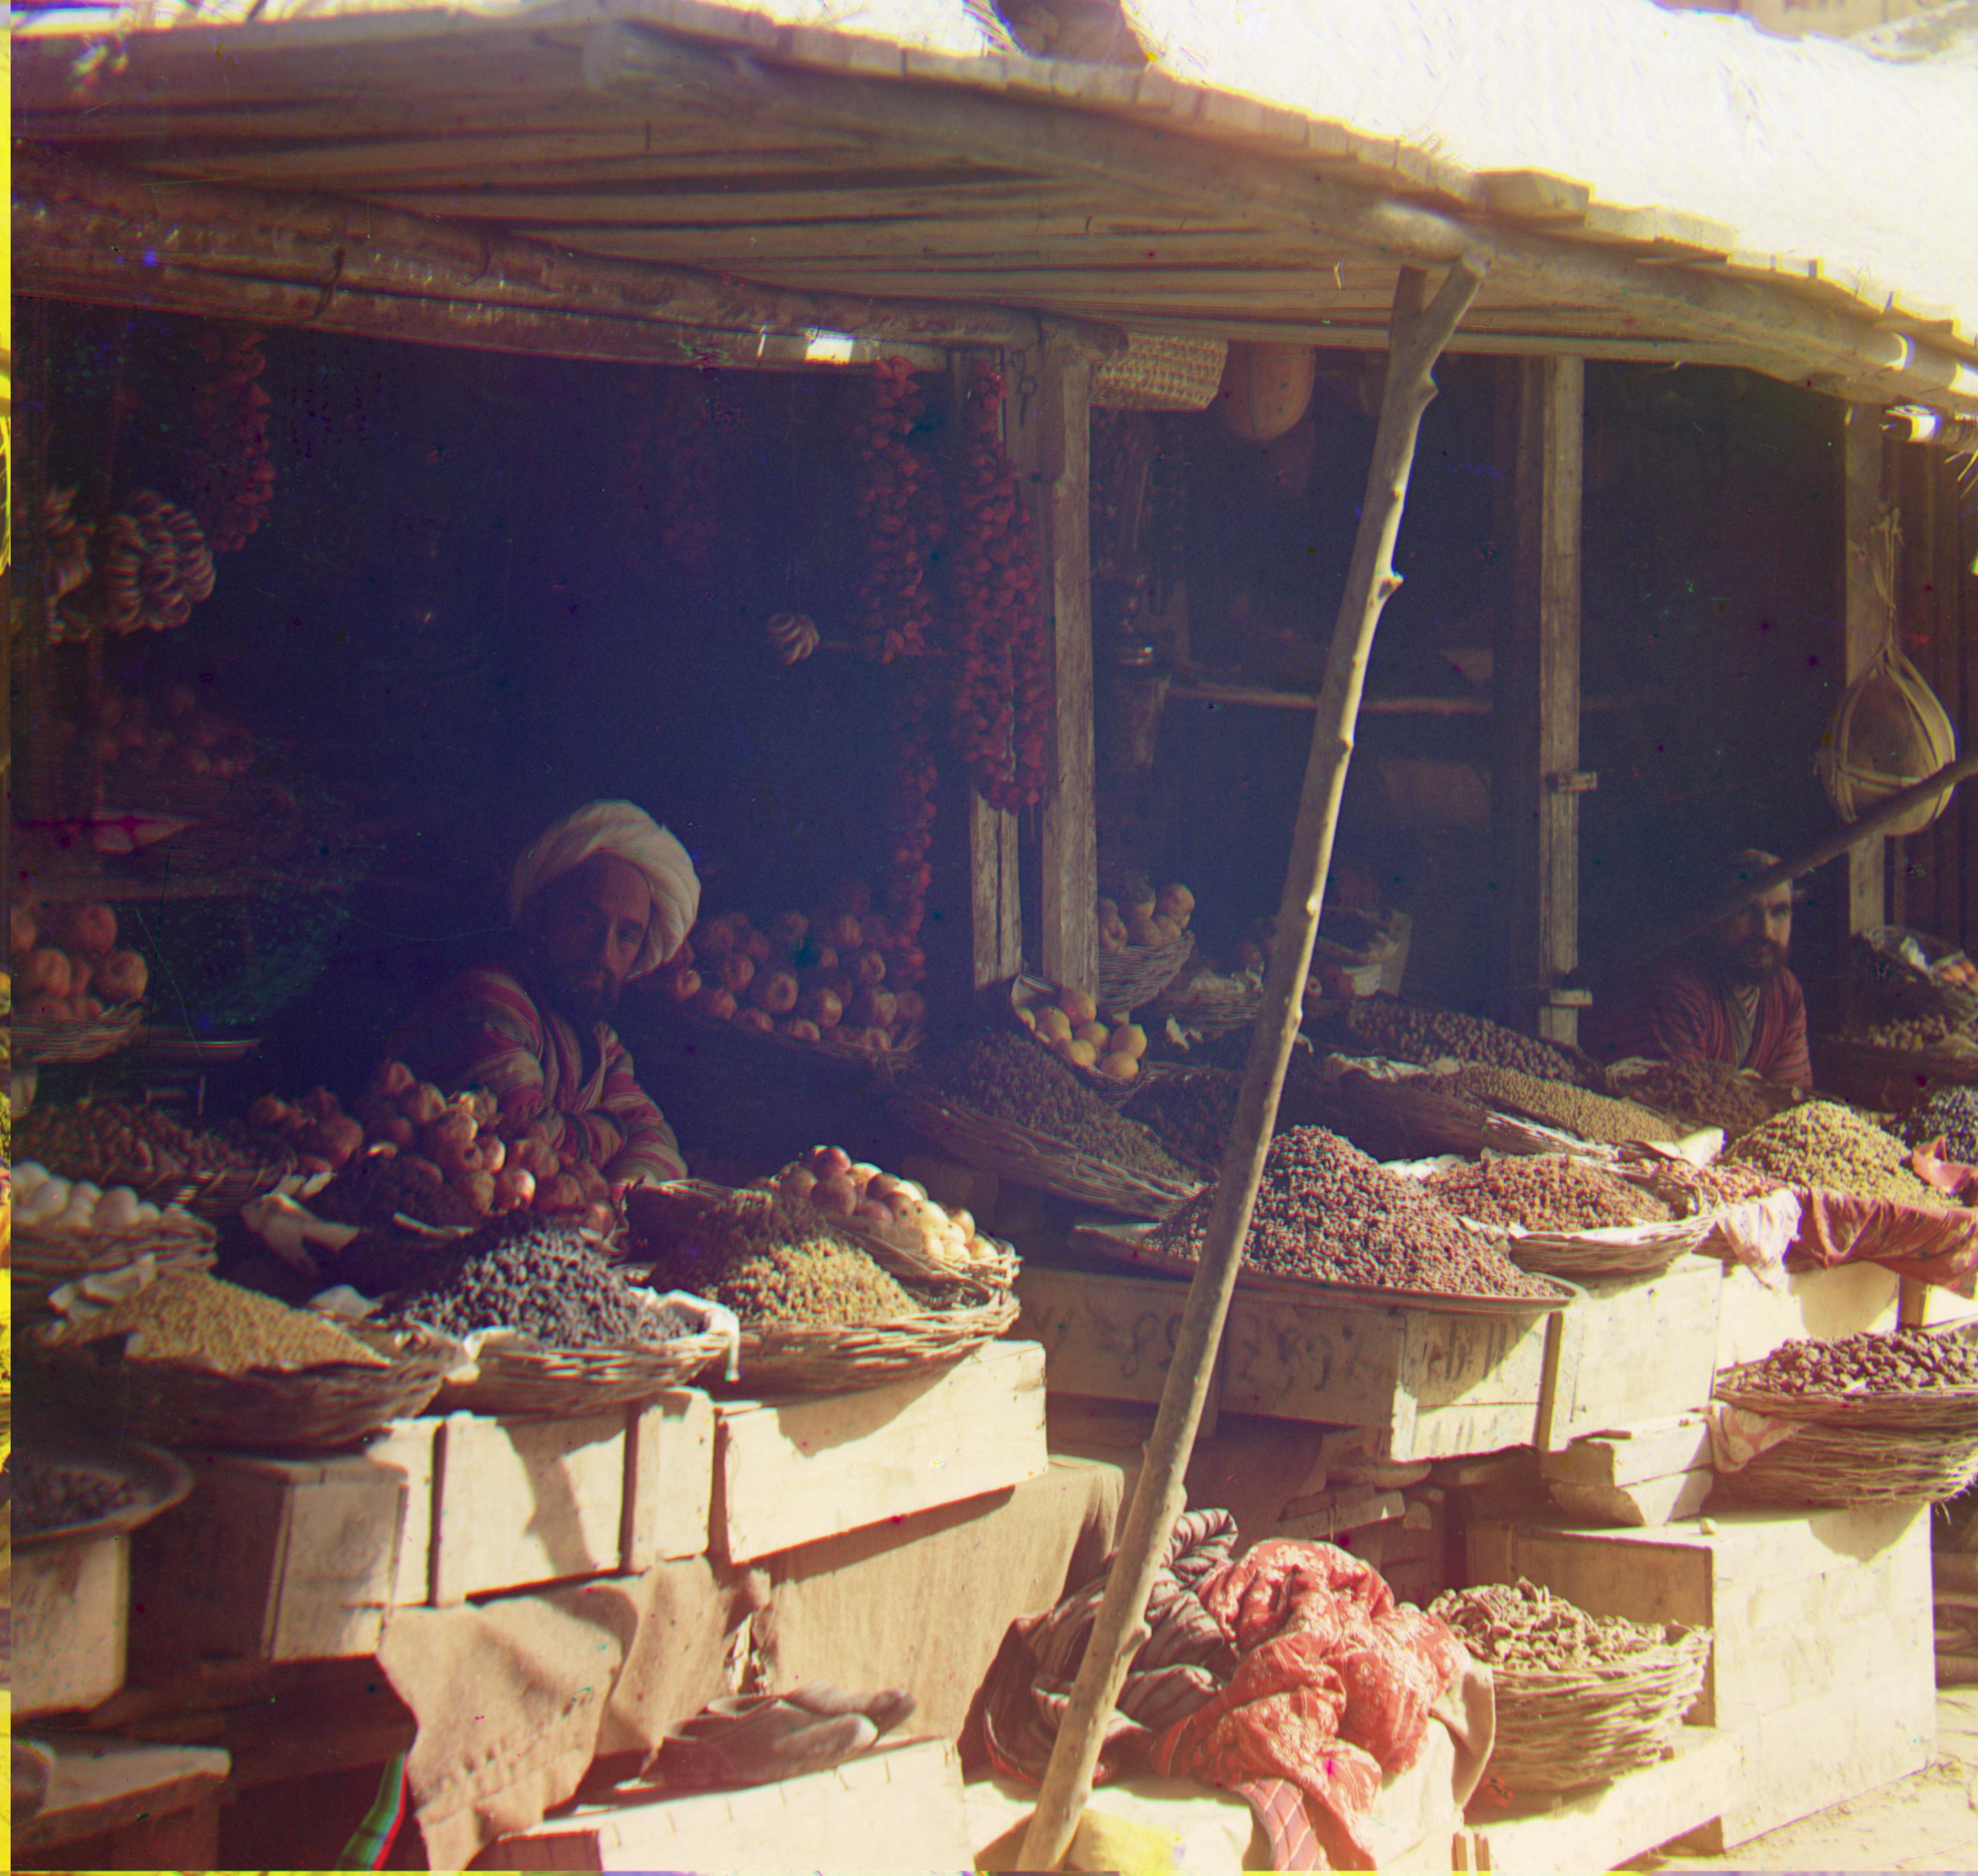
Prokudin-Gorskii - Extended Cut
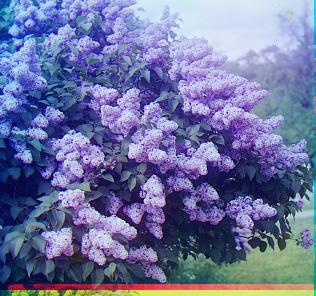
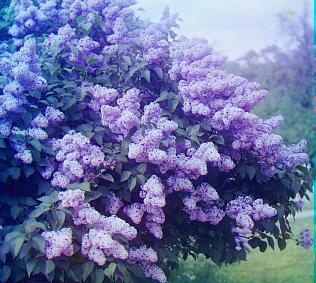
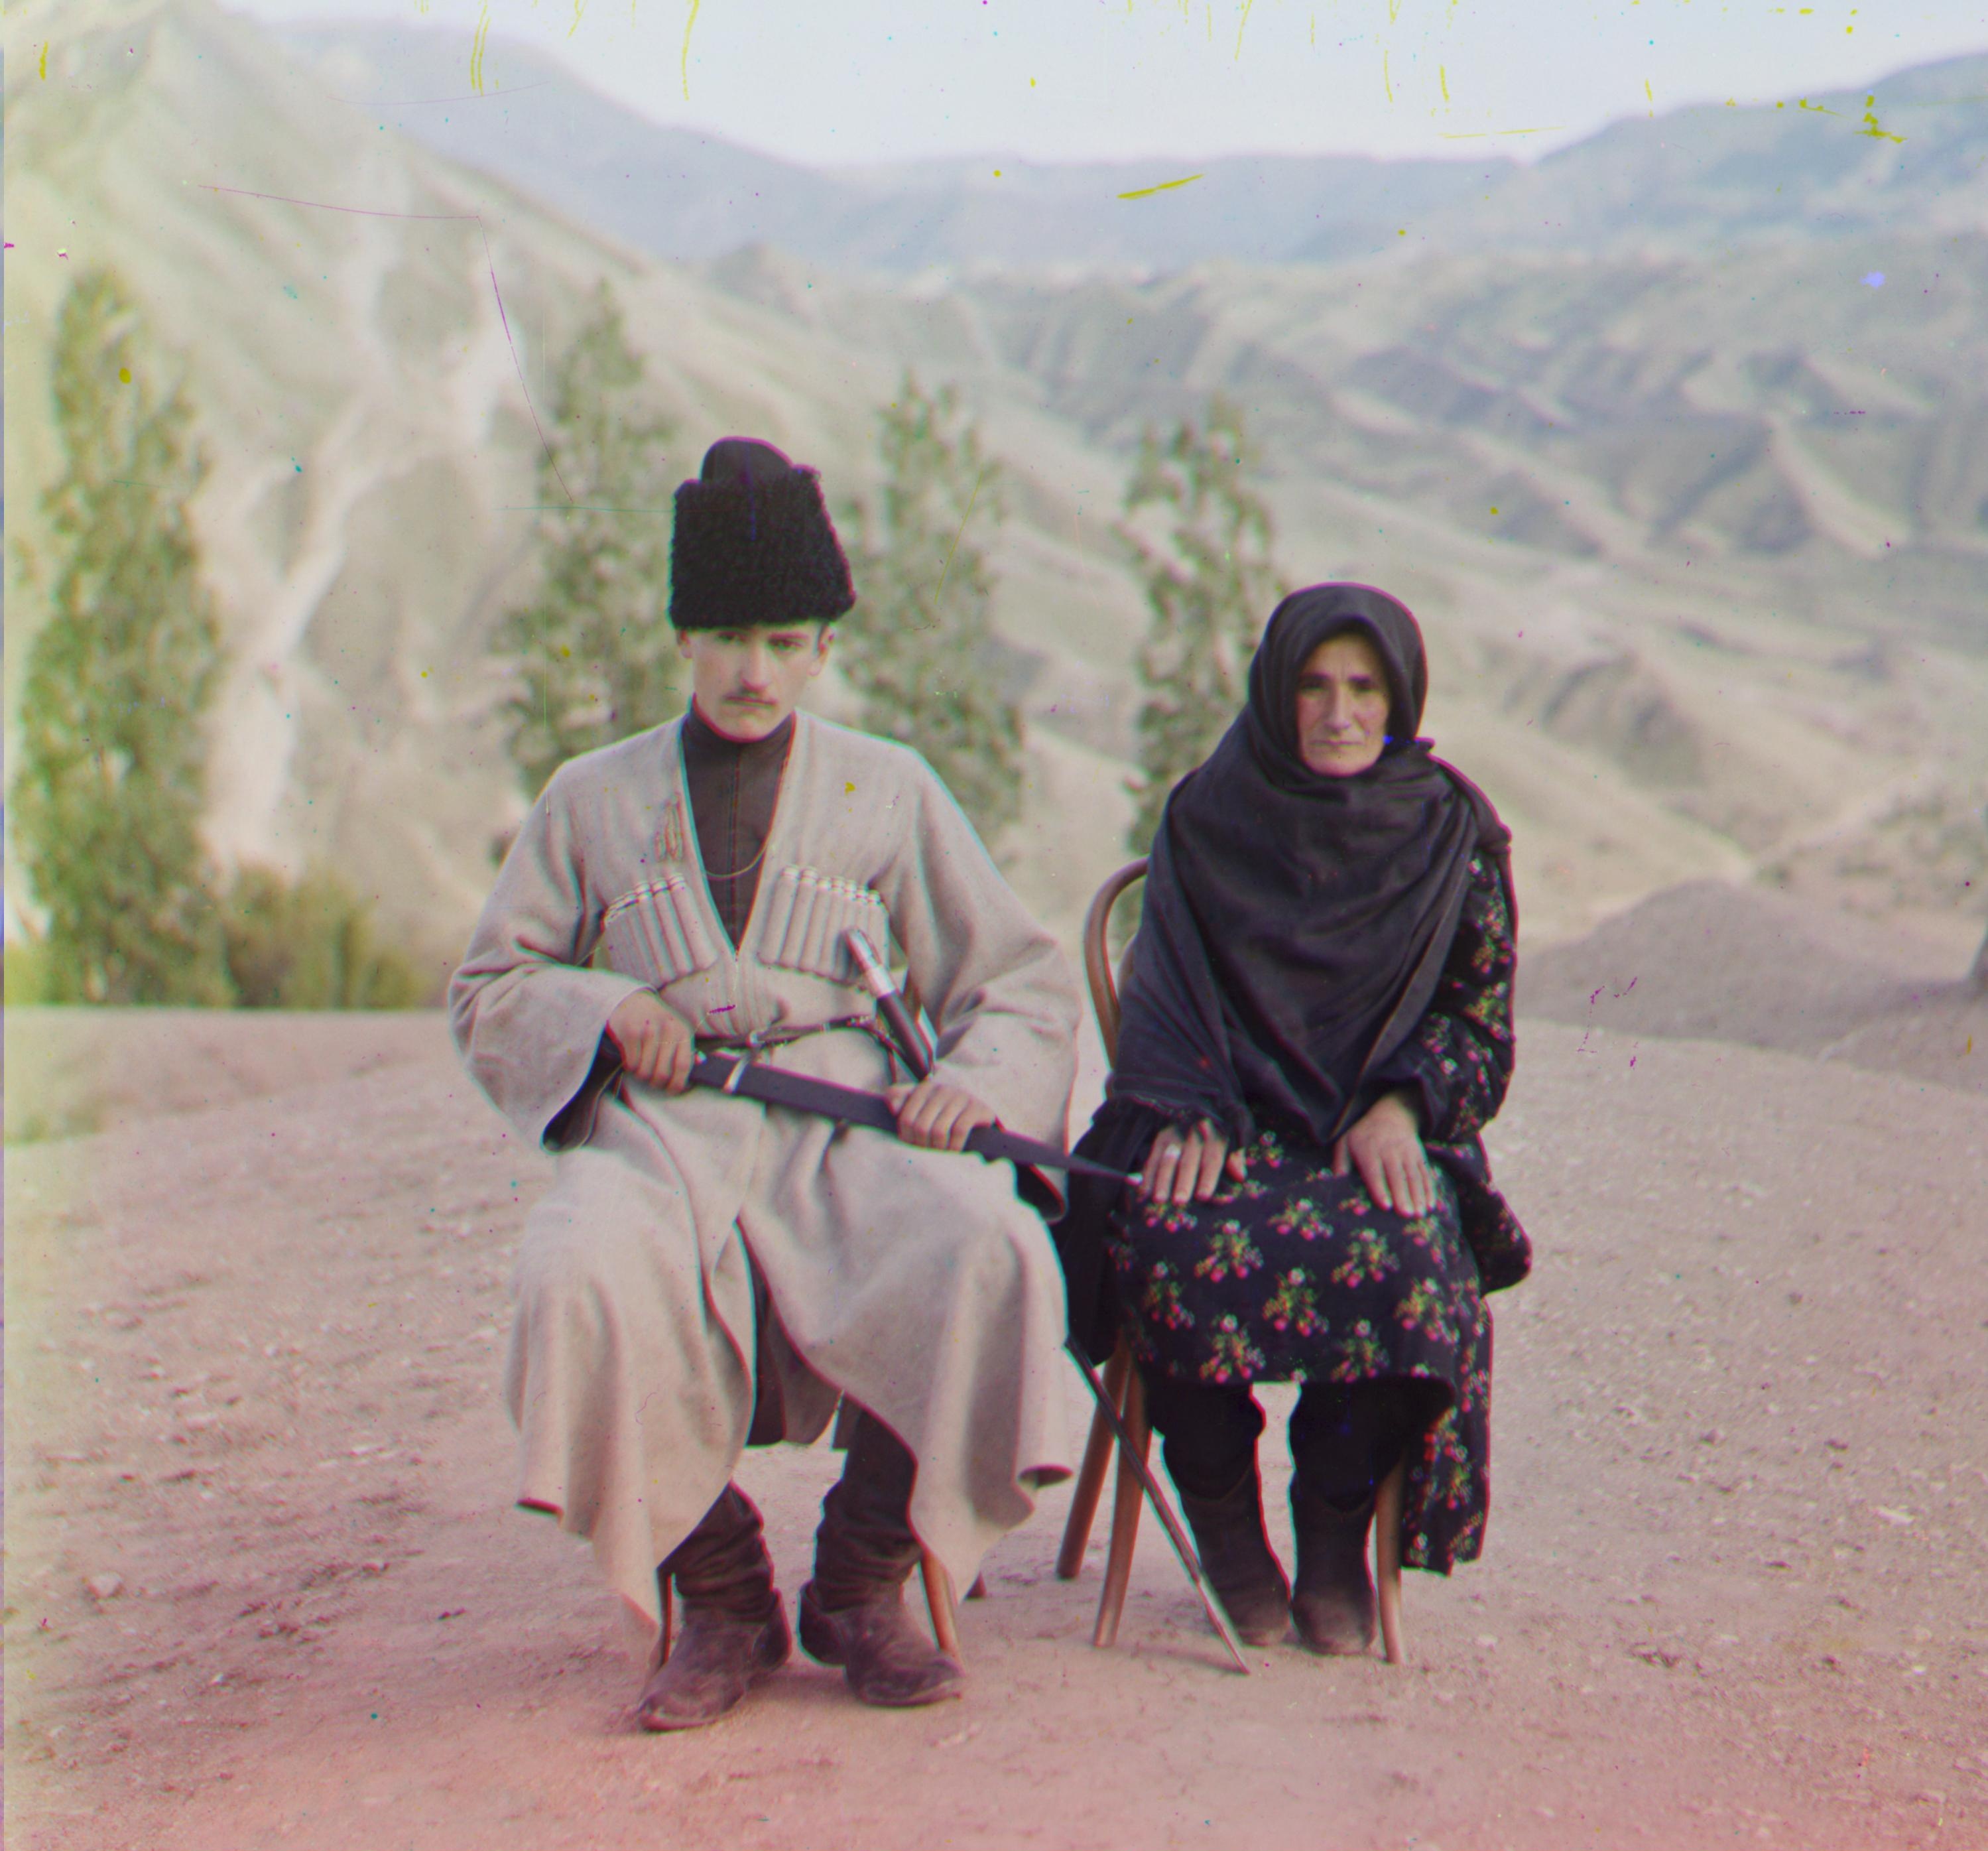
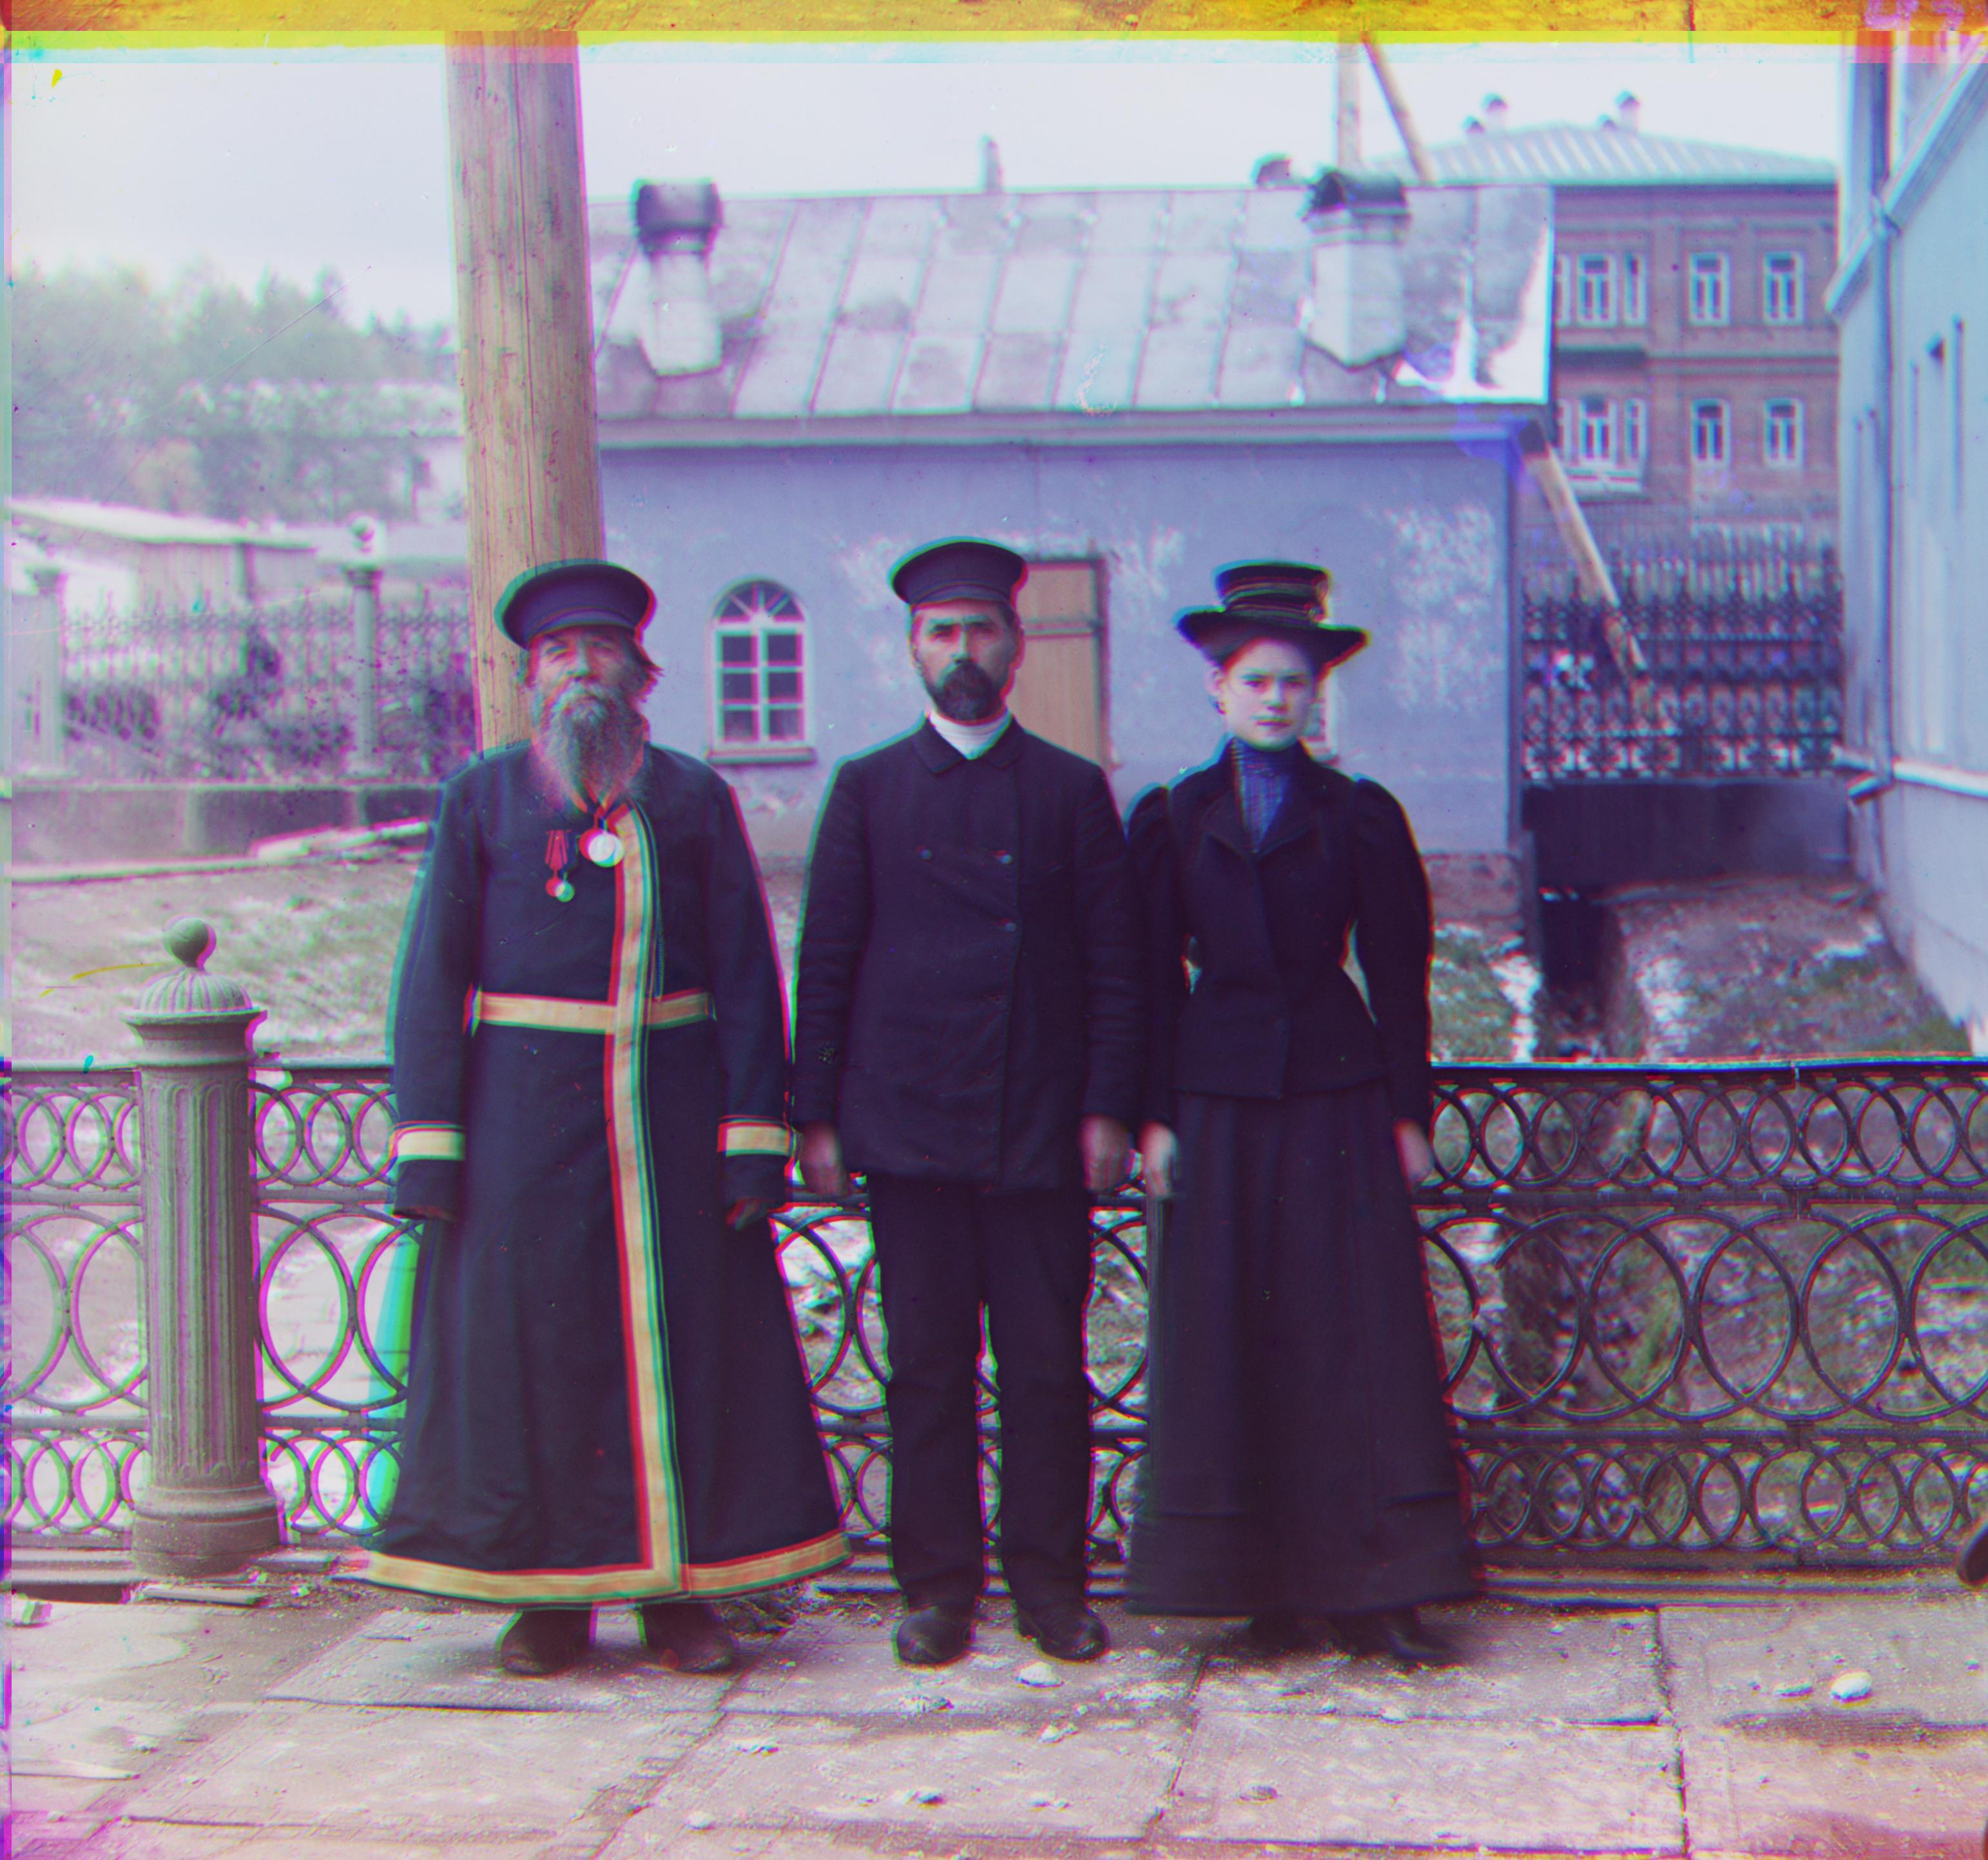
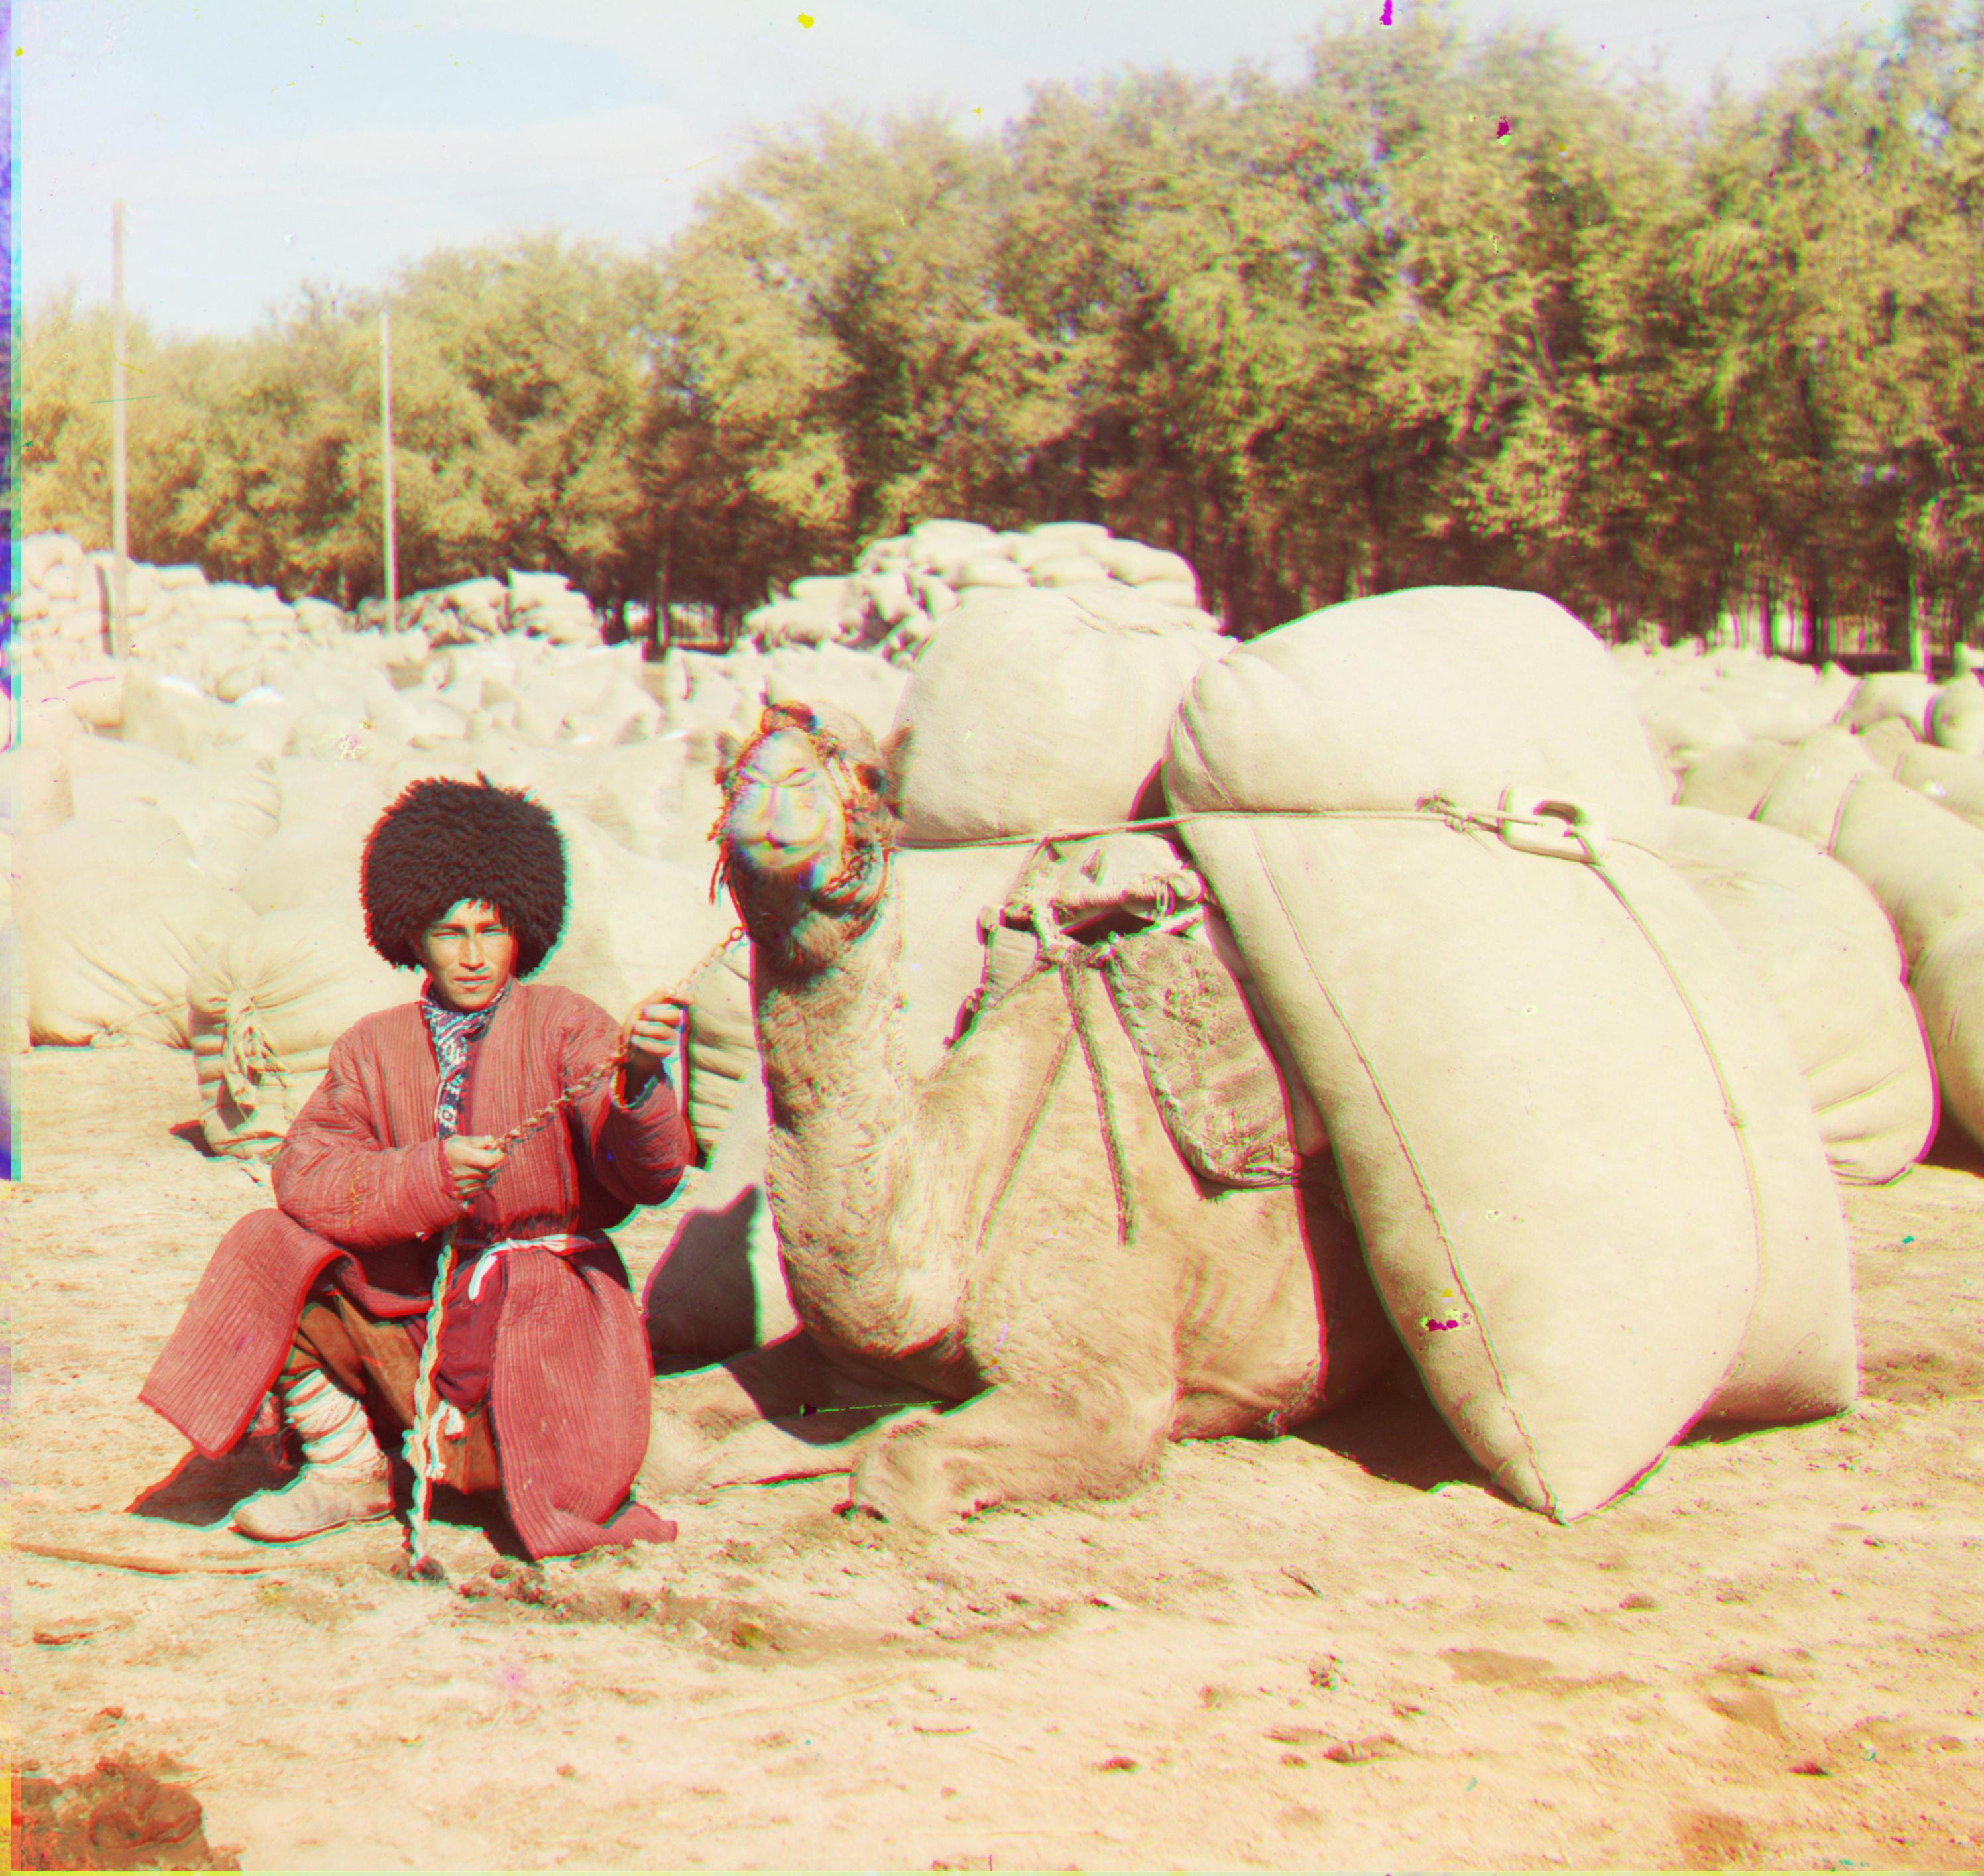
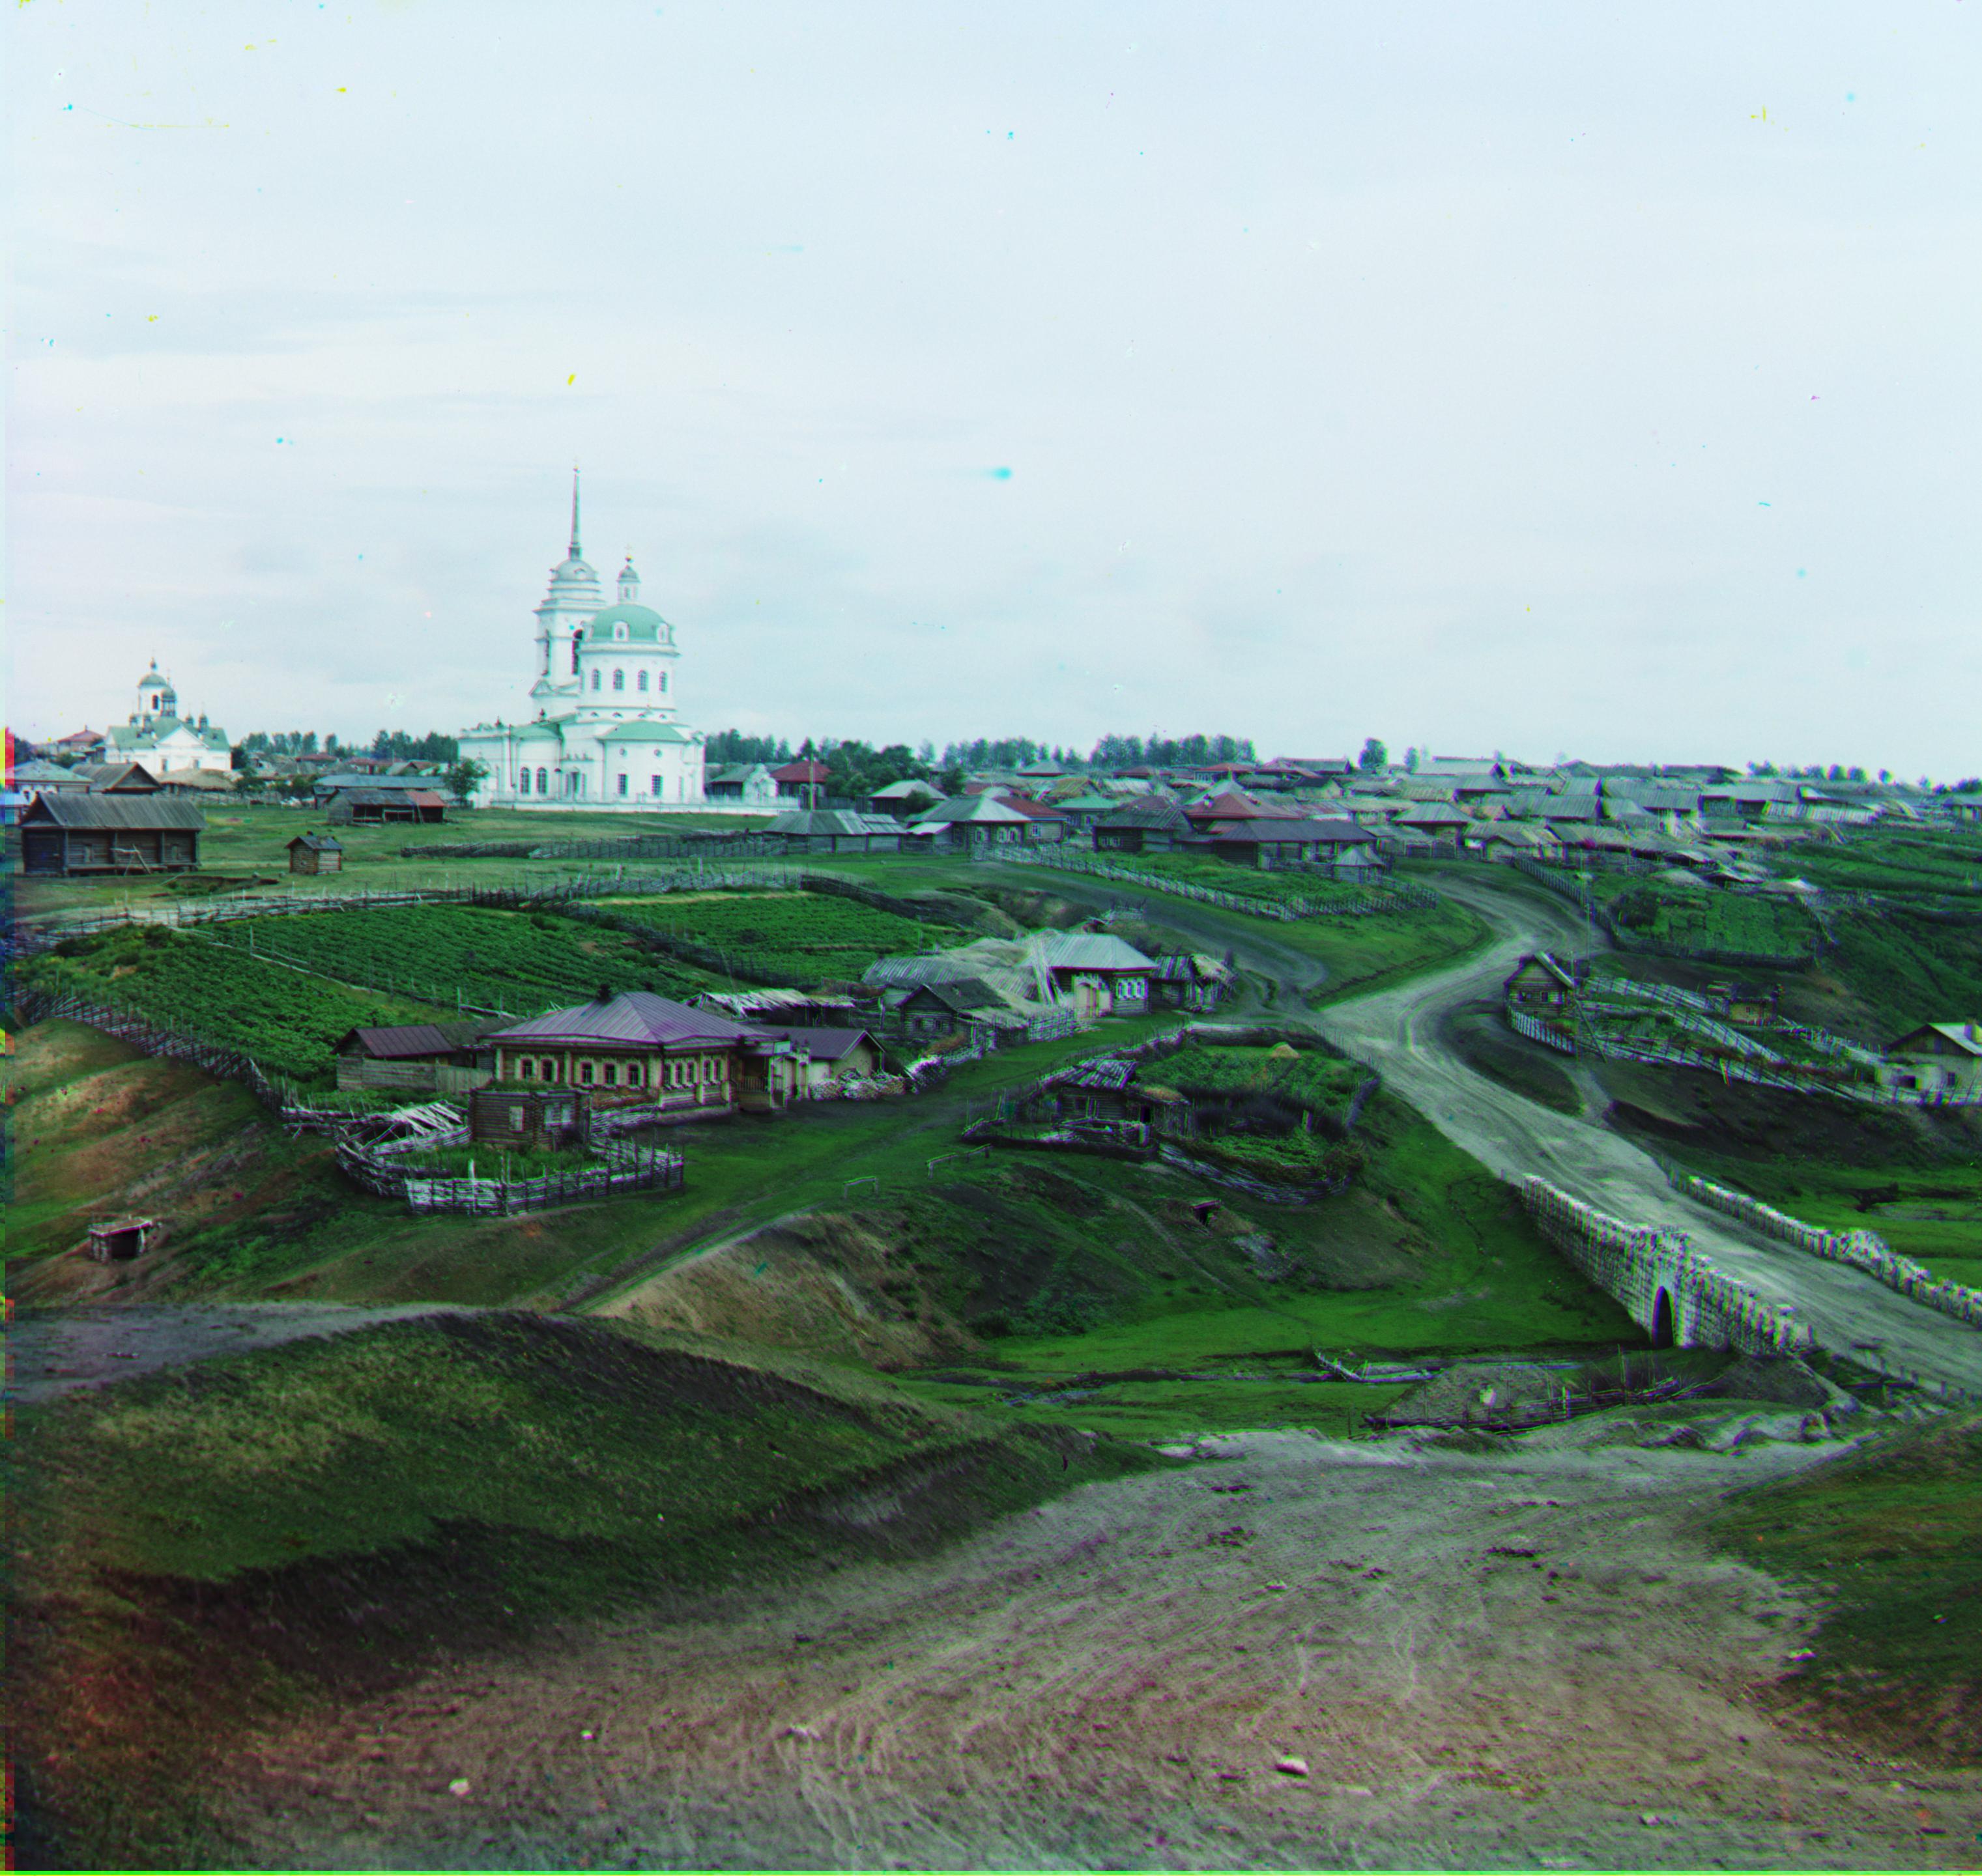
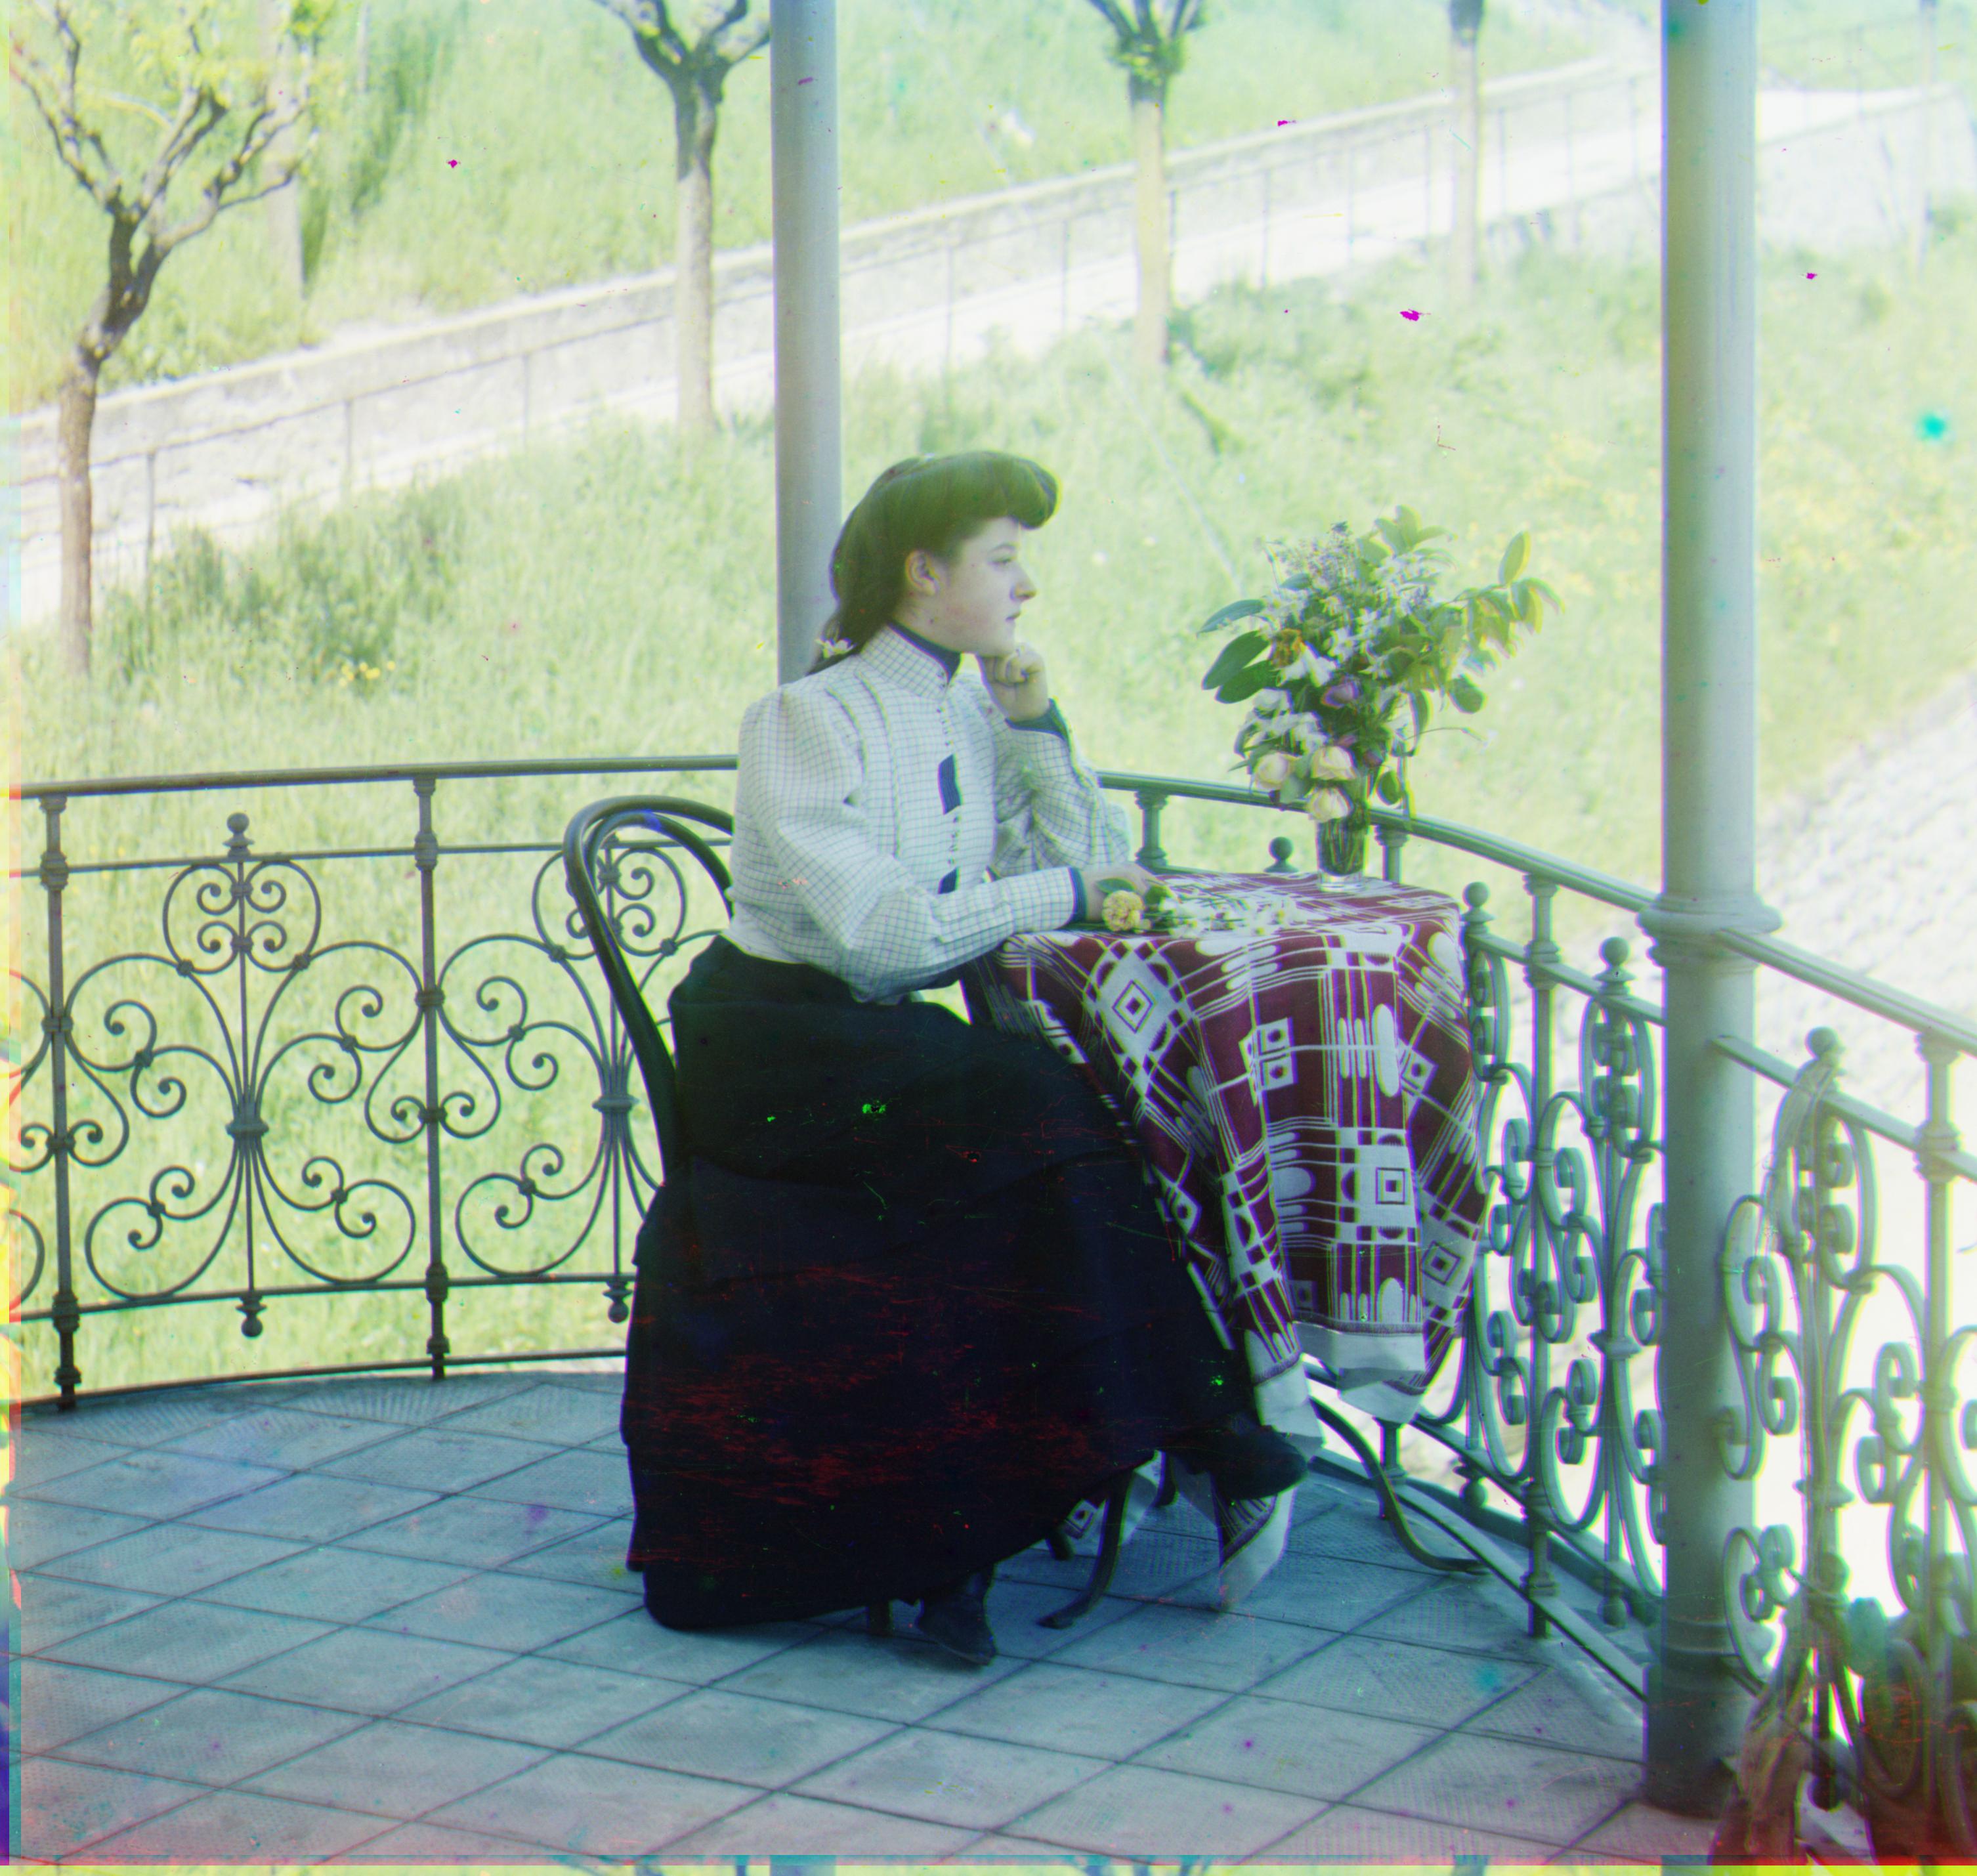
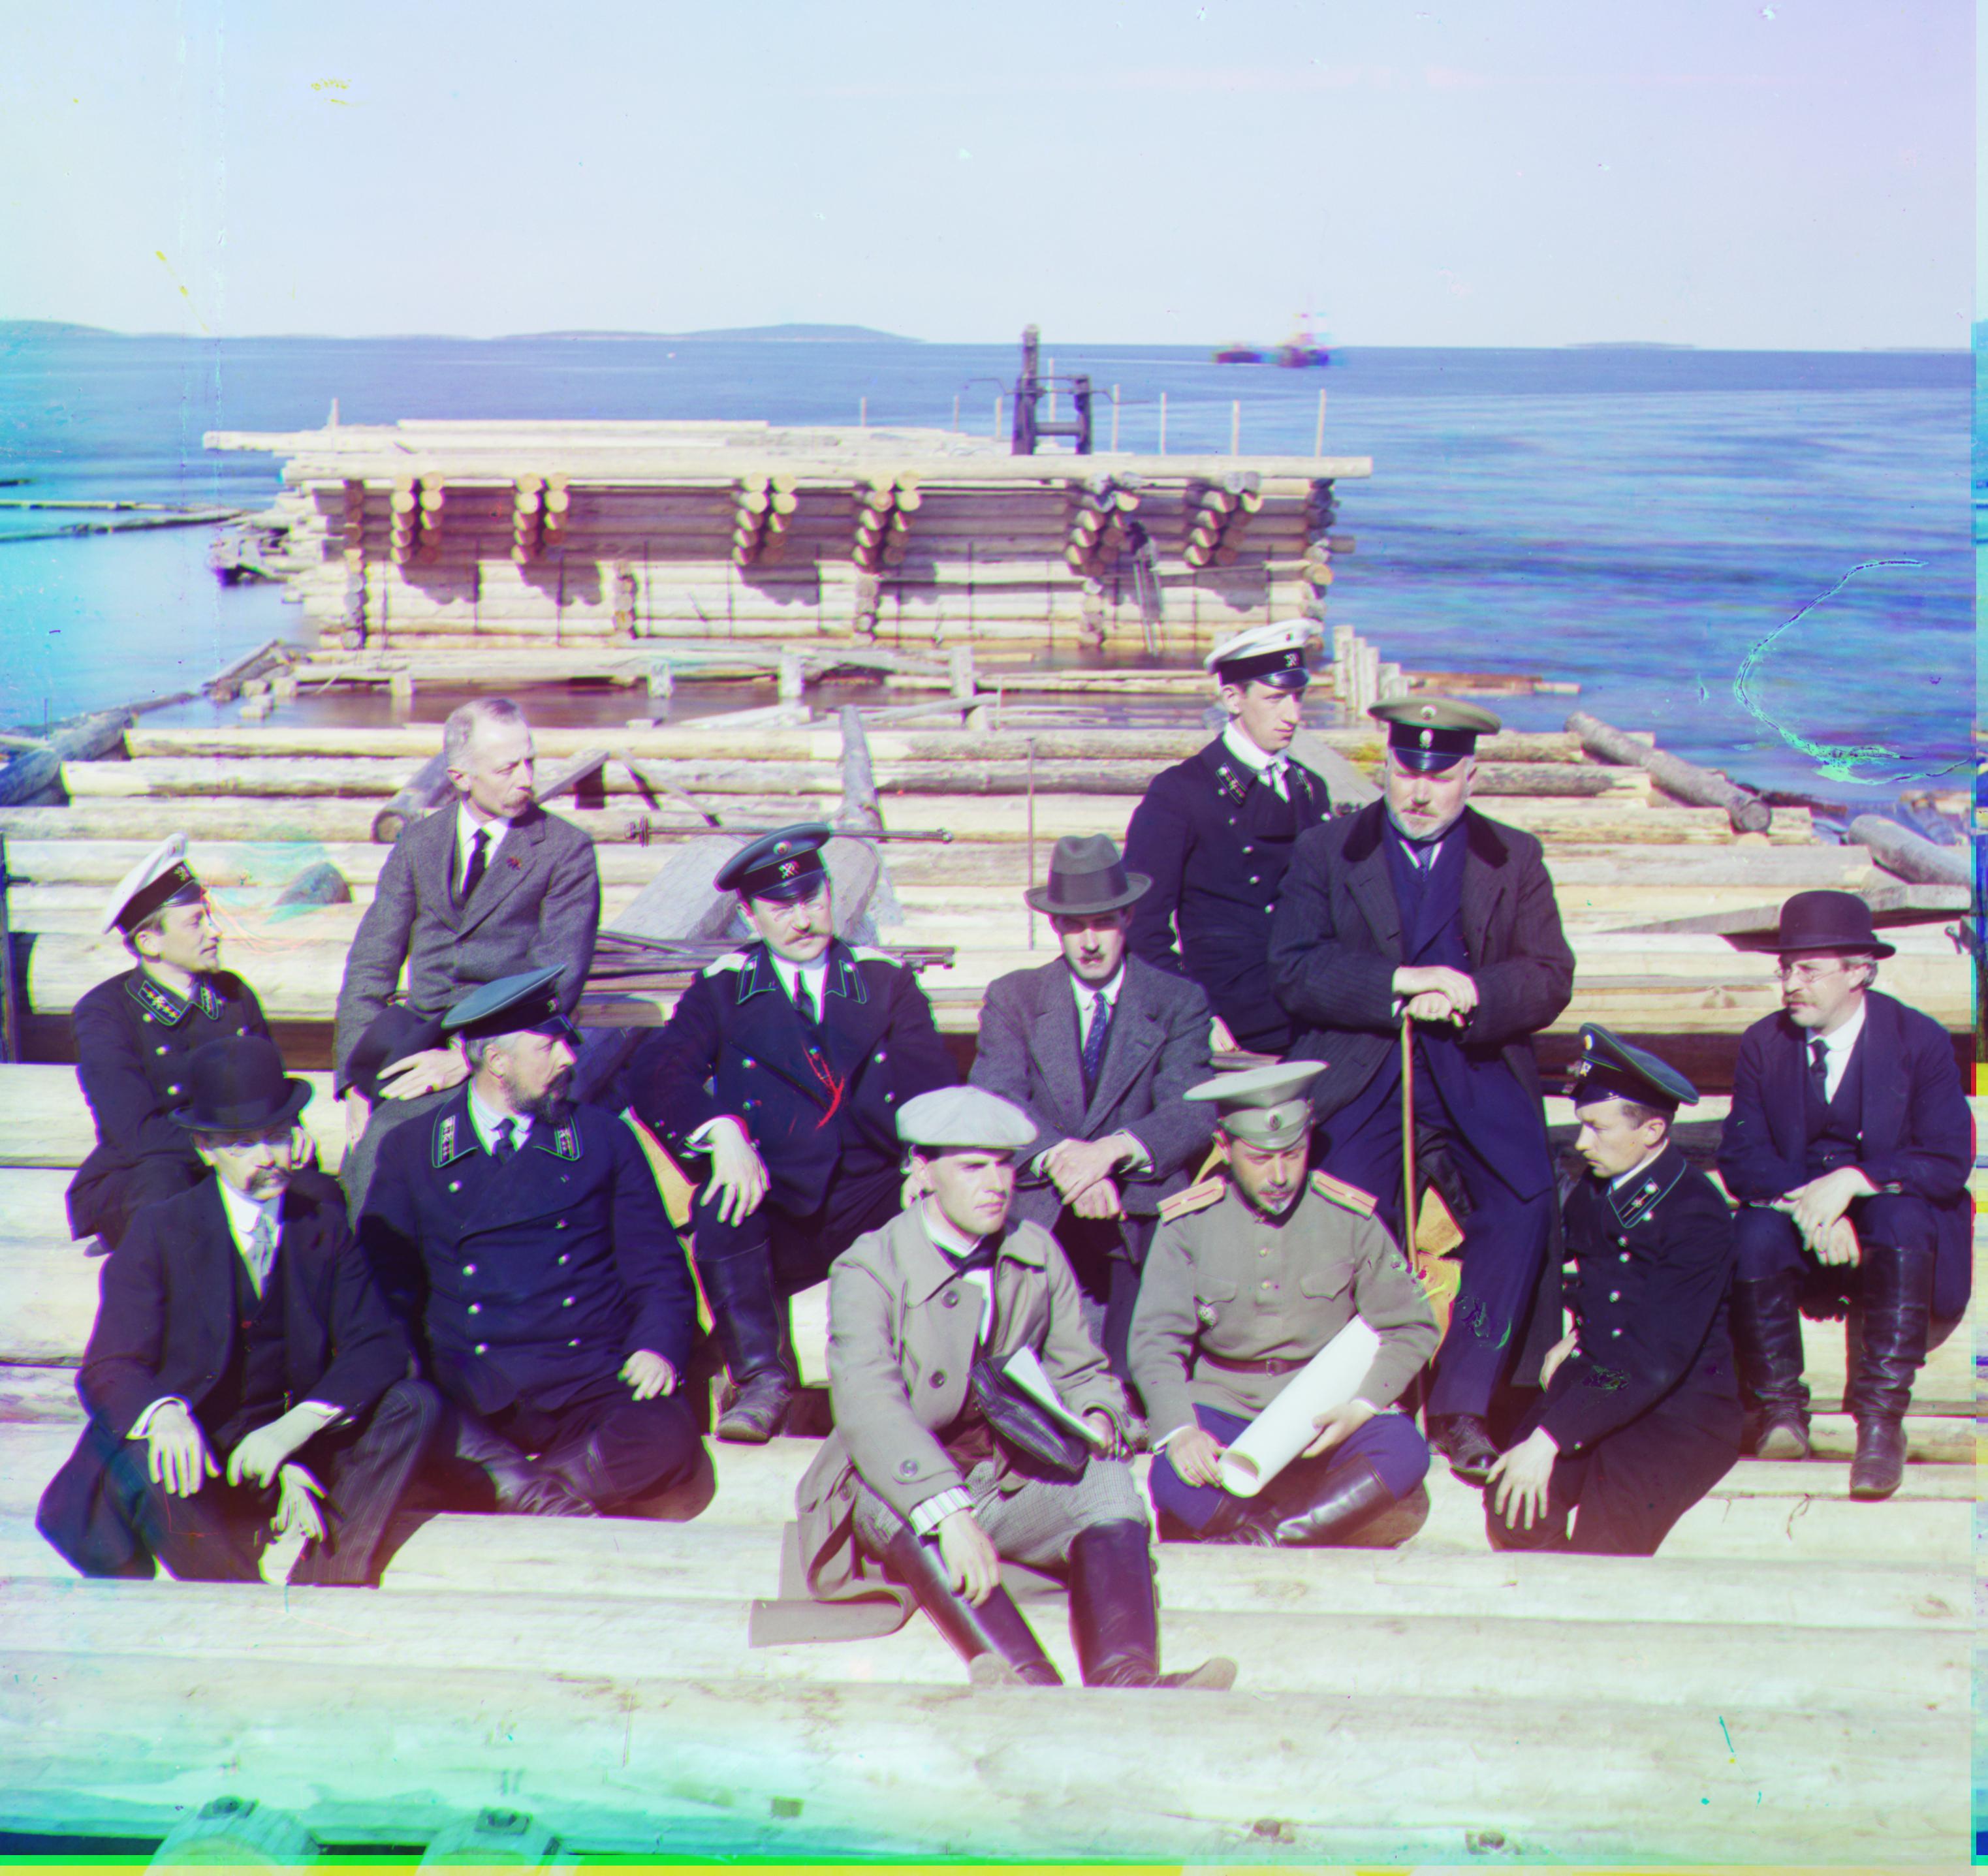
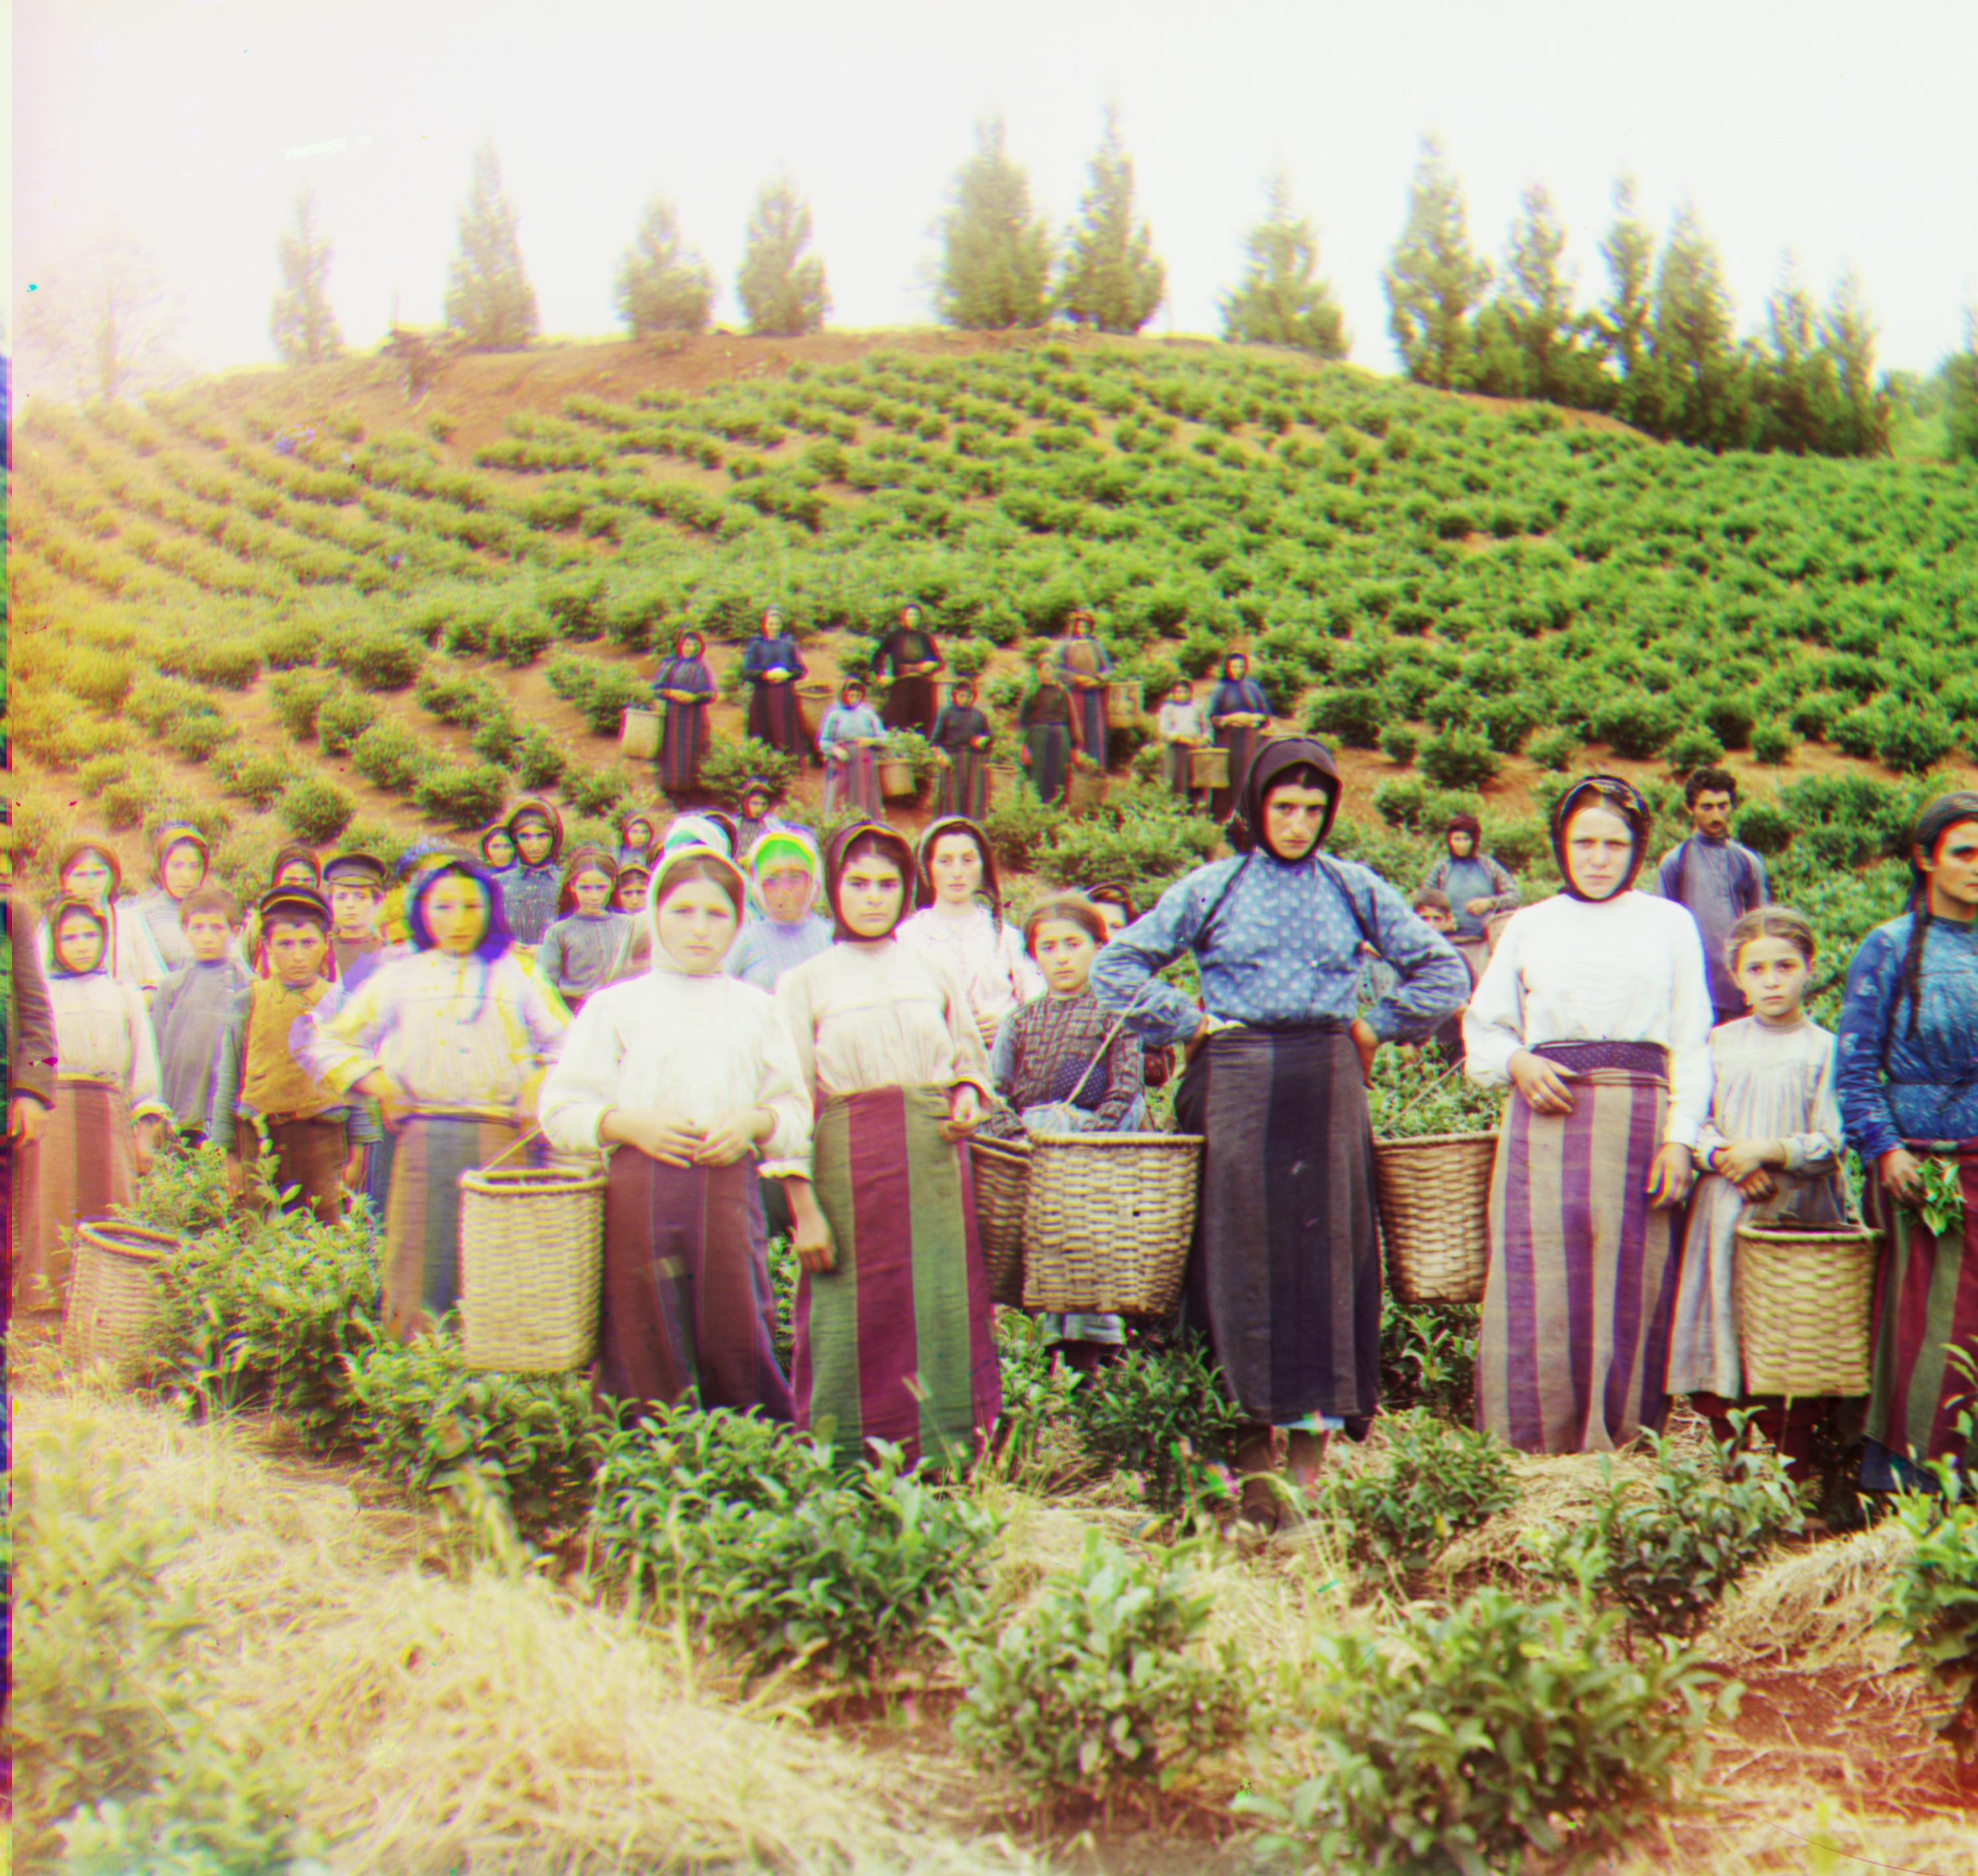
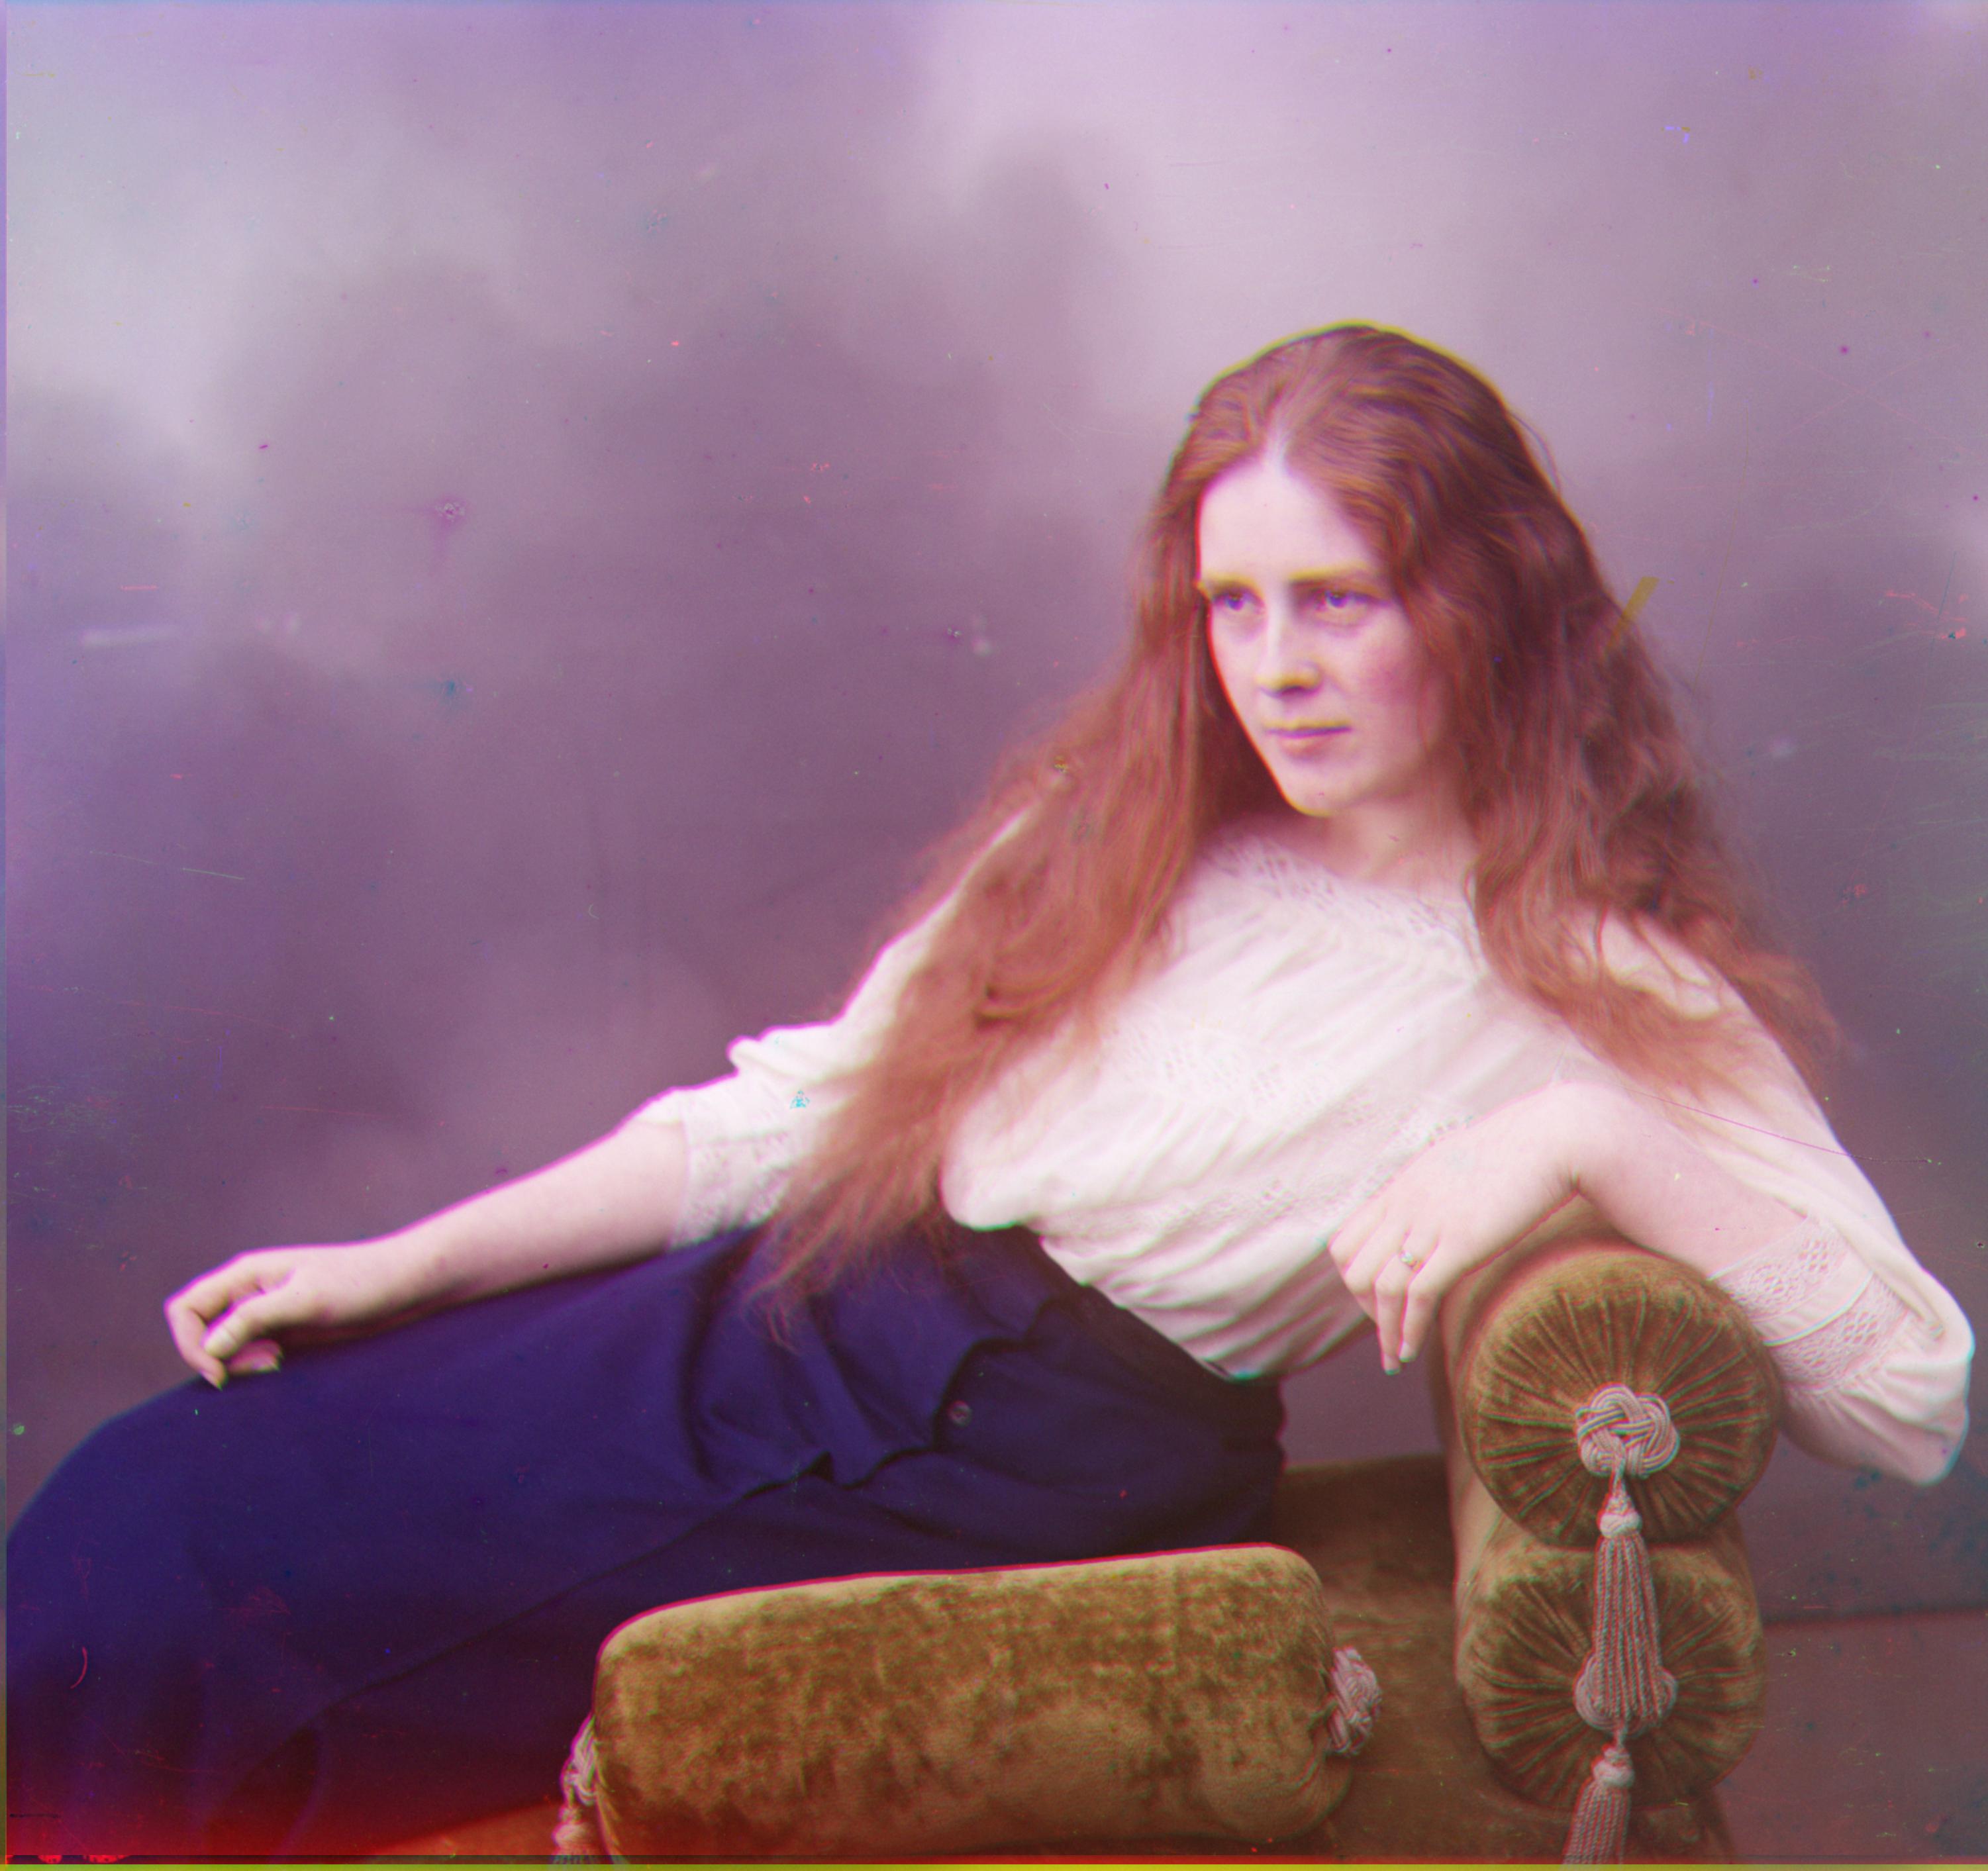
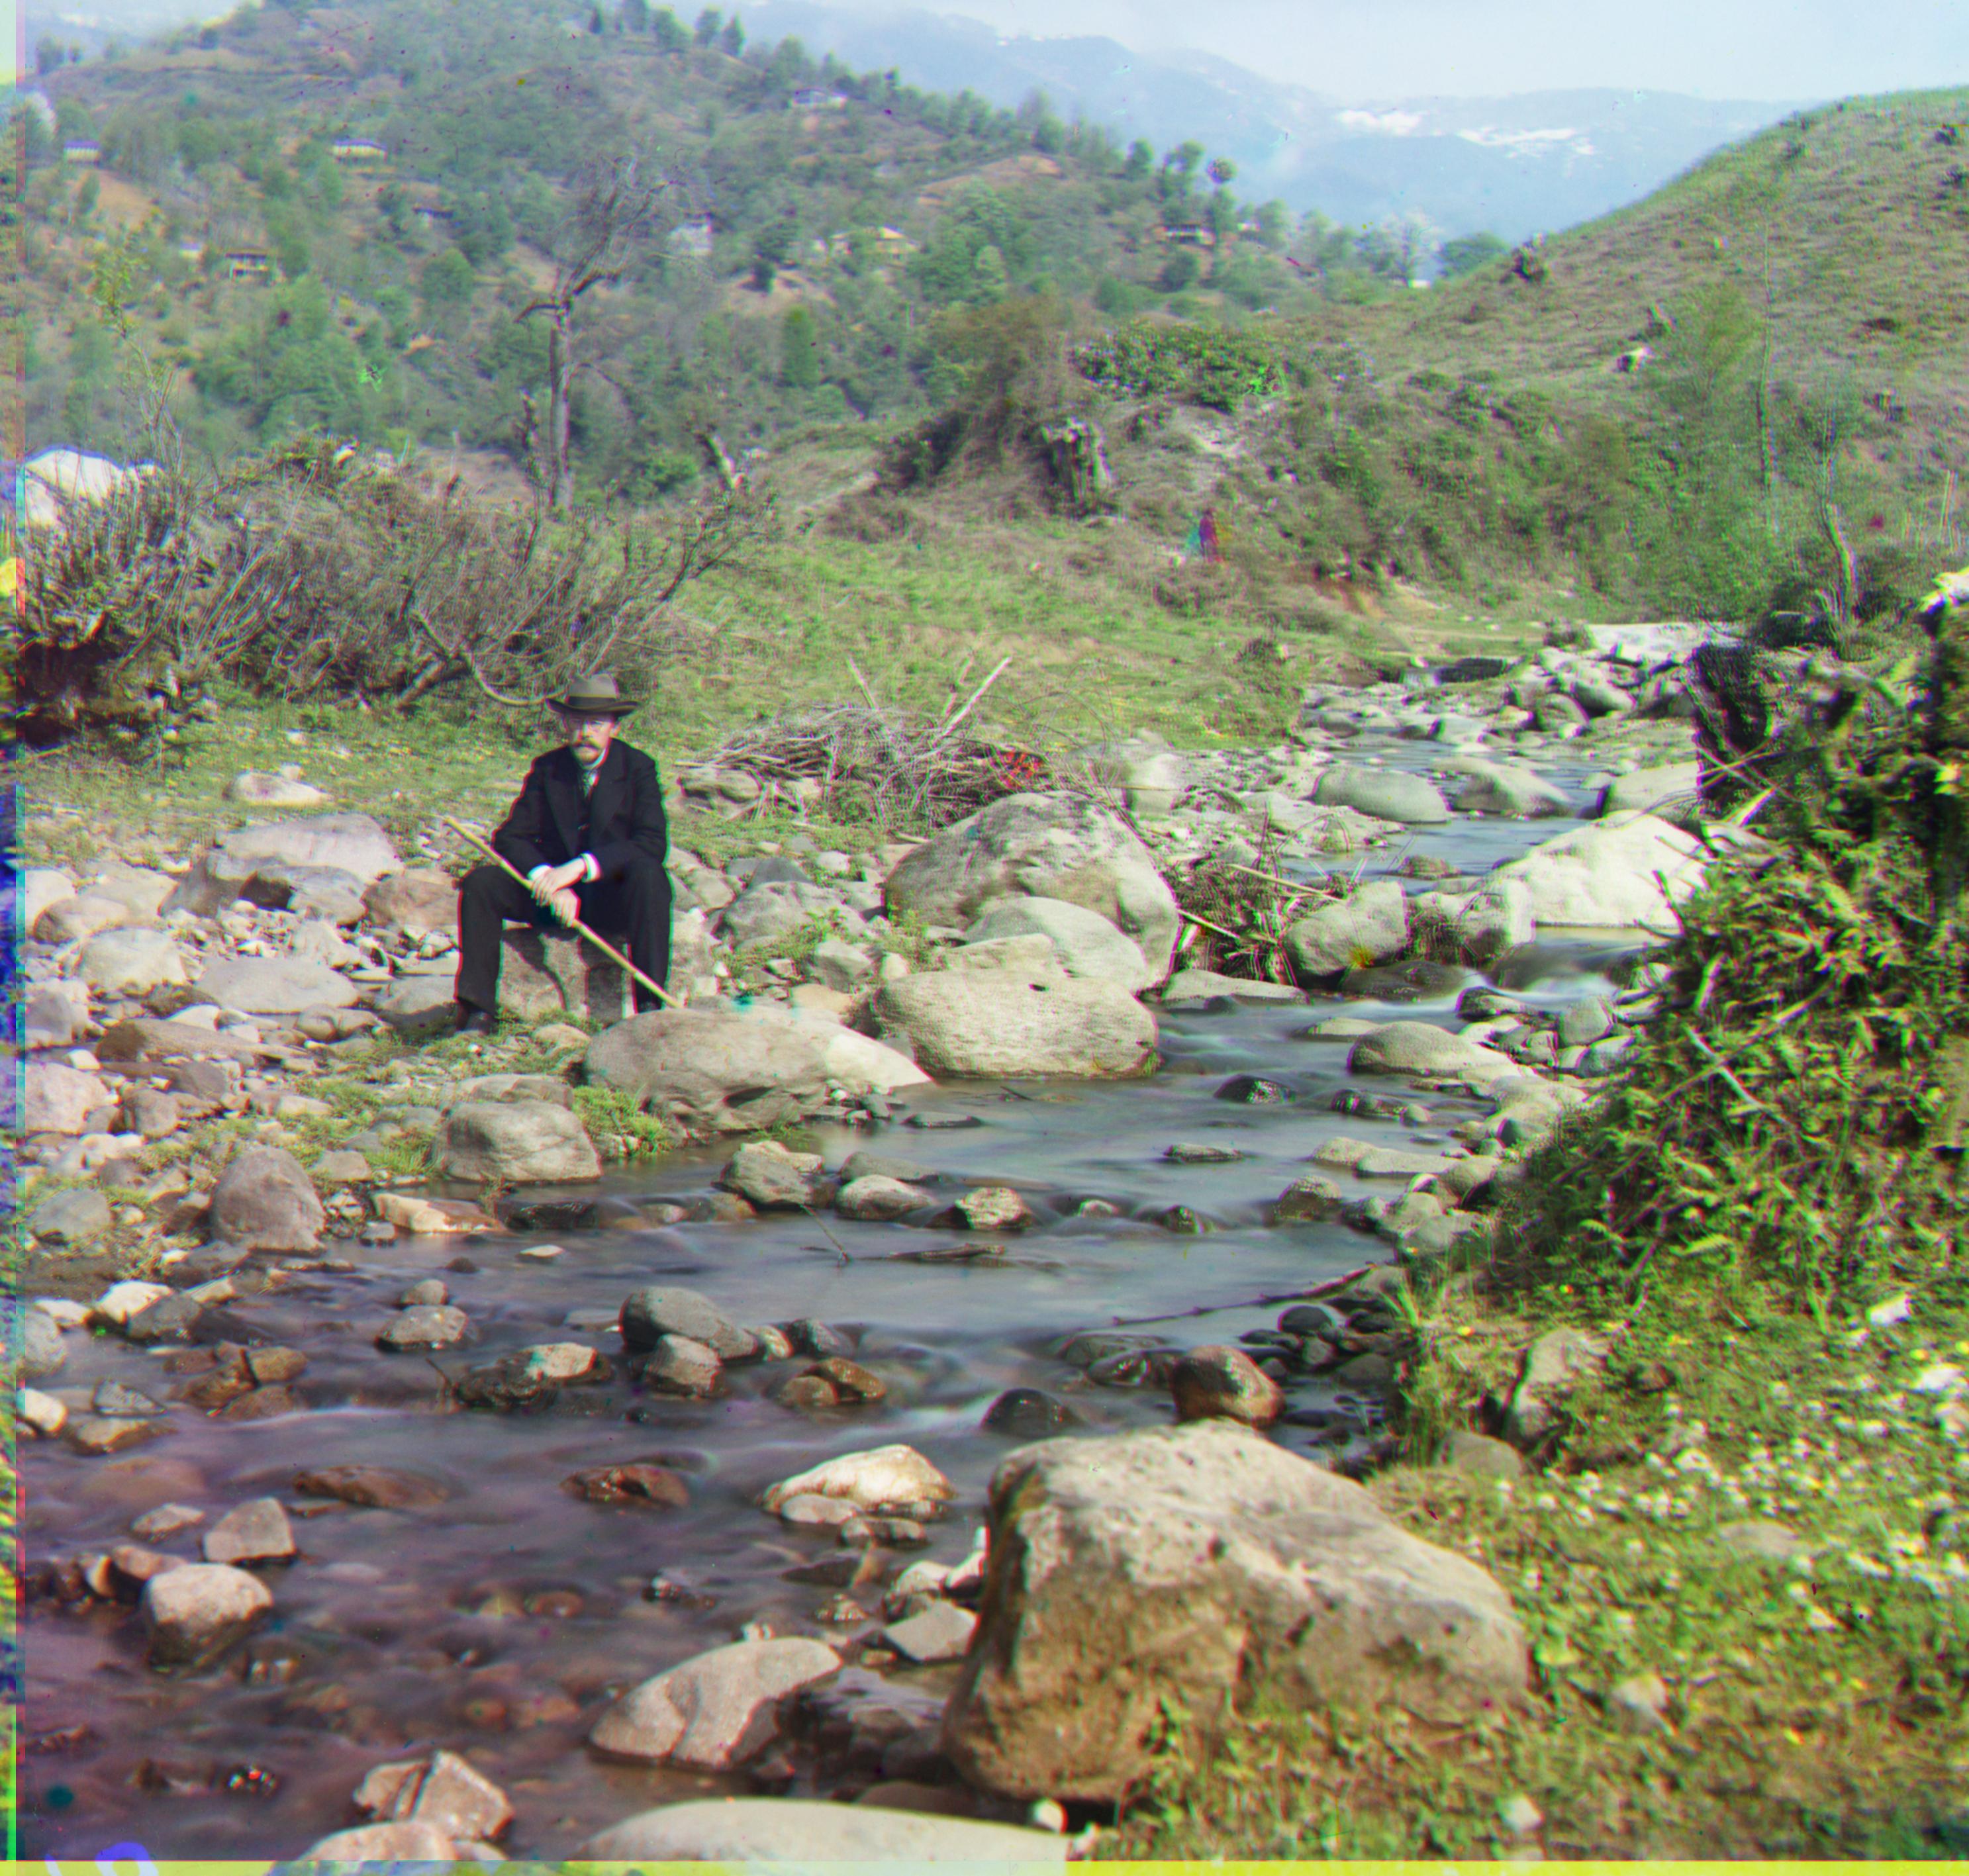
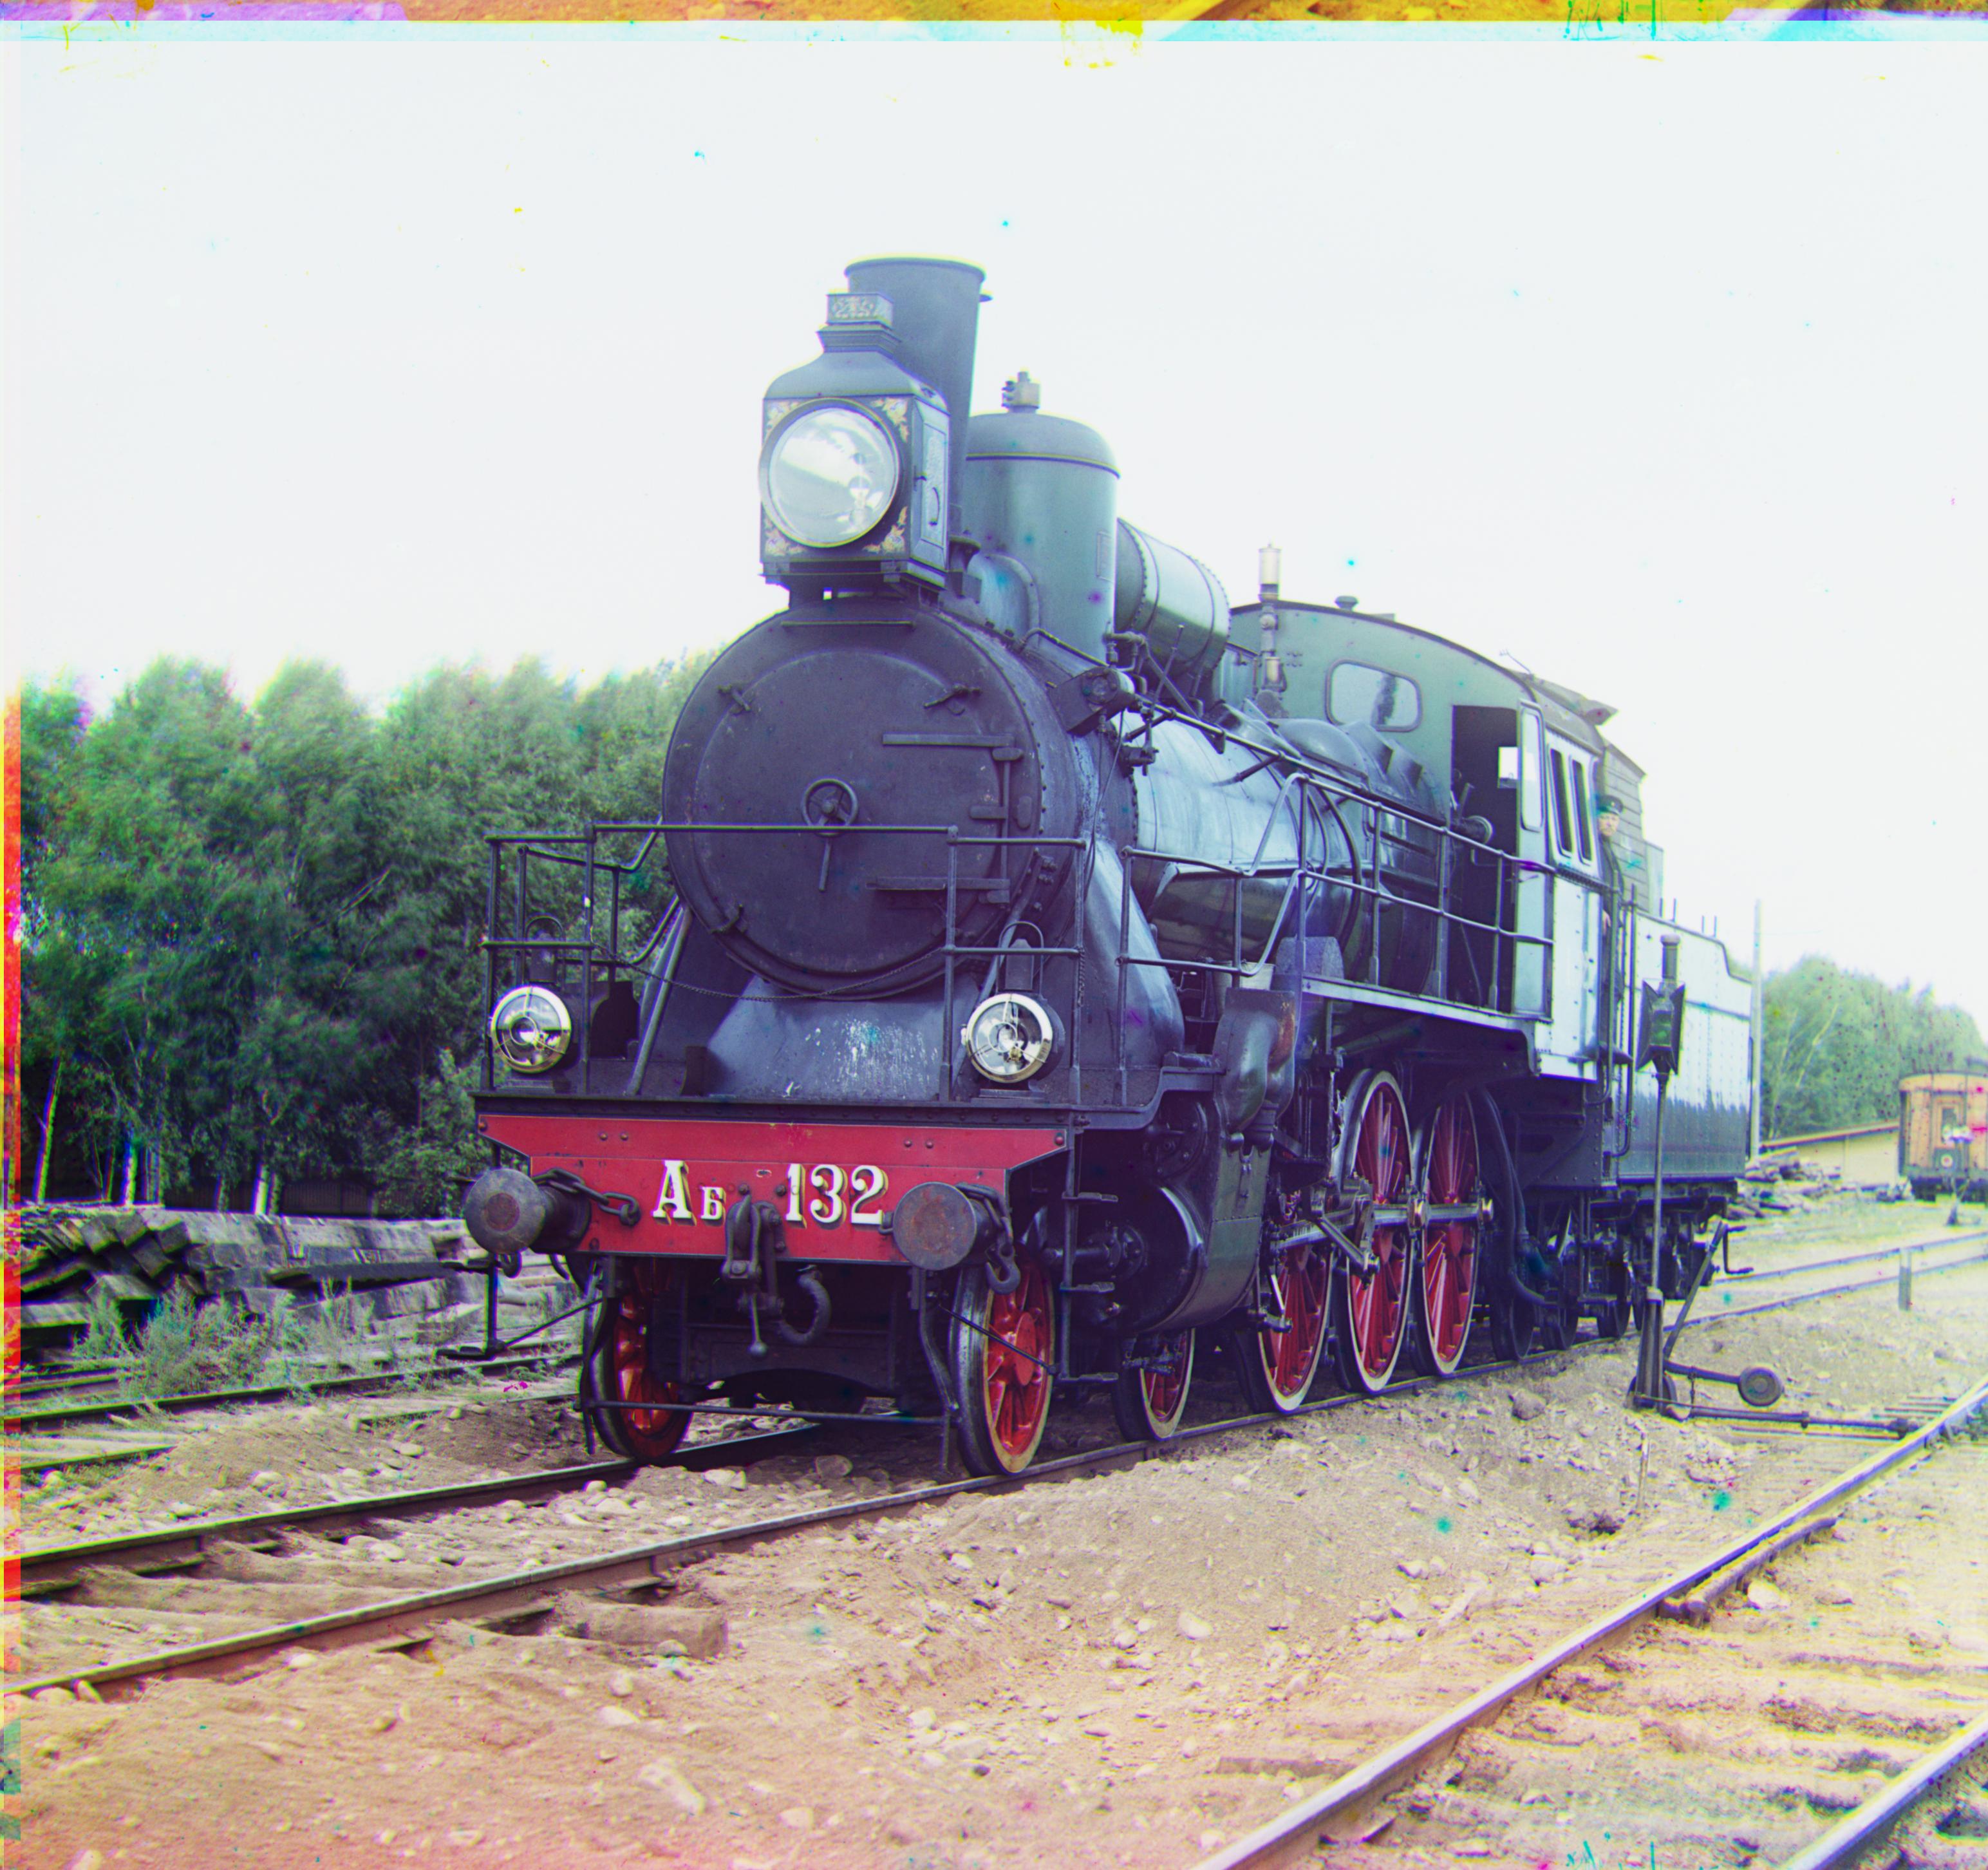
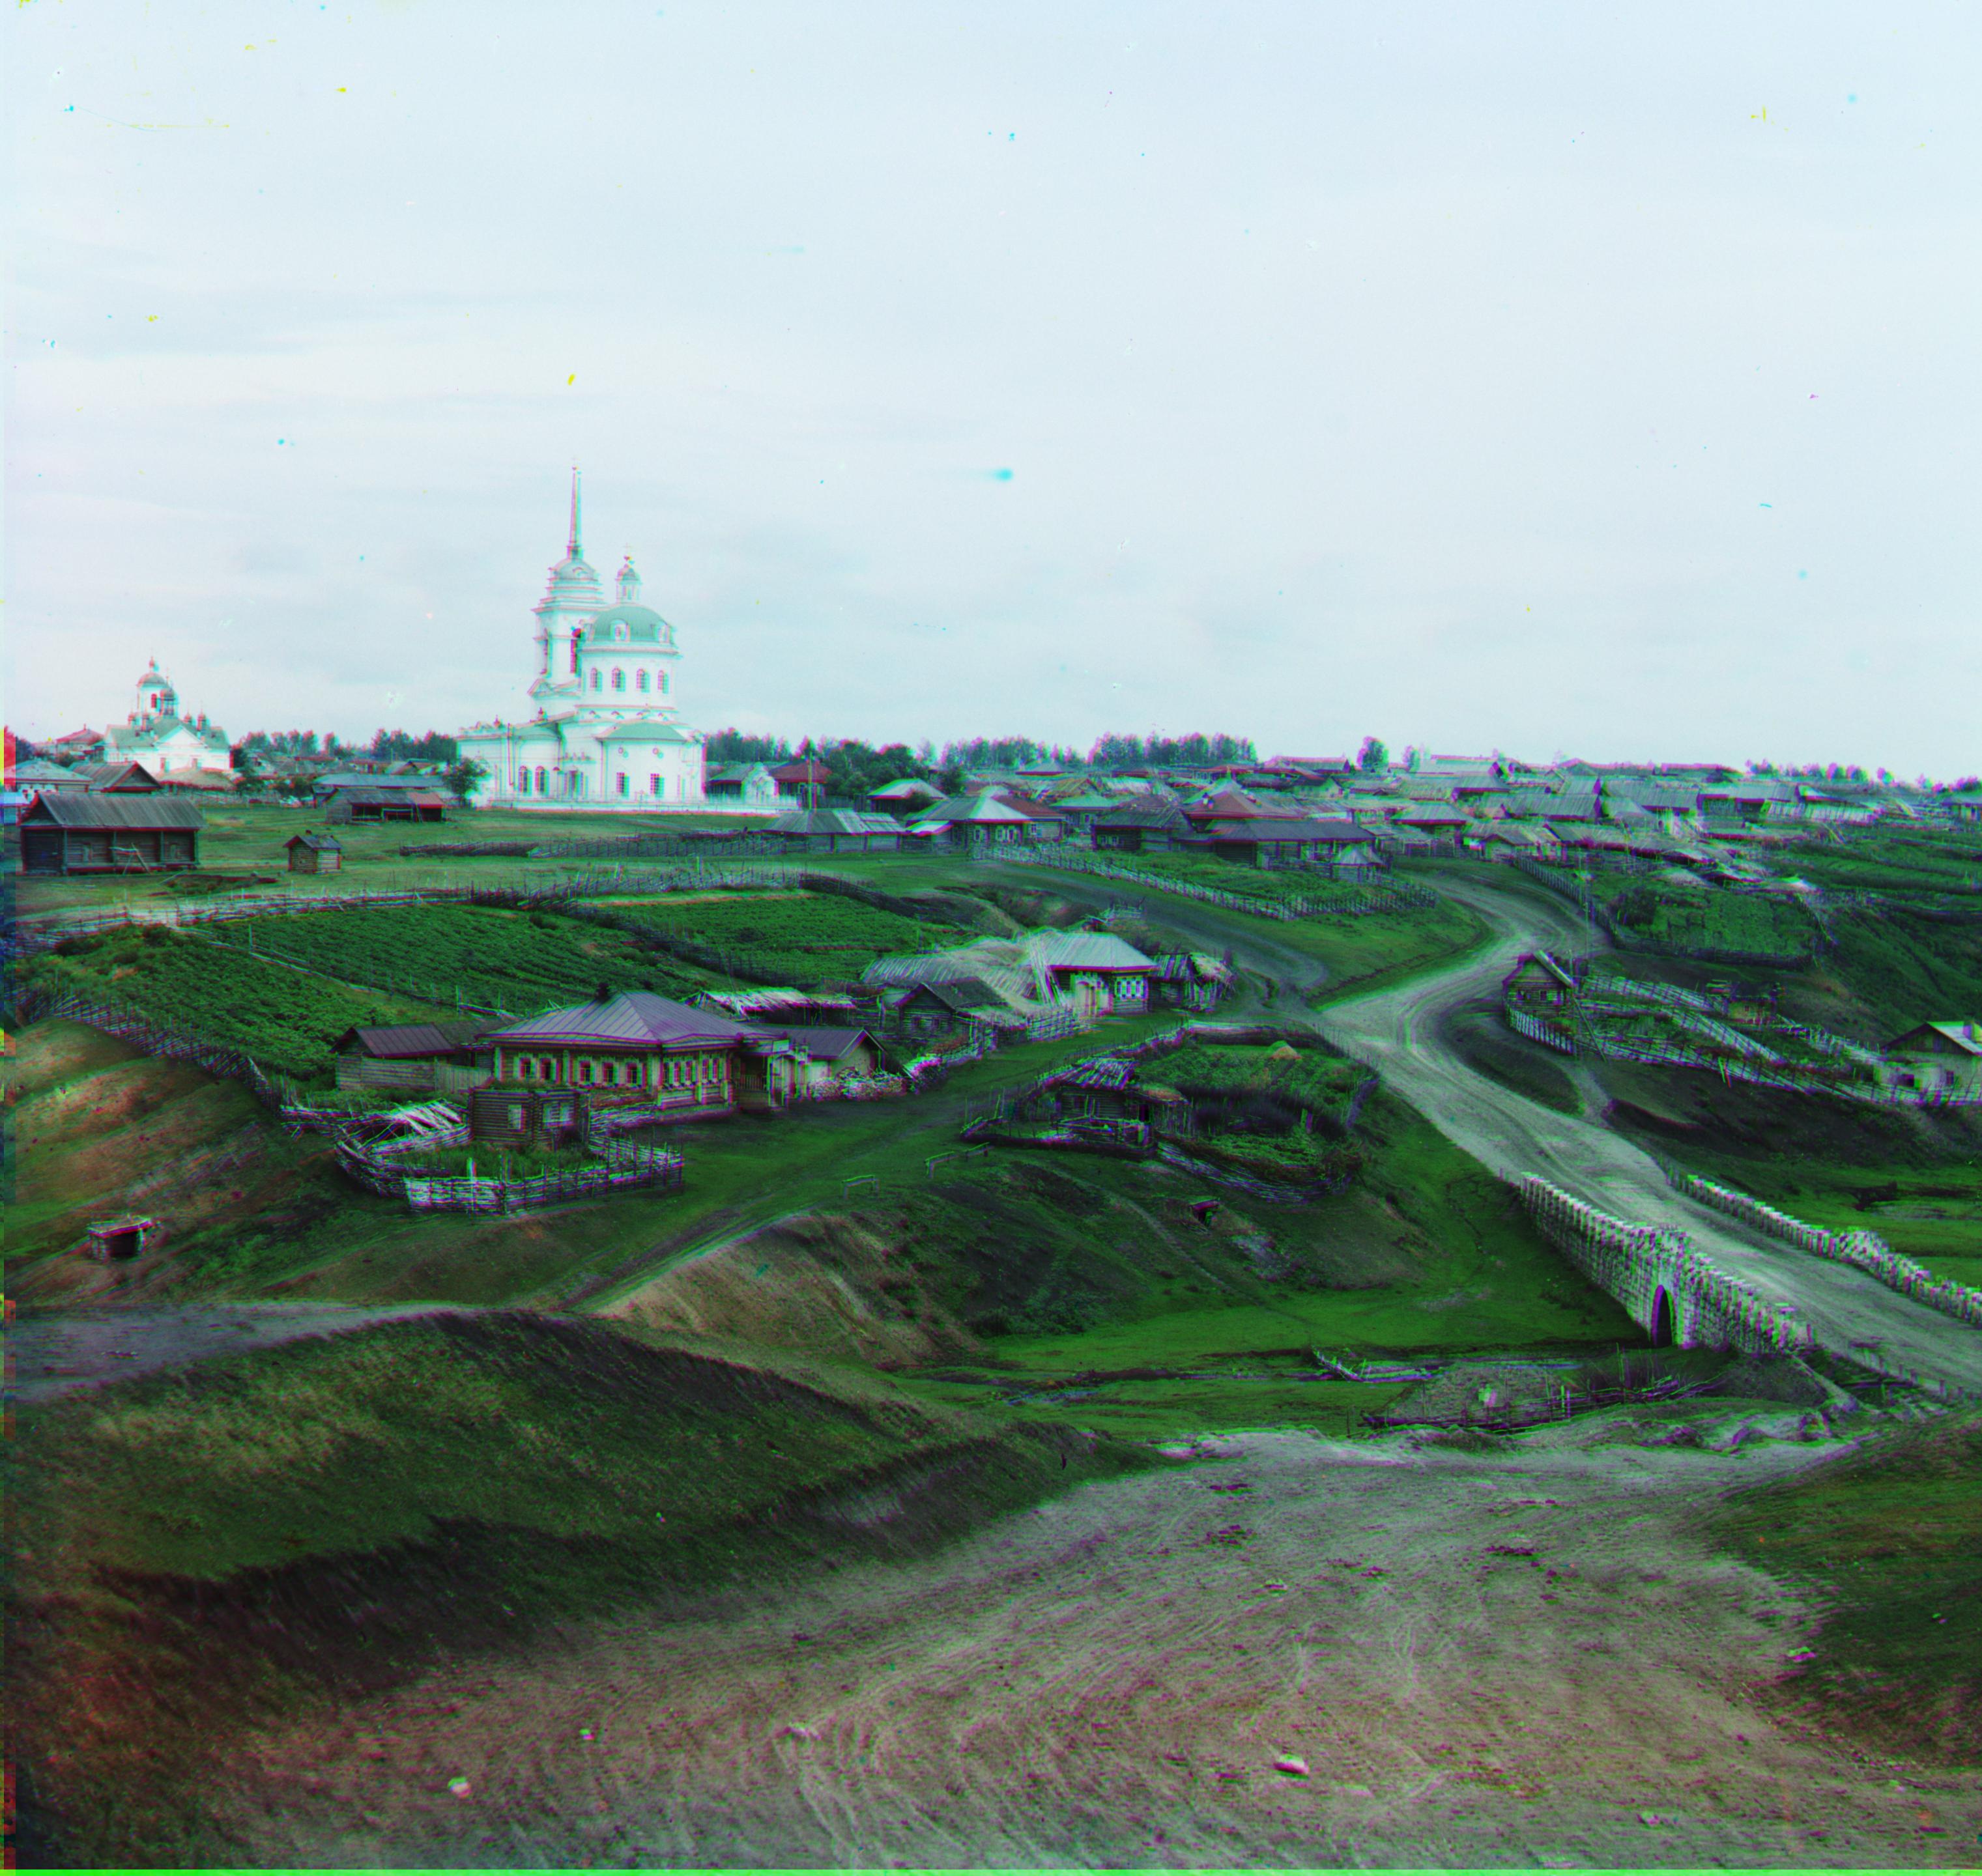
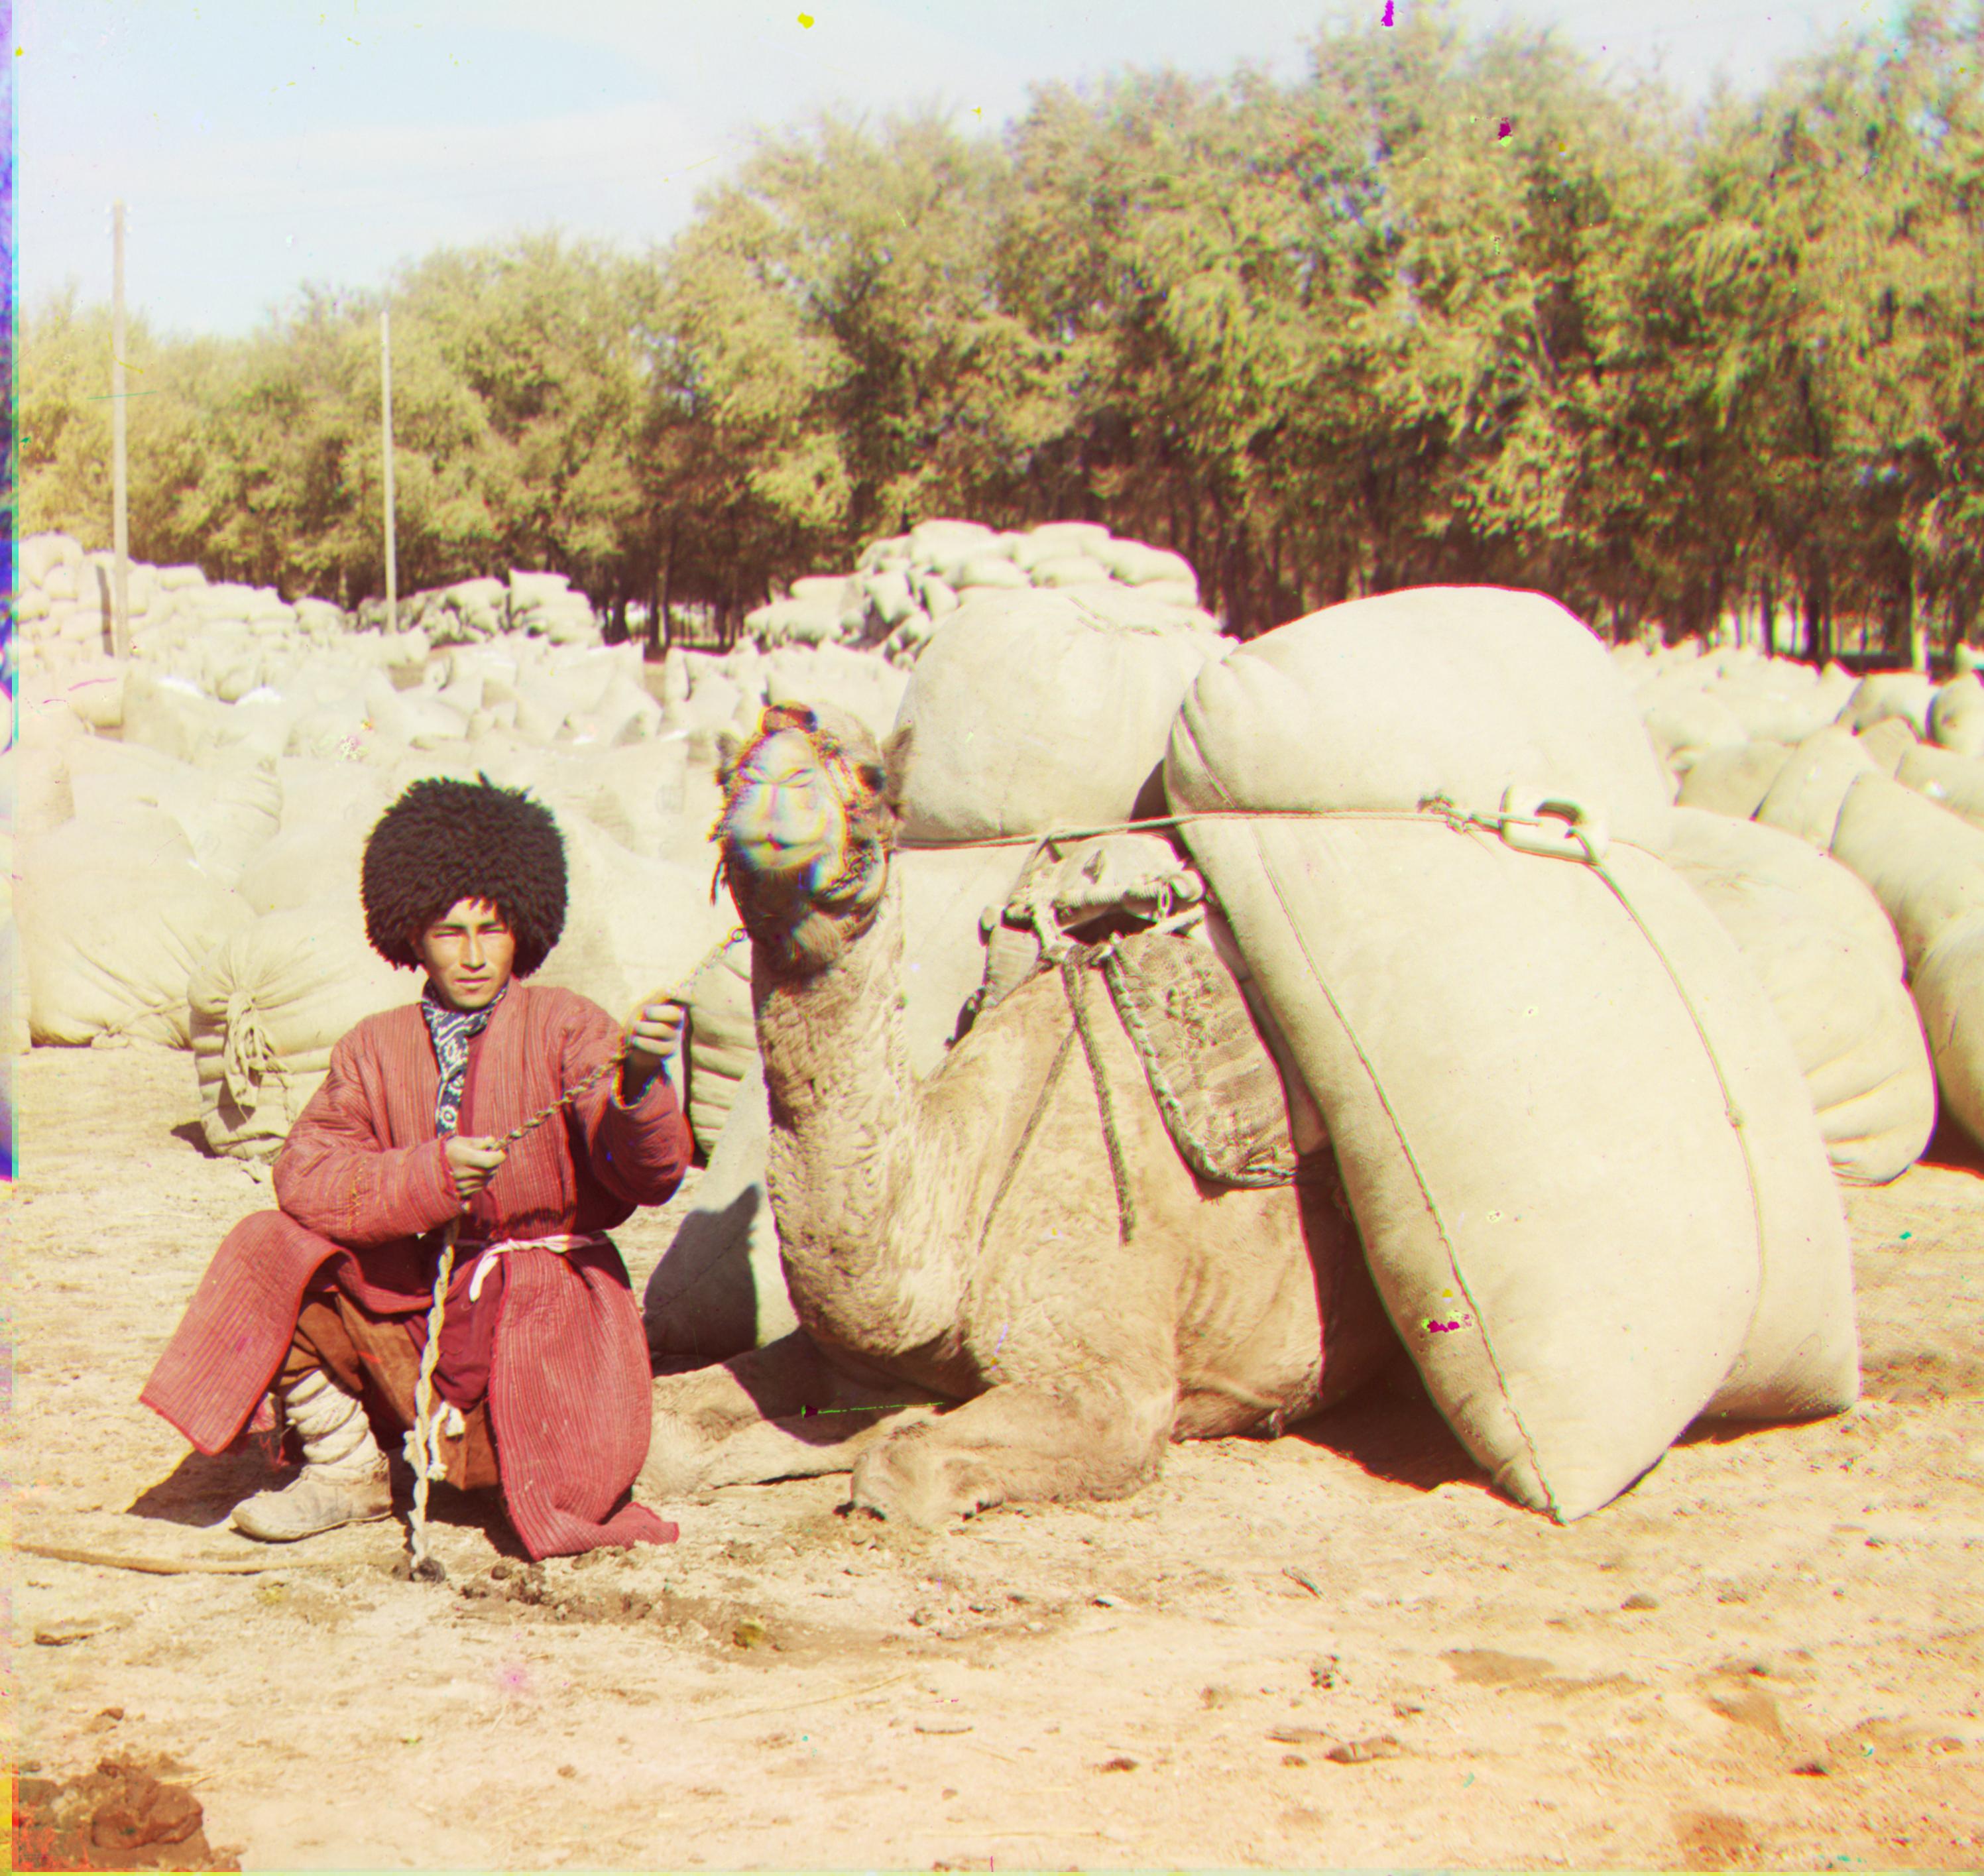
Going through the LoC's gallery of Gorskii's digitized collection was a lot of fun! I particularly enjoyed colorizing photos that involved people in different traditional attires. Here are my top picks. The first three are low-resolution, and the remaining are high-resolution images.
Low Res Images

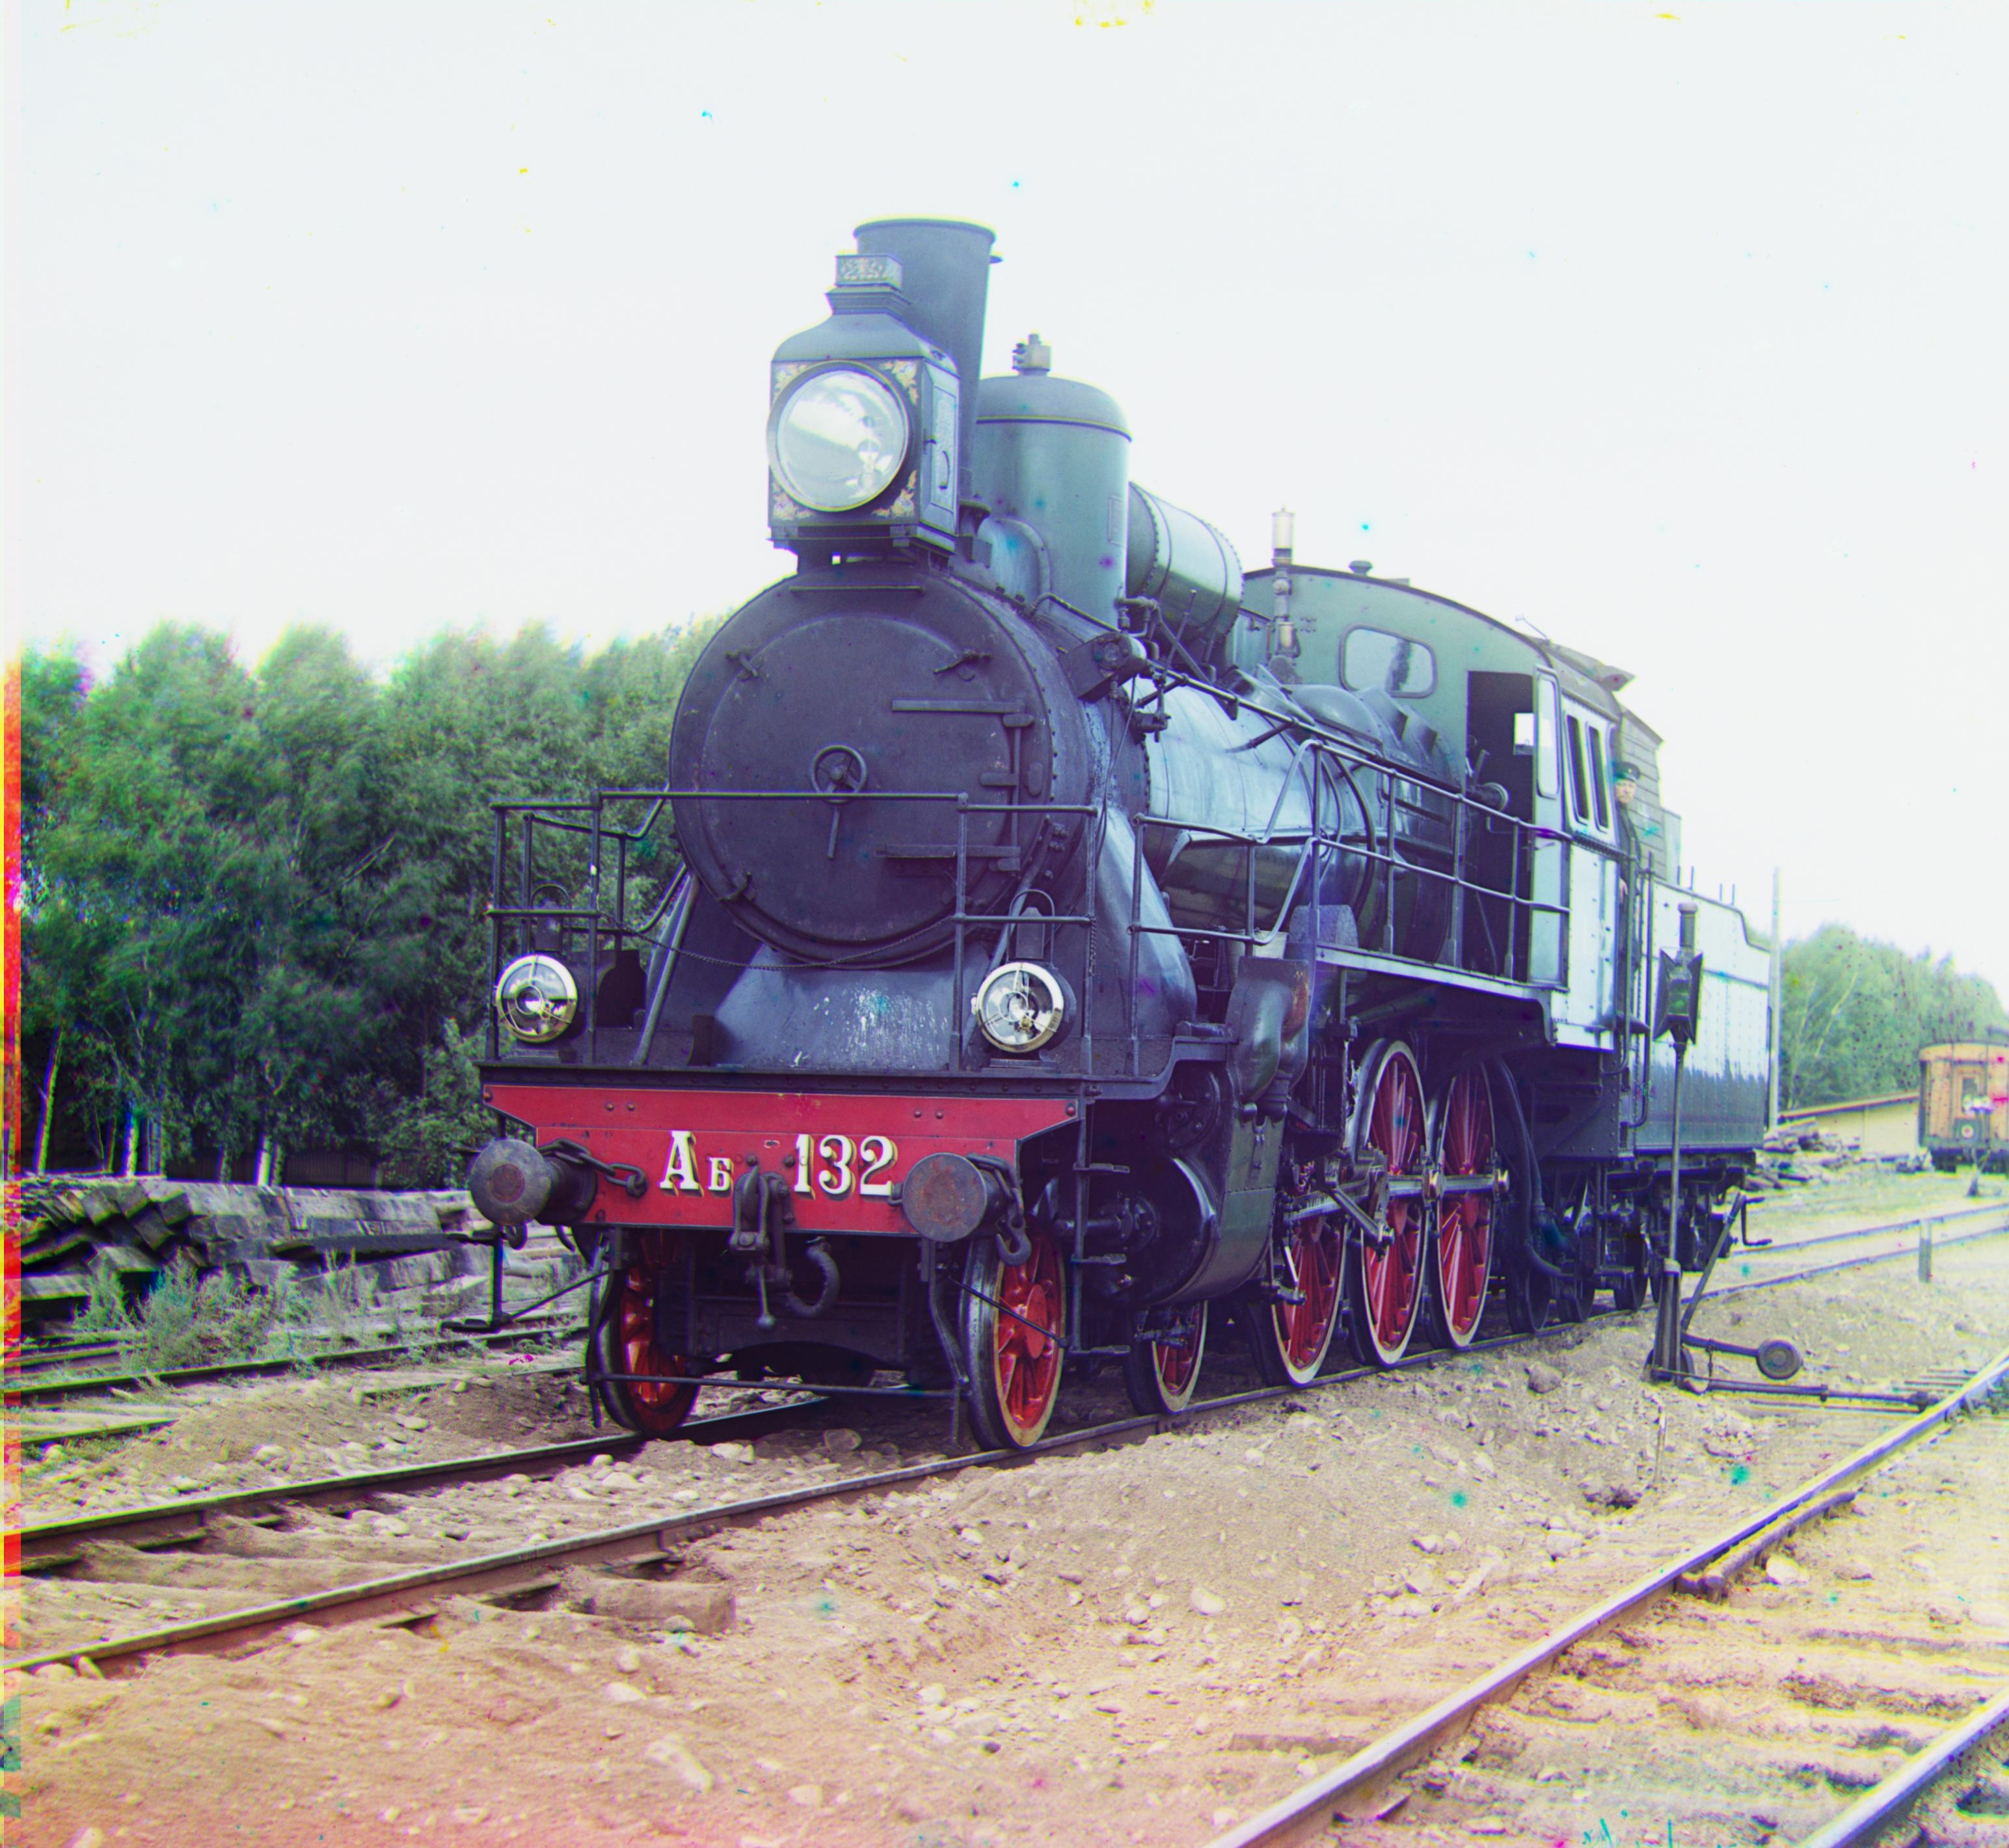
High Res Images
III. Bells & Whistles
1. Better Features: Canny Edge
We improve upon the image alignments in Alignment using Raw Pixels by applying the canny edge filter [cv2.Canny()] at each level of the pyramid.
Alignment is then done with the canny edge maps instead of the raw RGB channels.
Performing multi-scale image alignment using these edge features makes the alignment process robust to the varying pixel
intensity across channels at a fixed pixel coordinate.
— Here's the before and after of the emir.tif image file. The Emir of Bukhara may now rest in peace!

— And here's the entire gallery of high-res images aligned using Canny Edge features.
High Res Images


2. Better Color Mapping
In an attempt to produce more realistic colors in the aligned images, I first converted the image from BGR space to LAB space to control the perceptual lightness property independently. To be specific, I multiplyied it with a 0.95 scaling factor. I then transformed the image to the HSV space to control the Saturation and Value. Keeping the Hue unchanged, I scaled Saturation and Value by a factor of 1.4 and 1.1 respectively. And finally, of-course I converted back to the BGR space before saving the image. A few examples of resulting images are shown below.
3. Automatic Border Cropping
The .jpg and .tiff files usually have a black border as well as a white border on the outside. Getting
rid of these borders could make the alignment procedure smoother. Not just that,
the resulting composite image would likely be more aesthetically pleasing to the viewer.
A fixed strategy of shaving off 10% of the image from all sides probably works decent, but I wanted
to preserve more of Gorskii's images, while minimizing border artifacts - therefore,
I went with a slightly better adaptive approach.
To start off, if a pixel has an intensity greater than 250 I considered it to be white, and an intensity
less than 10 to be black (scaled by 255 since we're dealing with float images). From there, I find the fraction of pixels that are black / white
in every row / column of the raw image. And finally, if this fraction exceeded 70%, I simply delete that specific row / column. The rationale behind the
lower threshold is to be more robust to artifacts often seen on borders (like written numbers on the border in emir.tif).
The images shown in Results, as mentioned before are a result of this automatic border cropping procedure. But in this bells and whistles section, I also add an additonal step
to detect the edge artifacts (using three different thresholds in combination with sobel edge filters) resulting from the use of np.roll function with the help of a Sobel filter, and remove those as well.
Here are three comparisons: