Assignment Overview
In this Assignment, we implement neural style transfer which is representing a specific content in a certain style. Content Loss and Style Loss are optimized in order to arrive at the final image. The VGG-19 net model is taken as a baseline model and it is modified in order to account for ContentLoss and StyleLoss and therefore optimize these losses and generate the final image. Additionally Bells & Whistles section involves applying style transfer on grumpy cats and on a video.Part 1: Content Reconstruction
In the first portion of the assignment, the ContentLoss class is implemented. The content loss measures the content distance between two images at certain layers where the content loss is used. It is the L2-distance between the features at this distance.
Experiment: Report the effect of optimizing content loss at different layers.
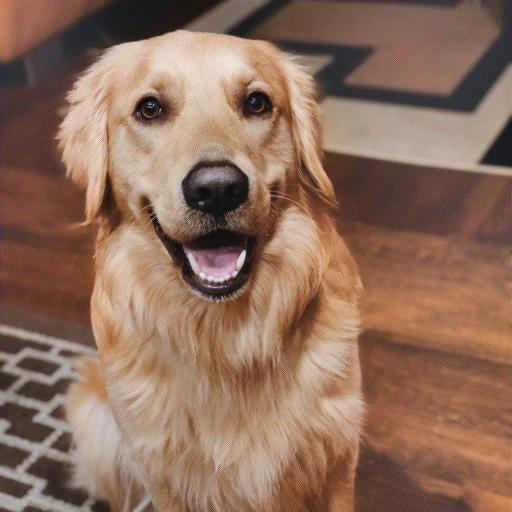
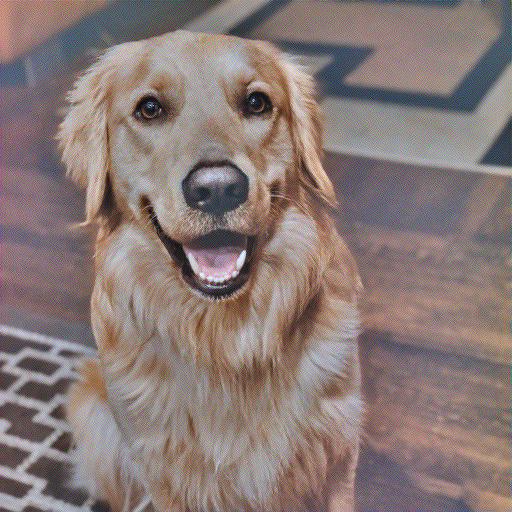
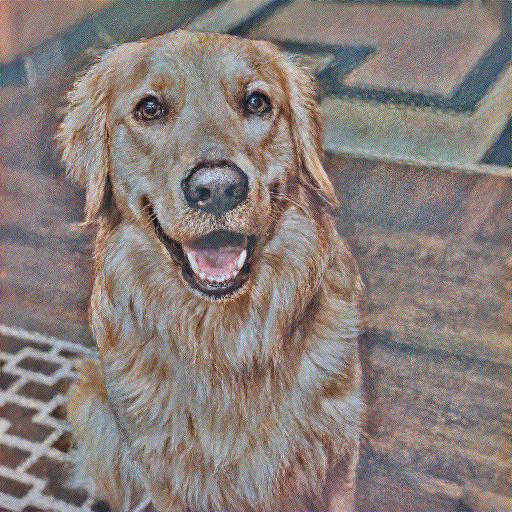
In order to understand, as to in which layer having the ContentLoss would be the most optimal, I experiment with having the content loss in conv1, conv2, conv3, conv4, conv5, conv7, conv9 and conv11. The general consensus that can be obtained from the results shown below is that it is generally better to have the ContentLoss in one of the lower layers of the network, that is conv1 to conv4 generally tend to work better.
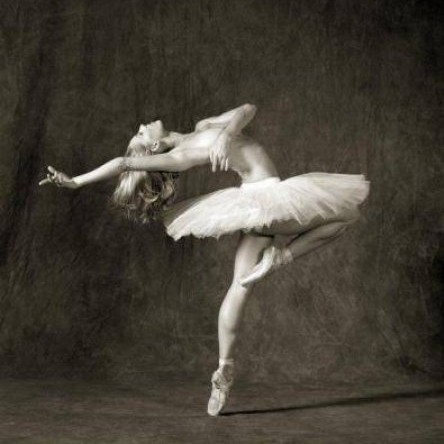
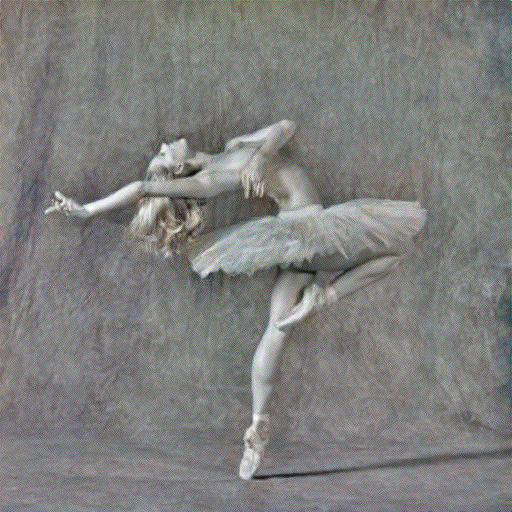
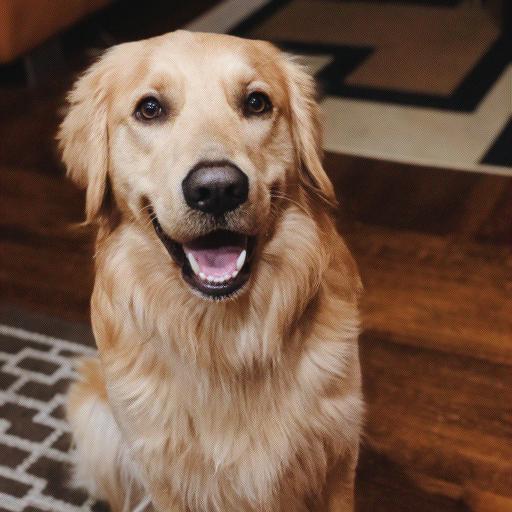
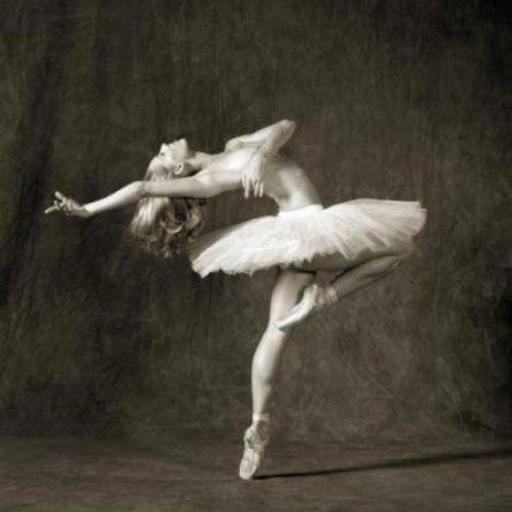
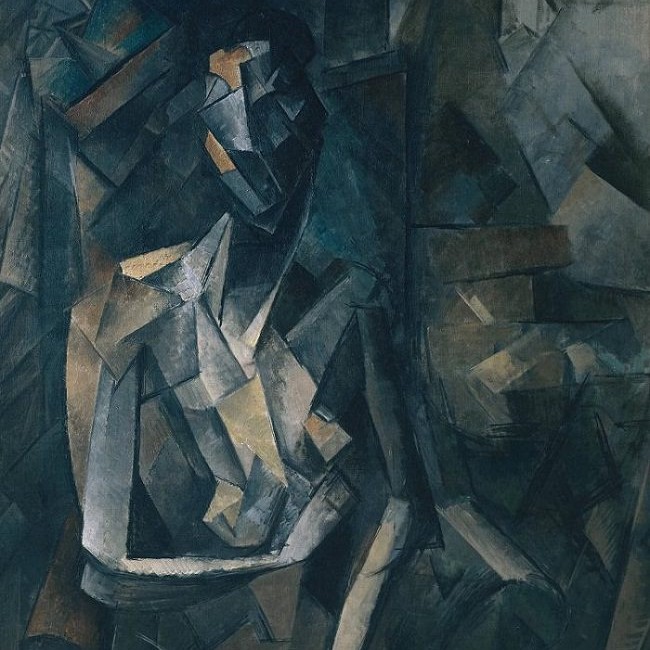
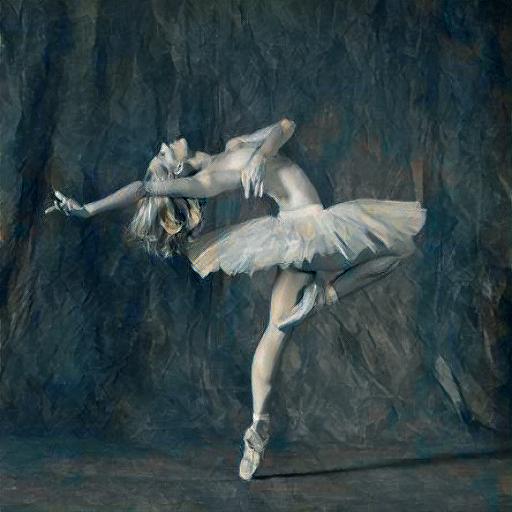
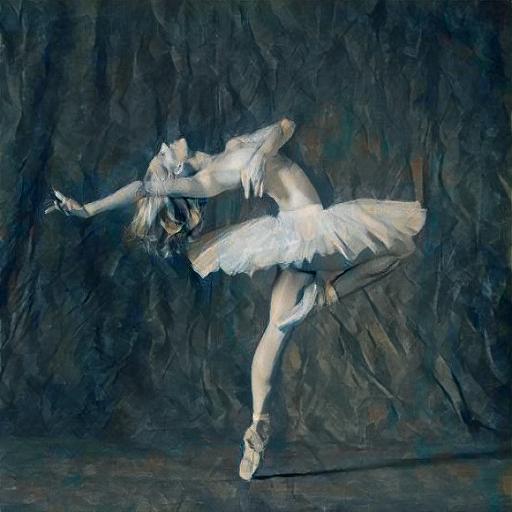
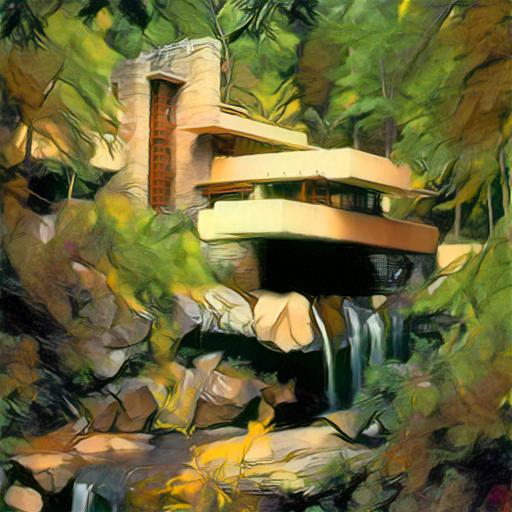
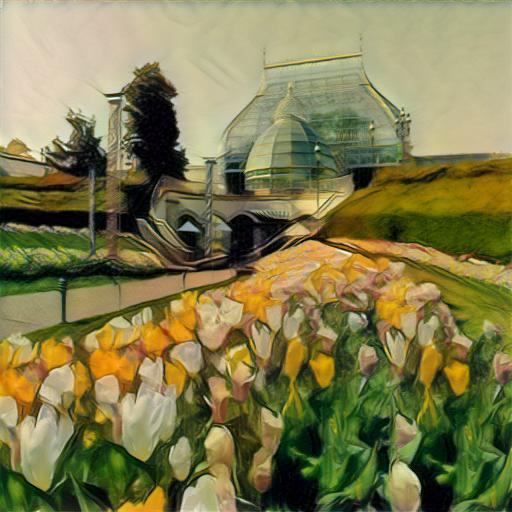
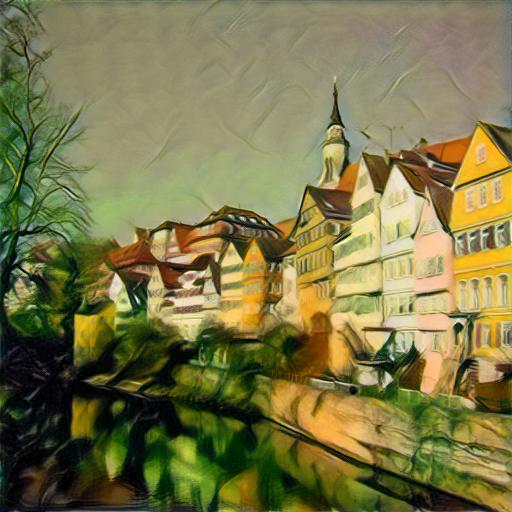
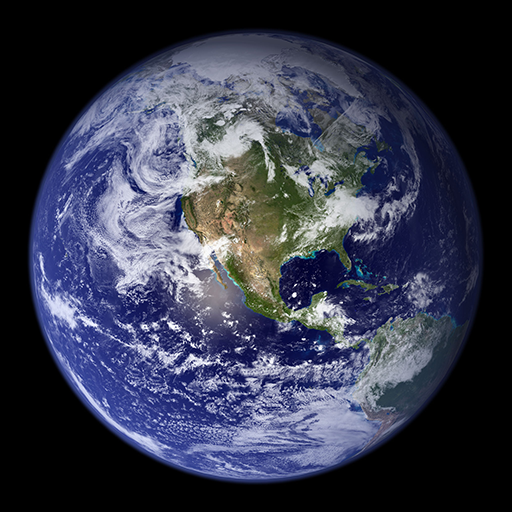
Original Image
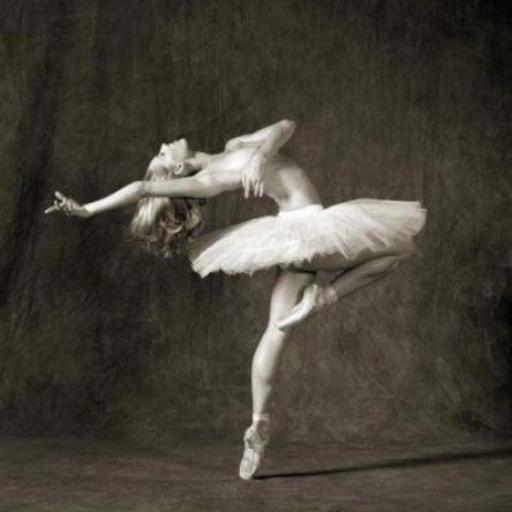
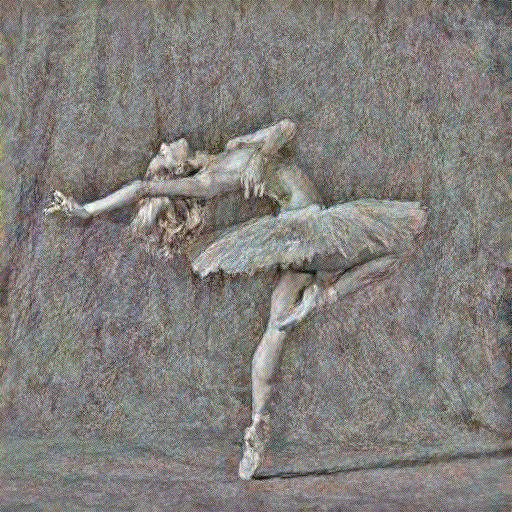
Conv 1
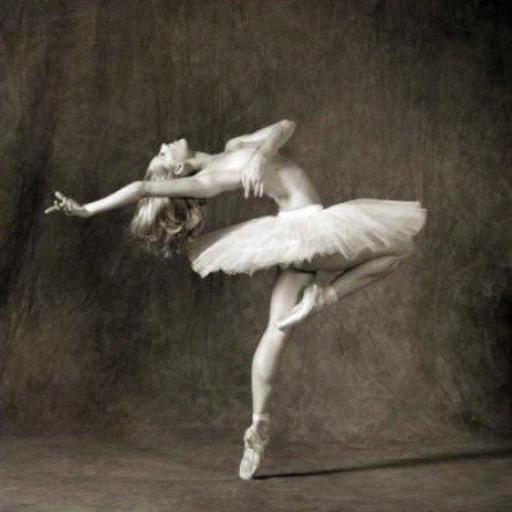
Conv 2
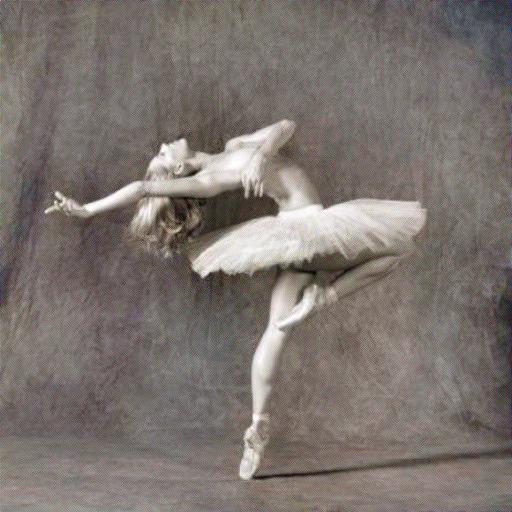
Conv 3

Conv 4
Conv 5
Conv 7
Conv 11
Original Image
Conv 1
Conv 2
Conv 3


Conv 4
Conv 5
Conv 7
Conv 11
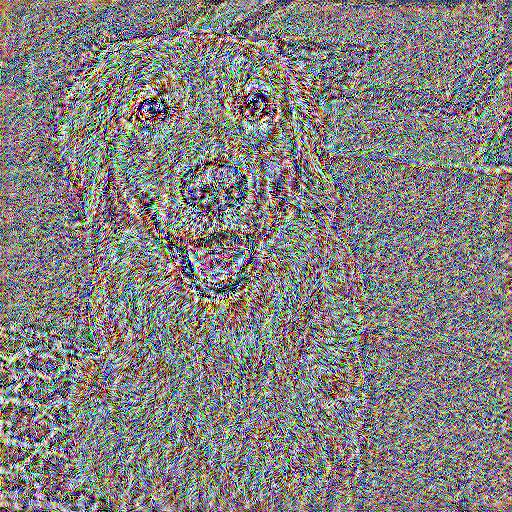
From the above images obtained from the experiment it can be seen that all the images obtained with the content loss from
conv1 to conv4 look decent with images in conv1 looking the best. Hence, the favorite one in this case would be conv1.
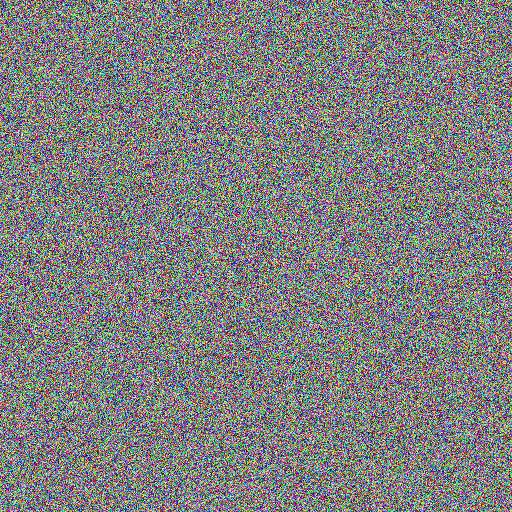
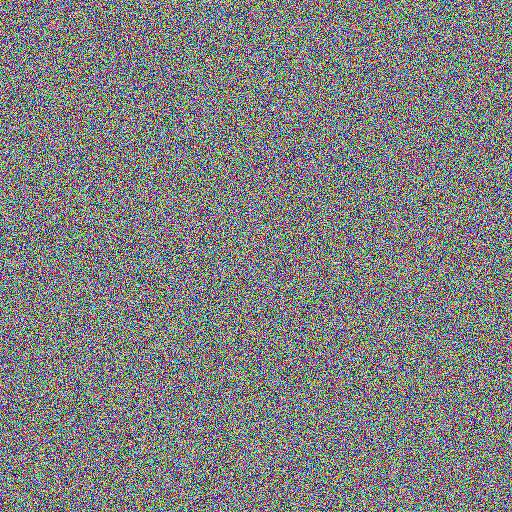
Experiment: Take two random noises as two input images, optimize them only with content loss. Please include your results on the website and compare each other with the content image.
Noise1
Original Image
Reconstructed Image
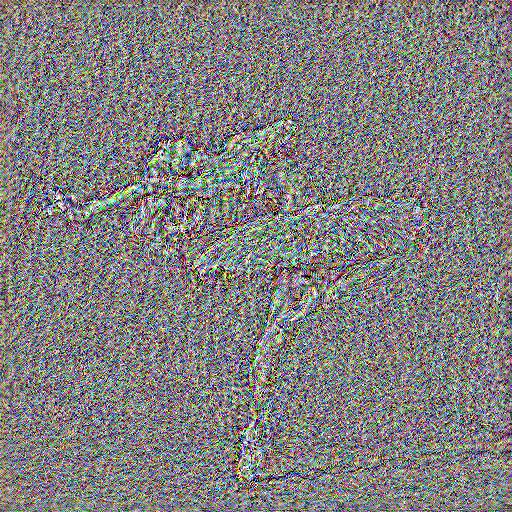
Difference
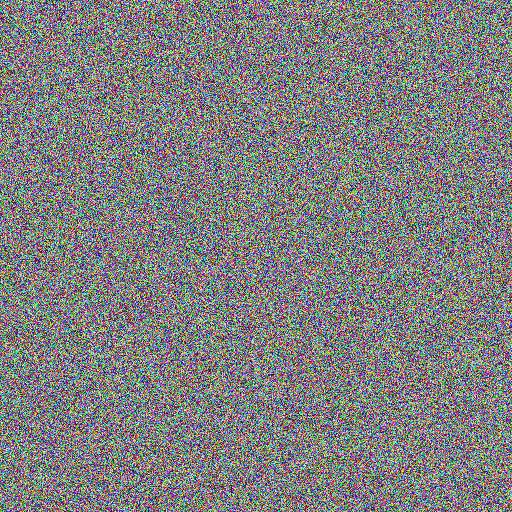
Noise2
Original Image
Reconstructed Image
Difference

As can be seen from the above comparison, the 2 images generated from different random noise initializations cannot be differentiated through the naked eye. And the difference between the reconstructed image and the original image is almost nothing. Quantatitively, the image reconstructed from the first noise had a loss of 7.254124739120016e-06 and the image reconstructed from the second image has a loss of 1.2258105925866403e-06. Let us also take a look at another example below.
Noise1
Original Image
Reconstructed Image
Difference

Noise2
Original Image
Reconstructed Image
Difference


Quantatitively, the image reconstructed from the first noise had a loss of 2.775482789729722e-05 and the image reconstructed from the second image has a loss of 1.4384811947820708e-05.
Part 2: Texture Synthesis
In the second portion of the assignment, the StyleLoss class is implemented. The style loss uses a Gram Matrix as a style measurement. The optimization is to make the gram matrices of the optimized and predicted features as close as possible to each other.
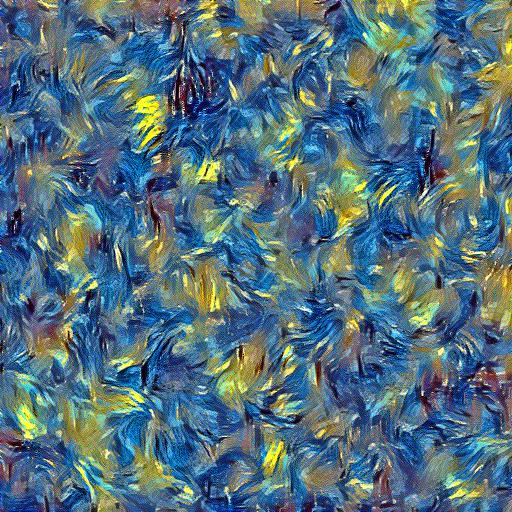
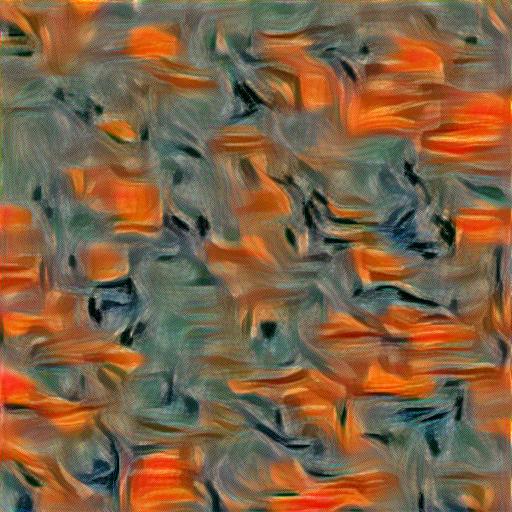
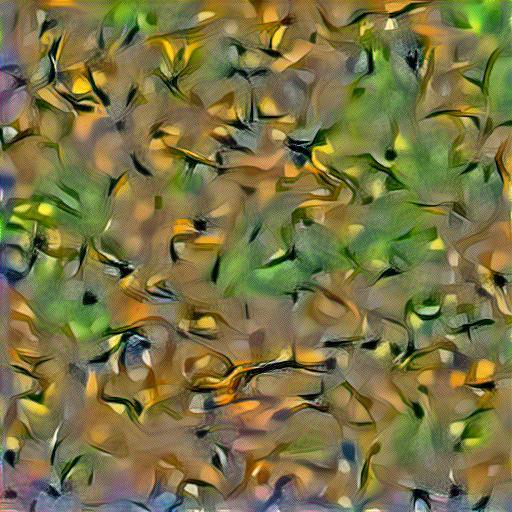
Experiment: Report the effect of optimizing texture loss at different layers. Use one of the configurations; specify it.
In this section I experimented with having the style losses in different convultion layer combinations of the network. Specifically I try out how the results turn out with the following combinations :
- ['conv1', 'conv2', 'conv3', 'conv4', 'conv5']
- ['conv6', 'conv7', 'conv8', 'conv9', 'conv10']
- ['conv11', 'conv12', 'conv13', 'conv14', 'conv15']
- ['conv1', 'conv3', 'conv5', 'conv7', 'conv9']
- ['conv1', 'conv4', 'conv7', 'conv10', 'conv13']
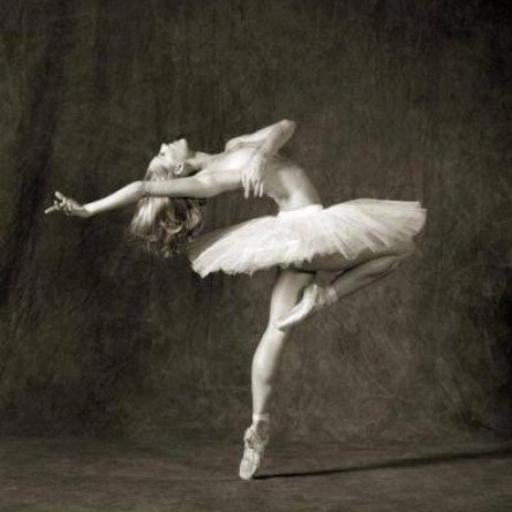
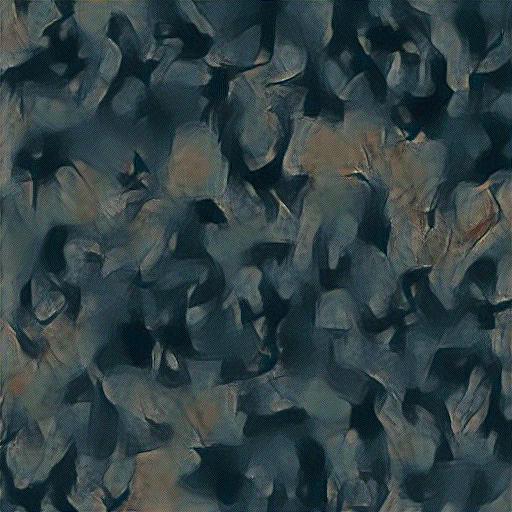
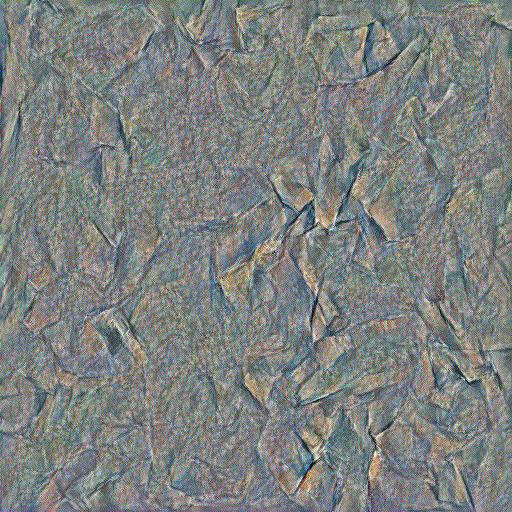
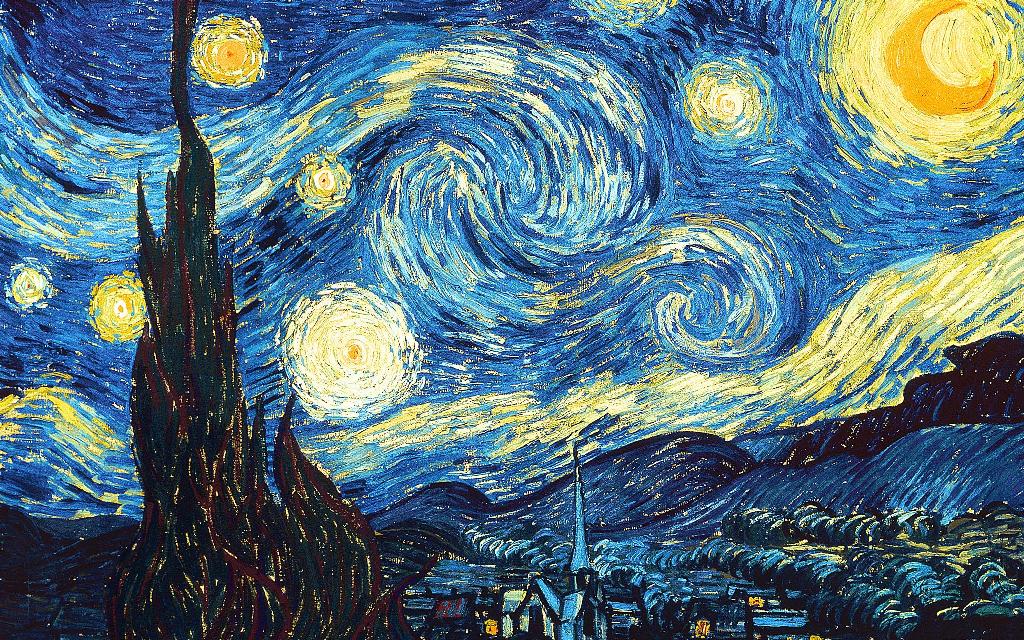
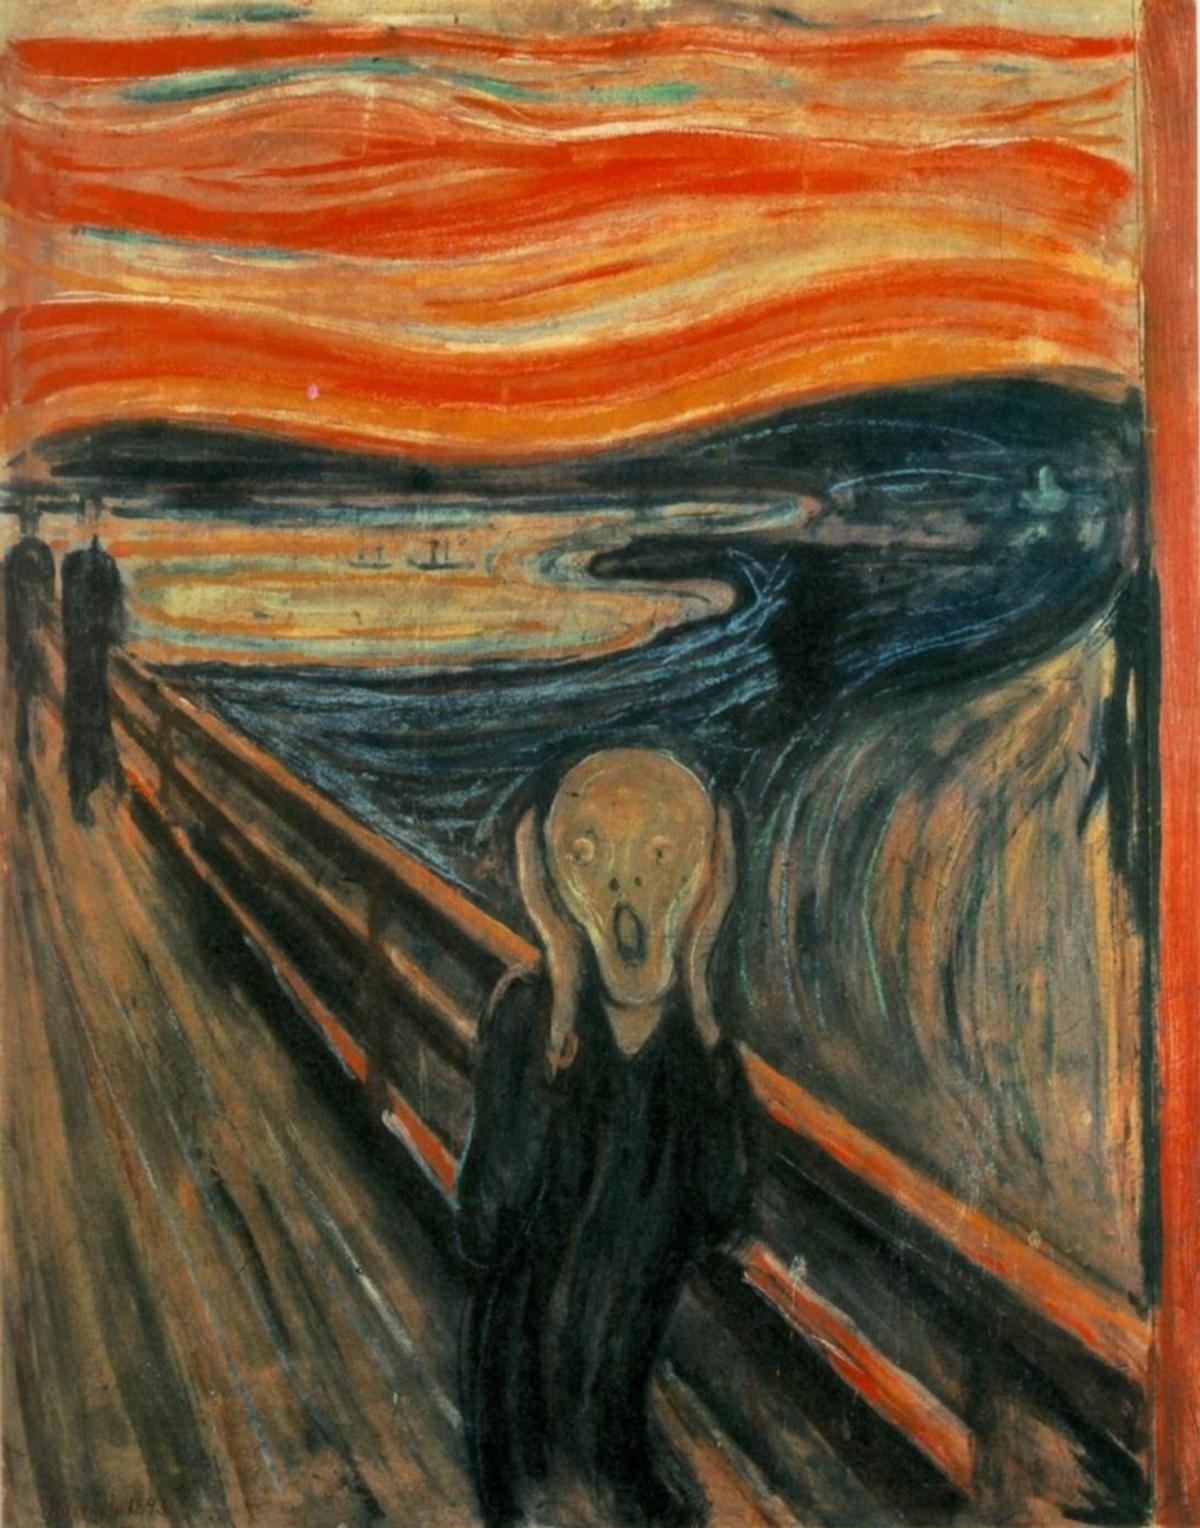
Original Style Image
['conv1', 'conv2', 'conv3', 'conv4', 'conv5']
['conv6', 'conv7', 'conv8', 'conv9', 'conv10']
['conv11', 'conv12', 'conv13', 'conv14', 'conv15']
['conv1', 'conv3', 'conv5', 'conv7', 'conv9']
['conv1', 'conv4', 'conv7', 'conv10', 'conv13']

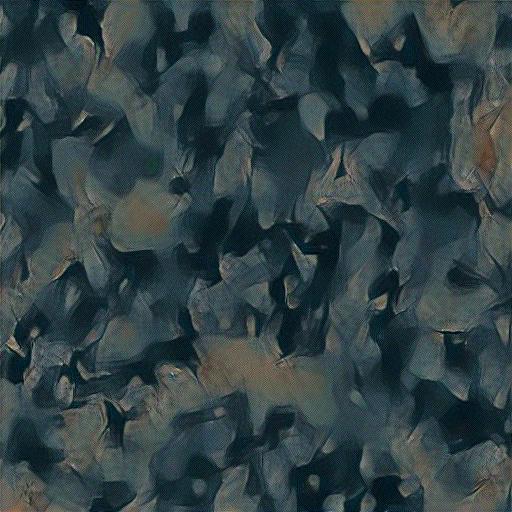
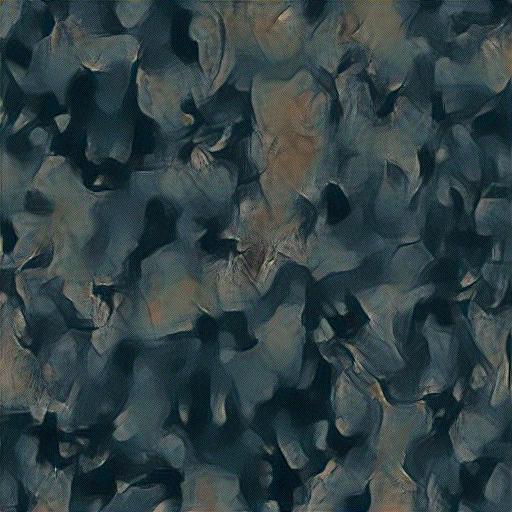
Among all the above style texture images, the best texture can be seen when style losses are used in the layers: ['conv1', 'conv2', 'conv3', 'conv4', 'conv5']. This configuration works the best. Let us look at some other examples generated using this configurations. In the below images, the first row represents the original style images and the second row represents the style texture images generated using this configuration.
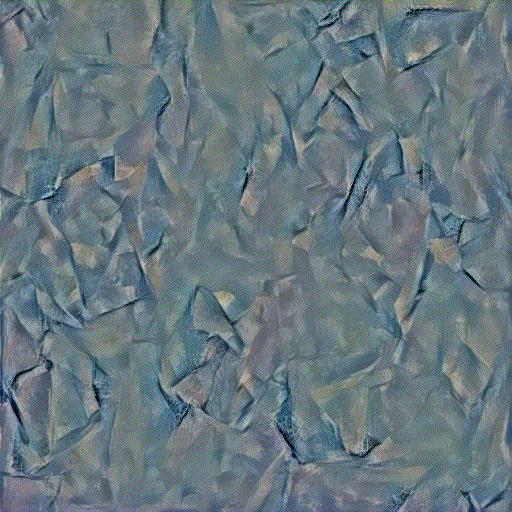
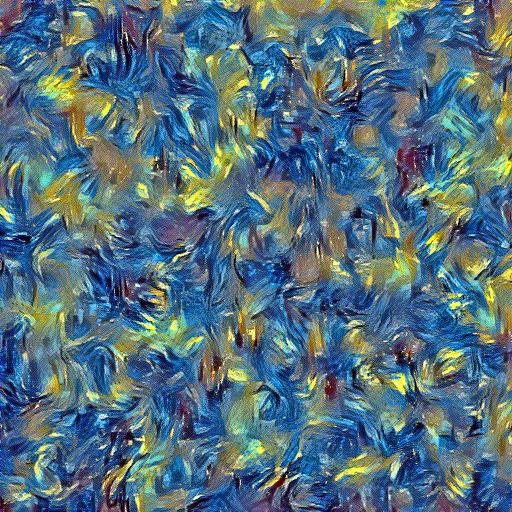
Experiment: Take two random noises as two input images, optimize them only with style loss. Please include your results and compare these two synthesized textures.
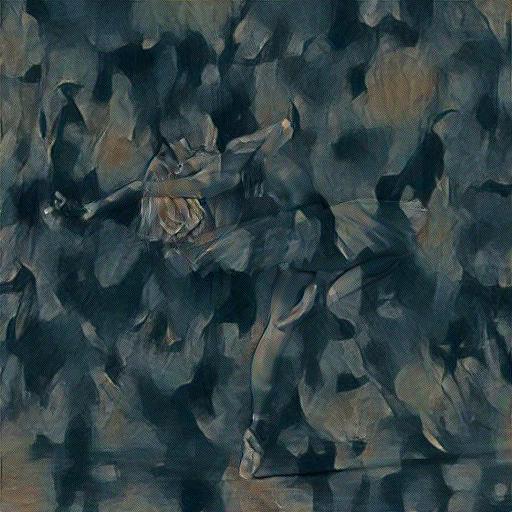
Noise 1
Original Style Image
Reconstructed Style Texture
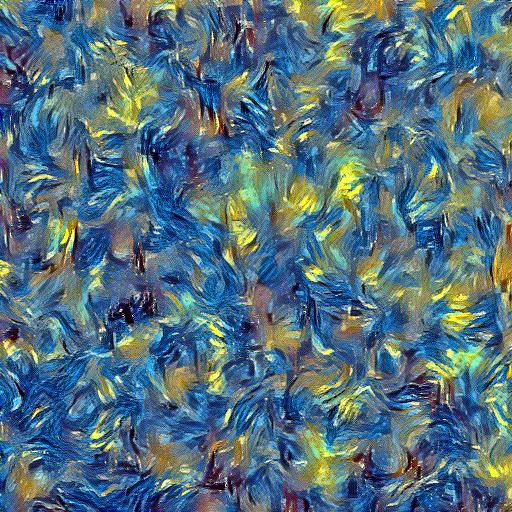
Noise 2
Original Style Image
Reconstructed Style Texture
As you can see, there is a slight difference in the texture of the generated images when different noise initializations are used. Quantatitively, the image reconstructed from the first noise had a loss of 0.543150007724762 and the image reconstructed from the second image has a loss of 0.5298294425010681. Let us take a look at another example below.
Noise 1
Original Style Image
Reconstructed Style Texture
Noise 2
Original Style Image
Reconstructed Style Texture
Quantatitively, the image reconstructed from the first noise had a loss of 13.193744659423828 and the image reconstructed from the second image has a loss of 12.419736862182617.
Part 3: Style Transfer
In this section we use style loss and content loss both in the network in order to apply a style on a given content image and obtain the transformed image.
Experiment: Tune the hyper-parameters until you are satisfied. Please briefly describe your implementation details.
Careful tuning was required in order to obtain the style transferred image. For the Style Loss, I ensured that the gram matrix was correctly normalized. I experimented with style weights of 10^5, 10^6 and 10^7 with a constant content weight of 1. The style weight of 10^6 provided a good balance between the content and the style, therefore I decided to stick with a style weight of 10^6. The style losses were applied in the layers ["conv1", "conv2", "conv3", "conv4", "conv5"]. It was noticed that the style transfer worked best when the style loss was applied in the conv4 layer instead of conv1.
Below are the results which show how the style transfer results vary when weight of style is varied. The style transfer is done on input images that are content initialized.
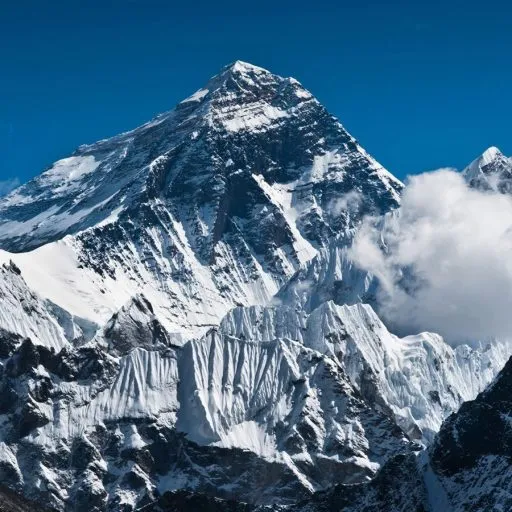
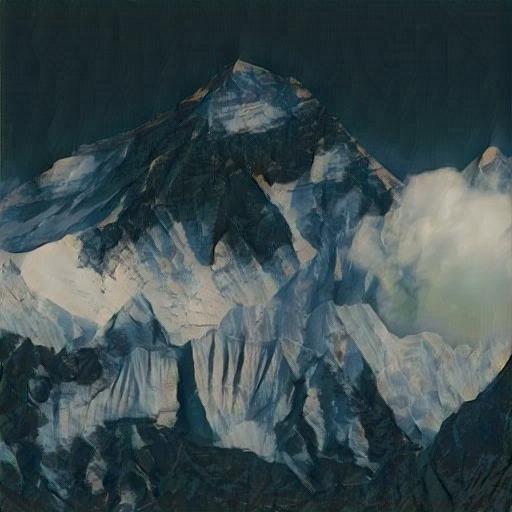
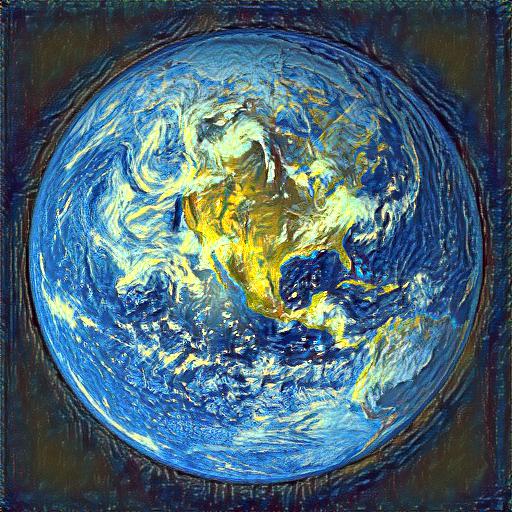
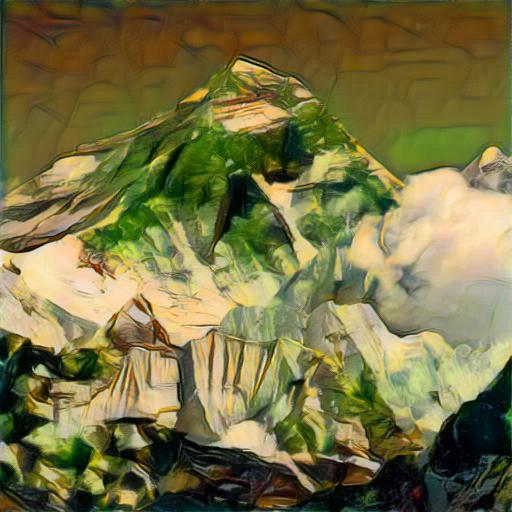
Content Image
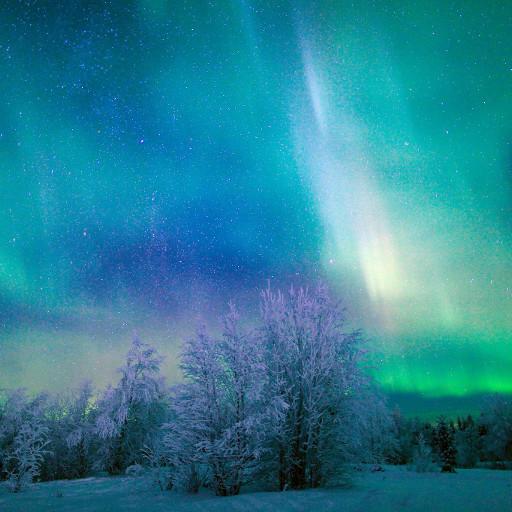
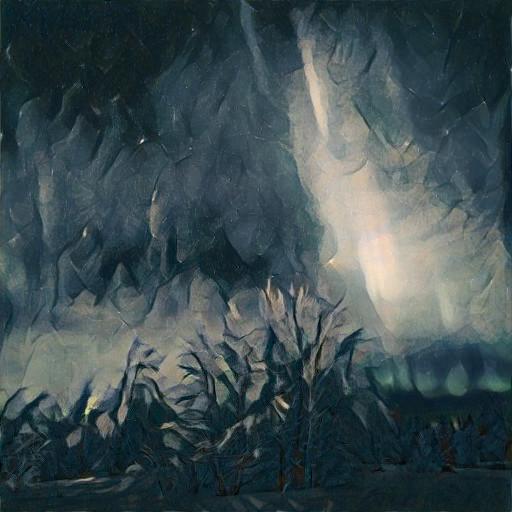
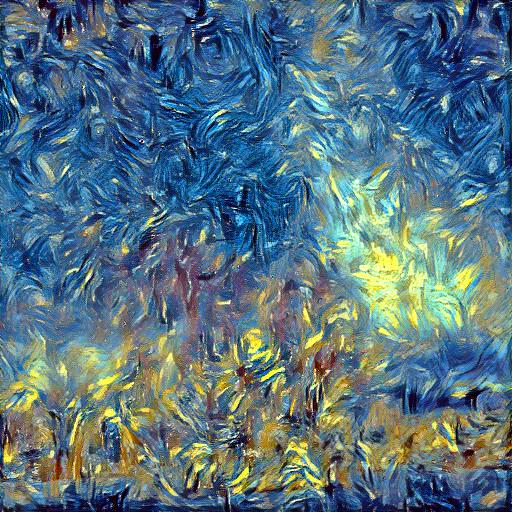
Style Image
Style Weight 10^5
Style Weight 10^6
Style Weight 10^7

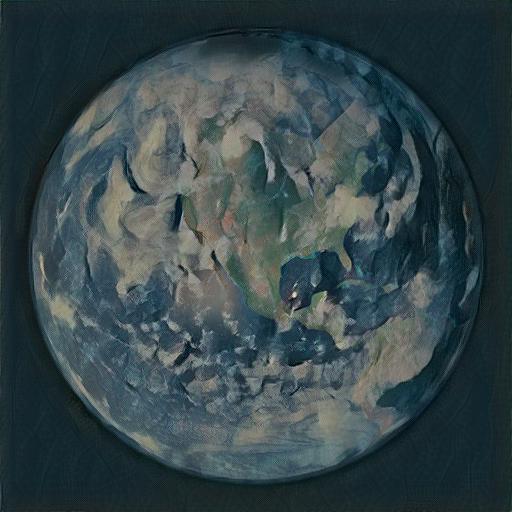
As can be seen in the images above the style weight of 10^6 provides us with a good balance between the style image and the content image when we obtain the style transferred image.
Now moving onto the comparison between using conv1 versus conv4 for the content loss layer, in the below comparison it can be seen how a better result is obtained when content loss is used in the conv4 layer instead of the conv1 layer. Having the content loss in conv1 resulted in the image being blurry. Hence I decided to stick with conv4 The style transferred images used the content weight as 1 and the style weight as 10^6.
Content Image
Style Image
Content Loss in conv4
Content Loss in conv1

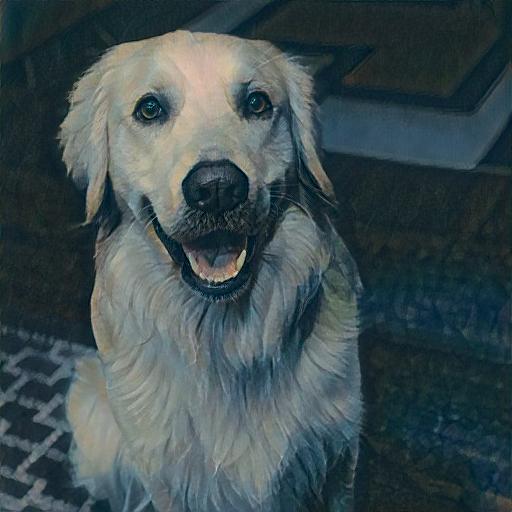
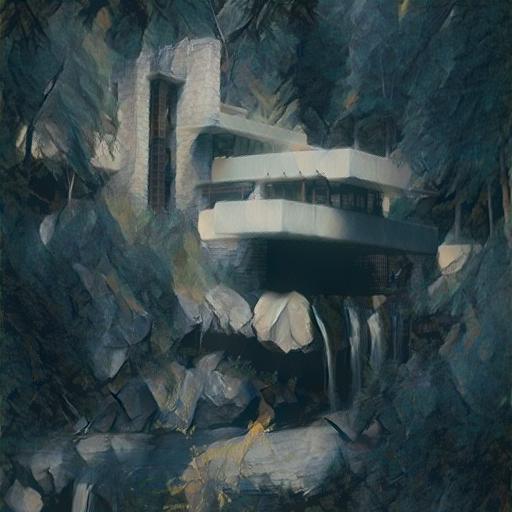
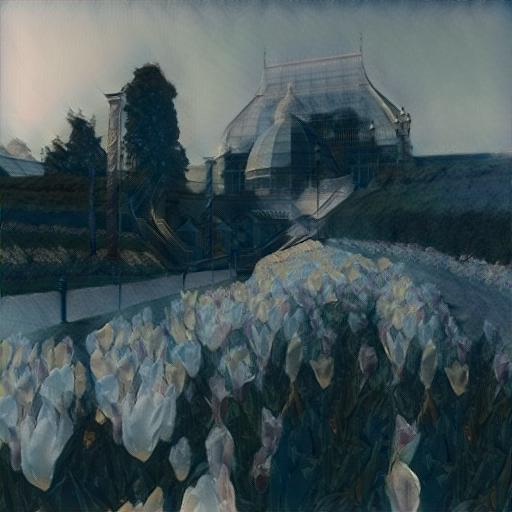
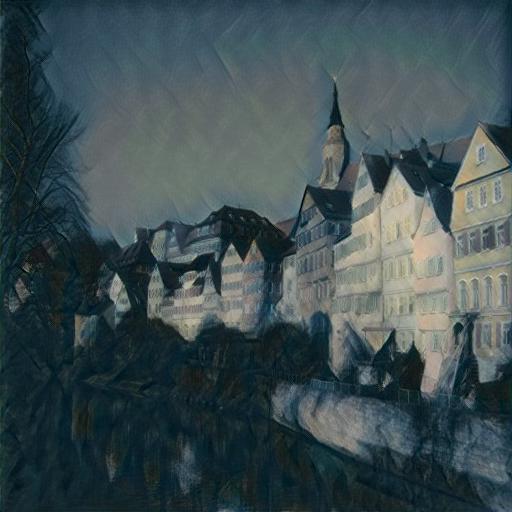
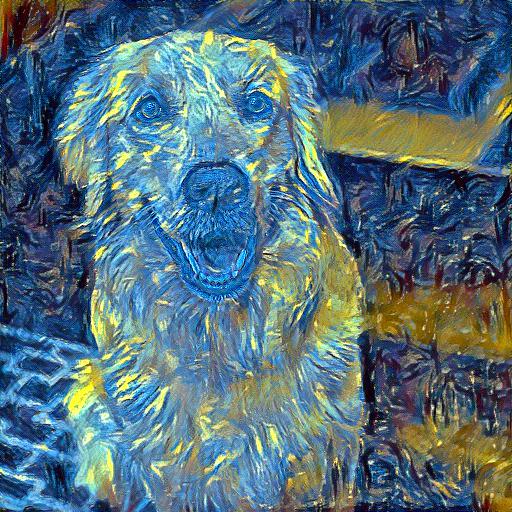
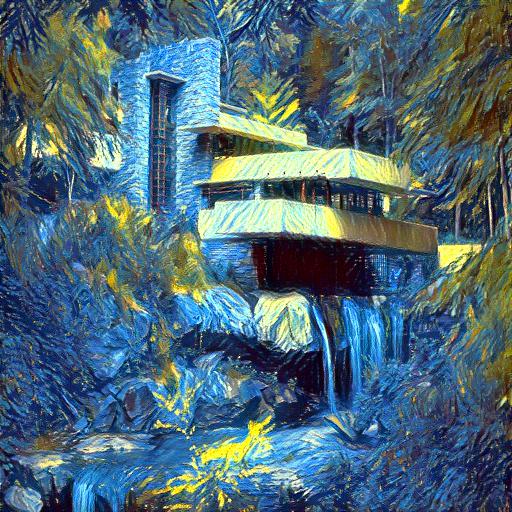
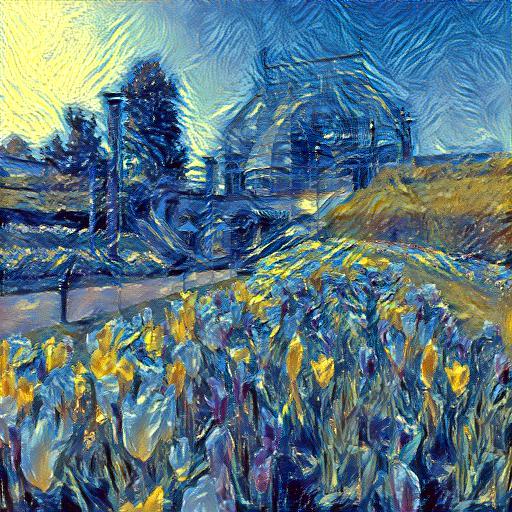
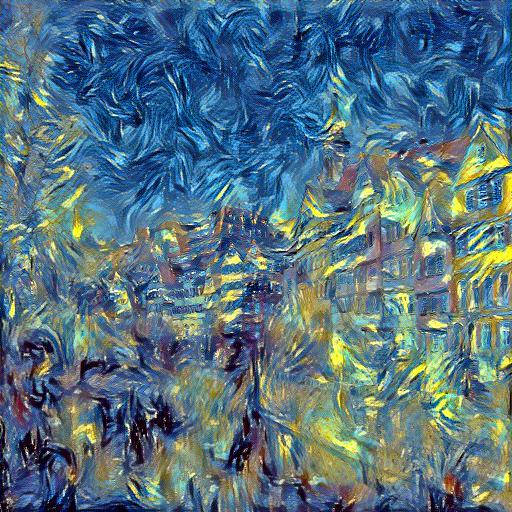
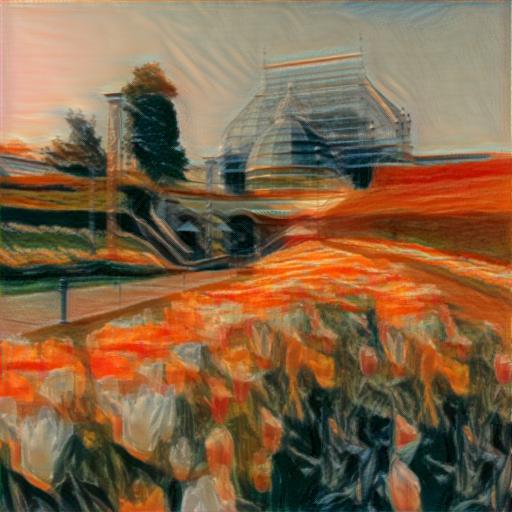
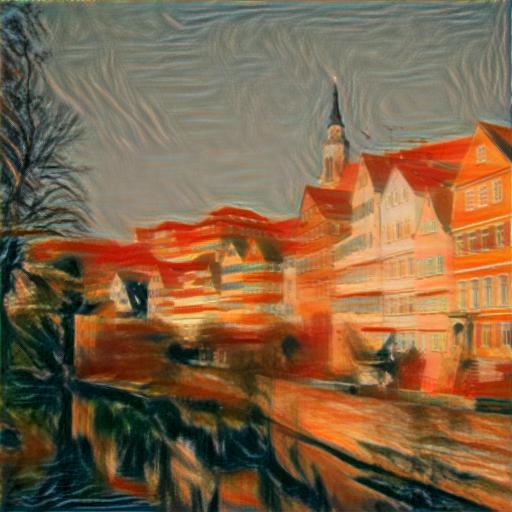
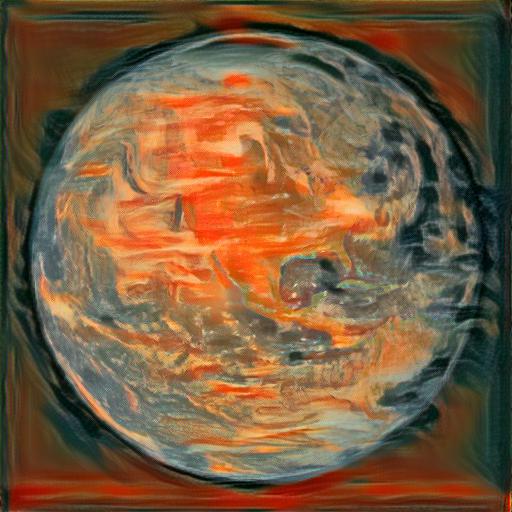
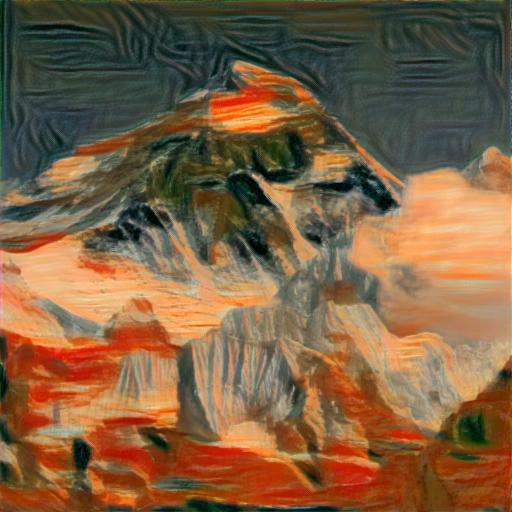
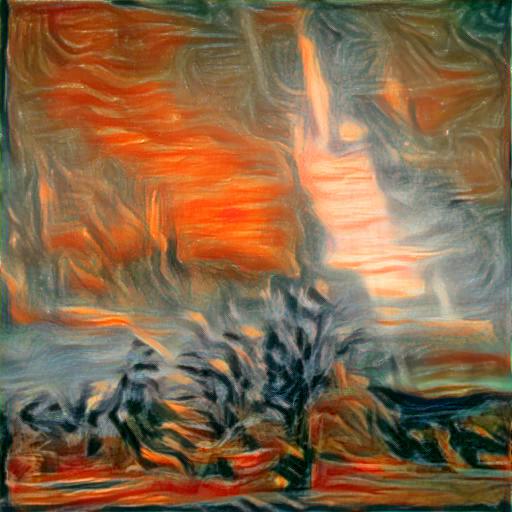
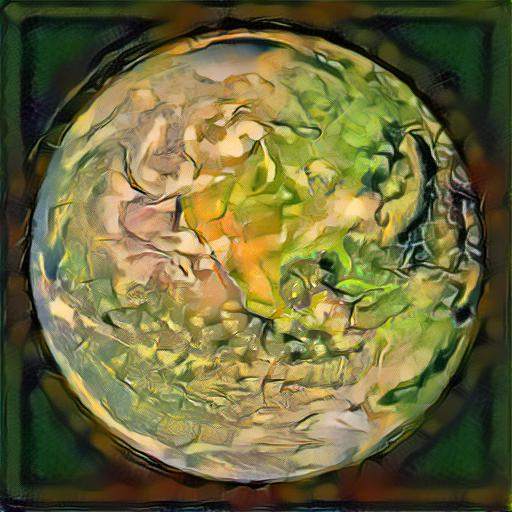
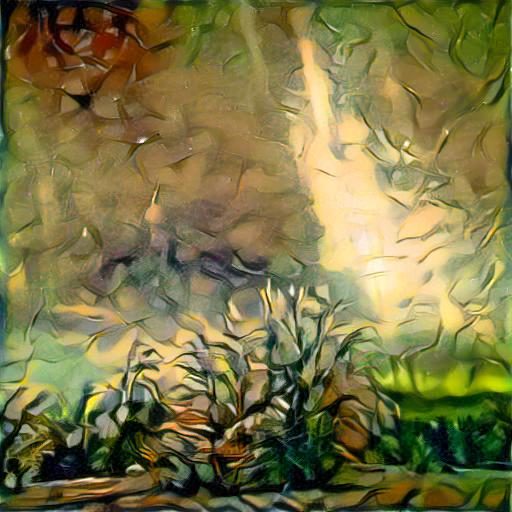
Experiment: Please report at least a 2x2 grid of results that are optimized from two content images mixing with two style images accordingly.
Content Images -- >
Style Images
|
\/

Experiment: Take input as random noise and a content image respectively. Compare their results in terms of quality and running time.
Shown below is the style transferred image obtained from both noise and content initilisation. I ran the experiment on the GPU. To generate the image from the noise initialization, the process took about 18 seconds. To generate the image from noise initialization, the process took approximately 16.7 seconds. This was more or less the same for various combinations of style and content images. Overall, we can see that the images generated from the content initialization is much better than the image generated from the noise initialization.
Content Image
Style Image
Image from Noise initialization
Image from Content initialization
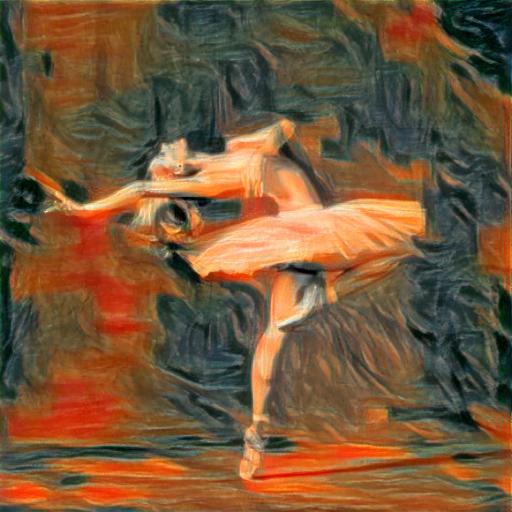
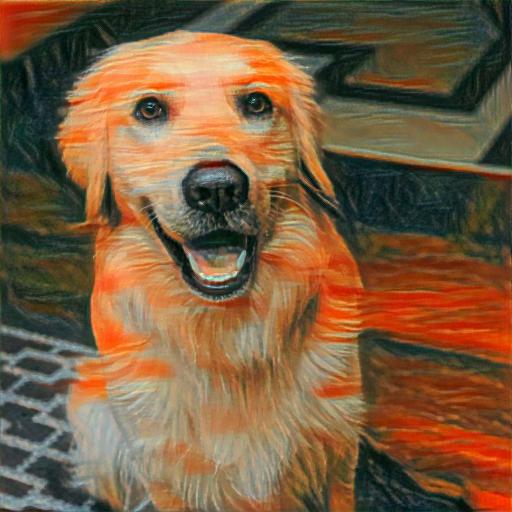
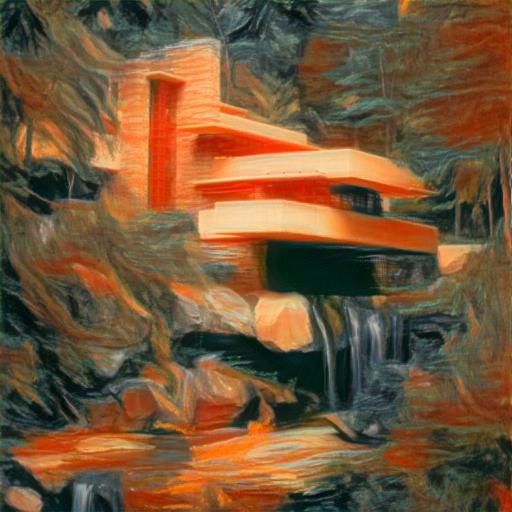
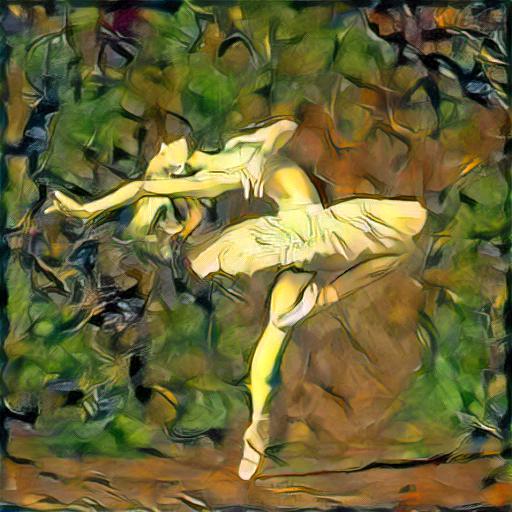
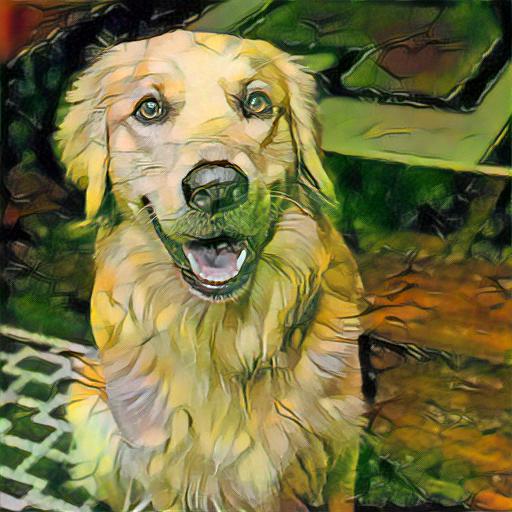
Experiment: Try style transfer on some of your favorite images.
Content Images -- >
Style Images
|
\/

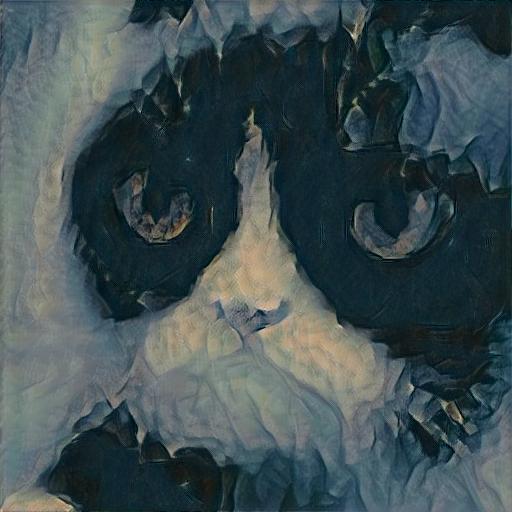
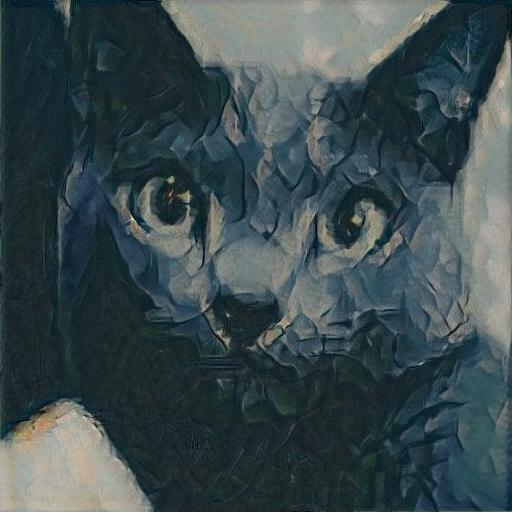
Bells And Whistles
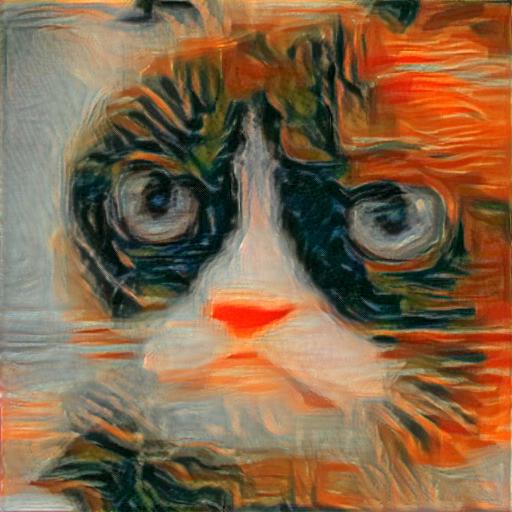
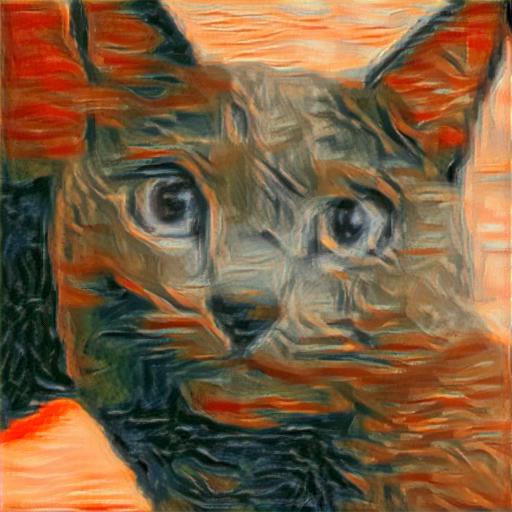
Stylize your grump cats
Content Images -- >
Style Images
|
\/


Apply style transfer to a video.
Input Video (Credit)
Stylized Video