7. Interpreting Your Results
![]()
7. Interpreting Your Results
![]()
In this step, we will compare the results we've got from symmetry method with
the ones we got from part 1. The results we are going to consider are
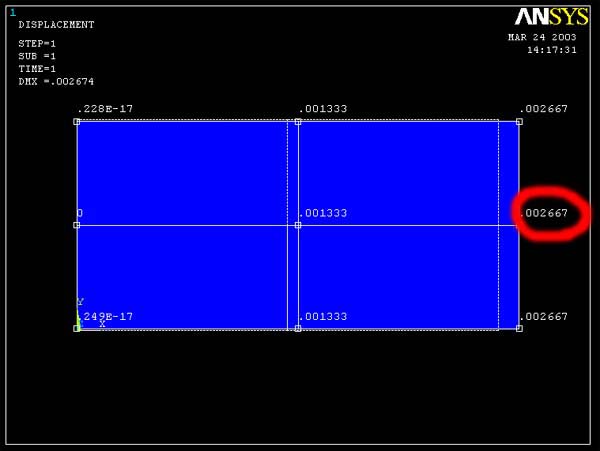
1. The Normal Stress (Sigma xx)Overall, you will see that the results for the stresses, strains, and displacements in the y direction are identical to those obtained in Part 1. The displacements in the x direction are essentially the same, but they differ by a constant, due to the assumption of no displacement in the x direction at the center of the plate. In part 1, we assumed dx=0 at the left edge of the plate.
2. The Normal Strain
a) Axial Strain (Strain xx)
b) Lateral Strain (Strain yy)
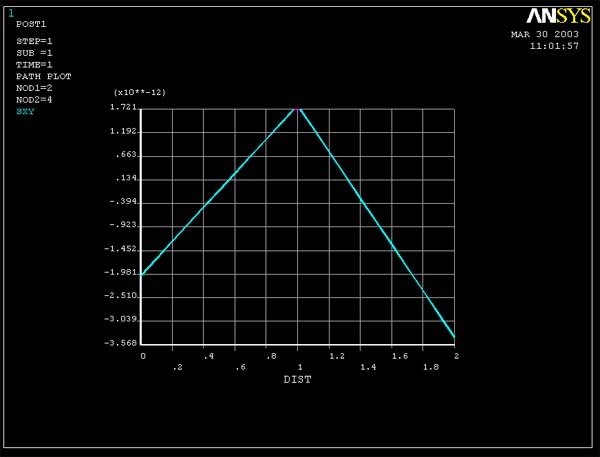
3. The Shear Stress (Tau xy)
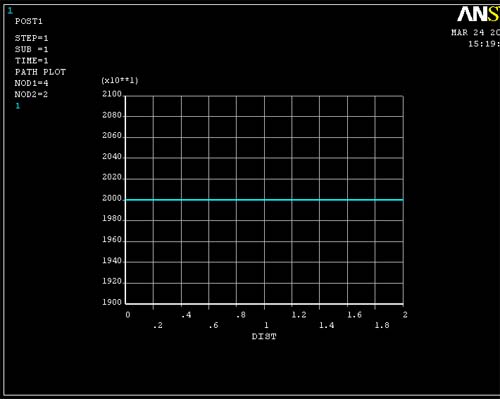
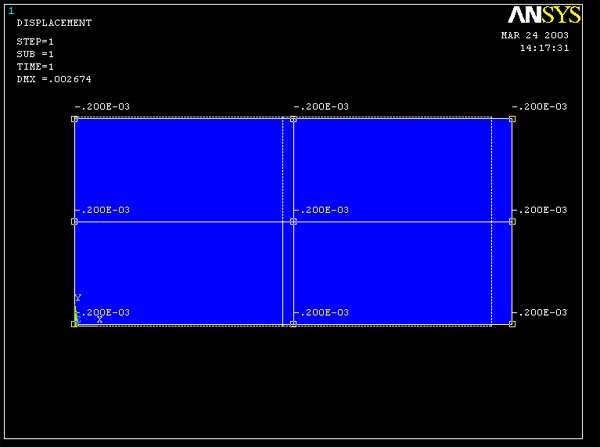
4. Displacement of the Neutral Axis
a) Displacement x (dx)
b) Displacement y (dy)


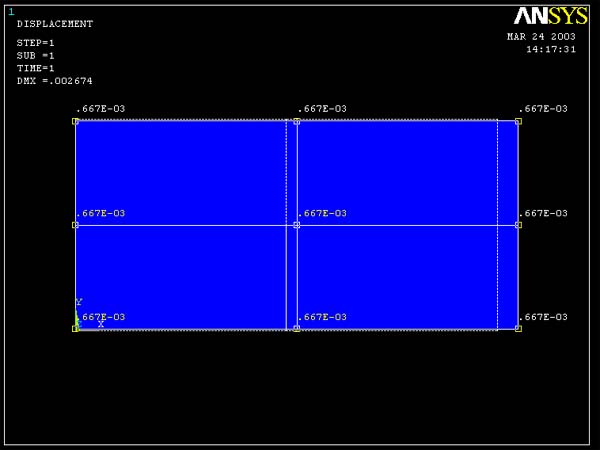
b) Lateral Strain (Strain yy)
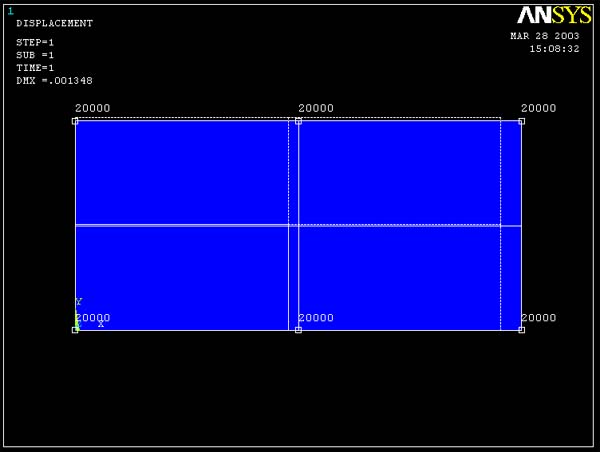
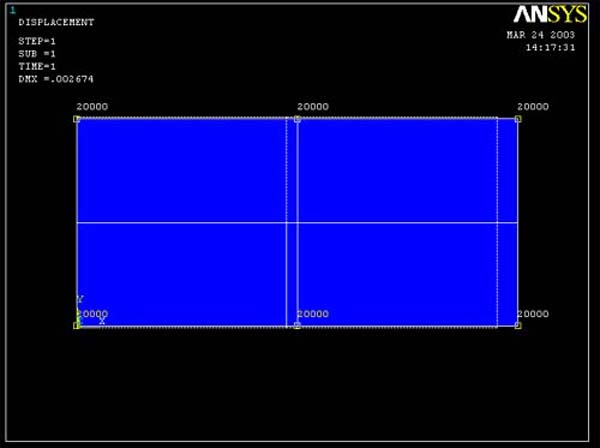
Result from PART 2 (Symmetry):


Result from PART 1:
Displacements:
a) Displacement x (dx)
Result from PART 2 (Symmetry):

Result from PART 1: