16726 - Learning Based Image Synthesis - HW4 - Tarangs
Tarang Shah (Andrew Id: tarangs)
Neural Style Transfer
Part 1: Content Reconstruction
Experiment:
- Report the effect of optimizing content loss at different layers. [15 points]
Discussion:
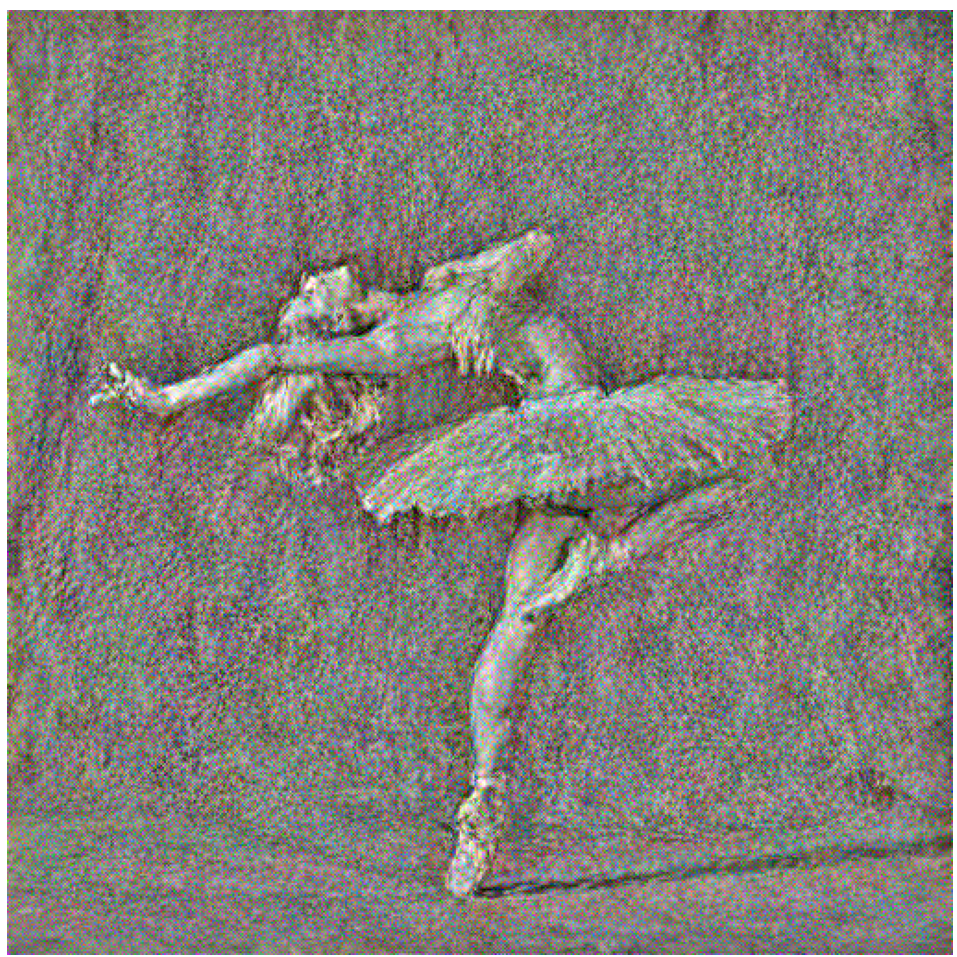
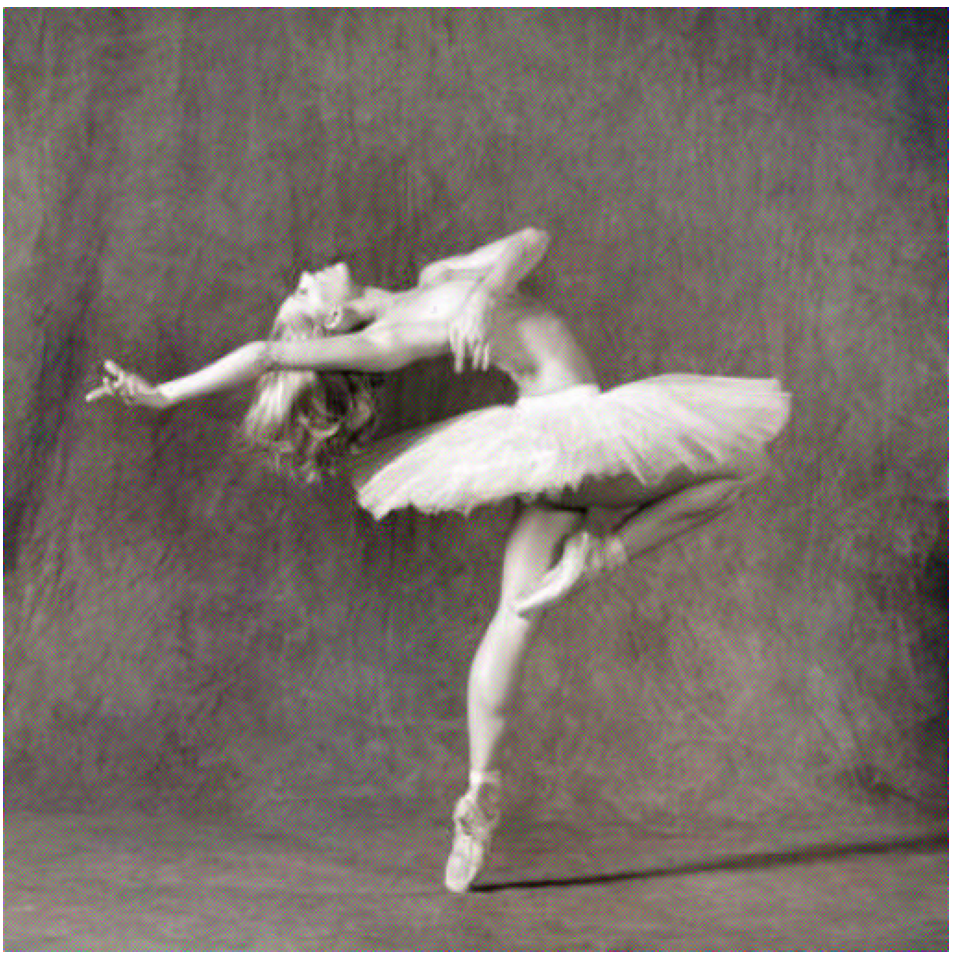
We see that the reconstruction from the earlier layers of the network is much better compared to the deeper layers. We observe that the "content" of an image is lost as we go deeper, especially in the case of a network like VGG.
Based on the above we chose Conv4 as our layer for content loss in the further experiments
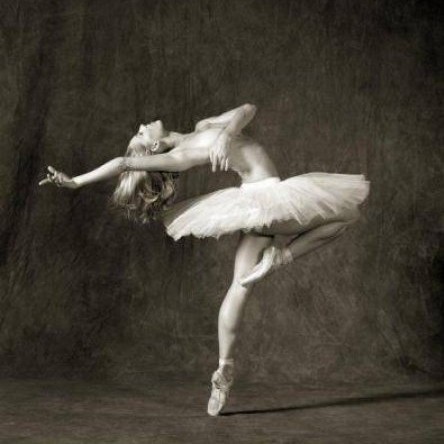
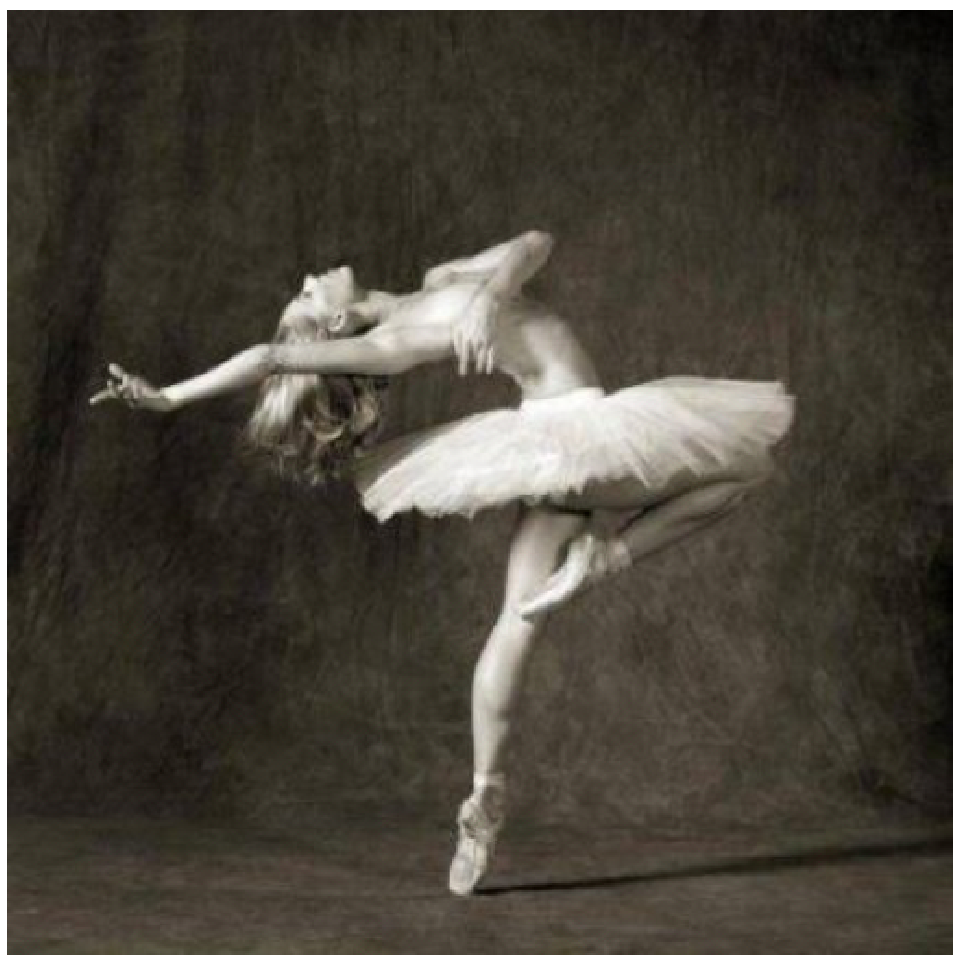
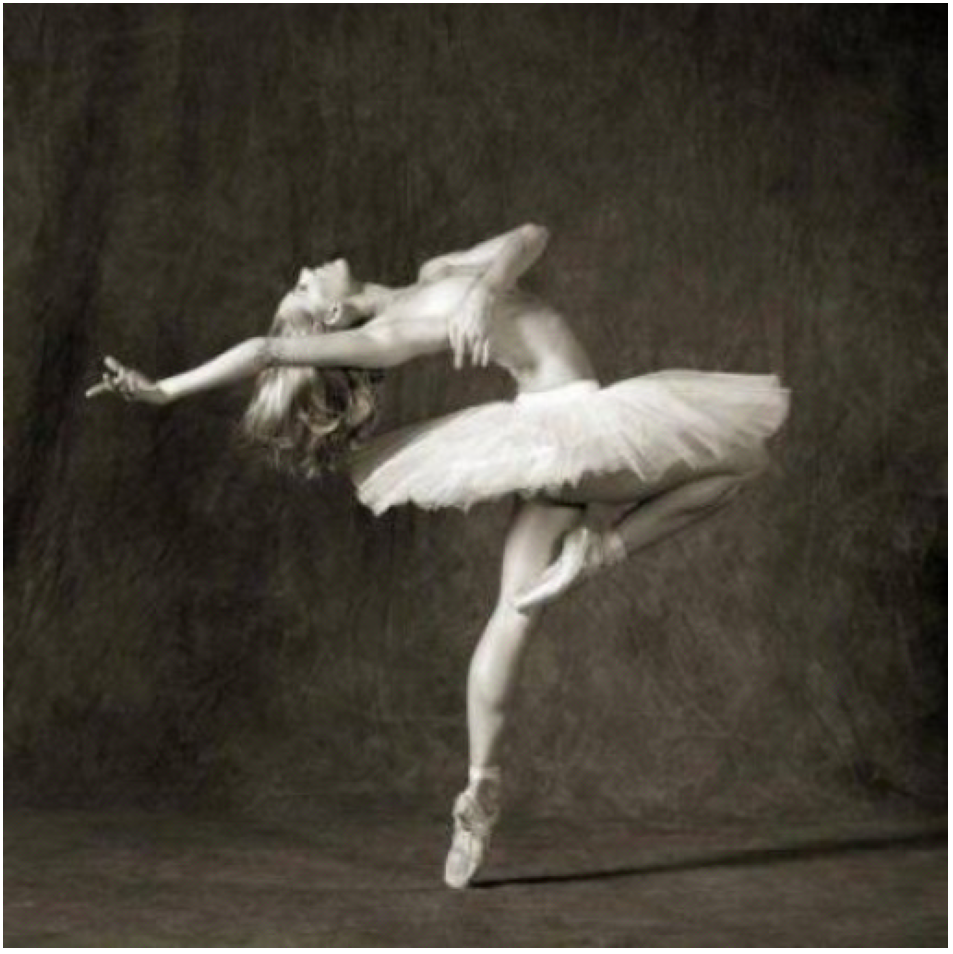
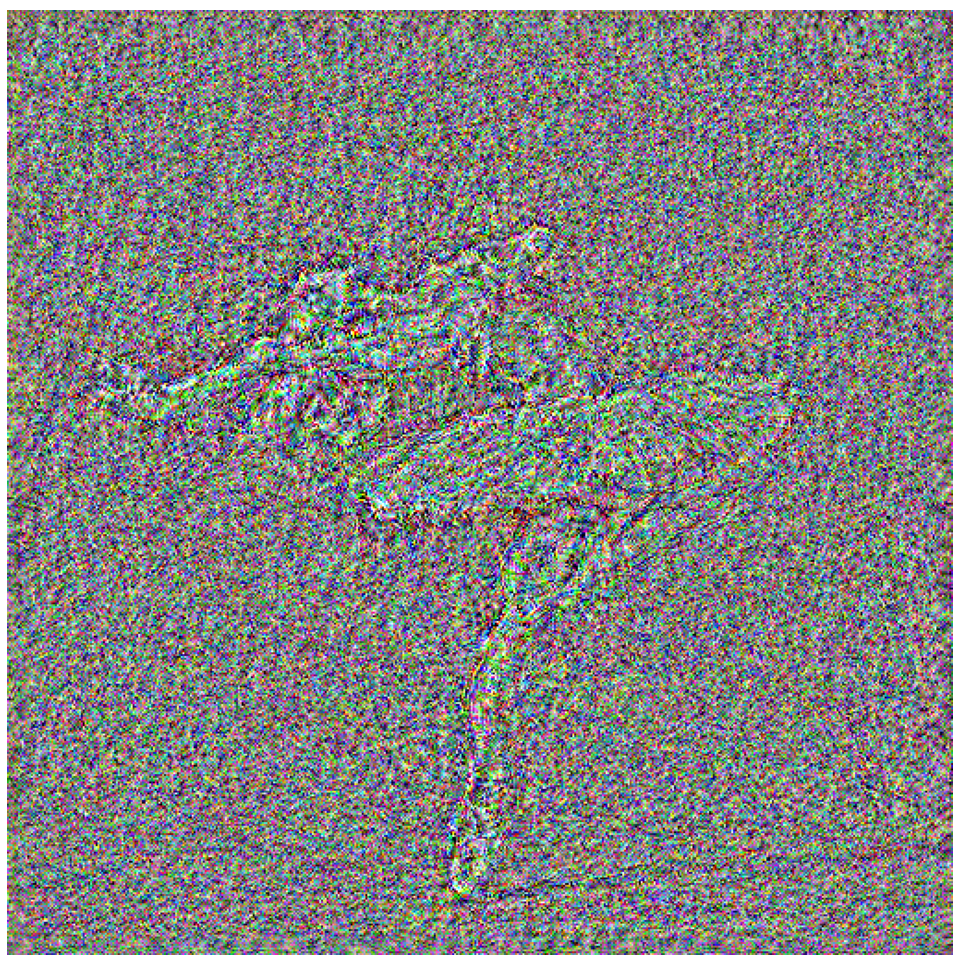
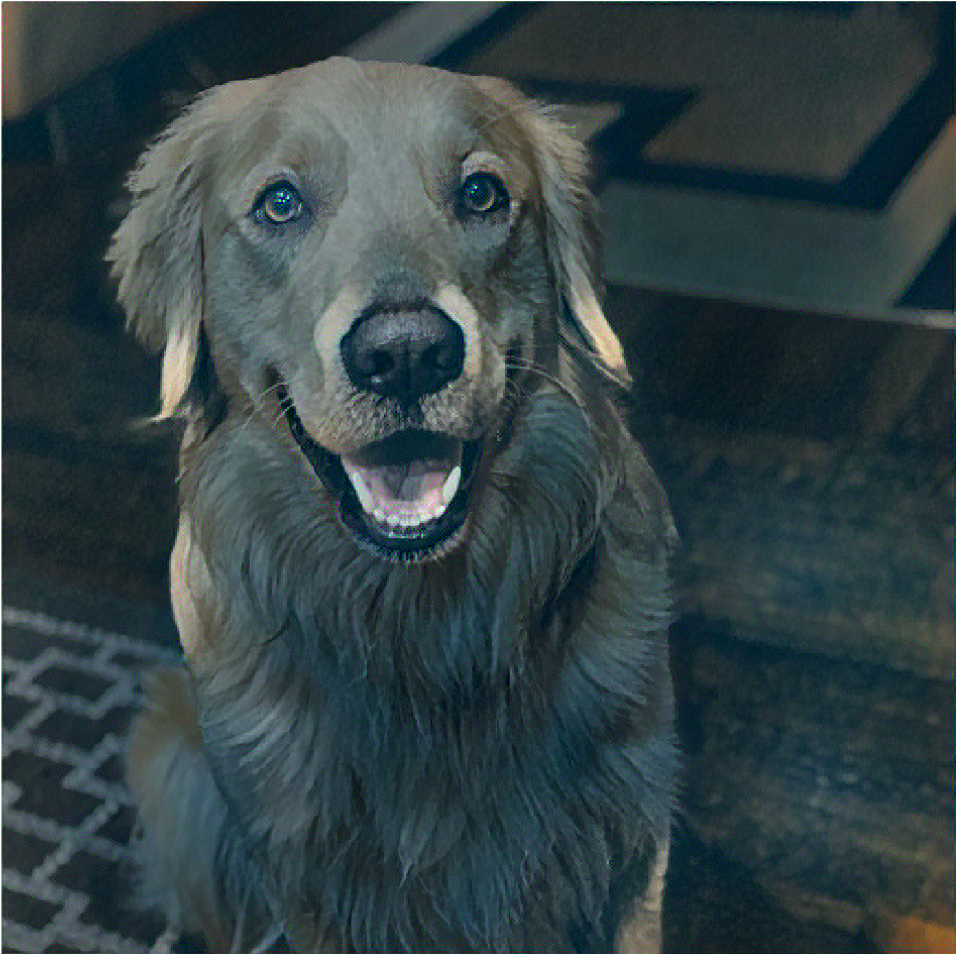
- Choose your favorite one (specify it on the website). Take two random noises as two input images, optimize them only with content loss. Please include your results on the website and compare each other with the content image. [15 points]
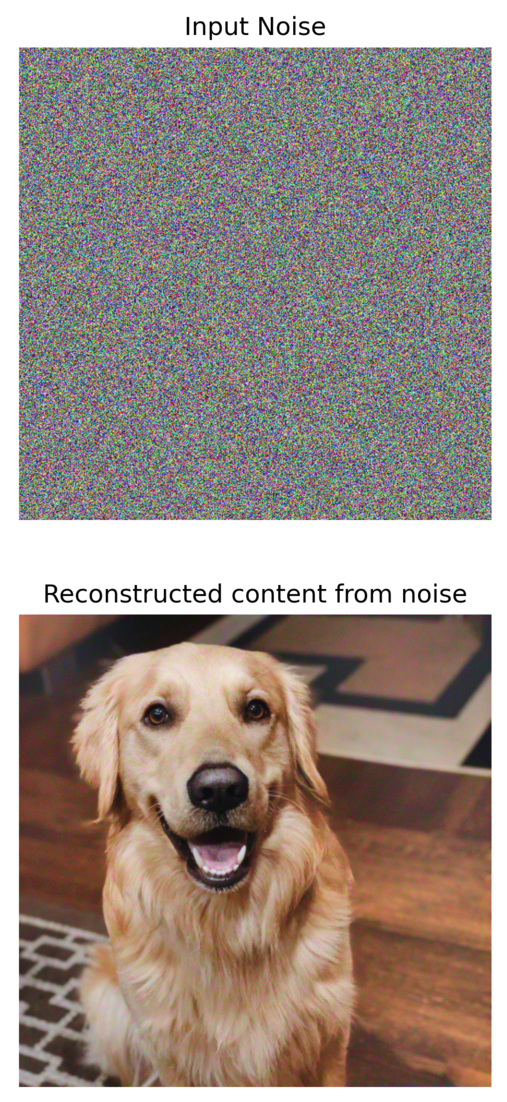
We can see that the image generated has artifacts. These are very small and are only visible when we zoom in on the image. This is a good thing as we are using one of the lower layers(Conv4) and are still able to reconstruct an image similar to the original
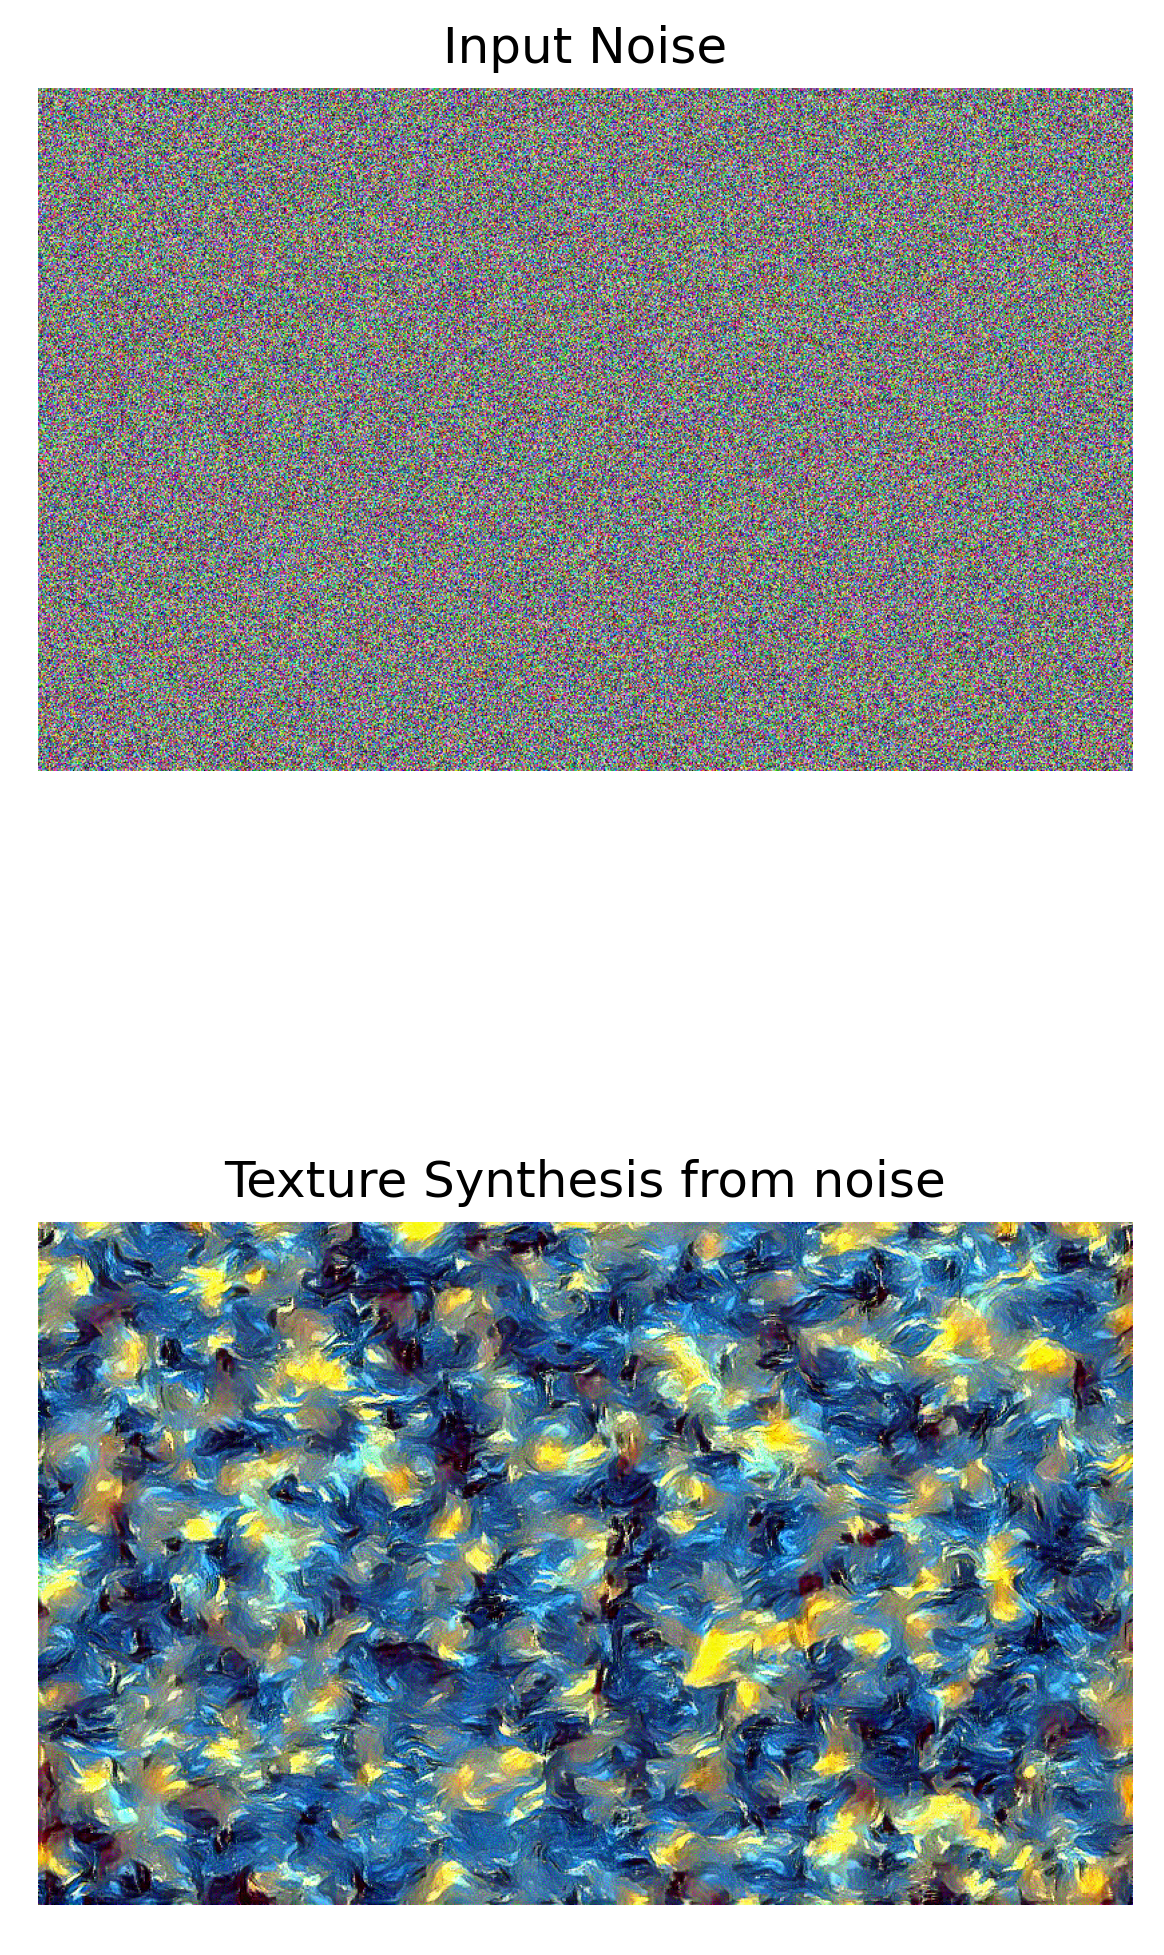
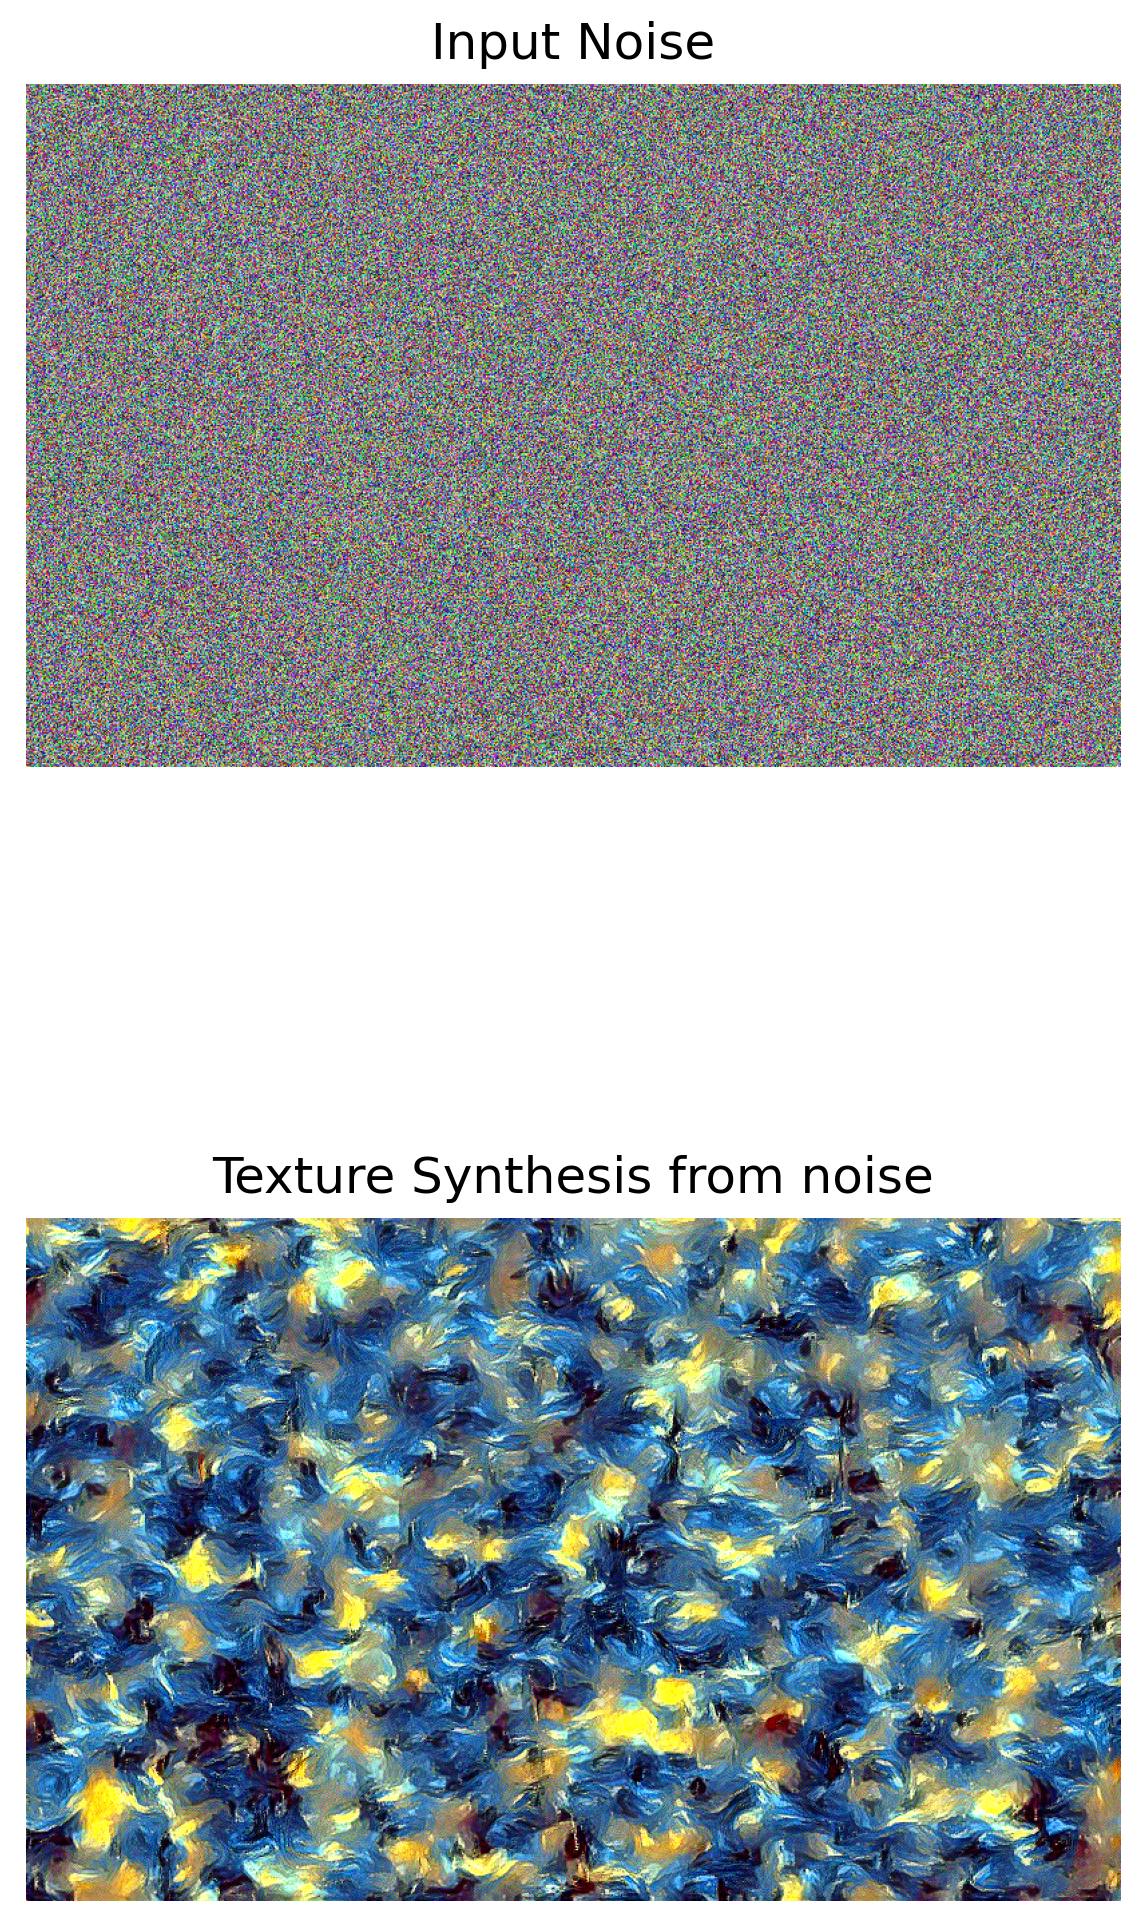
Part 2: Texture Synthesis
Experiment:
- Report the effect of optimizing texture loss at different layers. Use one of the configurations; specify it in the website [15 points]
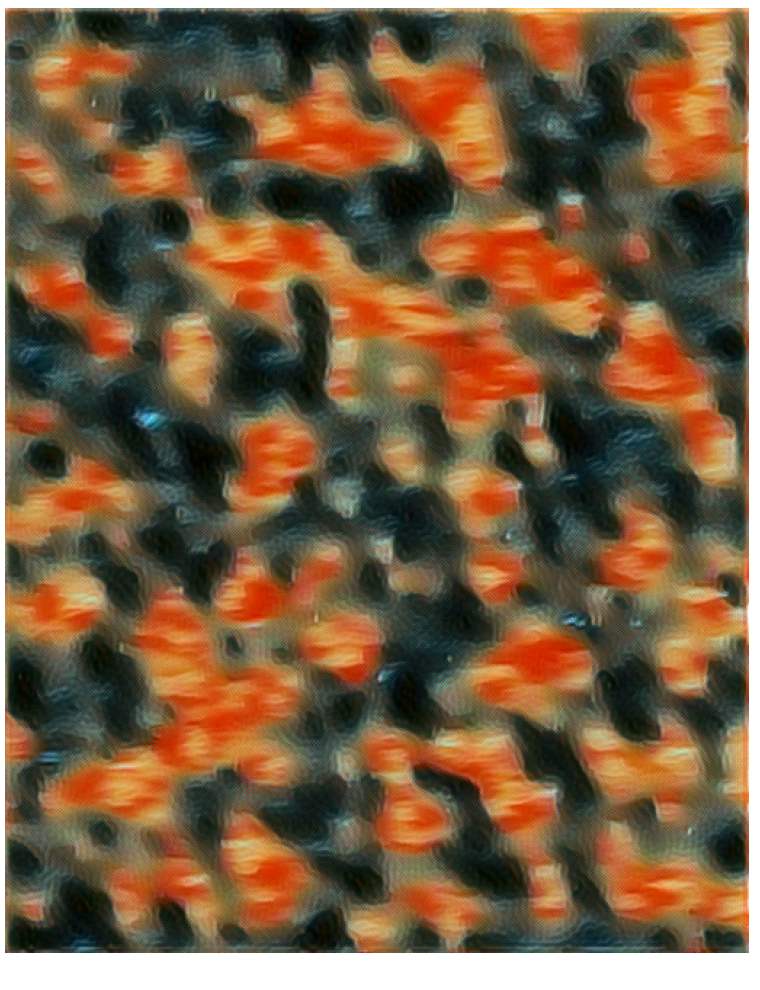
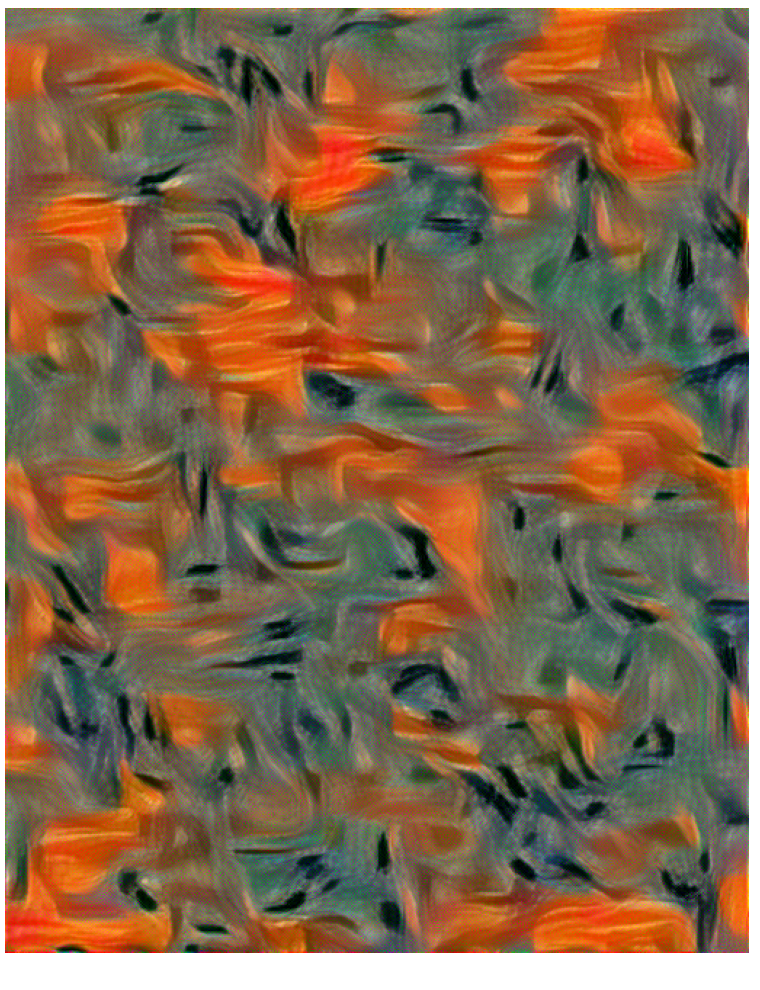
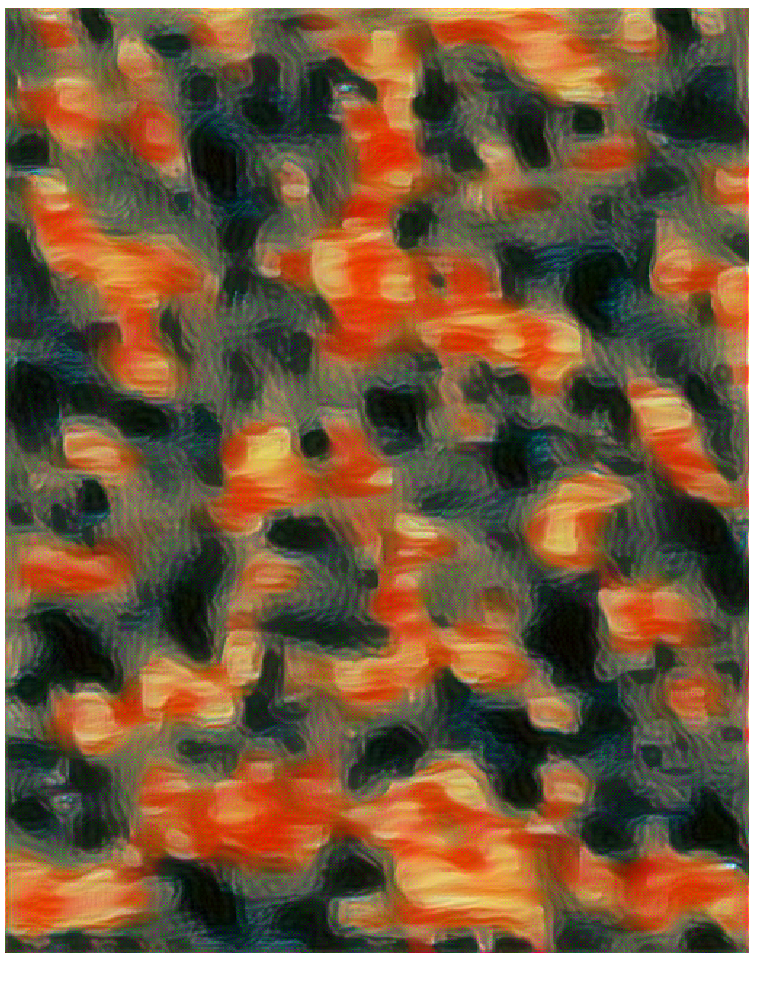
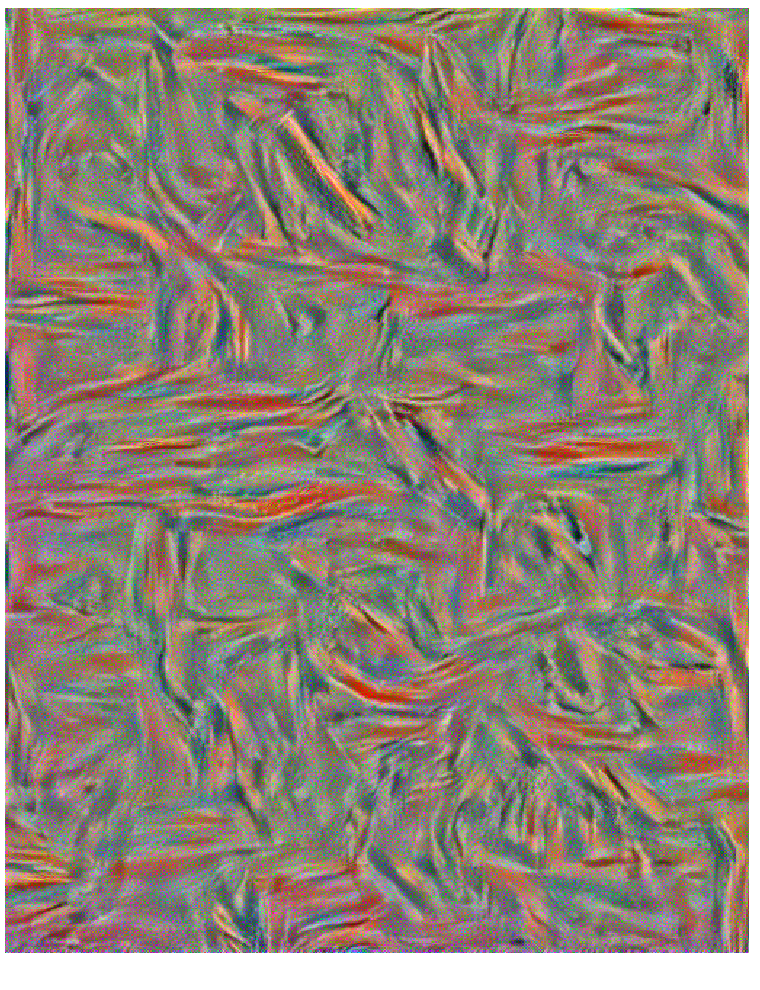
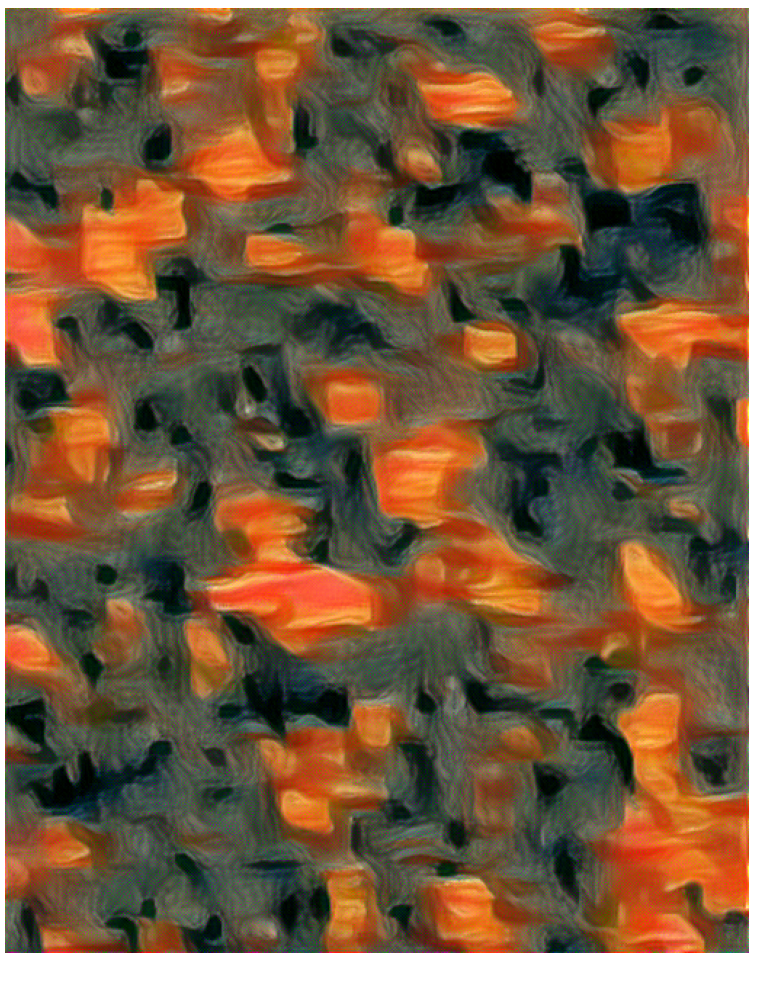
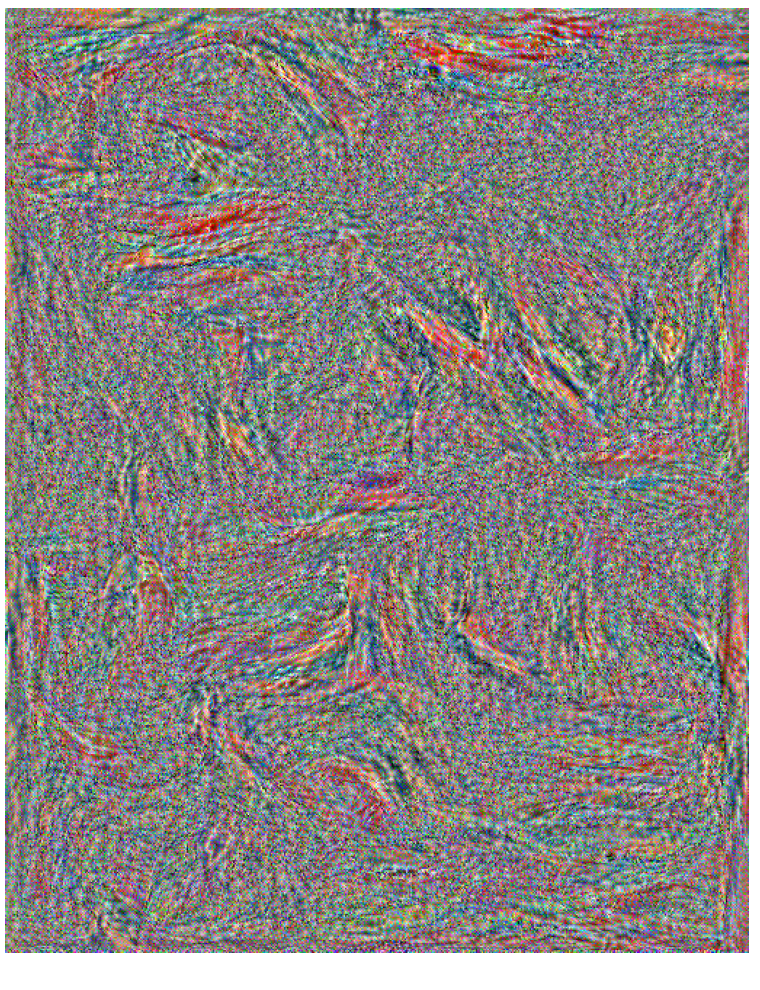
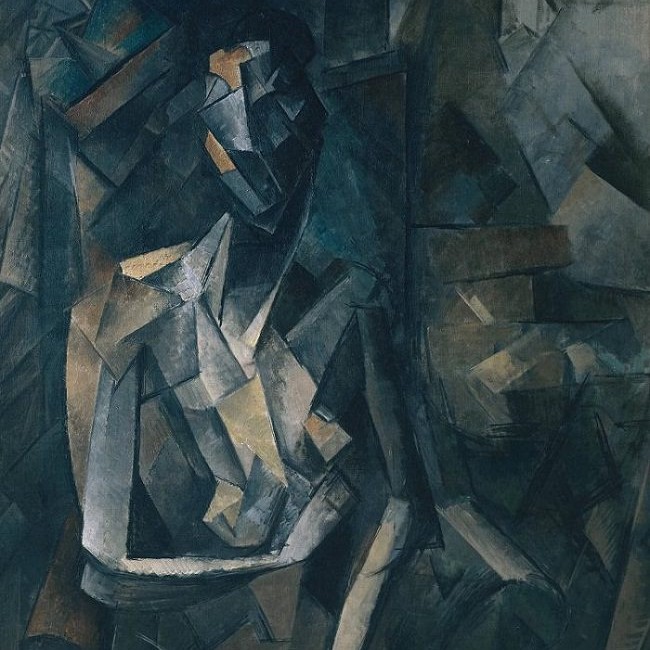
We can see that the early few layers are much better at generating the style. The deeper layers do have some of the texture but don't have a lot of the colors present in them and the images also have a lot of noise. Considering the original painting, the 3rd image(conv 1,2,3,4) preserves a lot of the strokes and the other styles from the original image. Hence we calculate the style loss from conv1, conv2,conv3,conv4 layers.
- Take two random noises as two input images, optimize them only with style loss. Please include your results on the website and compare these two synthesized textures. [15 points]

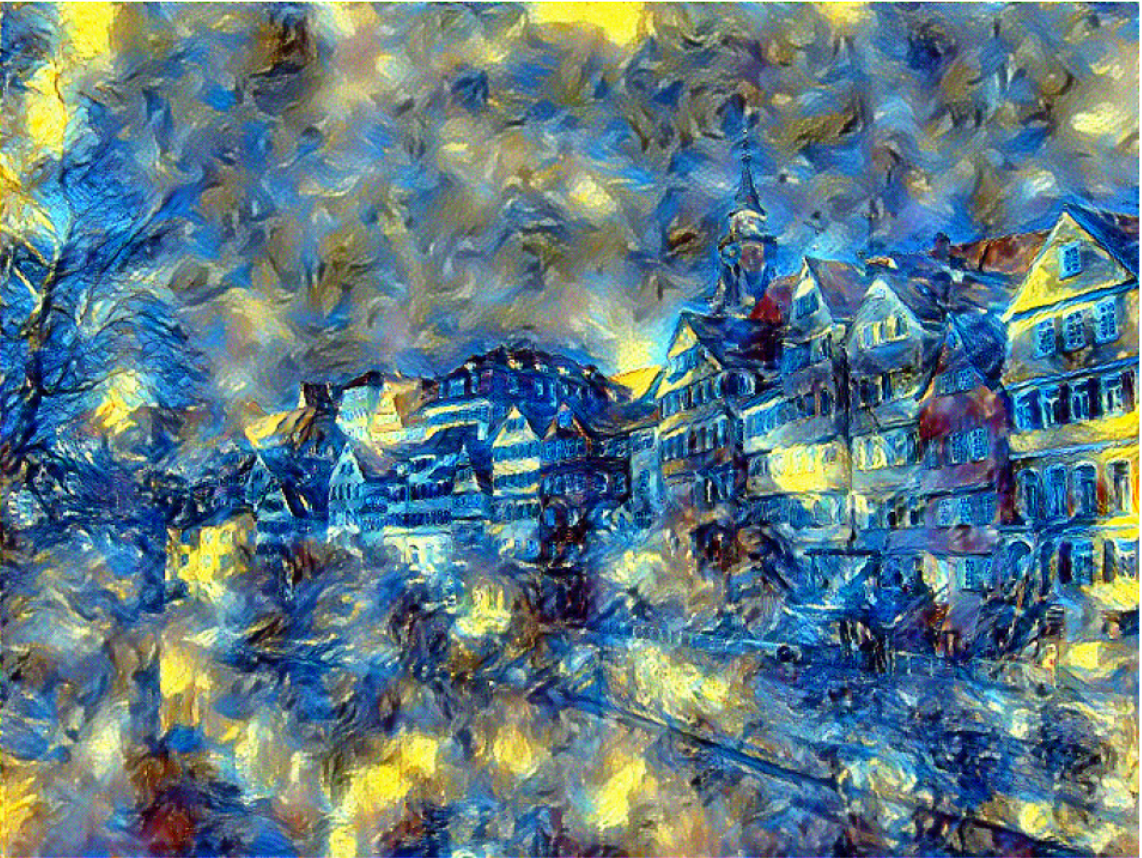
Part 3: Style Transfer
Implementation Details
For the style transfer process, we used the conv4 layer for the content loss calculation. For the style loss we used conv1, conv2, conv3, conv4 .
Content Loss
The content loss is calculated using the feature maps on the Generated image (O) and the Content image () . We use squared differences(MSE Loss) to calculate the final loss value.
The content loss is given by:
Where,
= No of filters in the layer
= Size of each filter
= The feature map of layer (conv4)
(we take a sum across all the layers , for the current case is conv4)
Style Loss
The Style Loss is calculated using a Gram matrix across each of the feature maps of the given layers. We do this for both the generated image () and the style image(). We use the Gram matrix values and calculate the loss using squared differences(MSE_Loss)
The style
= No of filters in the layer
= The Gram matrix
(we take a sum across all the layers , for the current case is conv1, conv2, conv3 and conv4)
Total Loss
The final loss is calculated using a weighted sum of the Content and Style Losses.
Where,
= Style Loss
= Content Loss
= Content Weight
= Style Weight
Based on tuning the weights, it was observed that reducing the style weight made the content of the image more clear and identifiable.
For Part 3, I used a Style weight of 500000 and Content weight of 1.
Style Transfer Results Grid
Please report at least a 2x2 grid of results that are optimized from two content images mixing with two style images accordingly.
Style → Content ↓


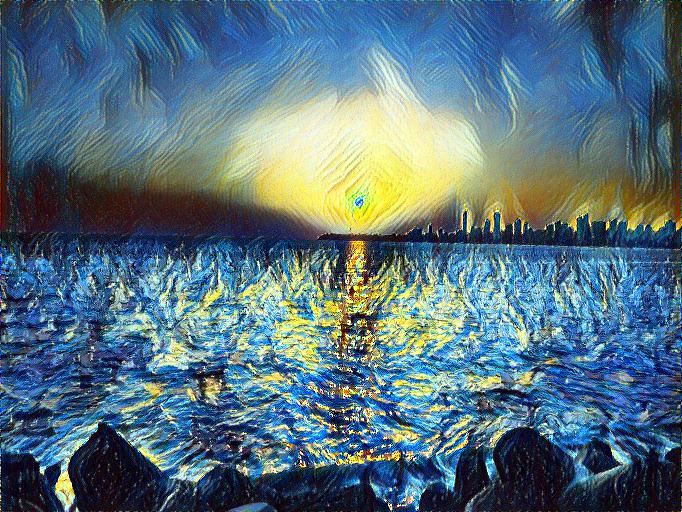
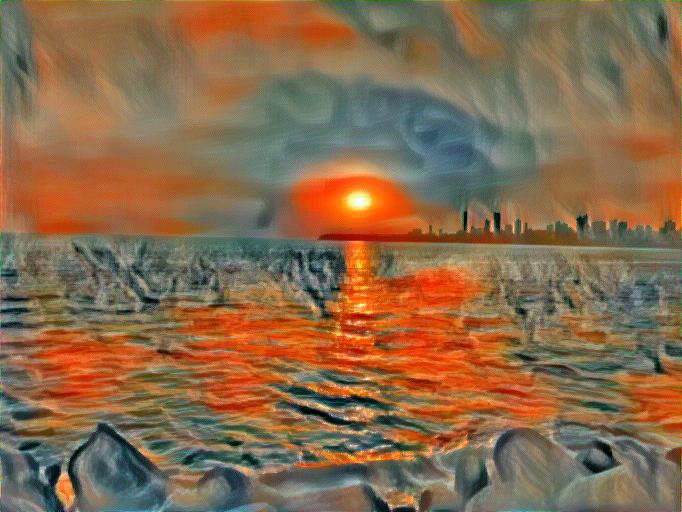
Comparison between Noise and Content Image initialization

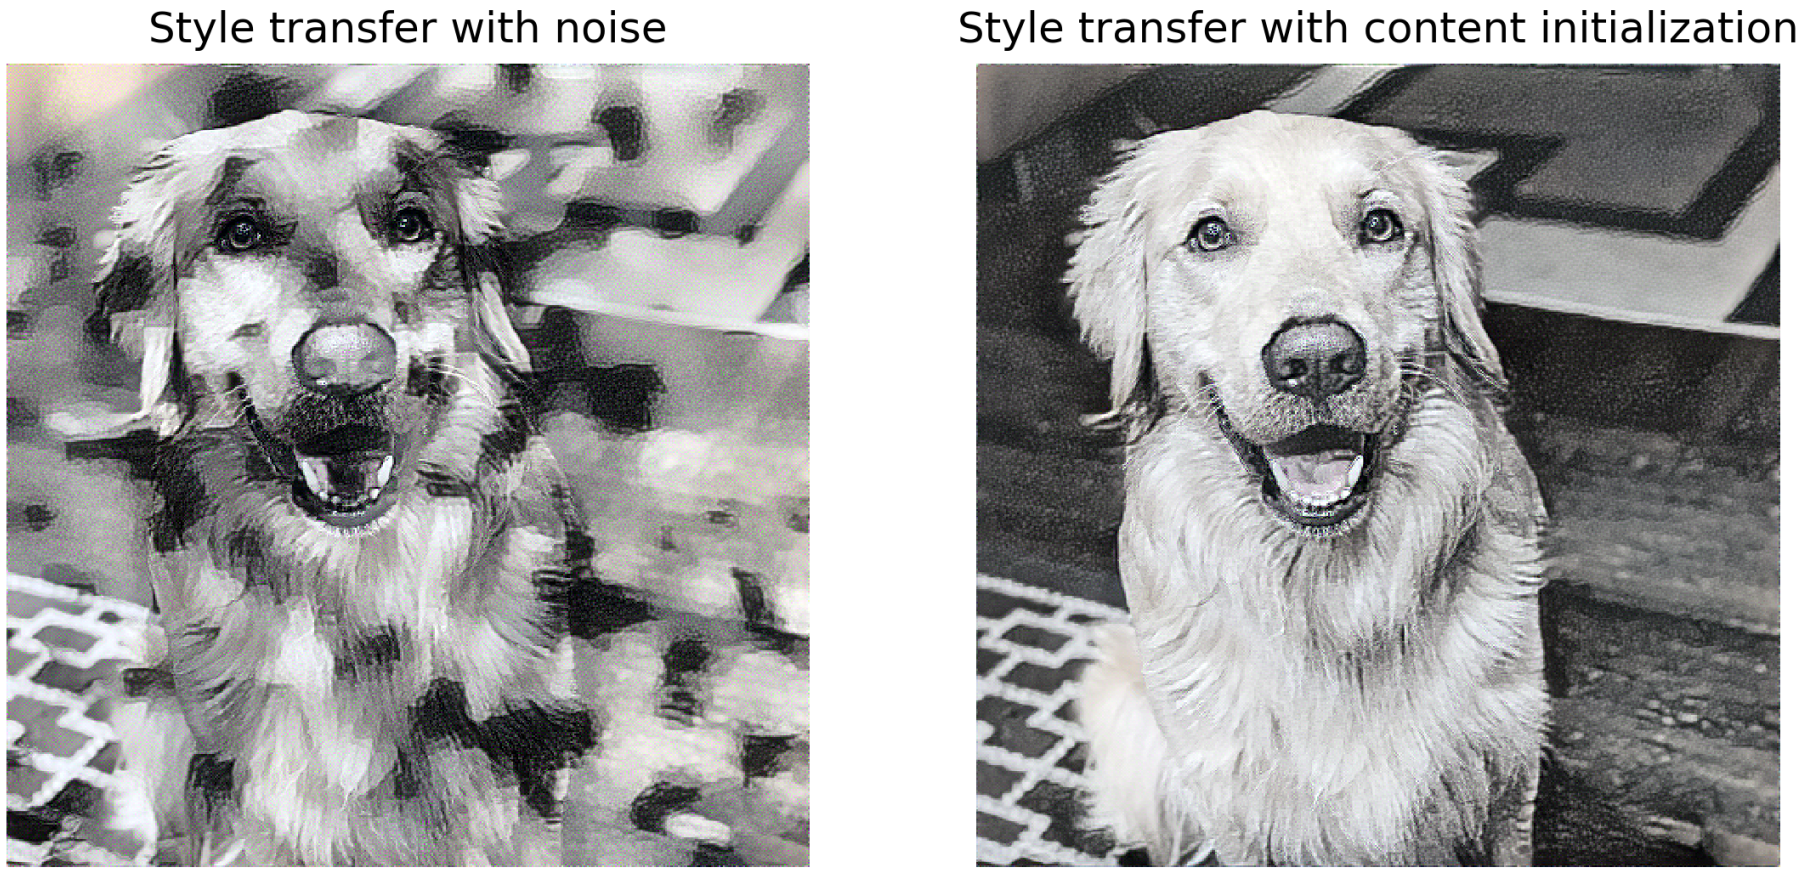
For Noise and Content Initialization, I ran 300 iterations each.
In terms of the quality, the content initialization preserved a lot of the content and was slow to incorporate the textures. The Random initialization seems that it starts to represent both the style and the content image equally in the beginning. This means that is fails to replicate some parts of the content image in the beginning, though it does show more of the Style compared to content image initialization.
The time taken for both was somewhat the same for 300 iterations, but the loss values at the end of 300 iterations were quite different. The Content initialization had a much lower loss and was close to convergence pretty soon, whereas the Noise initialization had a very high loss and was slow to converge.
Random Initialization Losses
Run: 50, StyleLoss: 37.074153900146484, ContentLoss:20.935544967651367
Run: 100, StyleLoss: 18.725248336791992, ContentLoss:13.629446029663086
Run: 150, StyleLoss: 12.492478370666504, ContentLoss:10.092535972595215
Run: 200, StyleLoss: 9.14704704284668, ContentLoss:7.968705654144287
Run: 250, StyleLoss: 6.973098278045654, ContentLoss:6.854893207550049
Run: 300, StyleLoss: 4.967663764953613, ContentLoss:6.268260955810547
Content Image Initialization Losses
Run: 50, StyleLoss: 8.021048545837402, ContentLoss:7.205914497375488
Run: 100, StyleLoss: 3.240185260772705, ContentLoss:5.2984137535095215
Run: 150, StyleLoss: 1.8738738298416138, ContentLoss:4.508012771606445
Run: 200, StyleLoss: 1.3206478357315063, ContentLoss:4.125565528869629
Run: 250, StyleLoss: 1.061152696609497, ContentLoss:3.8953378200531006
Run: 300, StyleLoss: 0.911404013633728, ContentLoss:3.7566046714782715
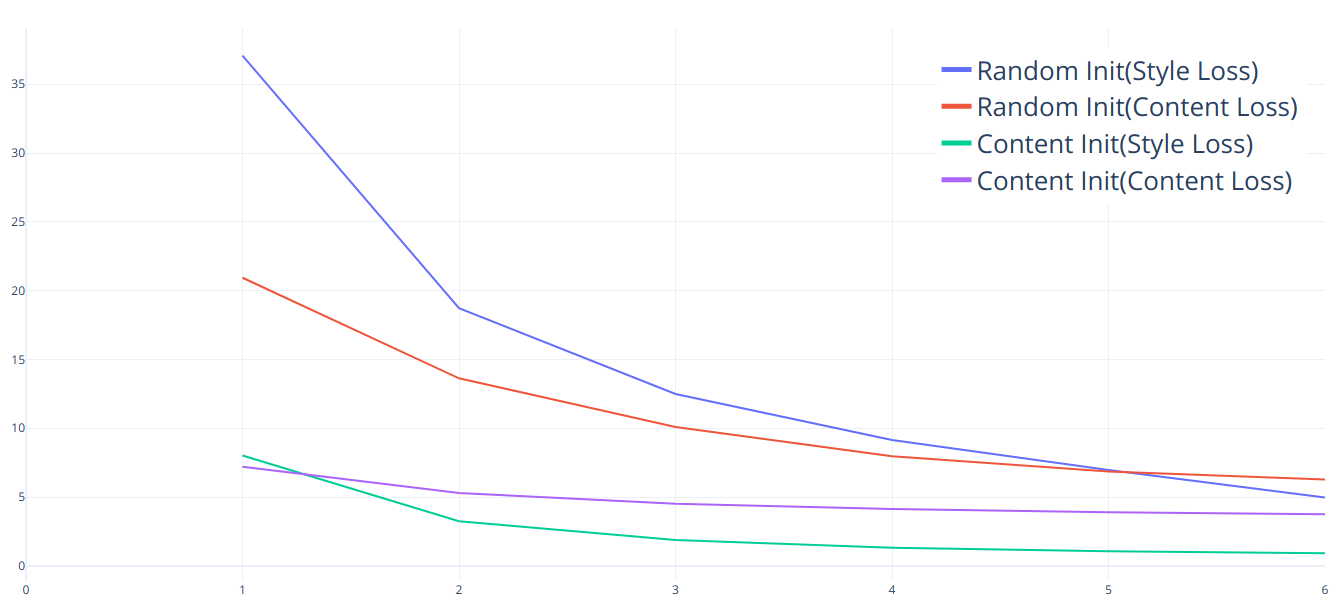
We can see the the Content Initialization already starts at a Style and Content loss value of around ~8 and ~7 respectively. The Random initialization losses start at a much higher loss value as seen in the graph. The Random initialization takes around 200 steps to reach the starting value of the Content Initialization. Hence it seems like the content initialization will converge much faster.
Both these methods took very similar time per iteration. The random initialization style transfer took 18.85 seconds and the Content Initialization style transfer took 18.79 seconds.
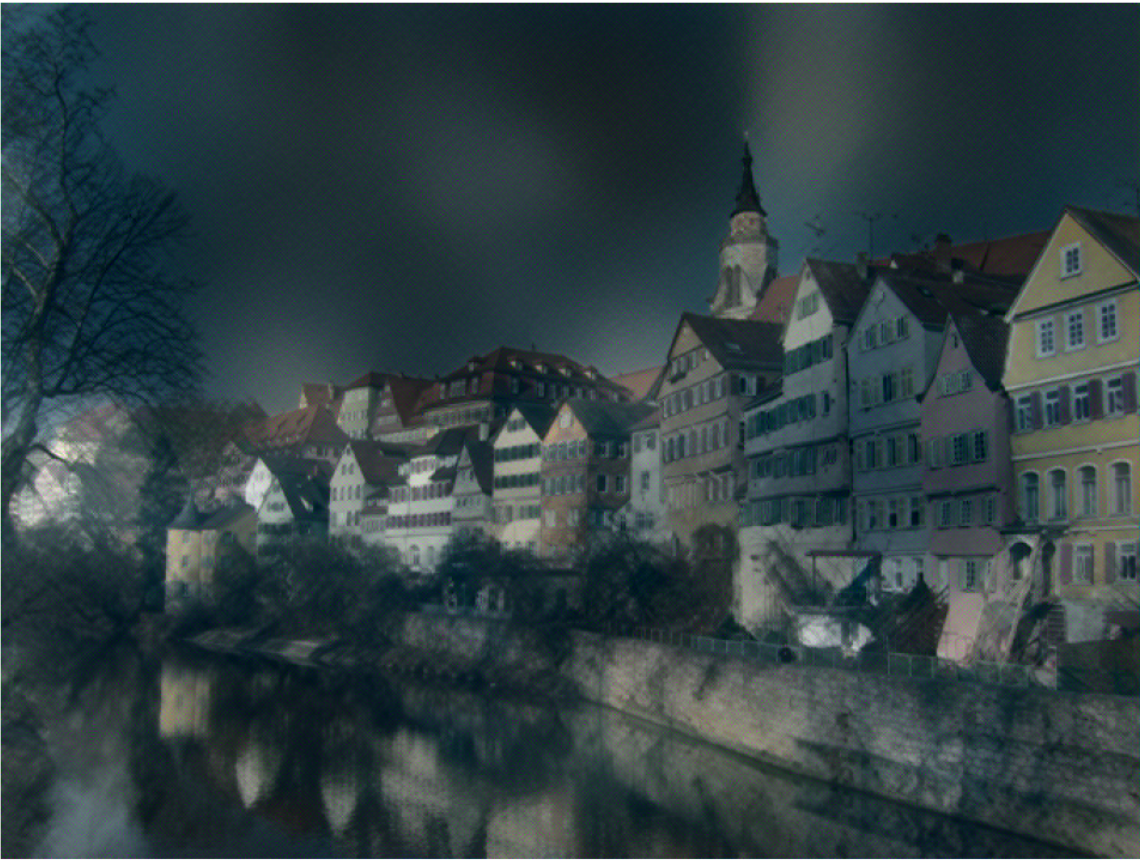
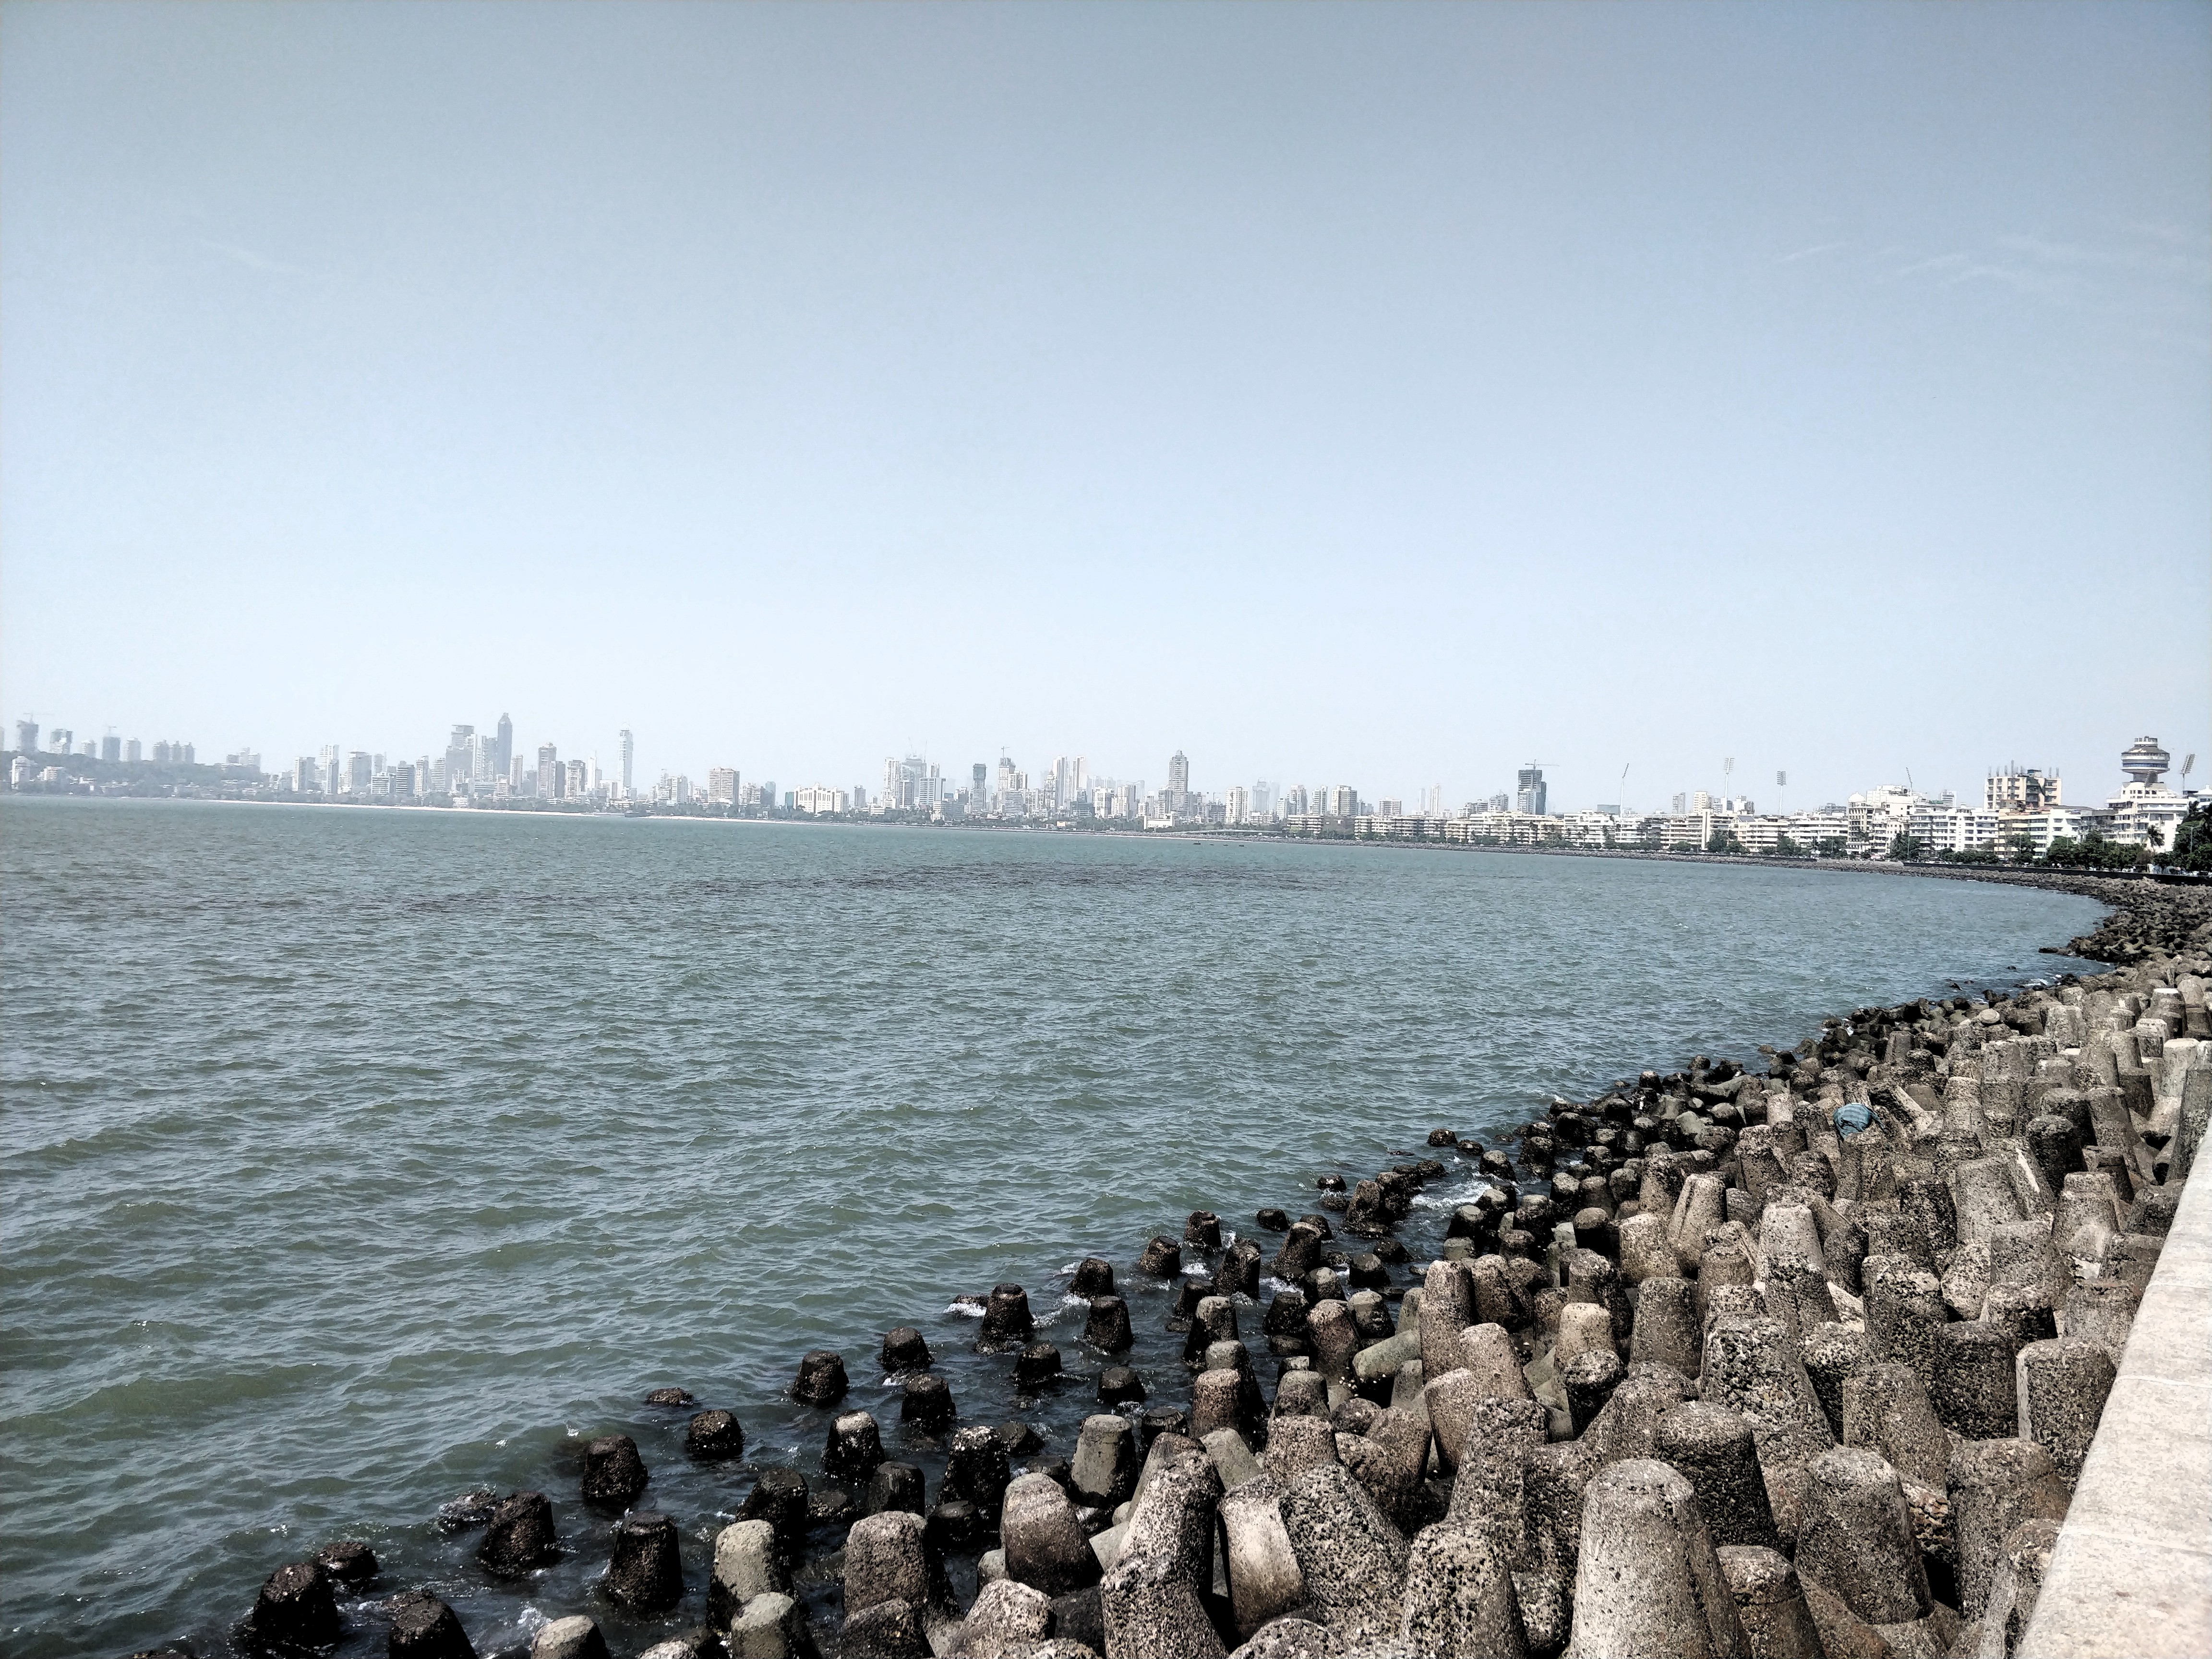
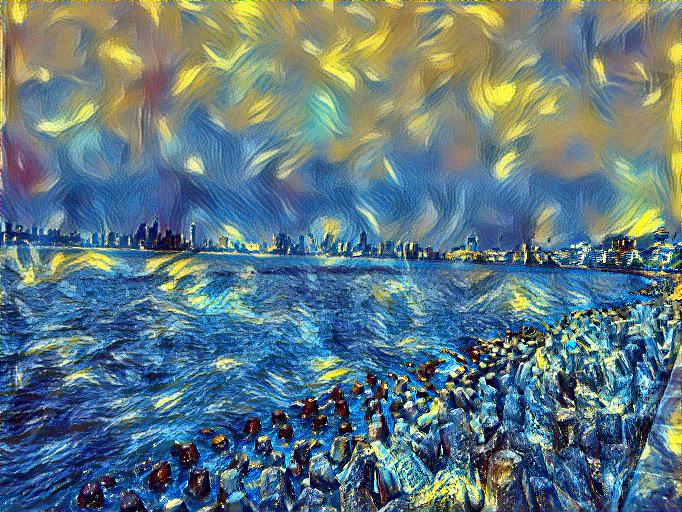
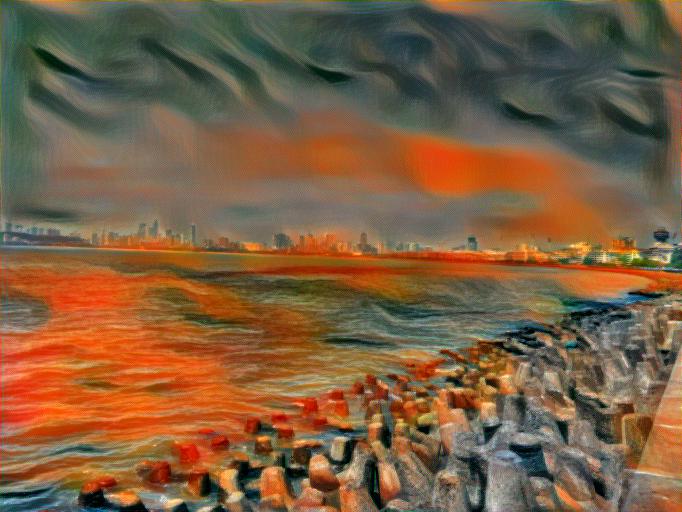
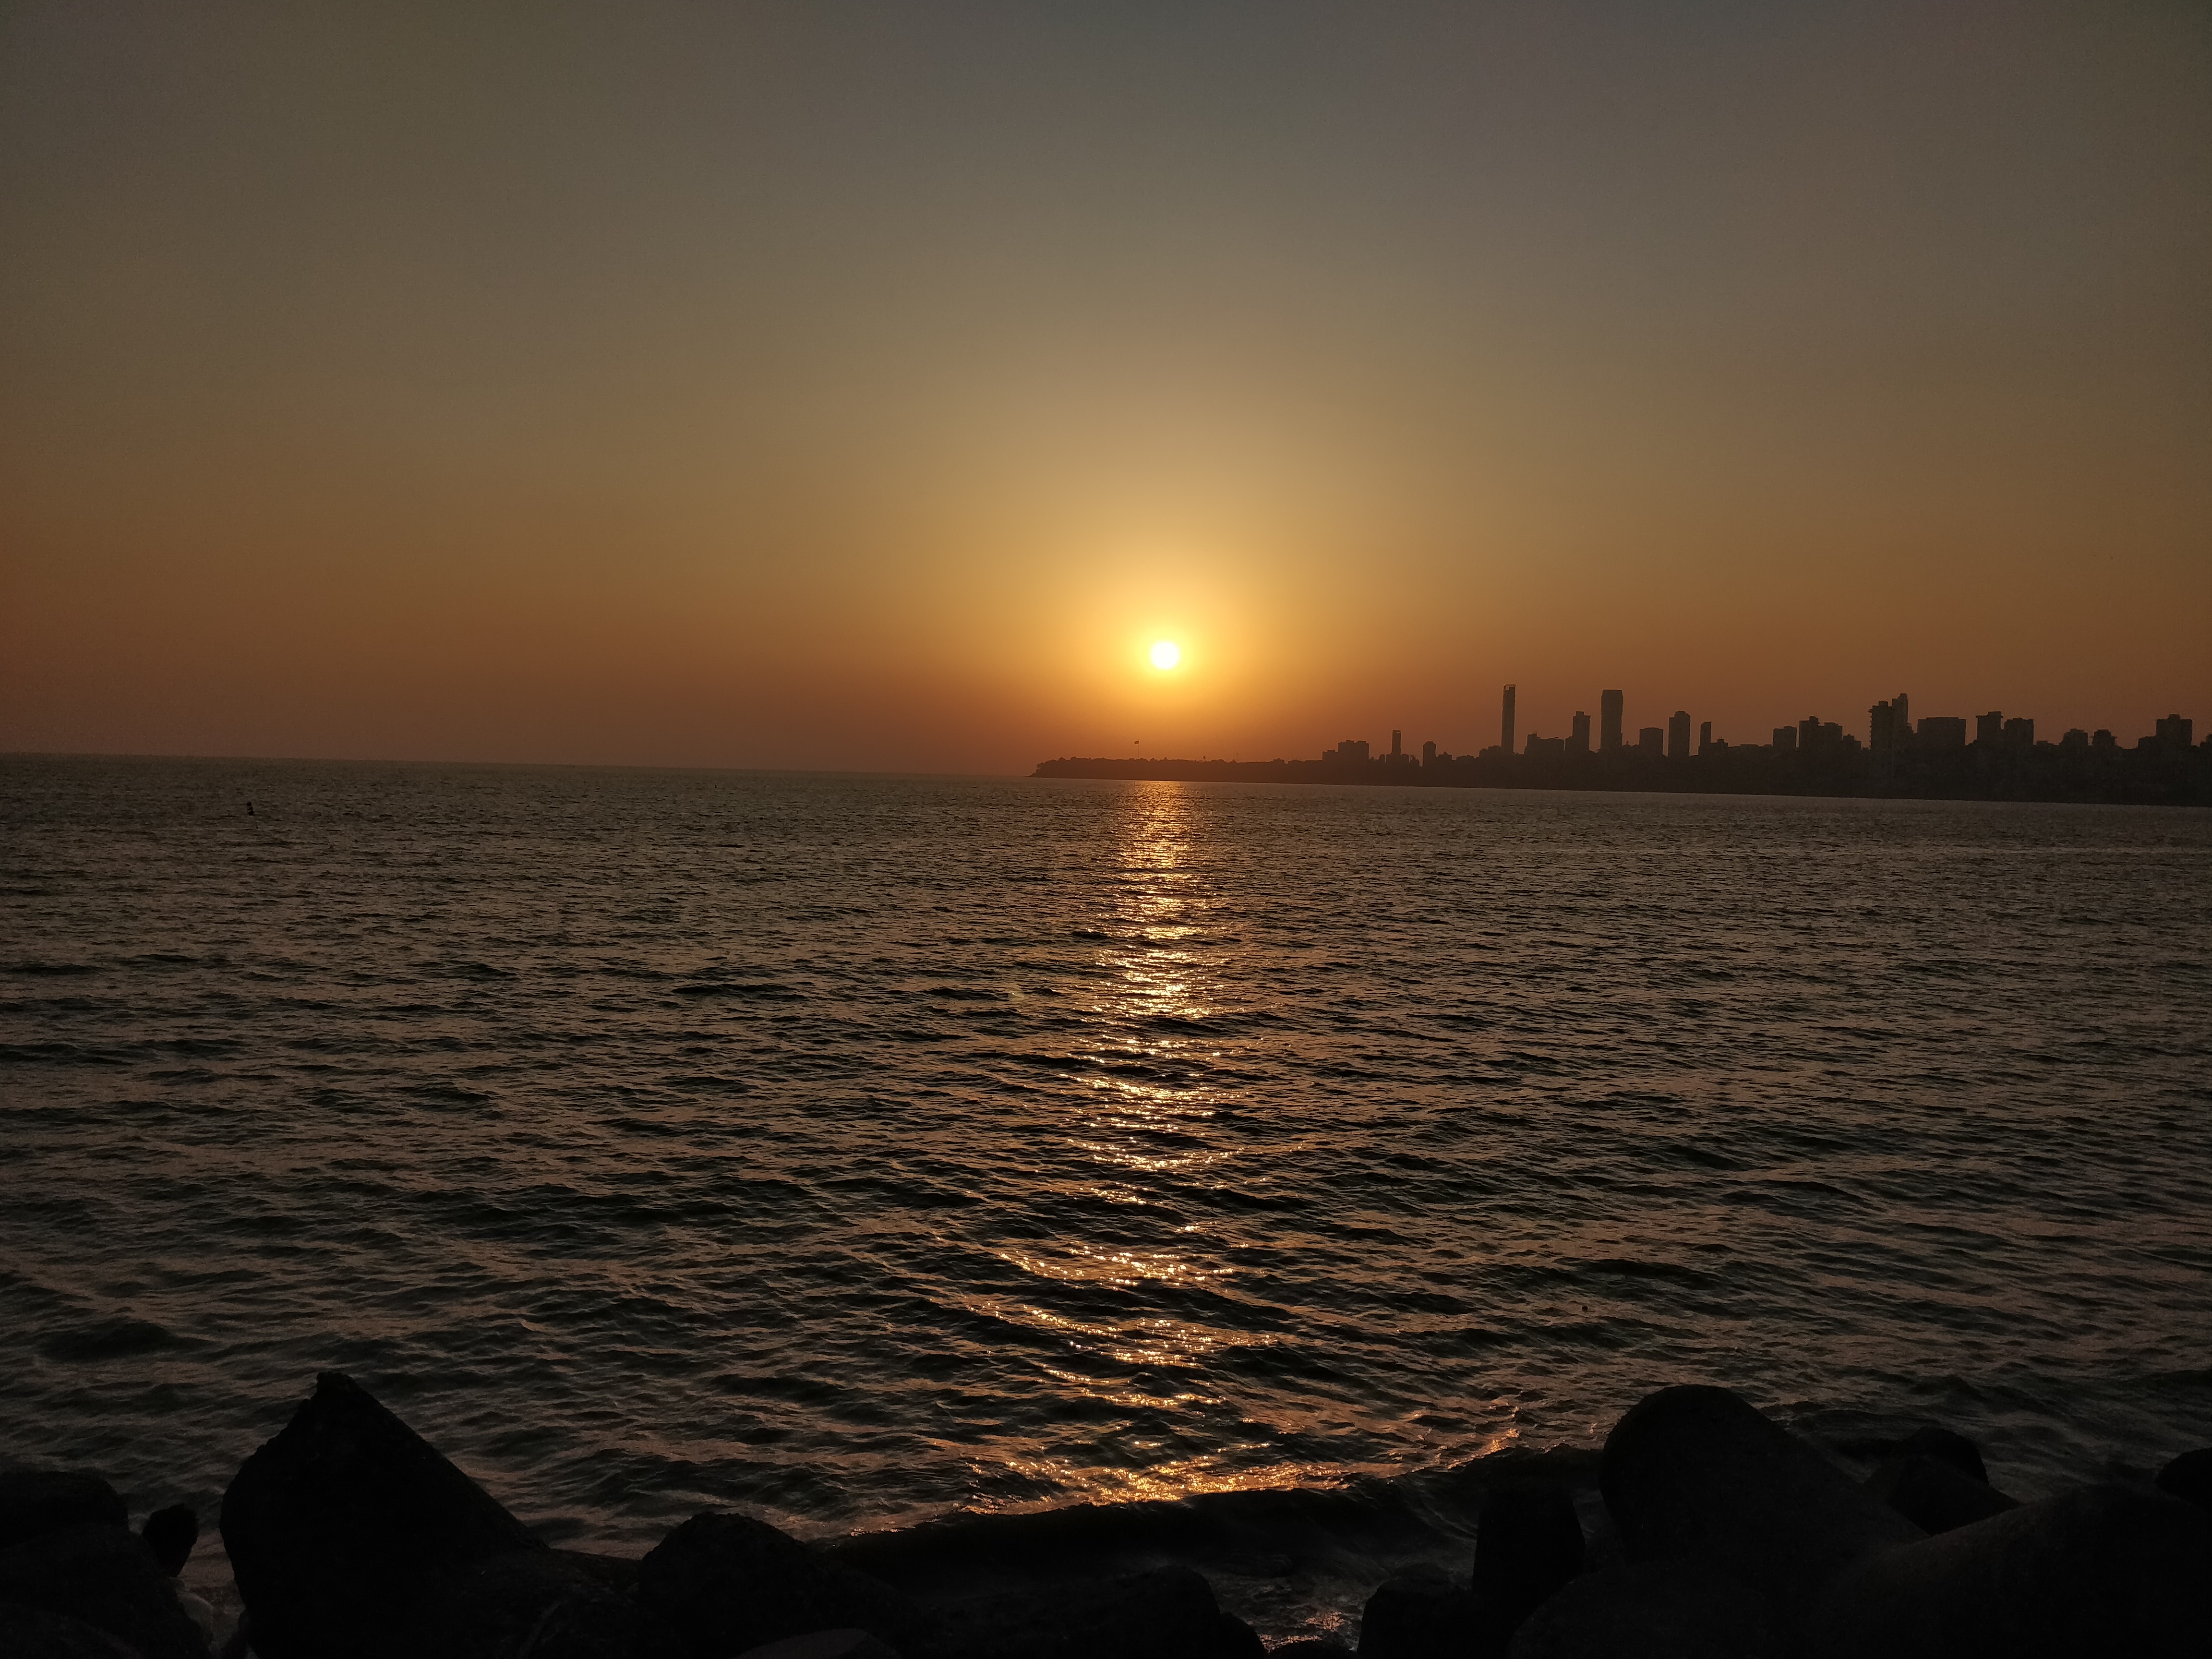
Style Transfer on Custom Images
For the custom images, I chose a Style weight of 100000 instead of the 500000 in the previous experiments. I found to get better results with this value. Also Instead of 300 steps, I ran it till 1000 steps since my content images were quite bigger and wanted the loss to converge further.
Note: I have used a grid for a clearer high level perspective here too, but the original images are full res. Please do click on the images for a full zoomed in image 🙂
Style → Content ↓

Bells and Whistles
Frame by Frame Video
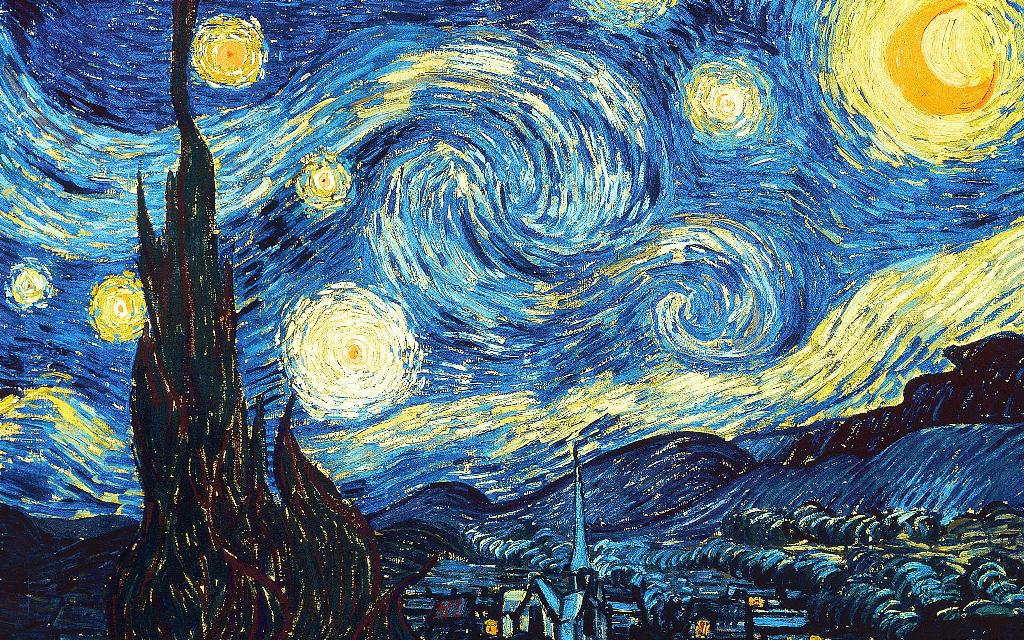
After applying Starry Night to each frame(also reducing the framerate to adjust for computation time) we get,
Since there is no temporal consistency added, we can see there is some flashing, though the styles do seem to have transferred to the video.