Overview
The goal of this assignment was to take digitized glass plate images and efficiently produce an accurate color image.
Approach
Initially, I evenly divide the glass plate images into three sections which serve as the preliminary RGB channels. The rest of my solution is composed of two high-level steps: automatic cropping and image alignment. The details of how I implement automatic cropping (as well as a brief comparison without it) are in the Bells & Whistles section below. After I do automatic cropping, I also compute the gradients of the images (see Bells & Whistles section) and align those instead of the raw images.
For image alignment, I first wrote a brute-force alignment function which would work on smaller images and optimized it for the higher resolution images. Given, two images to align, this function searches over a specified grid of x and y values and returns the displacement which produces the minimal score according to some metric. I experimented with Sum of Squared Differences (SSD) and Normalized Cross-Correlation (NCC) and ended up sticking with the latter. While this function works relatively quickly (~20 sec) on the images of size 300 x 300, it's computationally infeasible to brute force on the larger images.
So, for the higher resolution images, I make two optimizations — implementing a vectorized 2D convolution (using np.repeat, np.tile, and broadcasting) and a Gaussian pyramid. In particular, I recursively construct a 5-layer (or until the image fits within a 400 x 400 frame) Gaussian pyramid. Each subsequent layer is constructed by filtering the previous layer with a 5-by-5 binomial kernel and downsampling by a factor of 2. At the final layer, I use the brute force function described above and search over possible displacements with x-values [-15, 15] and y-values [-15, 15]. Once the best shift is found, I propagate it to the previous layer, scale by a factor of 2, and again use a brute force search (but with the possible displacement range halved). This process is repeated recursively until the initial layer is reached.
Finally, using the extracted best shift, I aligned the (cropped) green and red channels to the blue to produce the final colorized image. With these optimizations, the high-resolution images can be aligned in around a minute.
Results
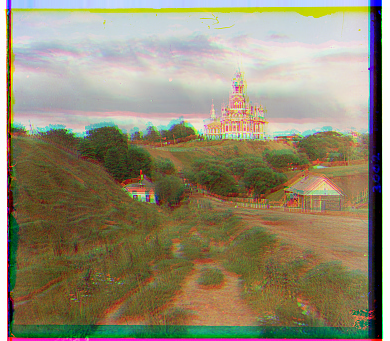
First, results on a low-resolution image are shown below.
-
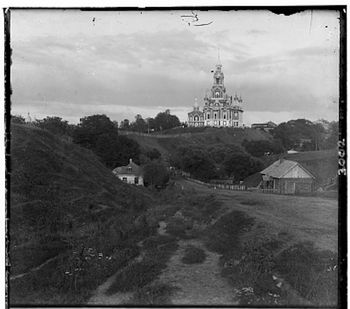
A negative from the original. These were cropped by (11, 21) horizontally and (11, 23) vertically before alignment.
-
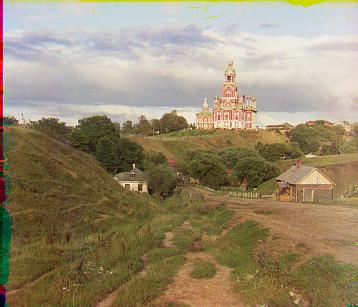
The colorized result: the shifts for the green and red channels are (5, 2), (12, 3).
My approach works fairly well apart from some discoloration and artifacts around the edges, which also happen occasionally in the examples below. This is likely a result of over/undercroppping from our automatic cropping along with using the nearest pixel for interpolation (in scipy.ndimage.shift) when aligning the images. Now, the results on the high-resolution images are shown.
-
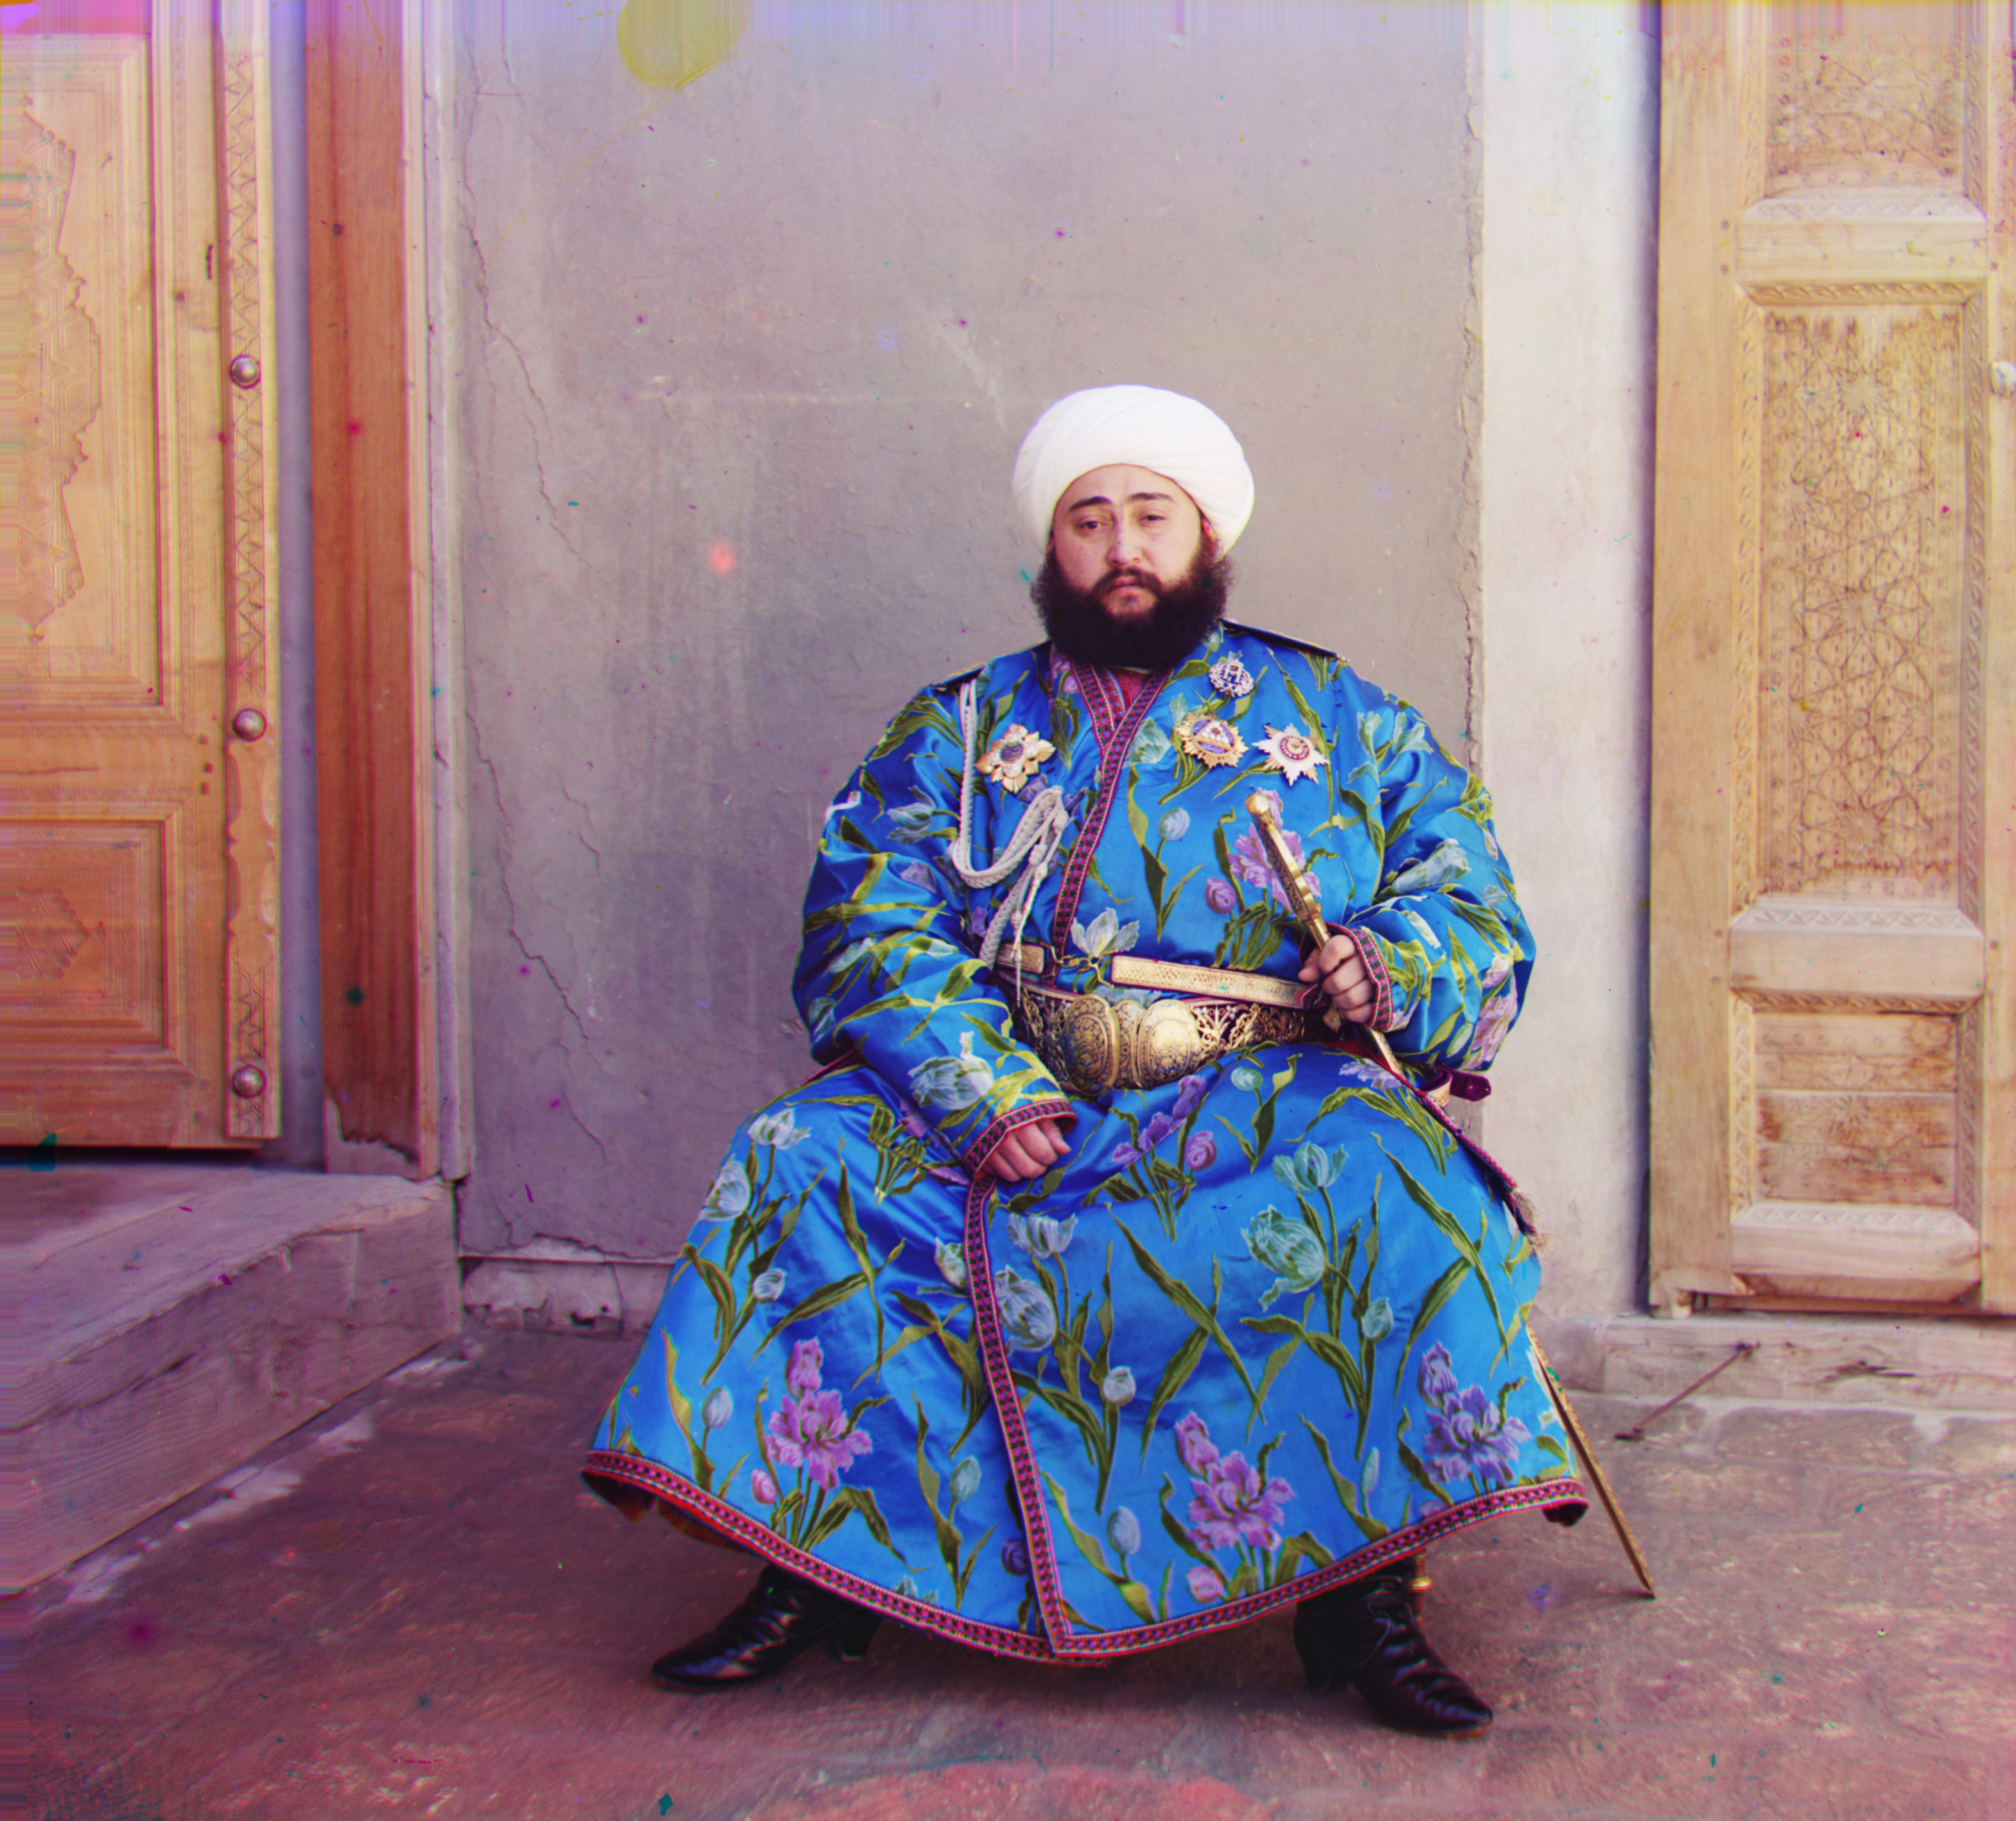
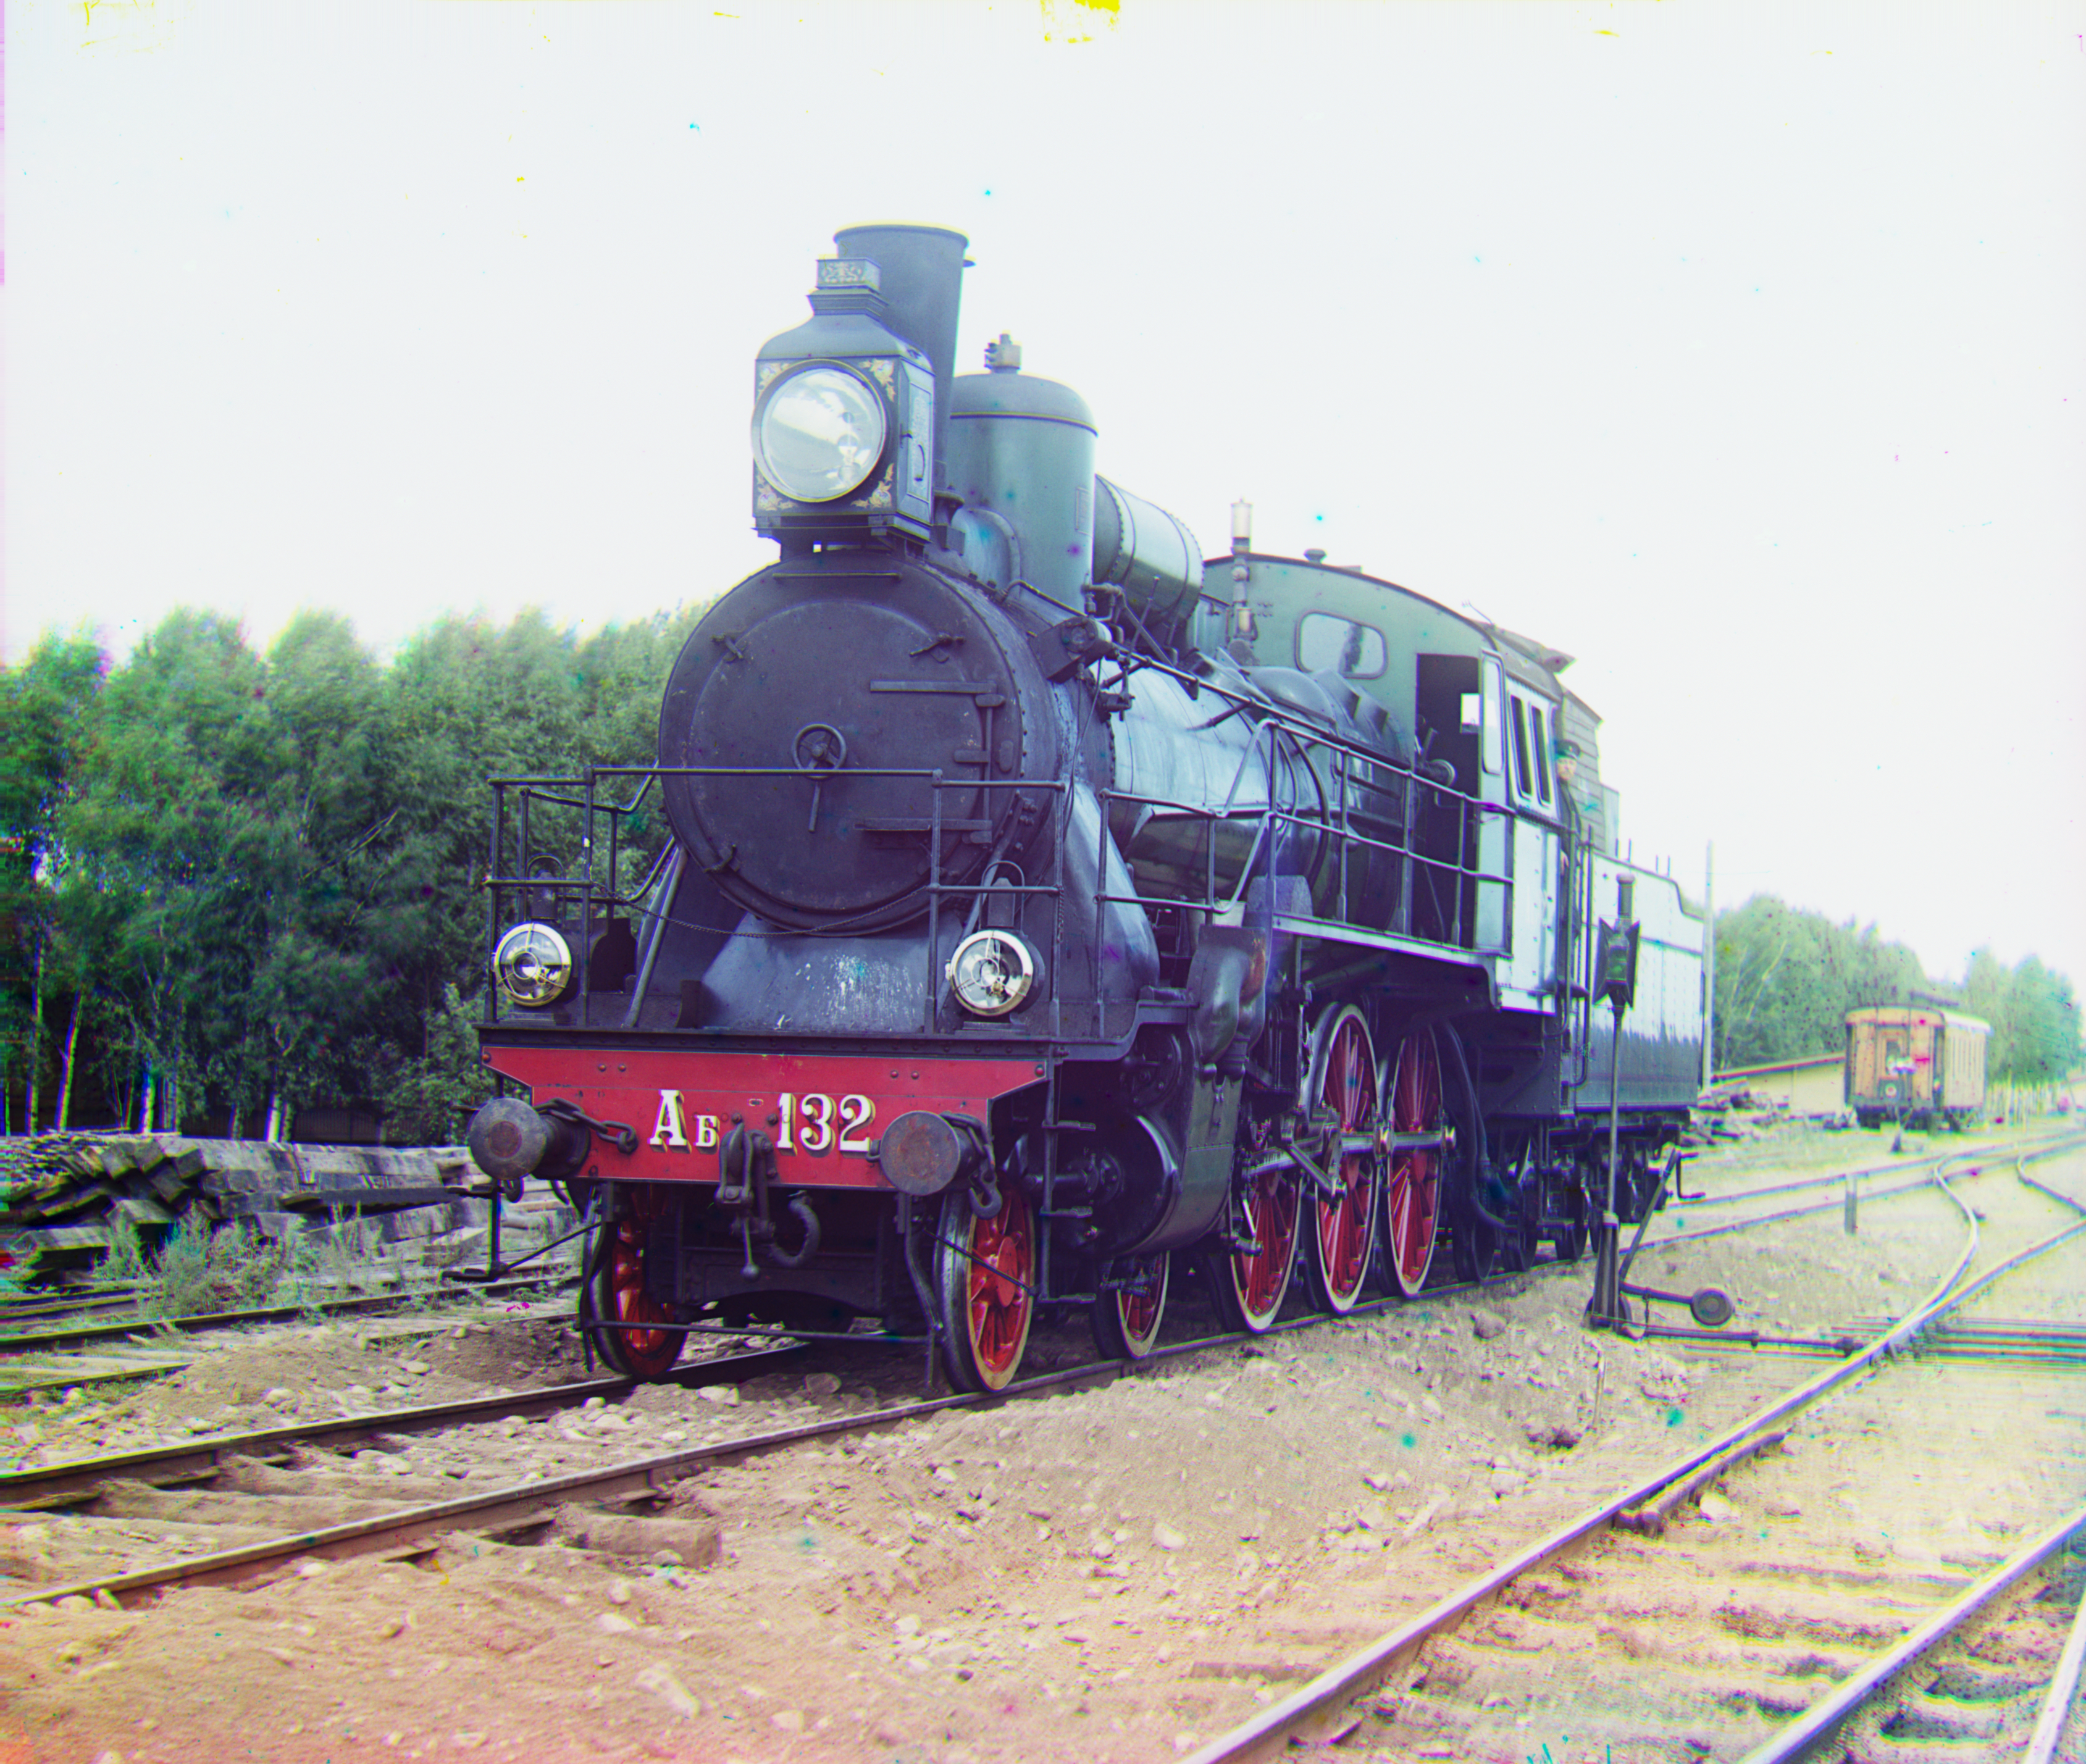
Green and red shifts: (49, 24), (107, 40) Crops: (211, 352), (148, 226)
-
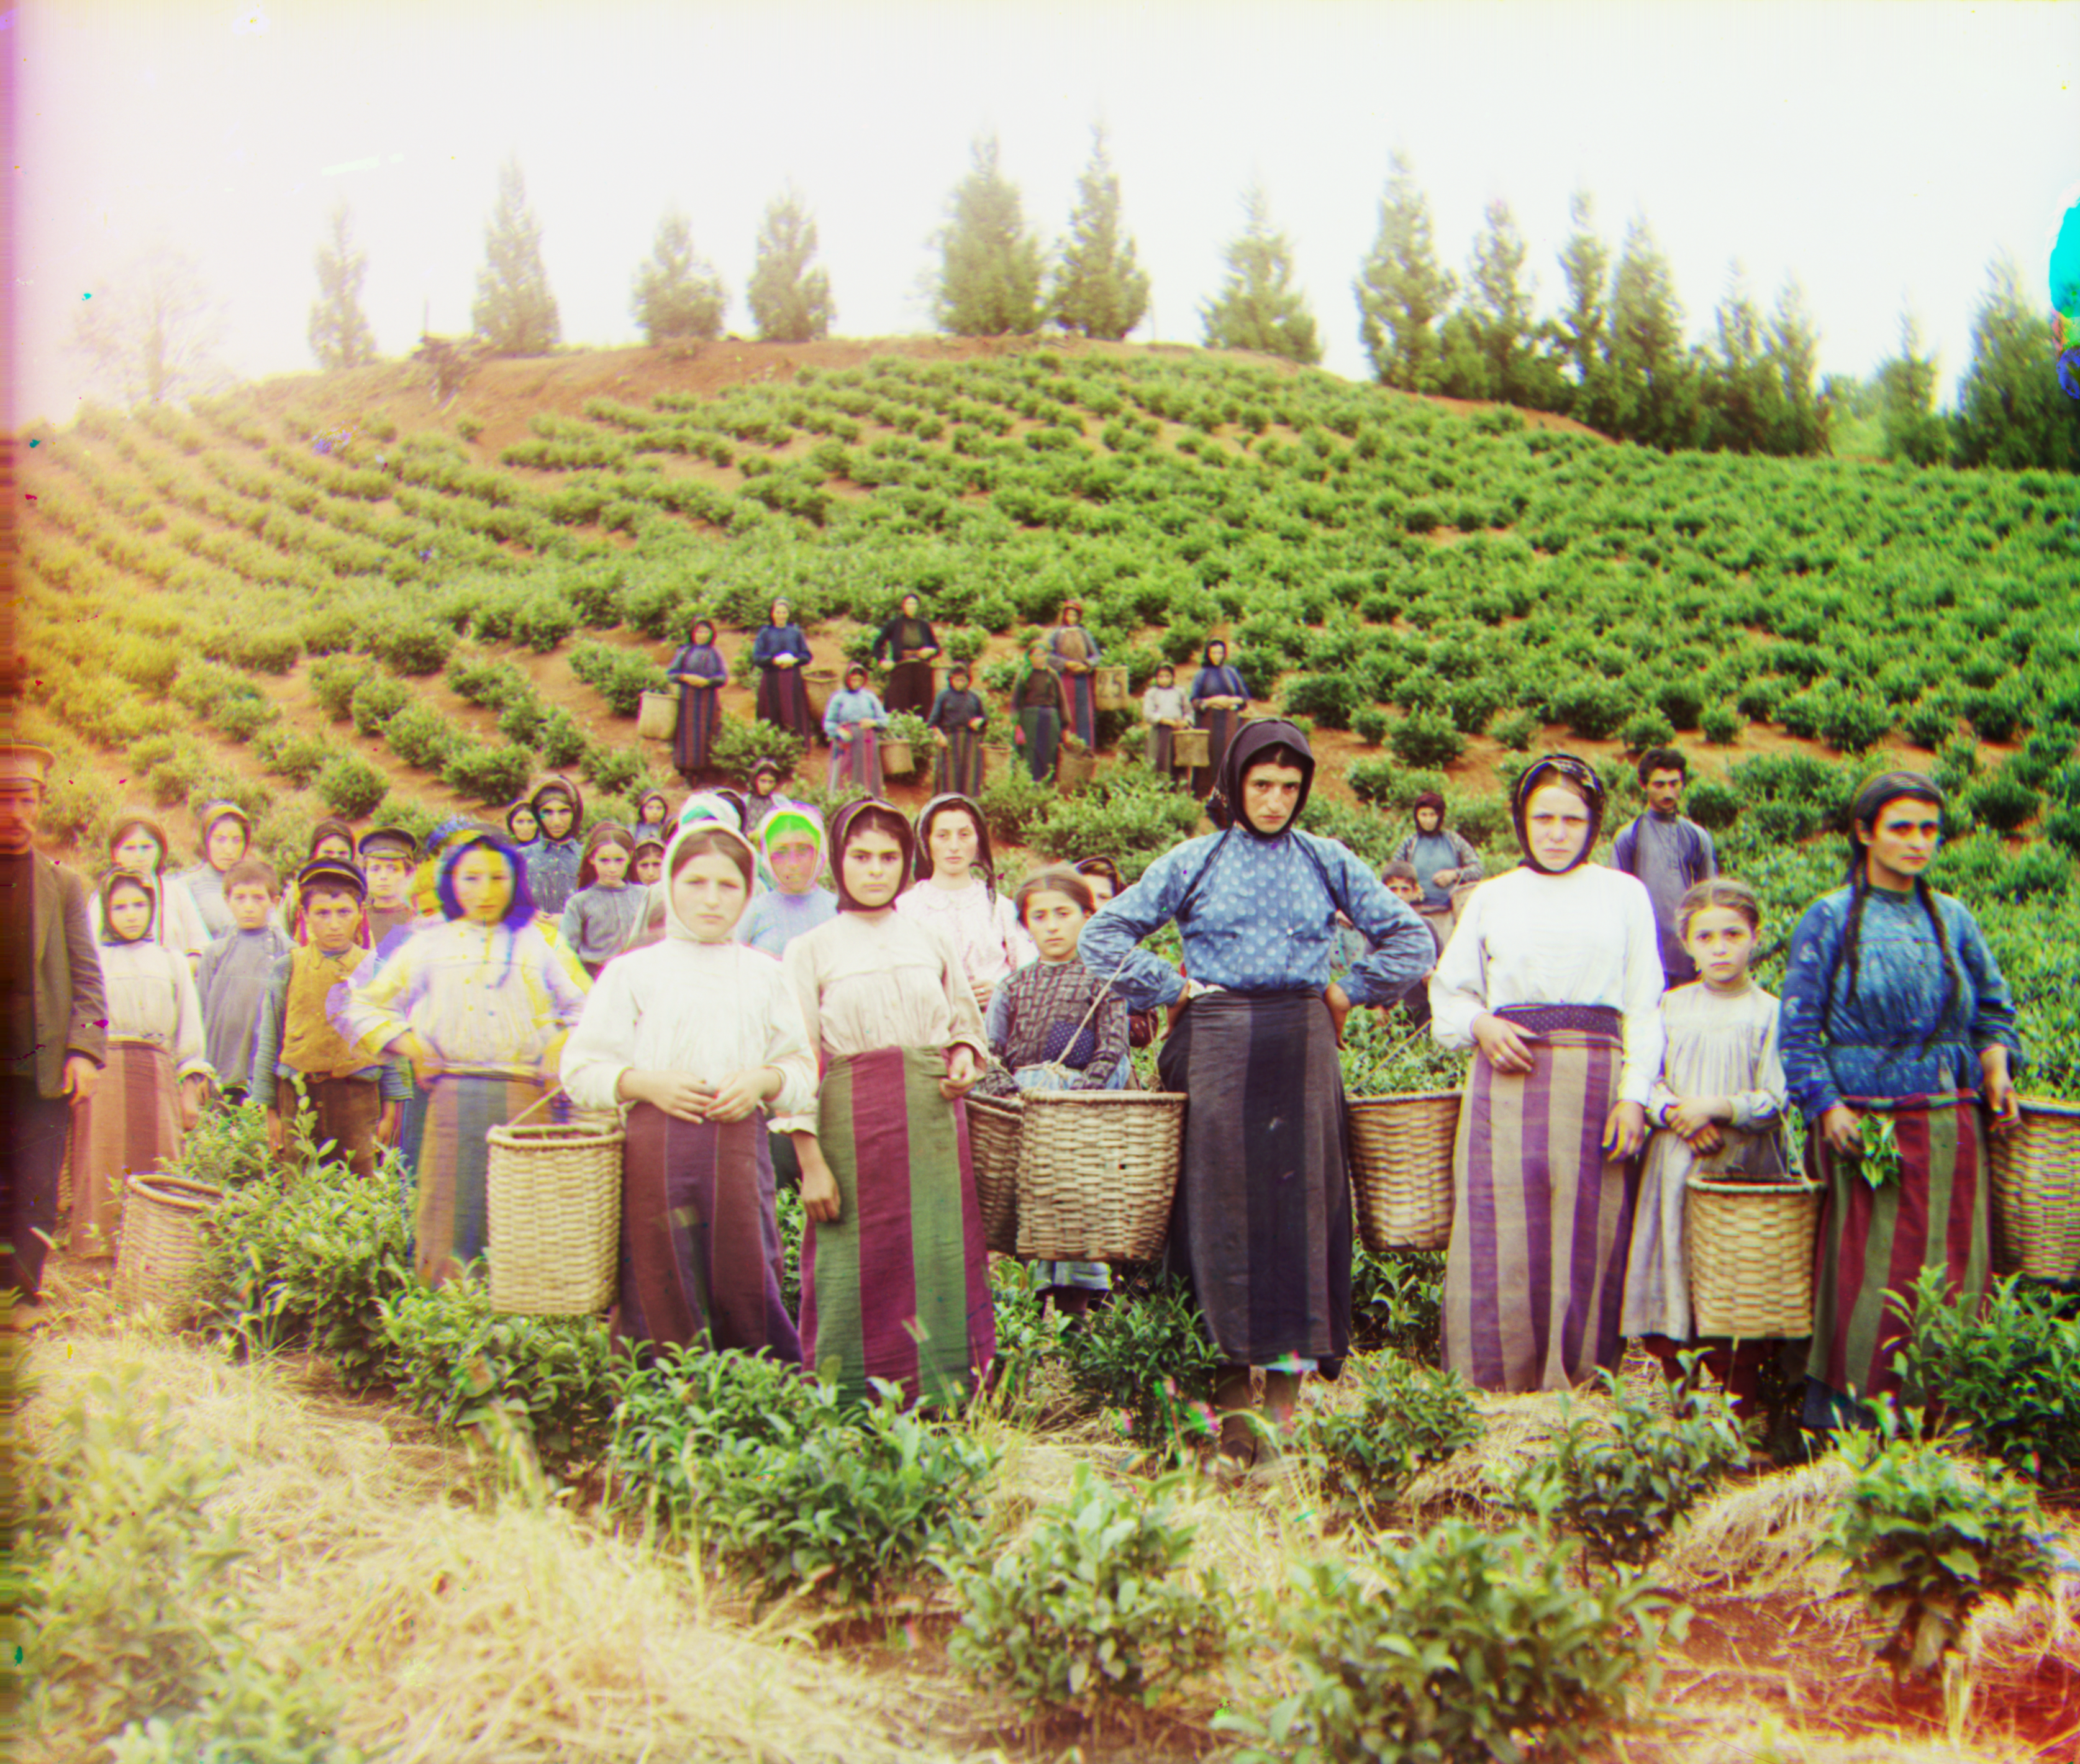
Green and red shifts: (60, 17), (123, 13) Crops: (143, 191), (200, 177)
-
Green and red shifts: (42, 17), (90, 23) Crops: (202, 128), (191, 138)
-
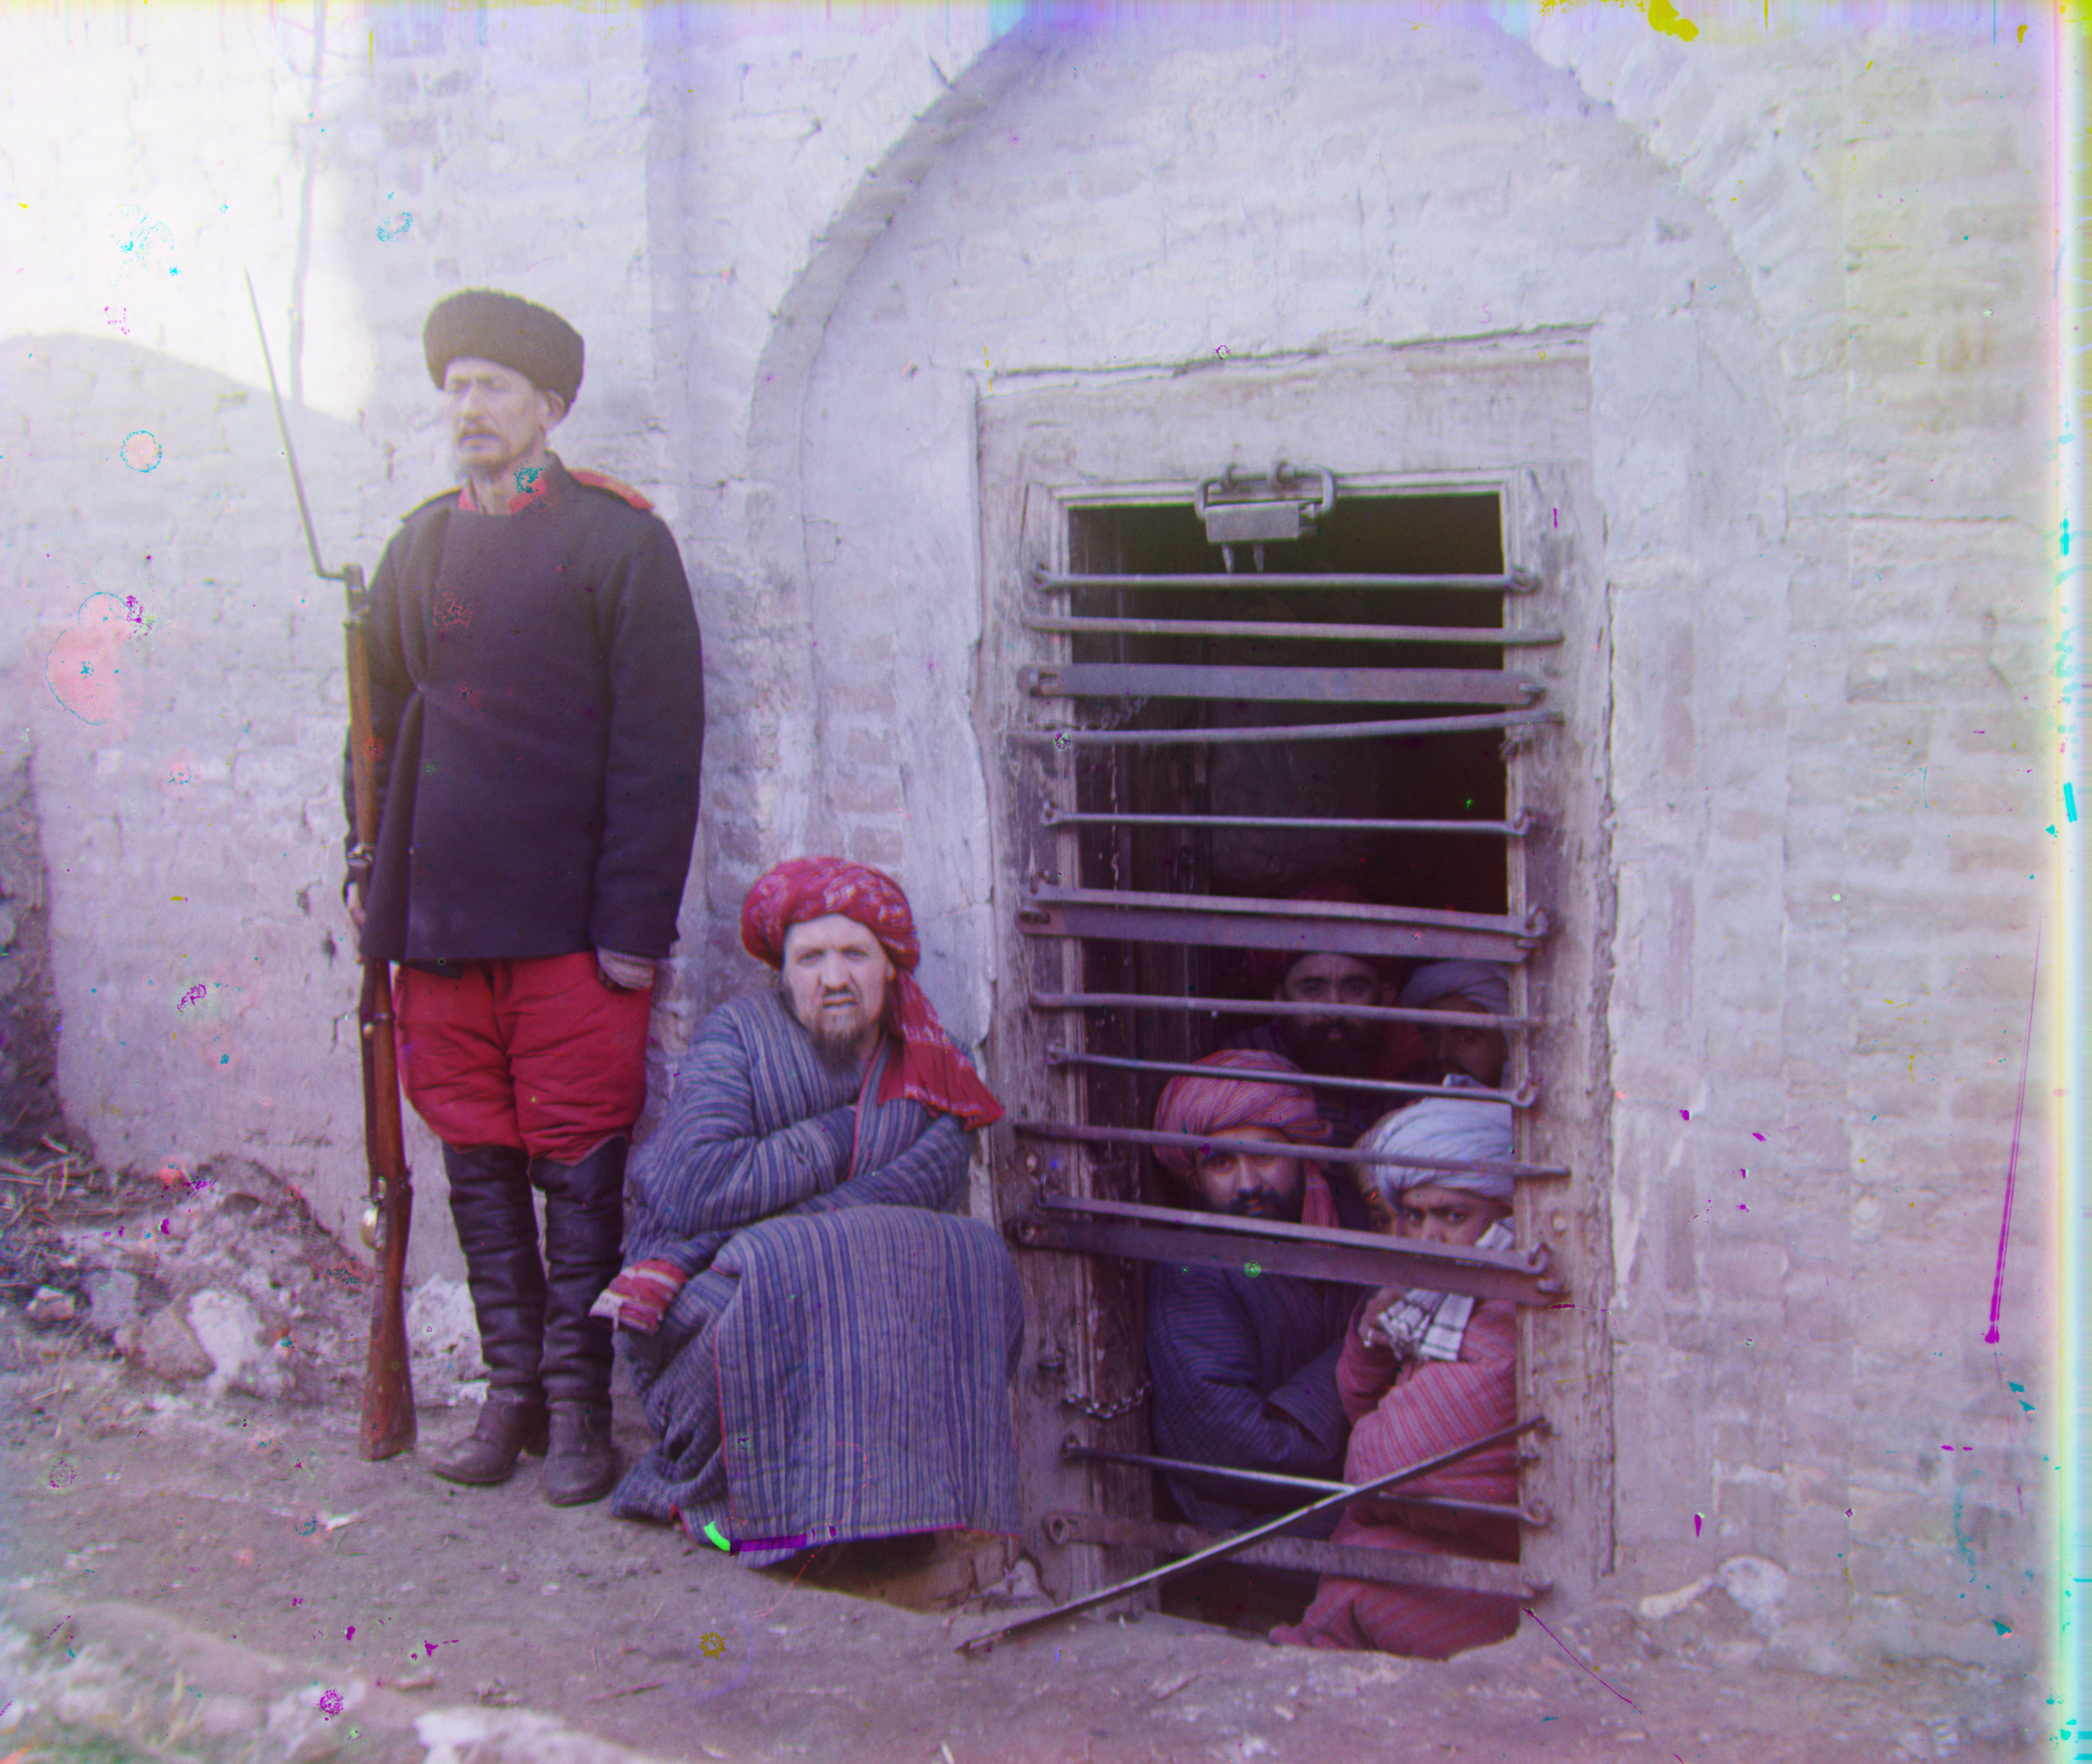
Green and red shifts: (56, 9), (119, 13) Crops: (173, 233), (222, 160)
-
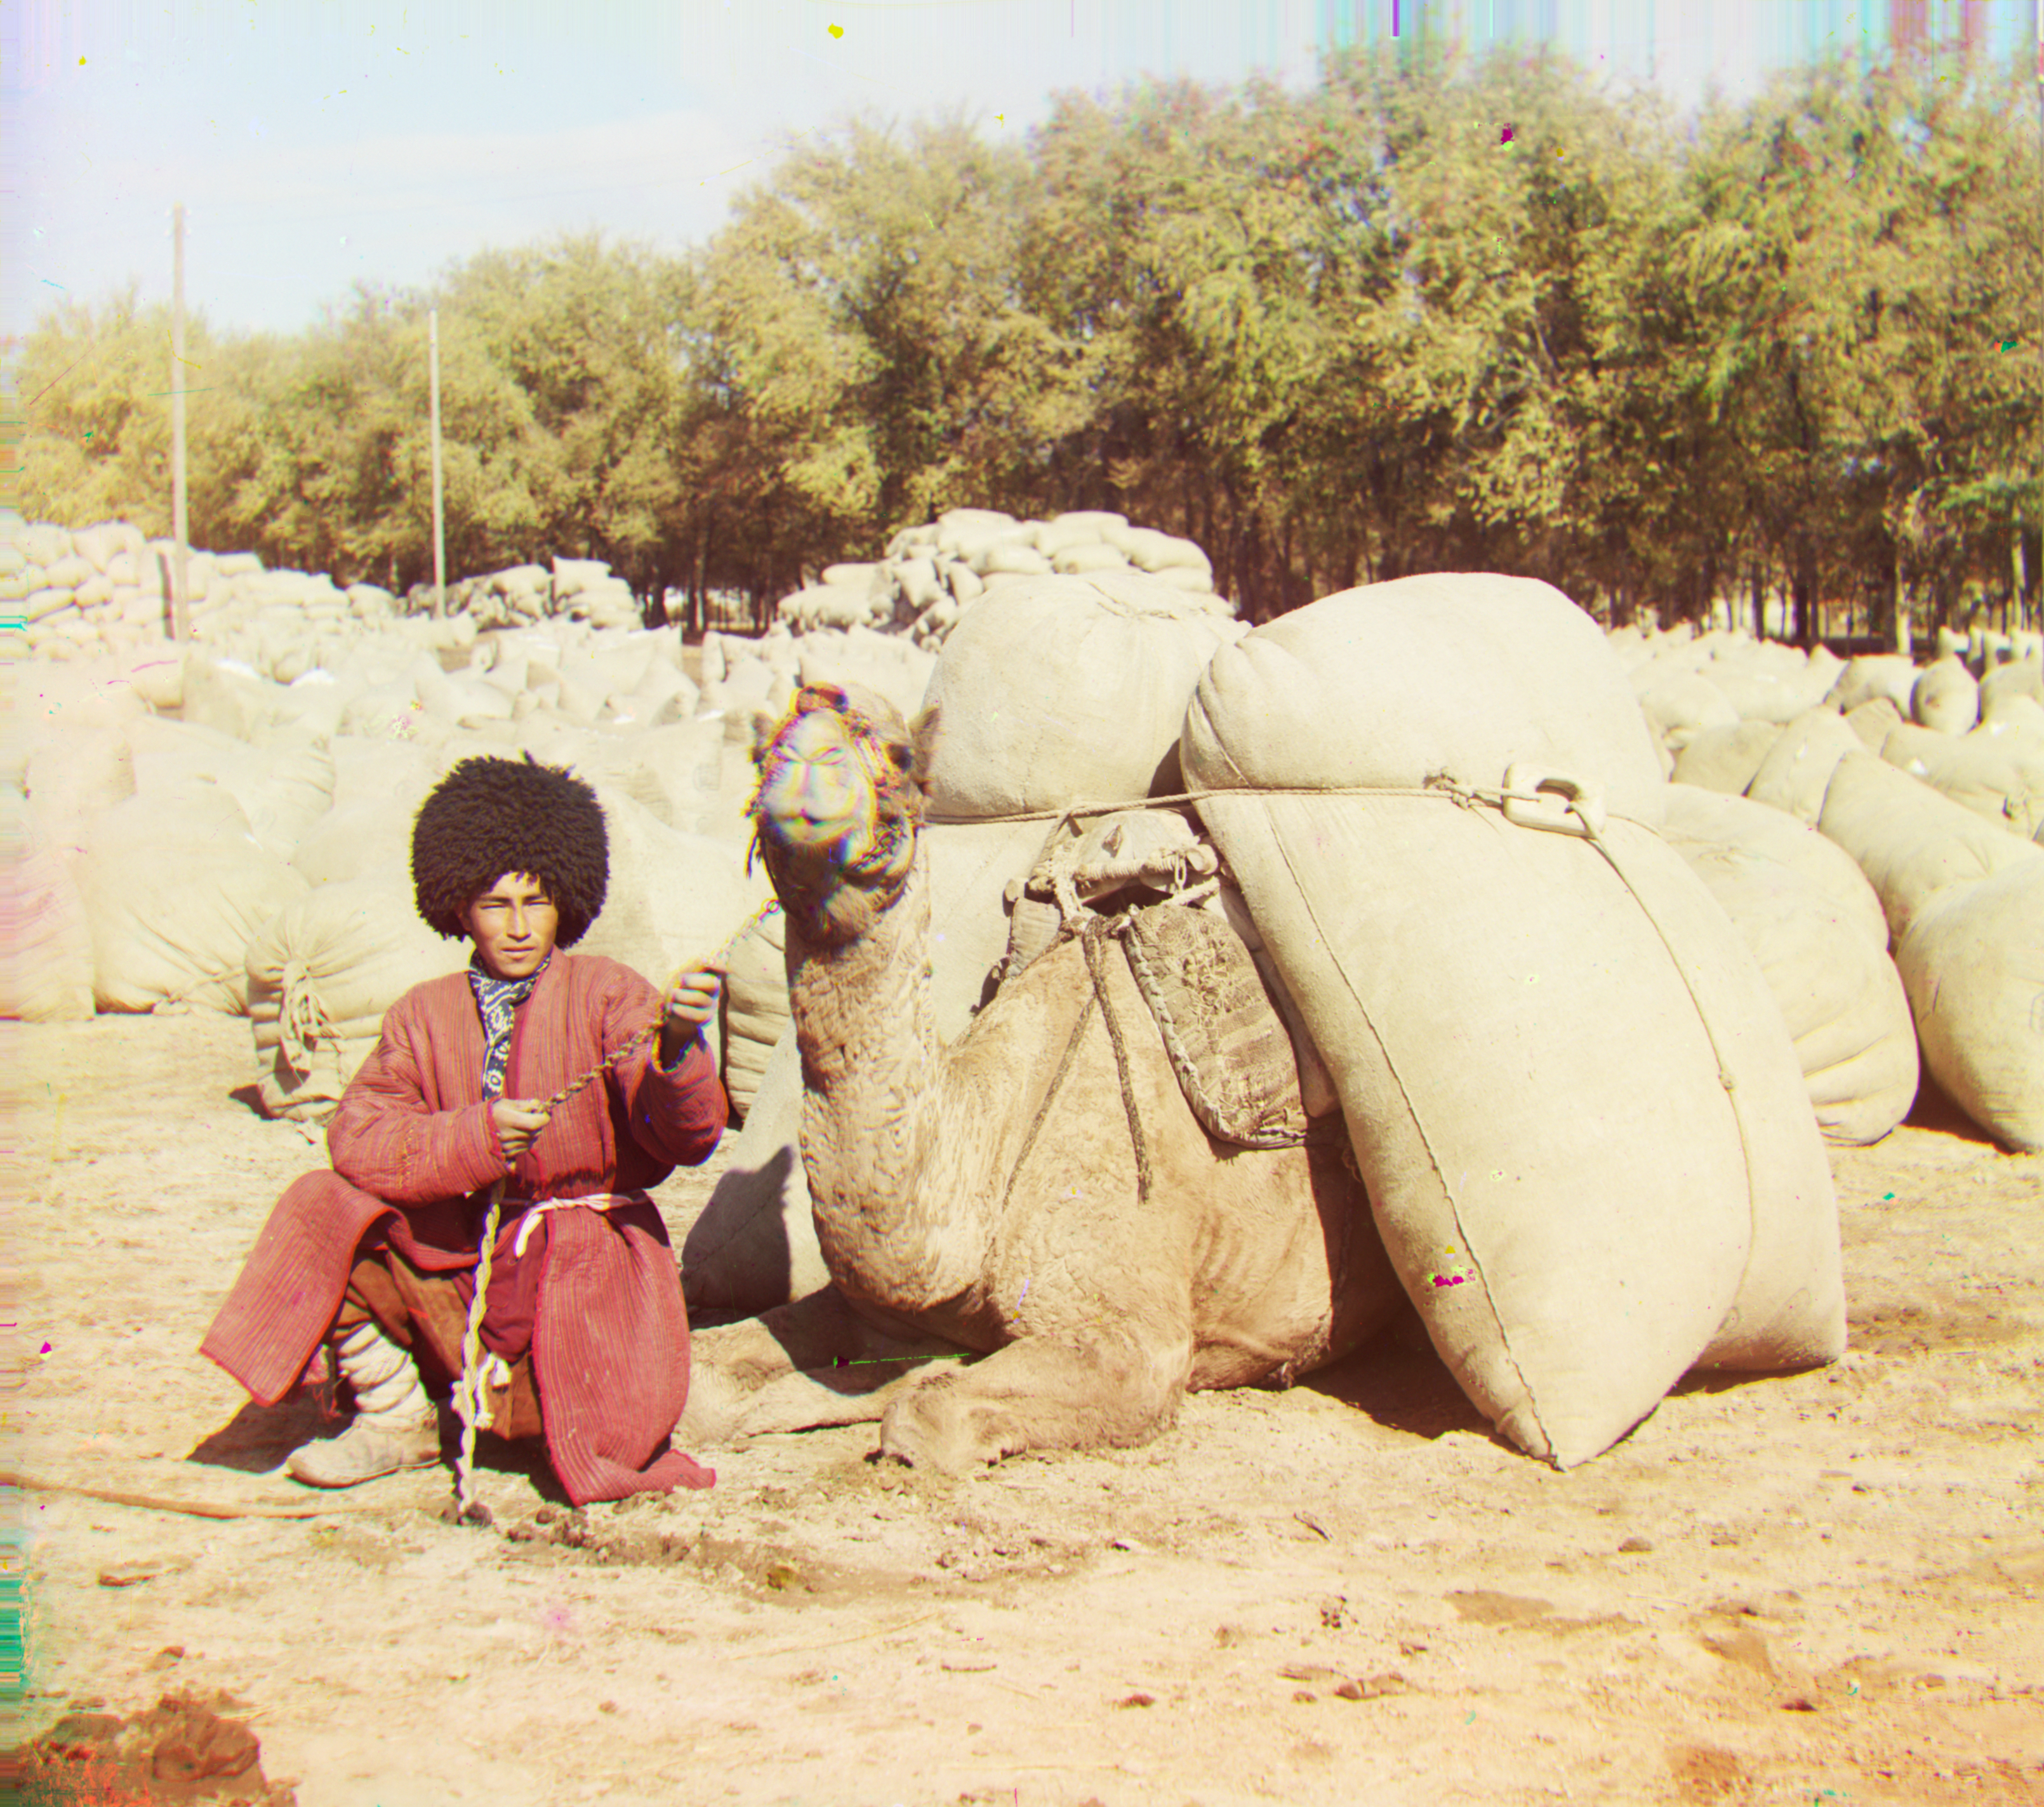
Green and red shifts: (78, 29), (176, 37) Crops: (297, 178), (192, 238)
-

Green and red shifts: (54, 12), (111, 9) Crops: (142, 213), (240, 135)
-
Green and red shifts: (41, 1), (85, 29) Crops: (174, 189), (214, 167)
-
Green and red shifts: (56, 21), (117, 28) Crops: (180, 362), (245, 117)
-
Green and red shifts: (64, 11), (137, 21) Crops: (214, 210), (171, 218)
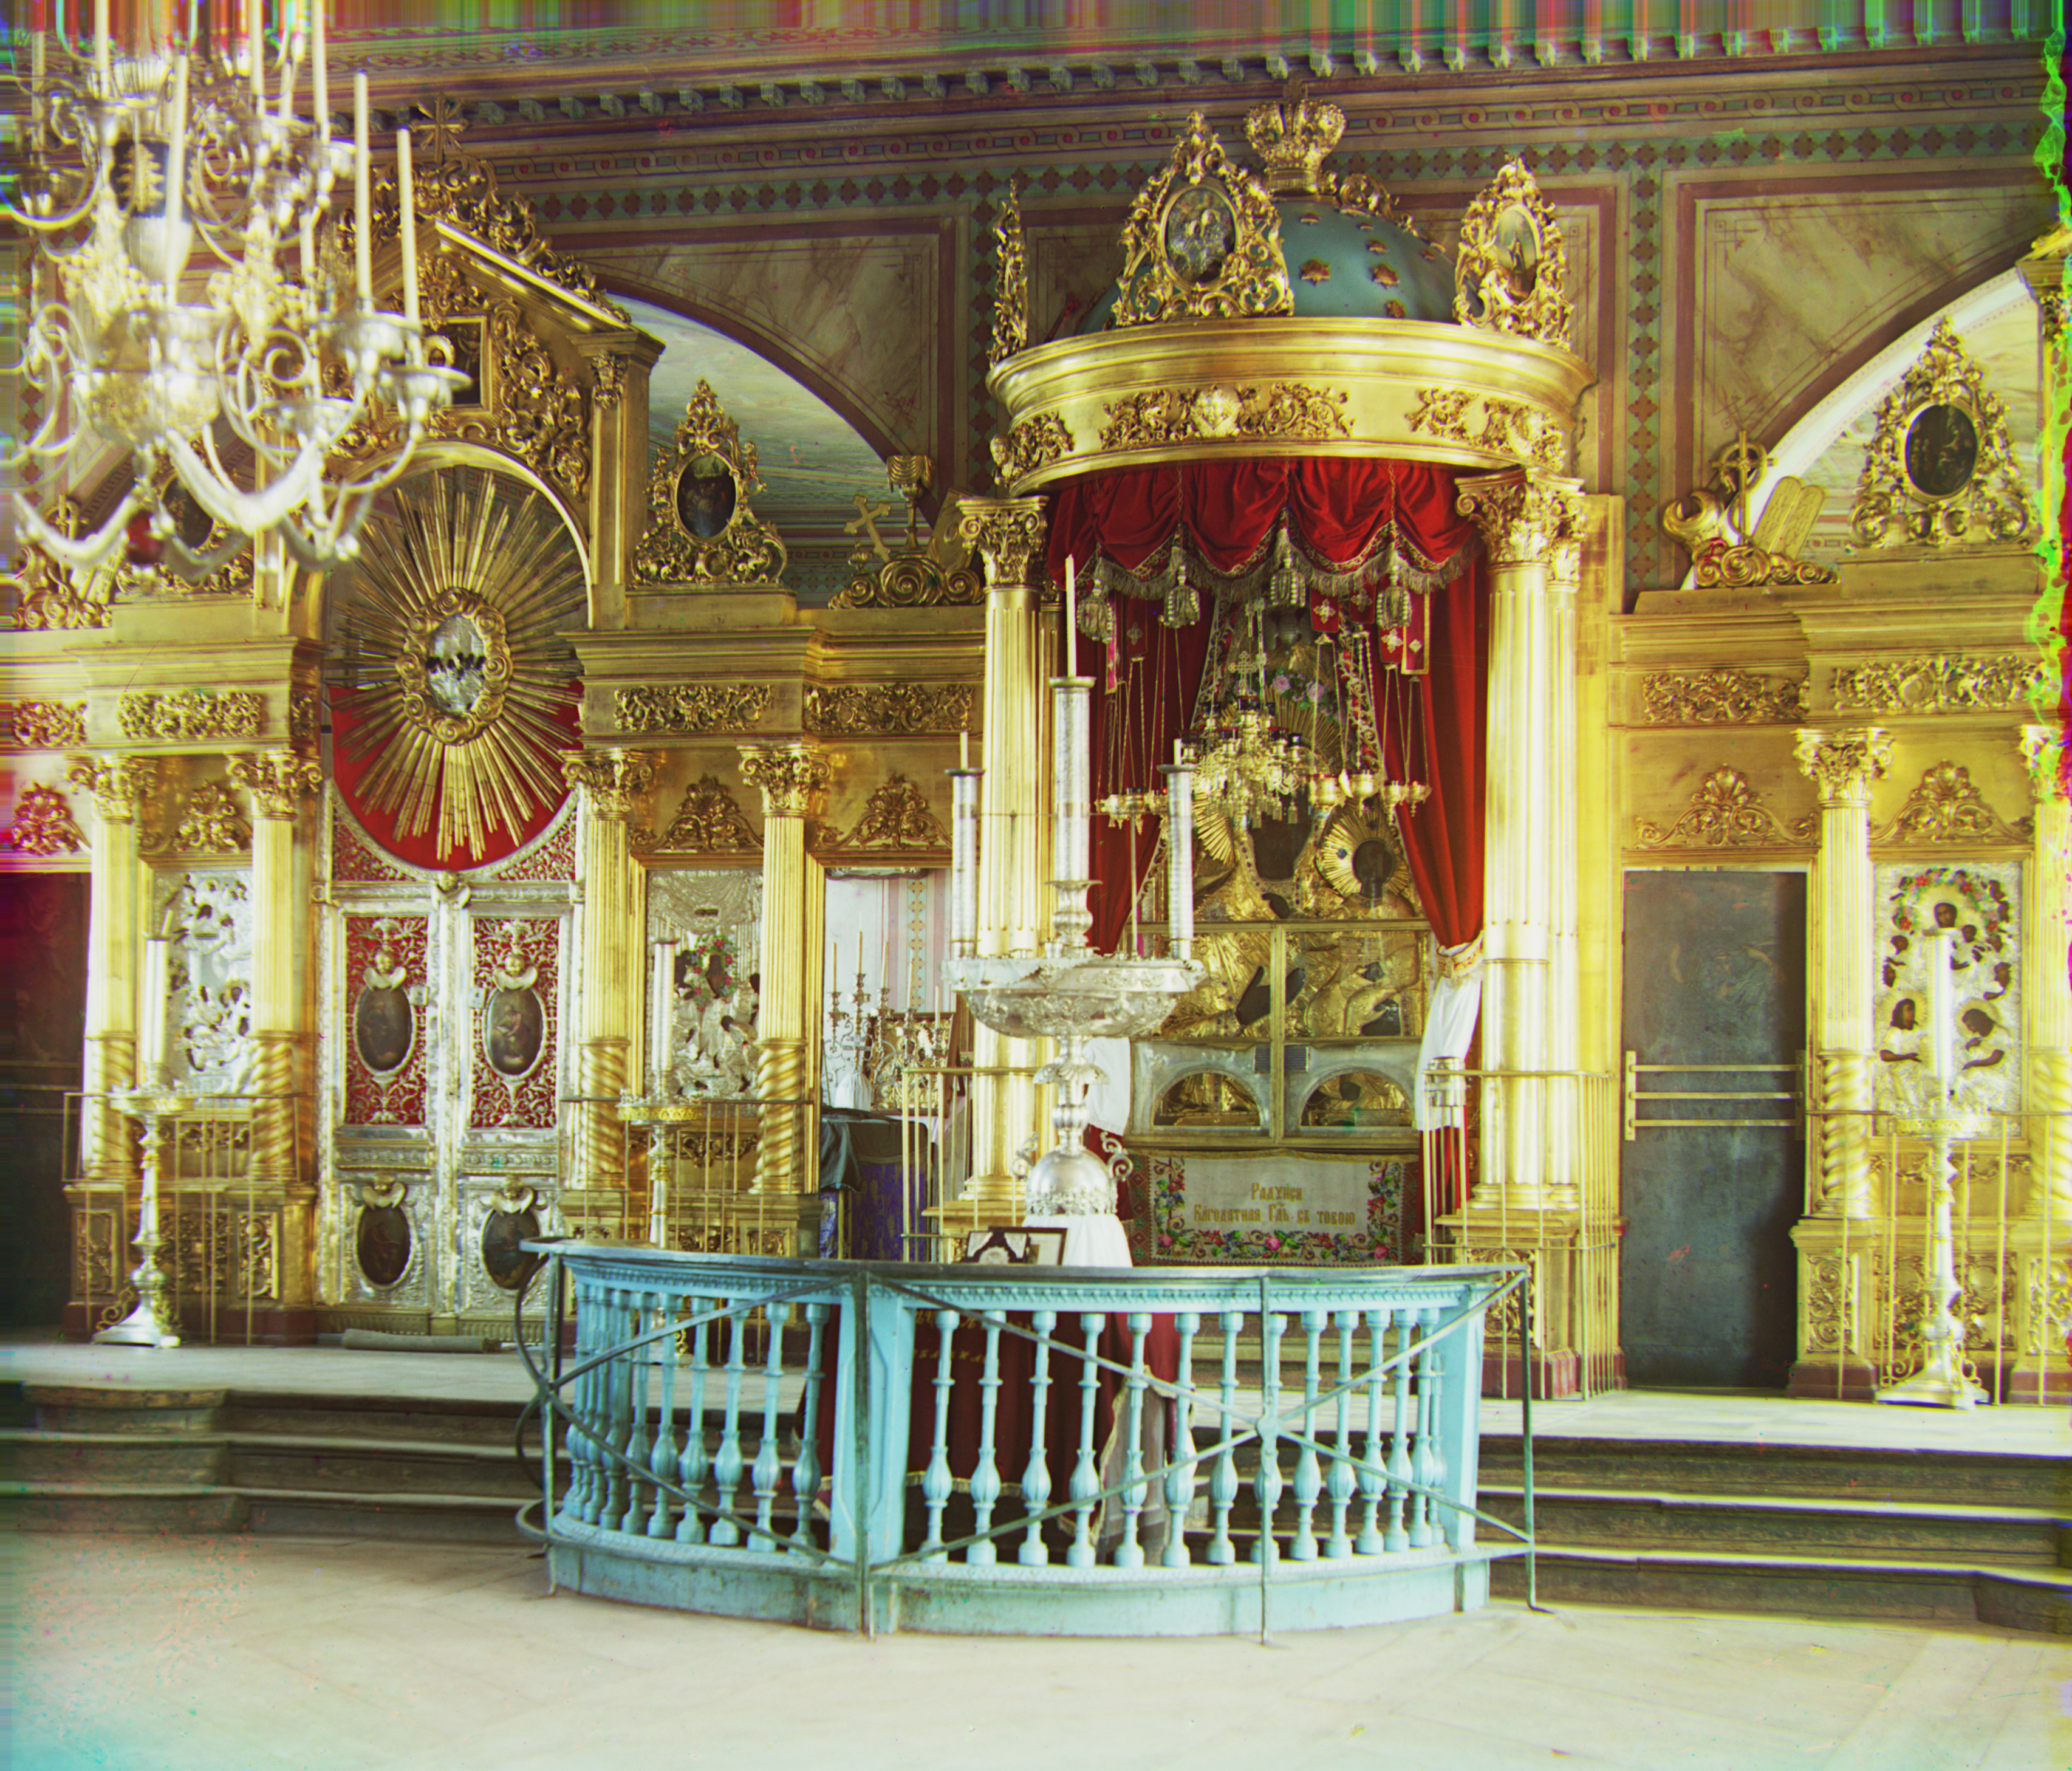
Overall, the results are quite impressive and it appears that my approach is relatively successful! Finally, results on three high-resolution images of my own choosing from the Prokudin-Gorskii collection are shown.
-
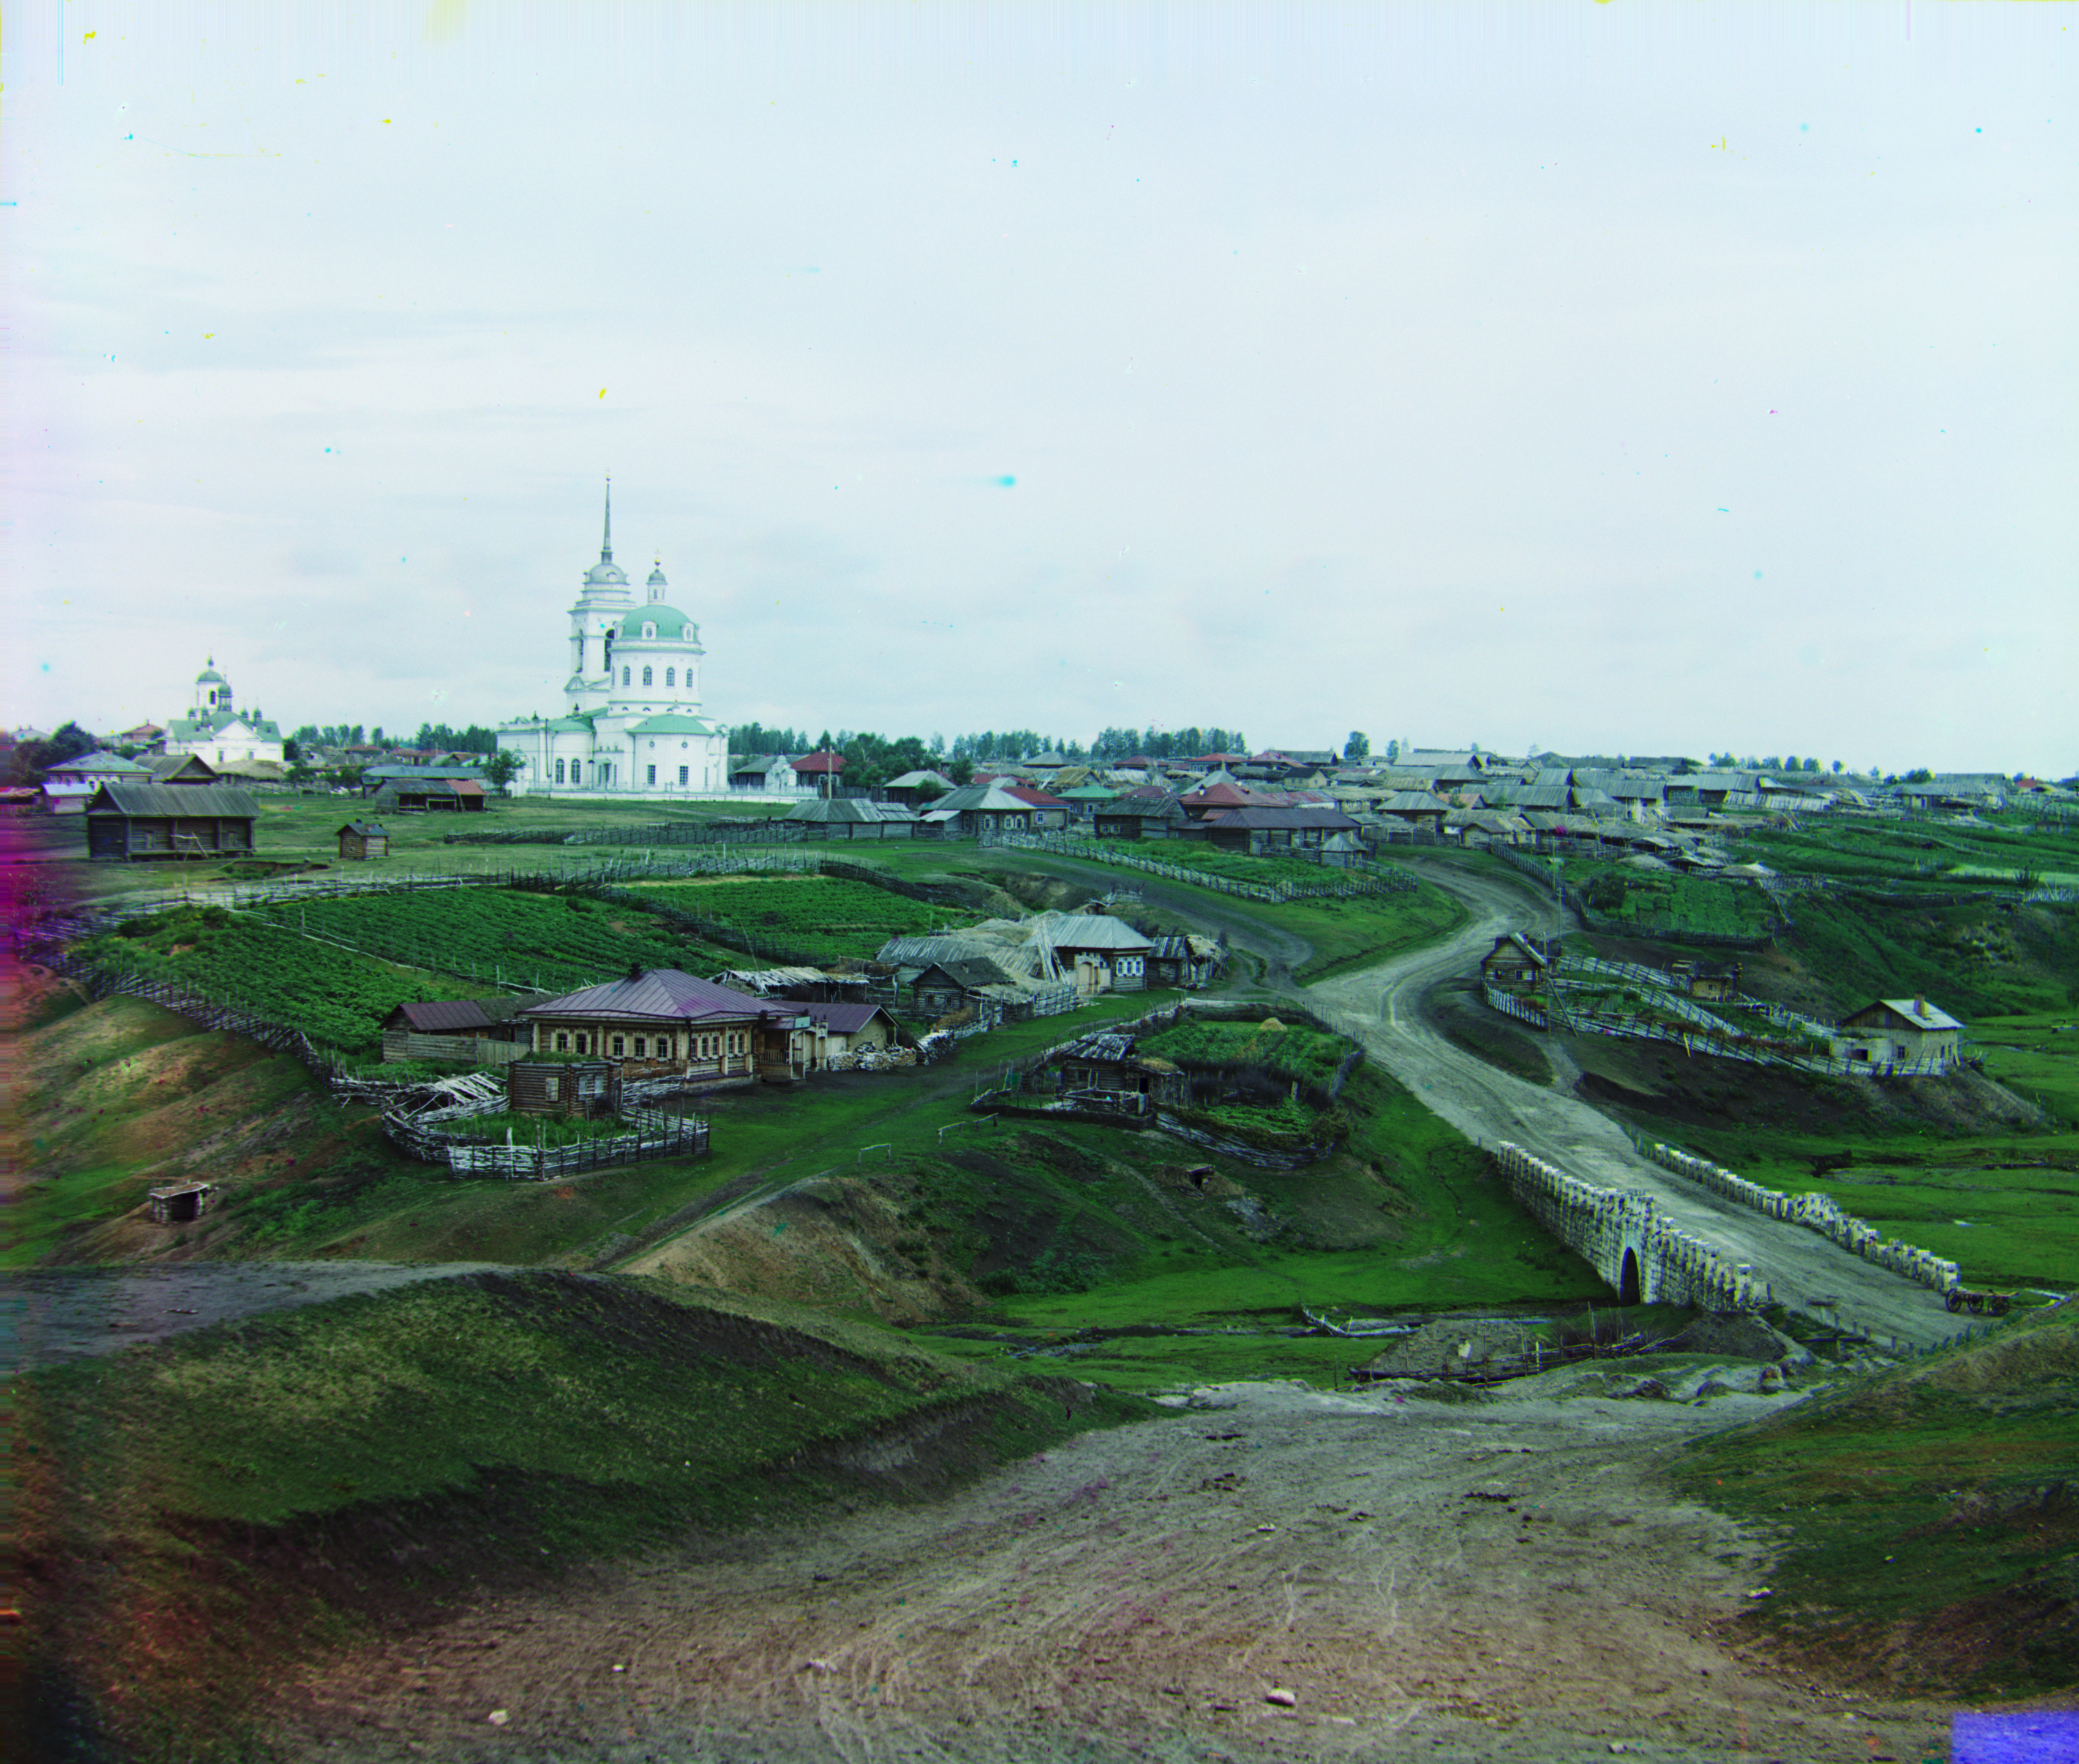
Green and red shifts: (39, 11), (93, 15) Crops: (166, 183), (232, 318)
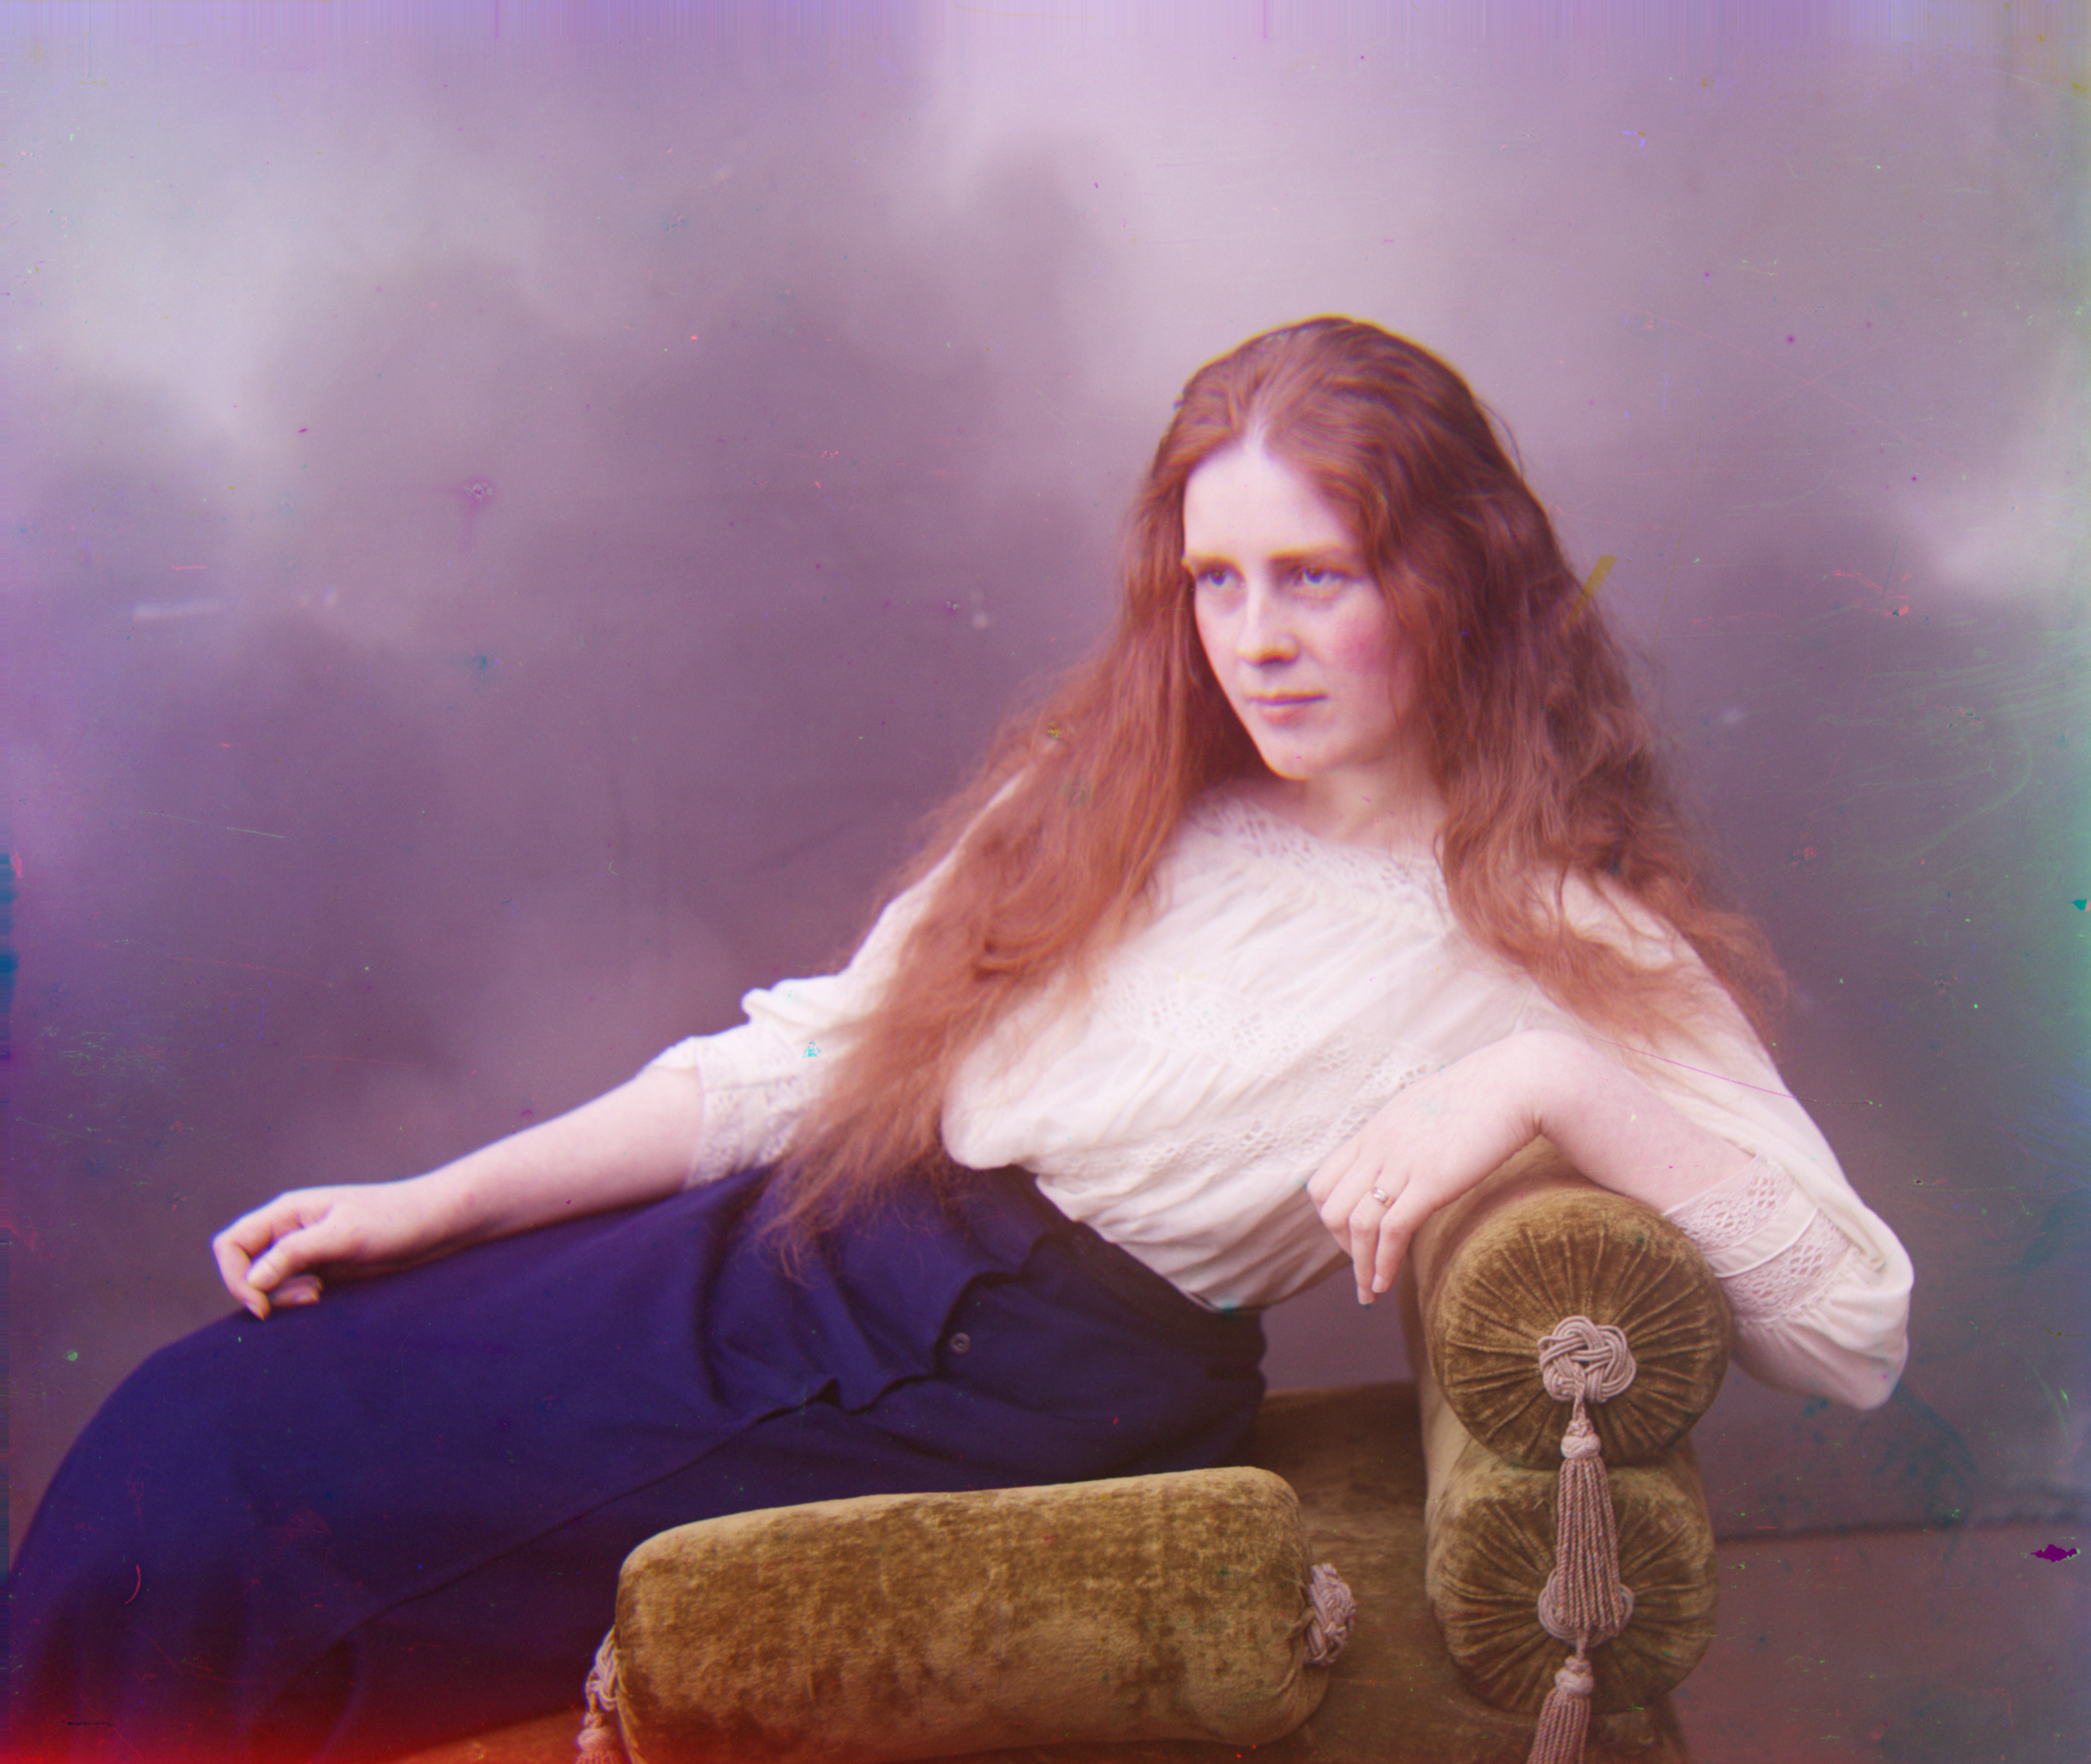
-
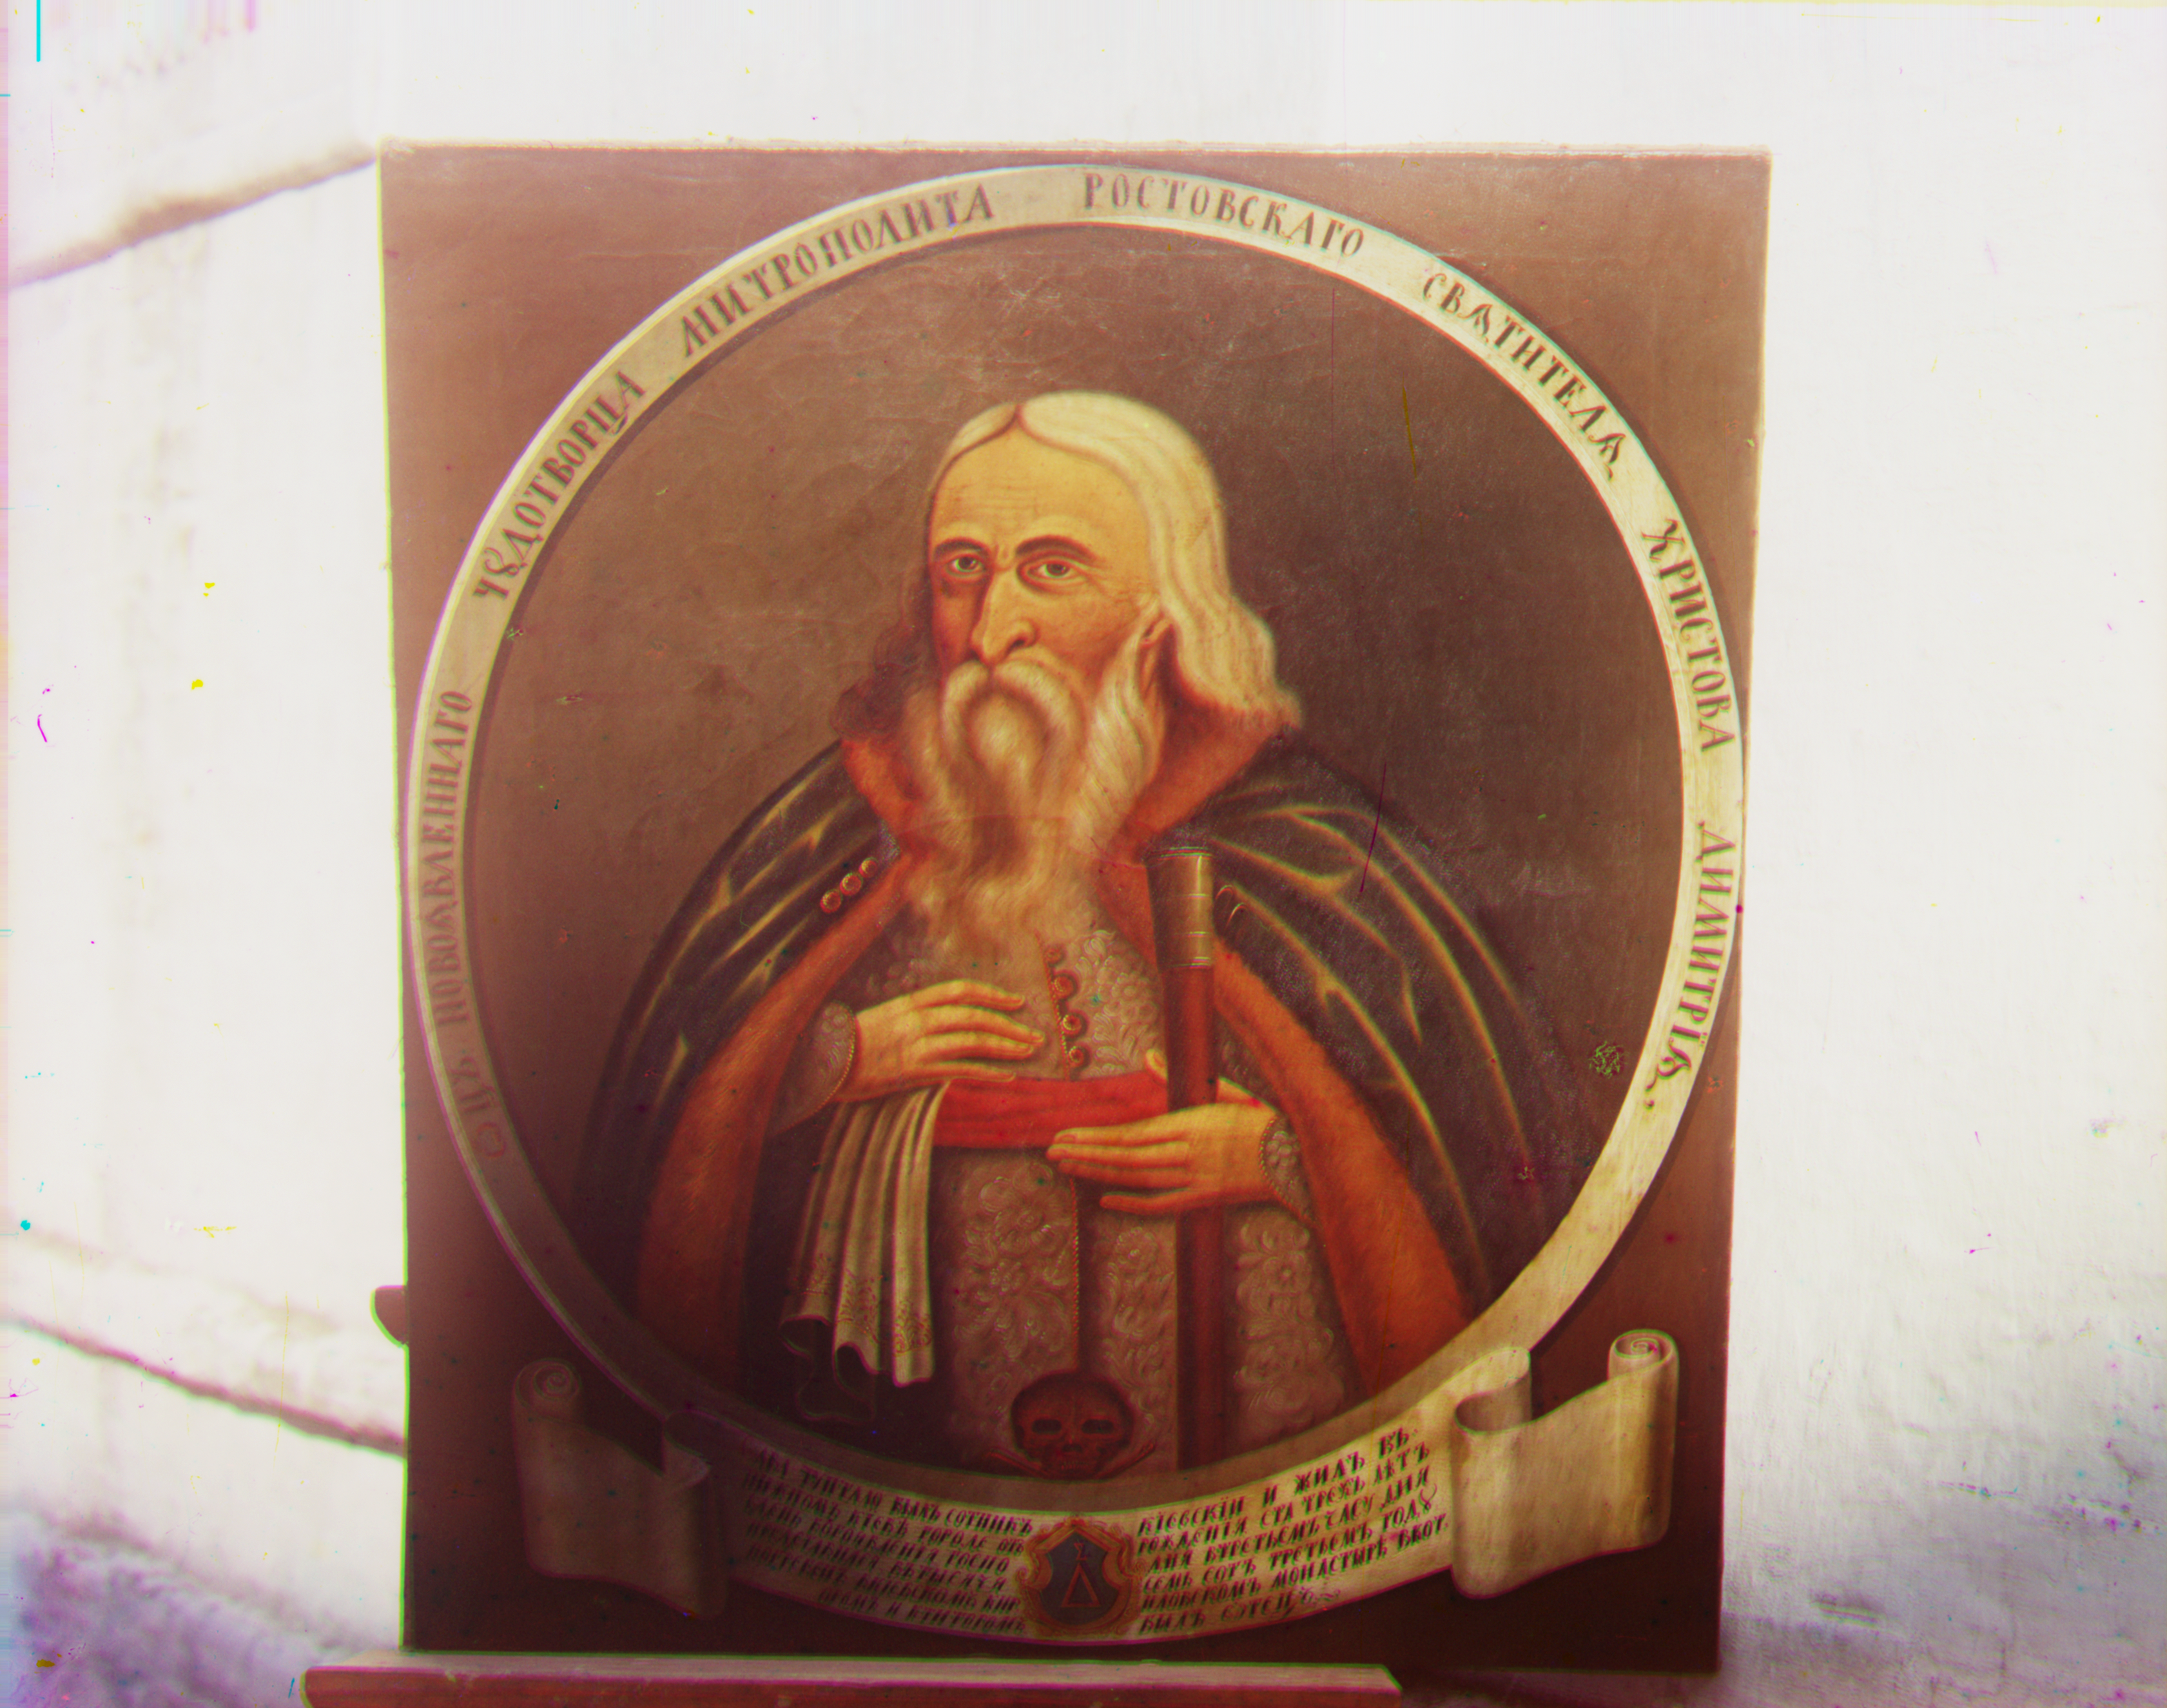
Green and red shifts: (51, 47), (112, 77) Crops: (226, 324), (226, 134)
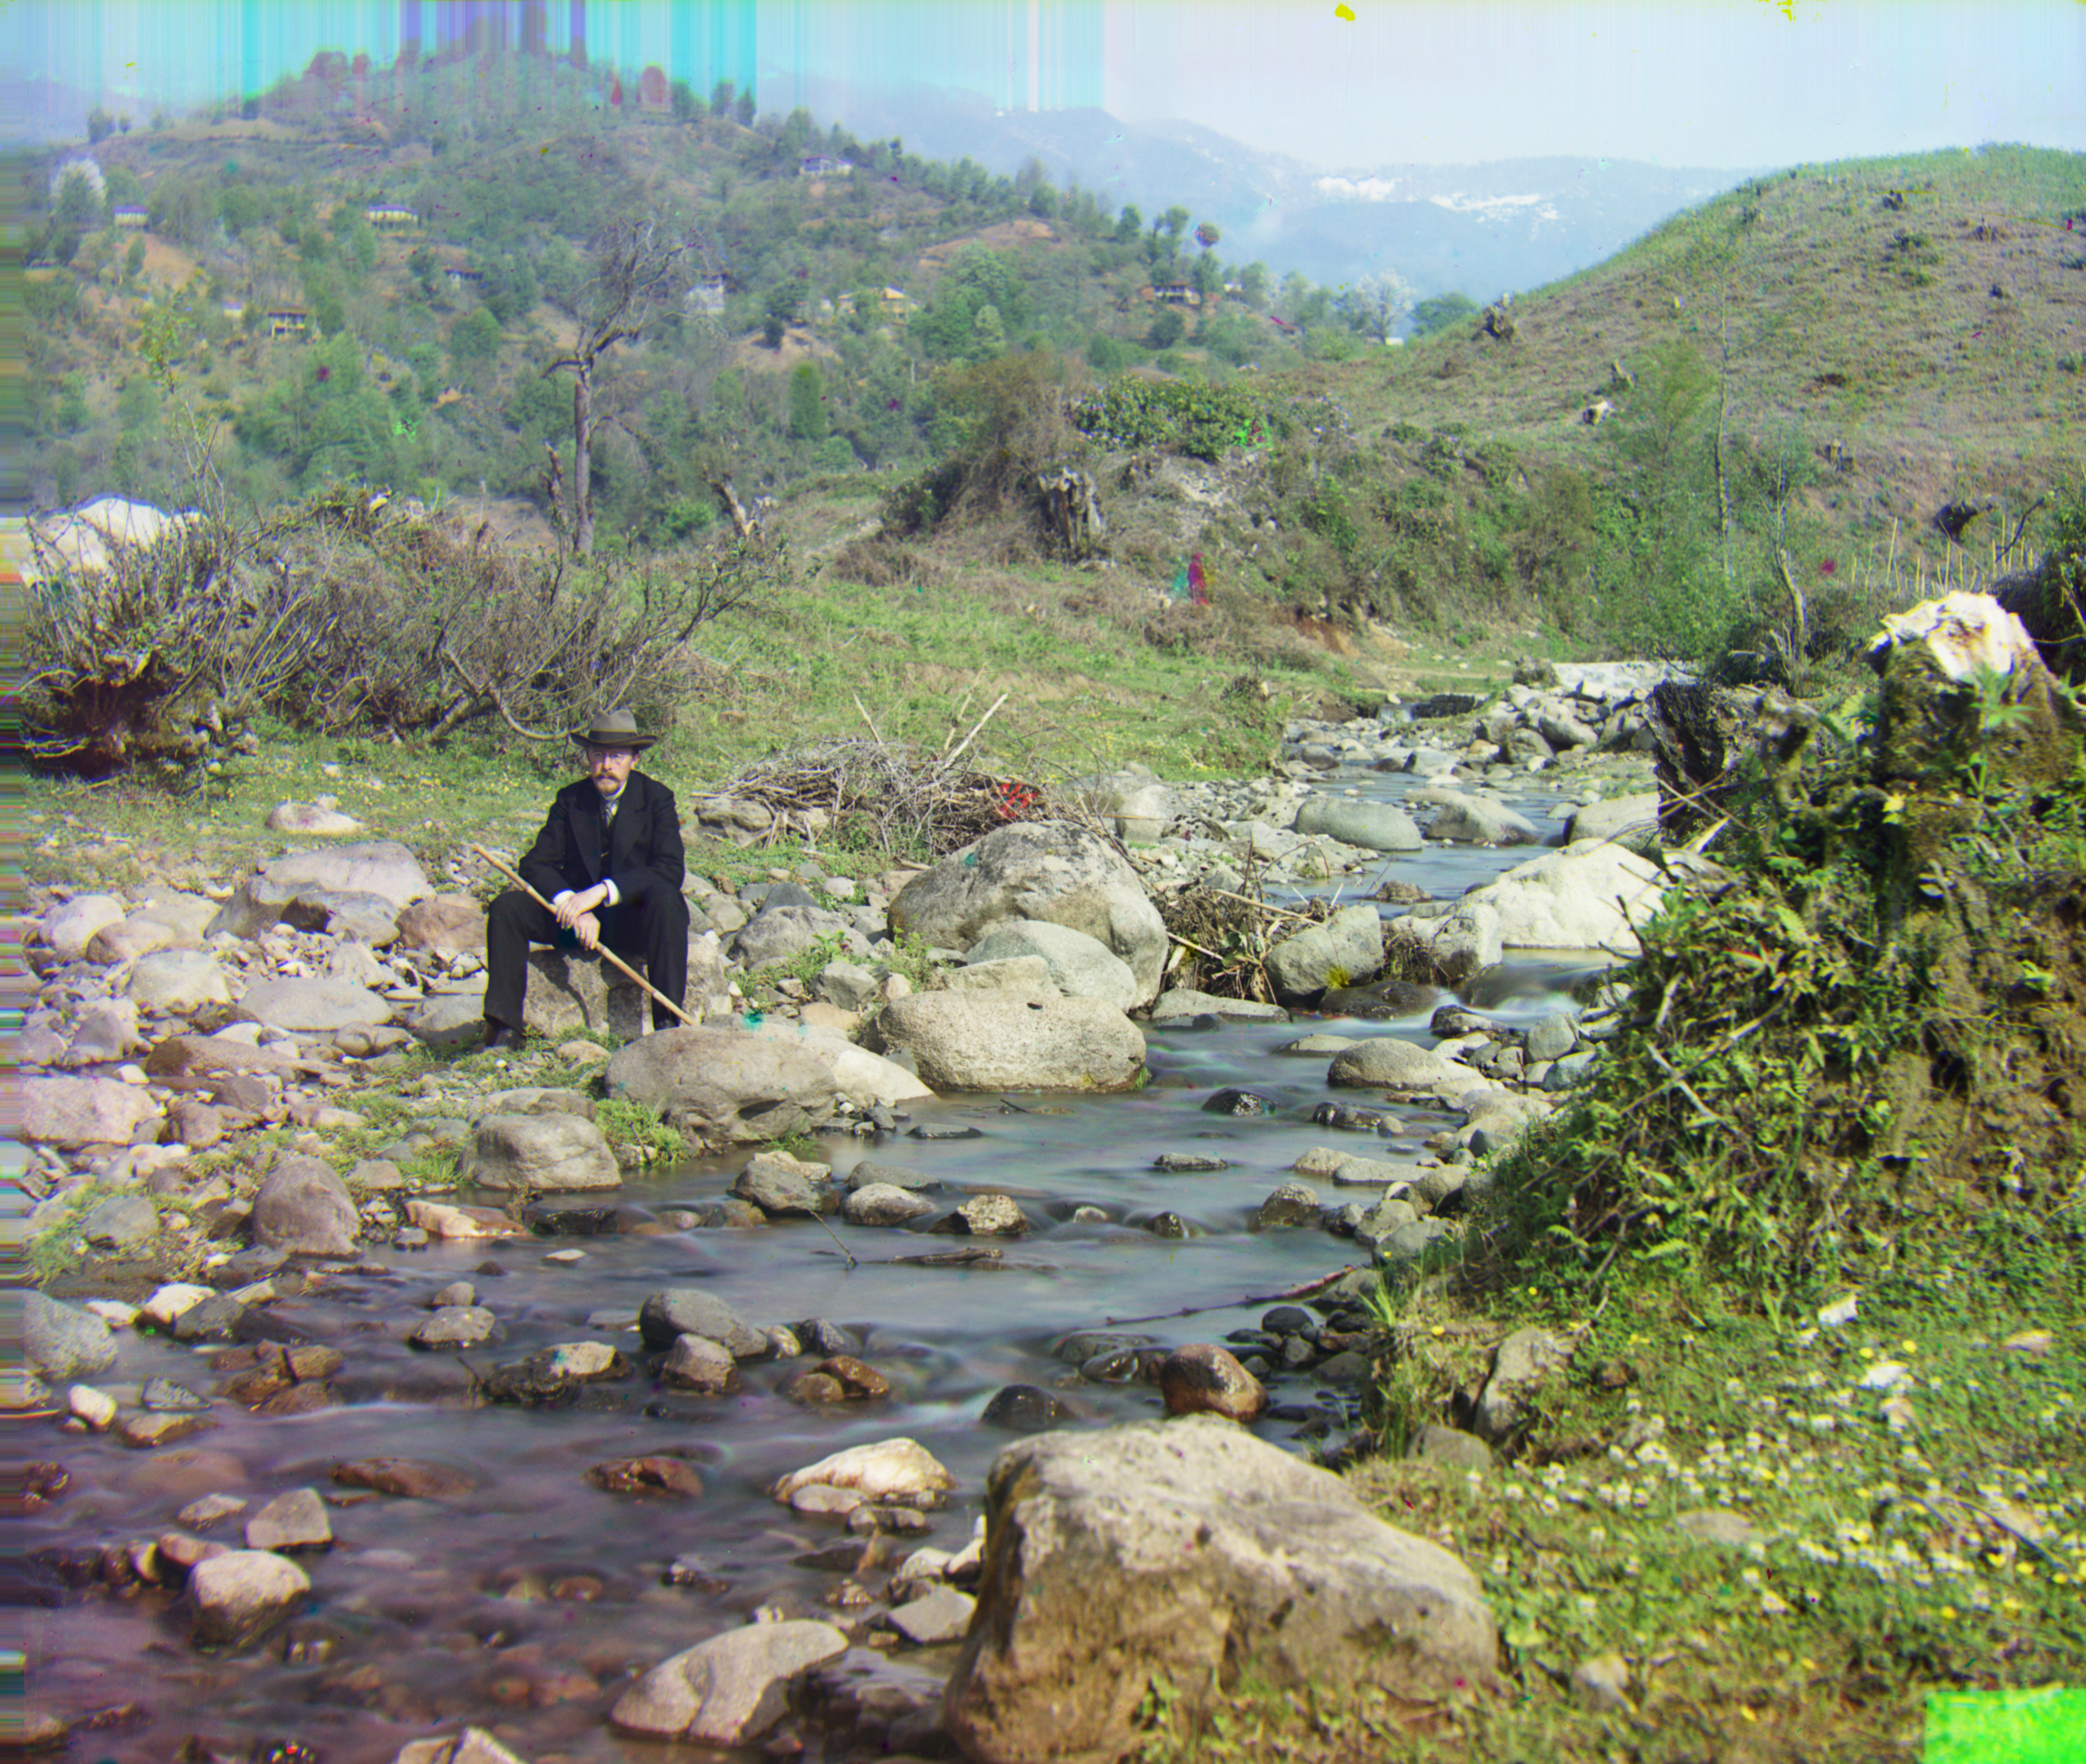
-
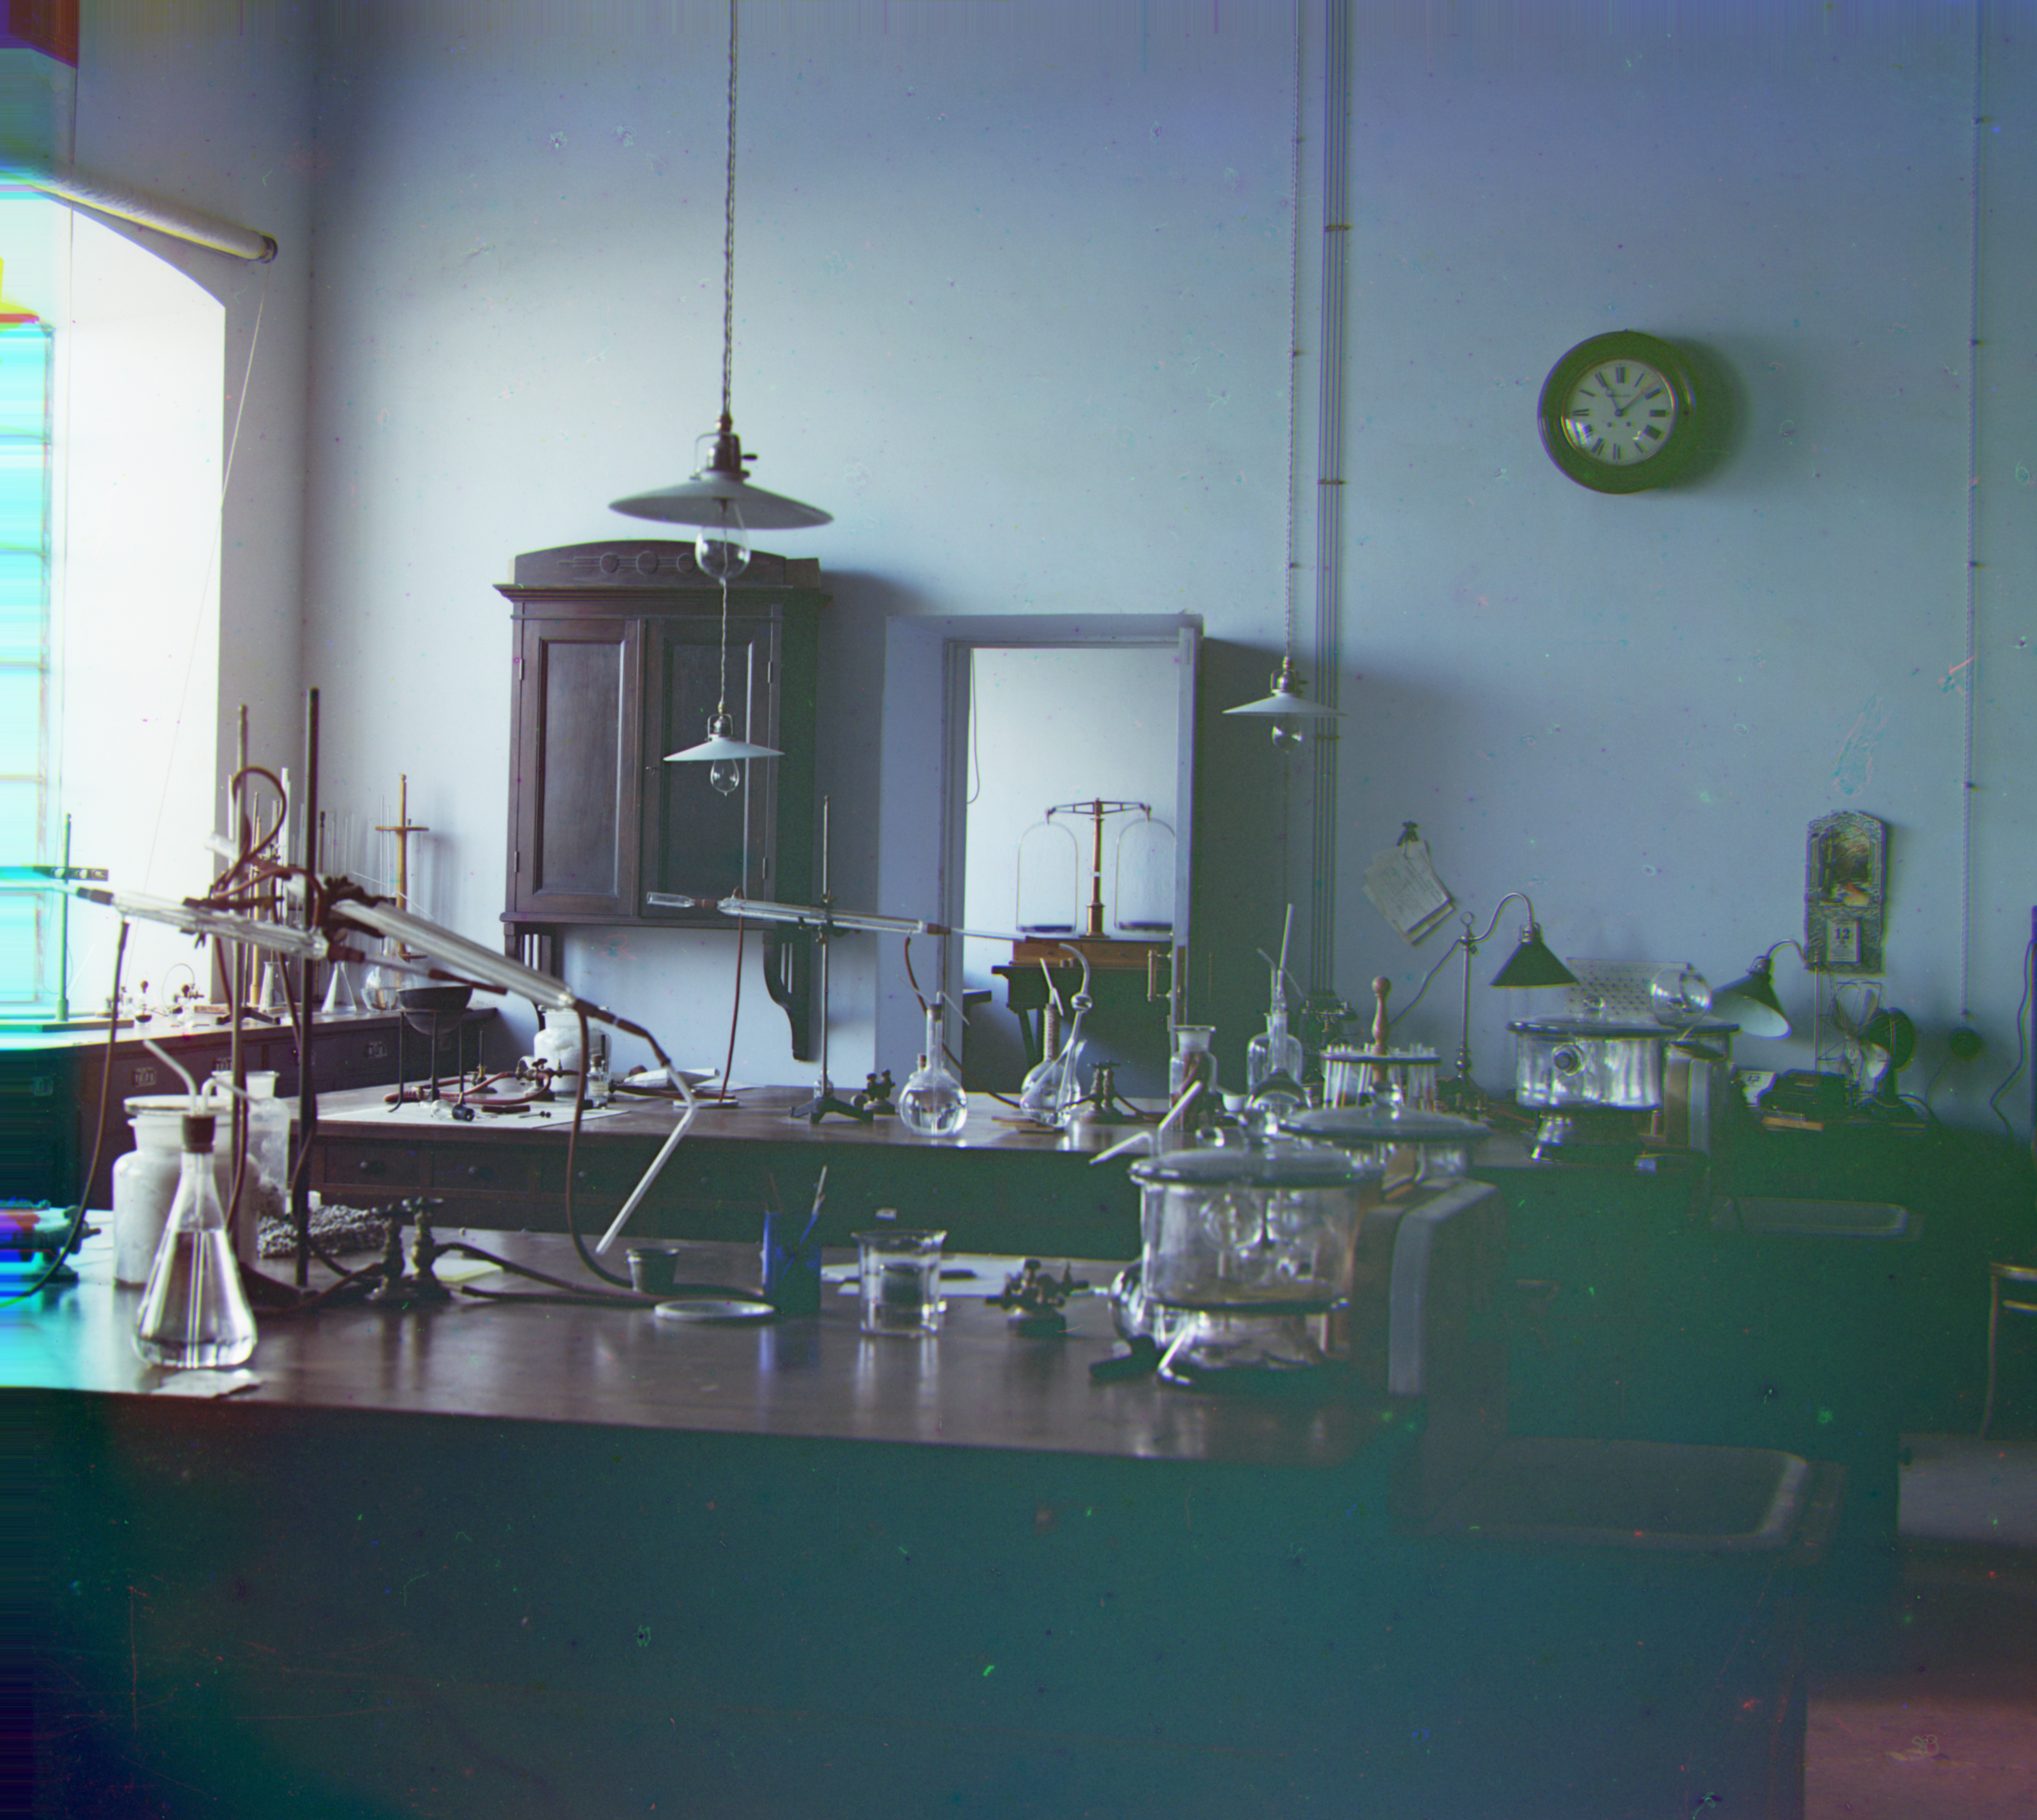
Green and red shifts: (25, -13), (71, -21) Crops: (190, 158), (128, 177)
Bells & Whistles
I use my vectorized 2D convolution for automatic cropping. The main idea behind my approach is to convolve the input image with Sobel filters to approximate the x/y gradients. After summing the gradients per column/row, I sort by magnitude and look at the top 2%. I take the maximum crops over these (on both sides i.e. East/West for x-direction and North/South for y-direction) although I never crop by more than 10% per side. This approach consistently crops around 3-5% per side and produces higher quality results. I present two comparisons of the alignment with/without cropping on a low-resolution and high-resolution image respectively.
-
Green and red shifts: (5, -1), (7, -1)
Crops: (0, 0), (0, 0) -
Green and red shifts: (5, 2), (12, 3)
Crops: (11, 21), (11, 23)
-

Green and red shifts: (59, -10), (129, -21)
Crops: (0, 0), (0, 0) -
Green and red shifts: (56, 9), (119, 13)
Crops: (173, 233), (222, 160)
-

Green and red shifts: (49, 24), (104, 56)
Crops: (211, 352), (148, 226) -
Green and red shifts: (49, 24), (107, 40)
Crops: (211, 352), (148, 226)
-
Green and red shifts: (42, 6), (87, 32)
Crops: (174, 189), (214, 167) -
Green and red shifts: (41, 1), (85, 29)
Crops: (174, 189), (214, 167)
While the difference isn't as obvious as the comparison for automatic cropping, using gradients instead of pixels does lead to some improvement. There are less artifacts around the edges in the images and the pictures on the right appear sharper as well.