Carnegie Mellon University, 16-726 Learning-Based Image Synthesis, Spring 2021
— Clive Gomes & Rob Haber —
Task Description
For this project, we decided to experiment with Face Modelling & Style Transfer techniques. Our system takes in an image of a person's face and converts it into a cartoonized version. Additionally, the user can provide a short text passage which the system will conert to audio using TTS and create a video where the cartoonized person lipsyncs along with the narration. Finally, we built a simple flask server to collect user input and display the final video (to try out our Toon-Talker, use this link ). In the following sections, we shall descriptions each of our main components while provide example outputs obtained from our models.
User Interface
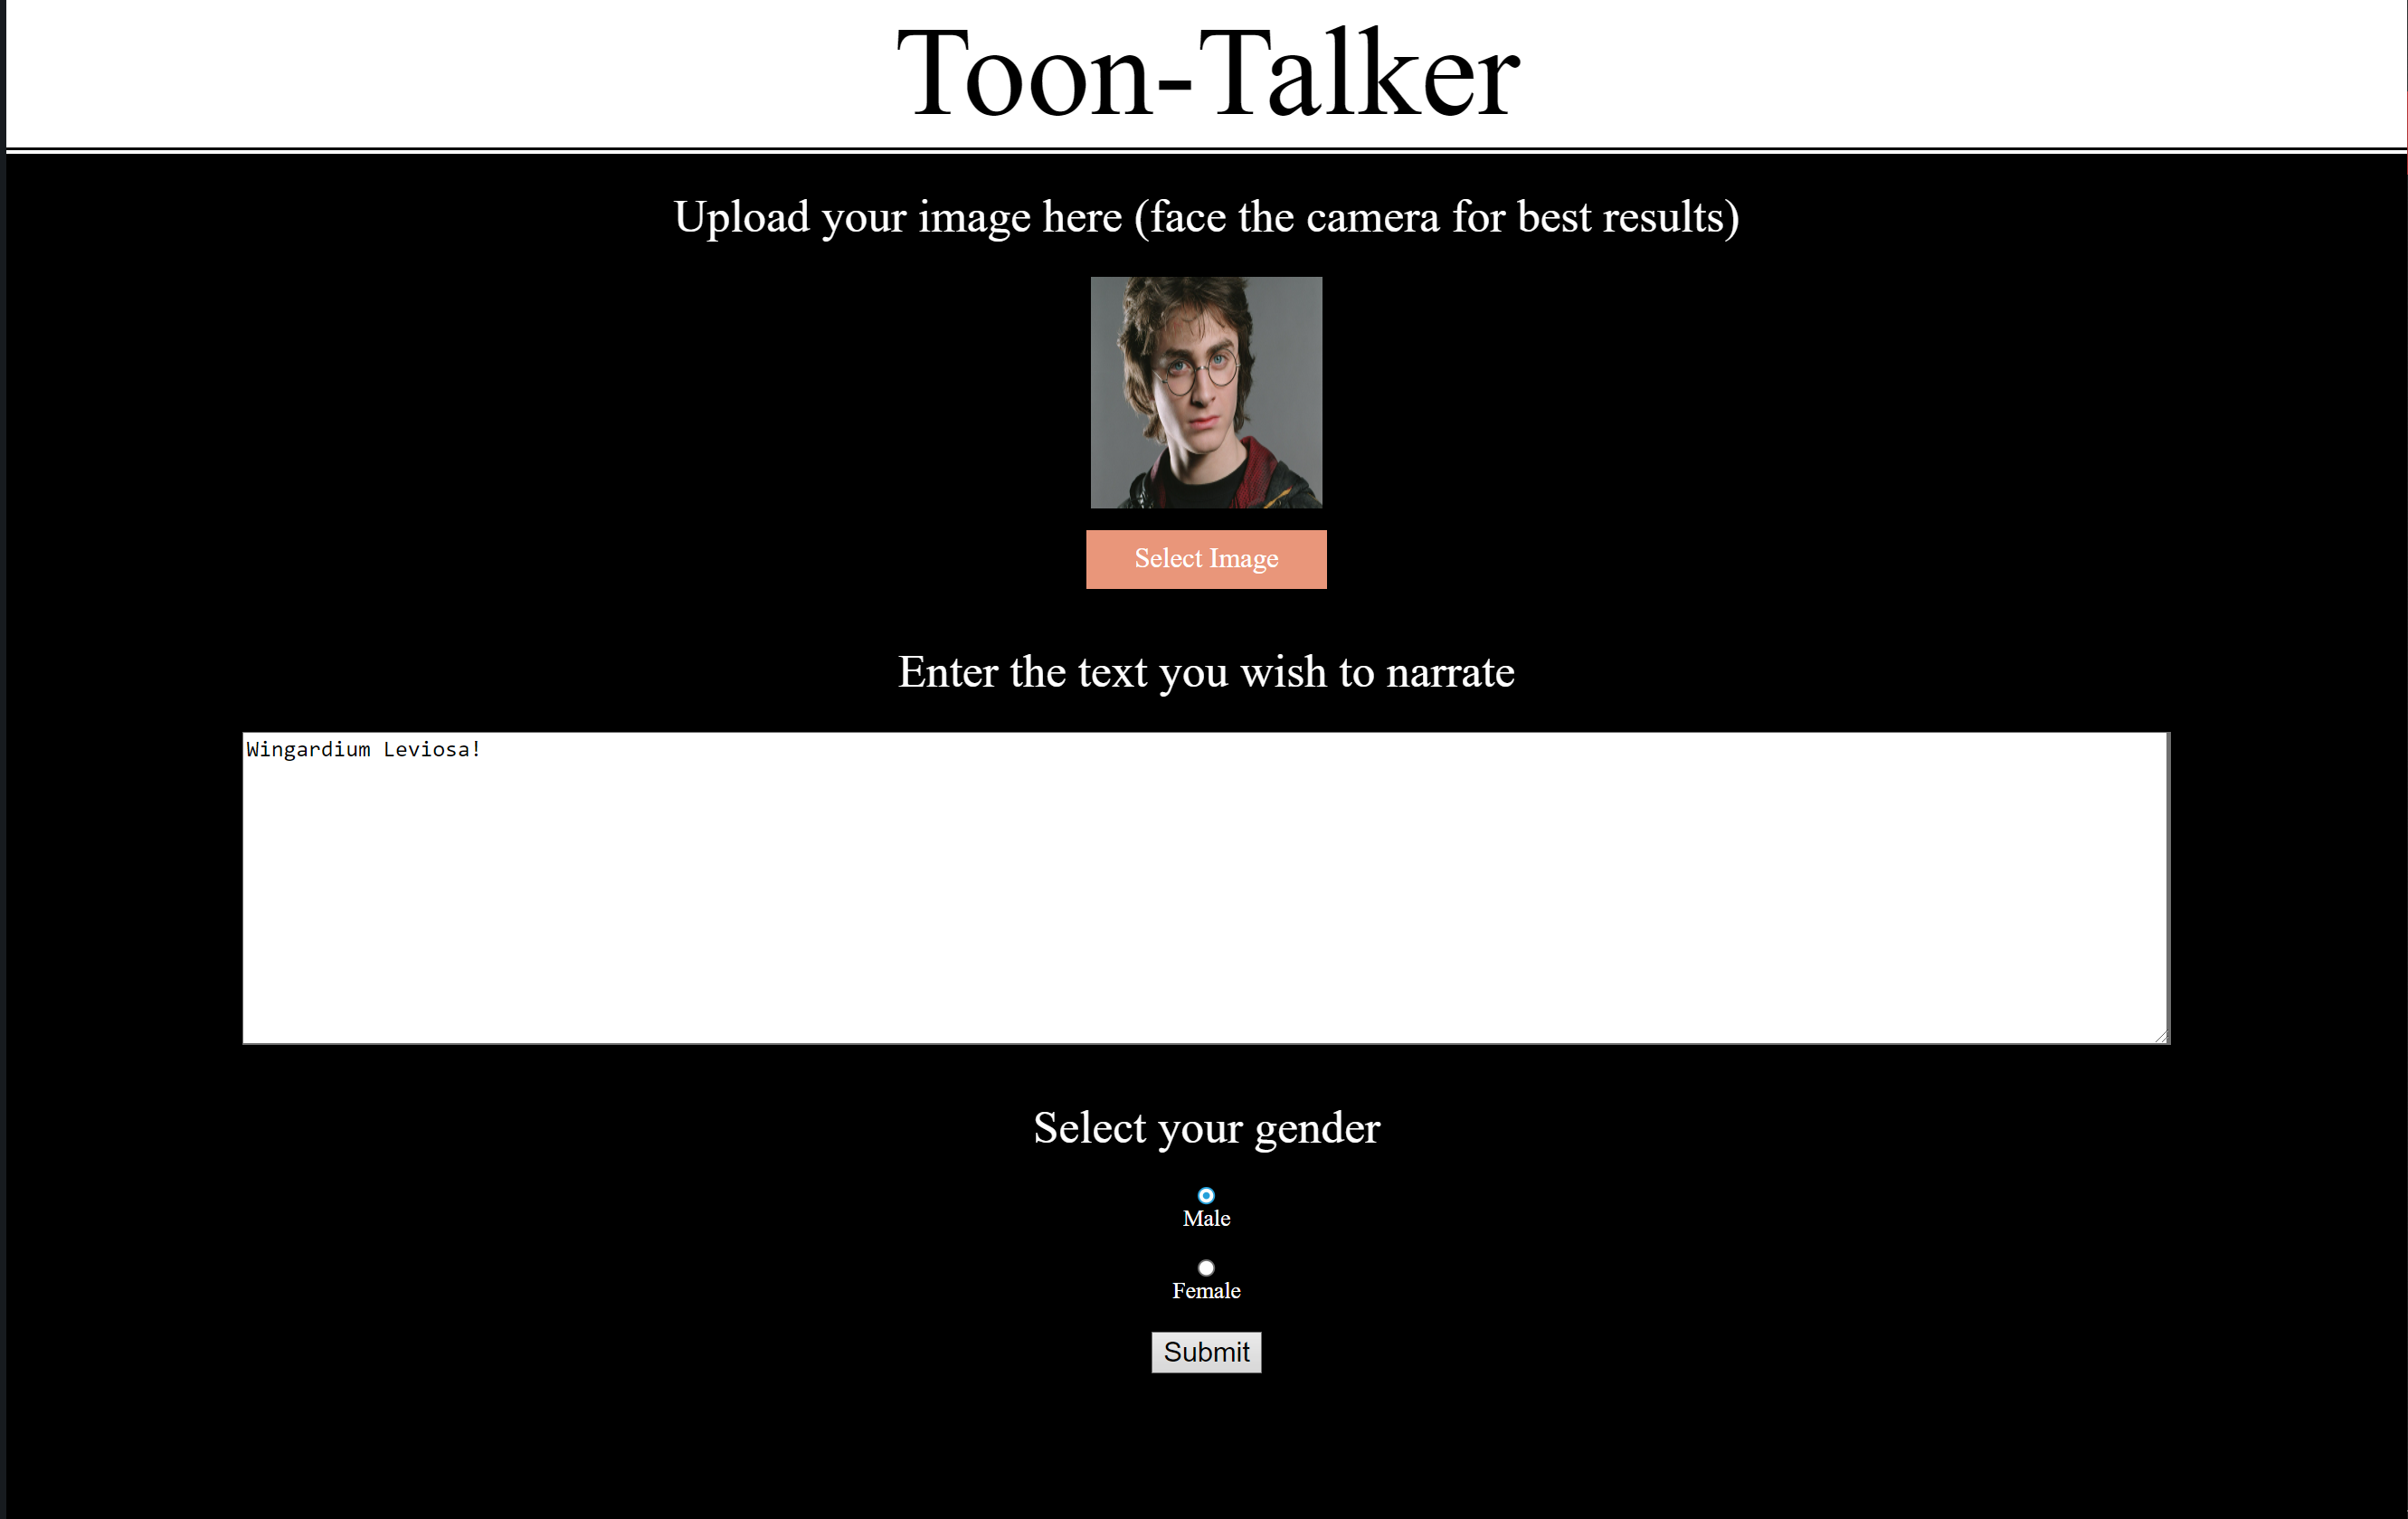
Let's start with the UI as this is the first thing a user sees. We set up a flask server to collect three types of inputs:
Image: A .png/.jpg file containing a closeup of the person's face must be uploaded through the "Select Image" button—if it isn't a close-up pic, the code crops and centers the face. For best performance, the person must be facing straight ahead (as such images were used during training) and most facial features (such as eyes, ears, etc.) should be visible.
Text: A passage that the user wishes to narrate can be provided in the text area. Depending on the lengtg of this text, the model may take longer to return a result.
Binary: Radio buttons for "male" & "female" are included. The user must select one of these to determine the pitch of the outputted narration.
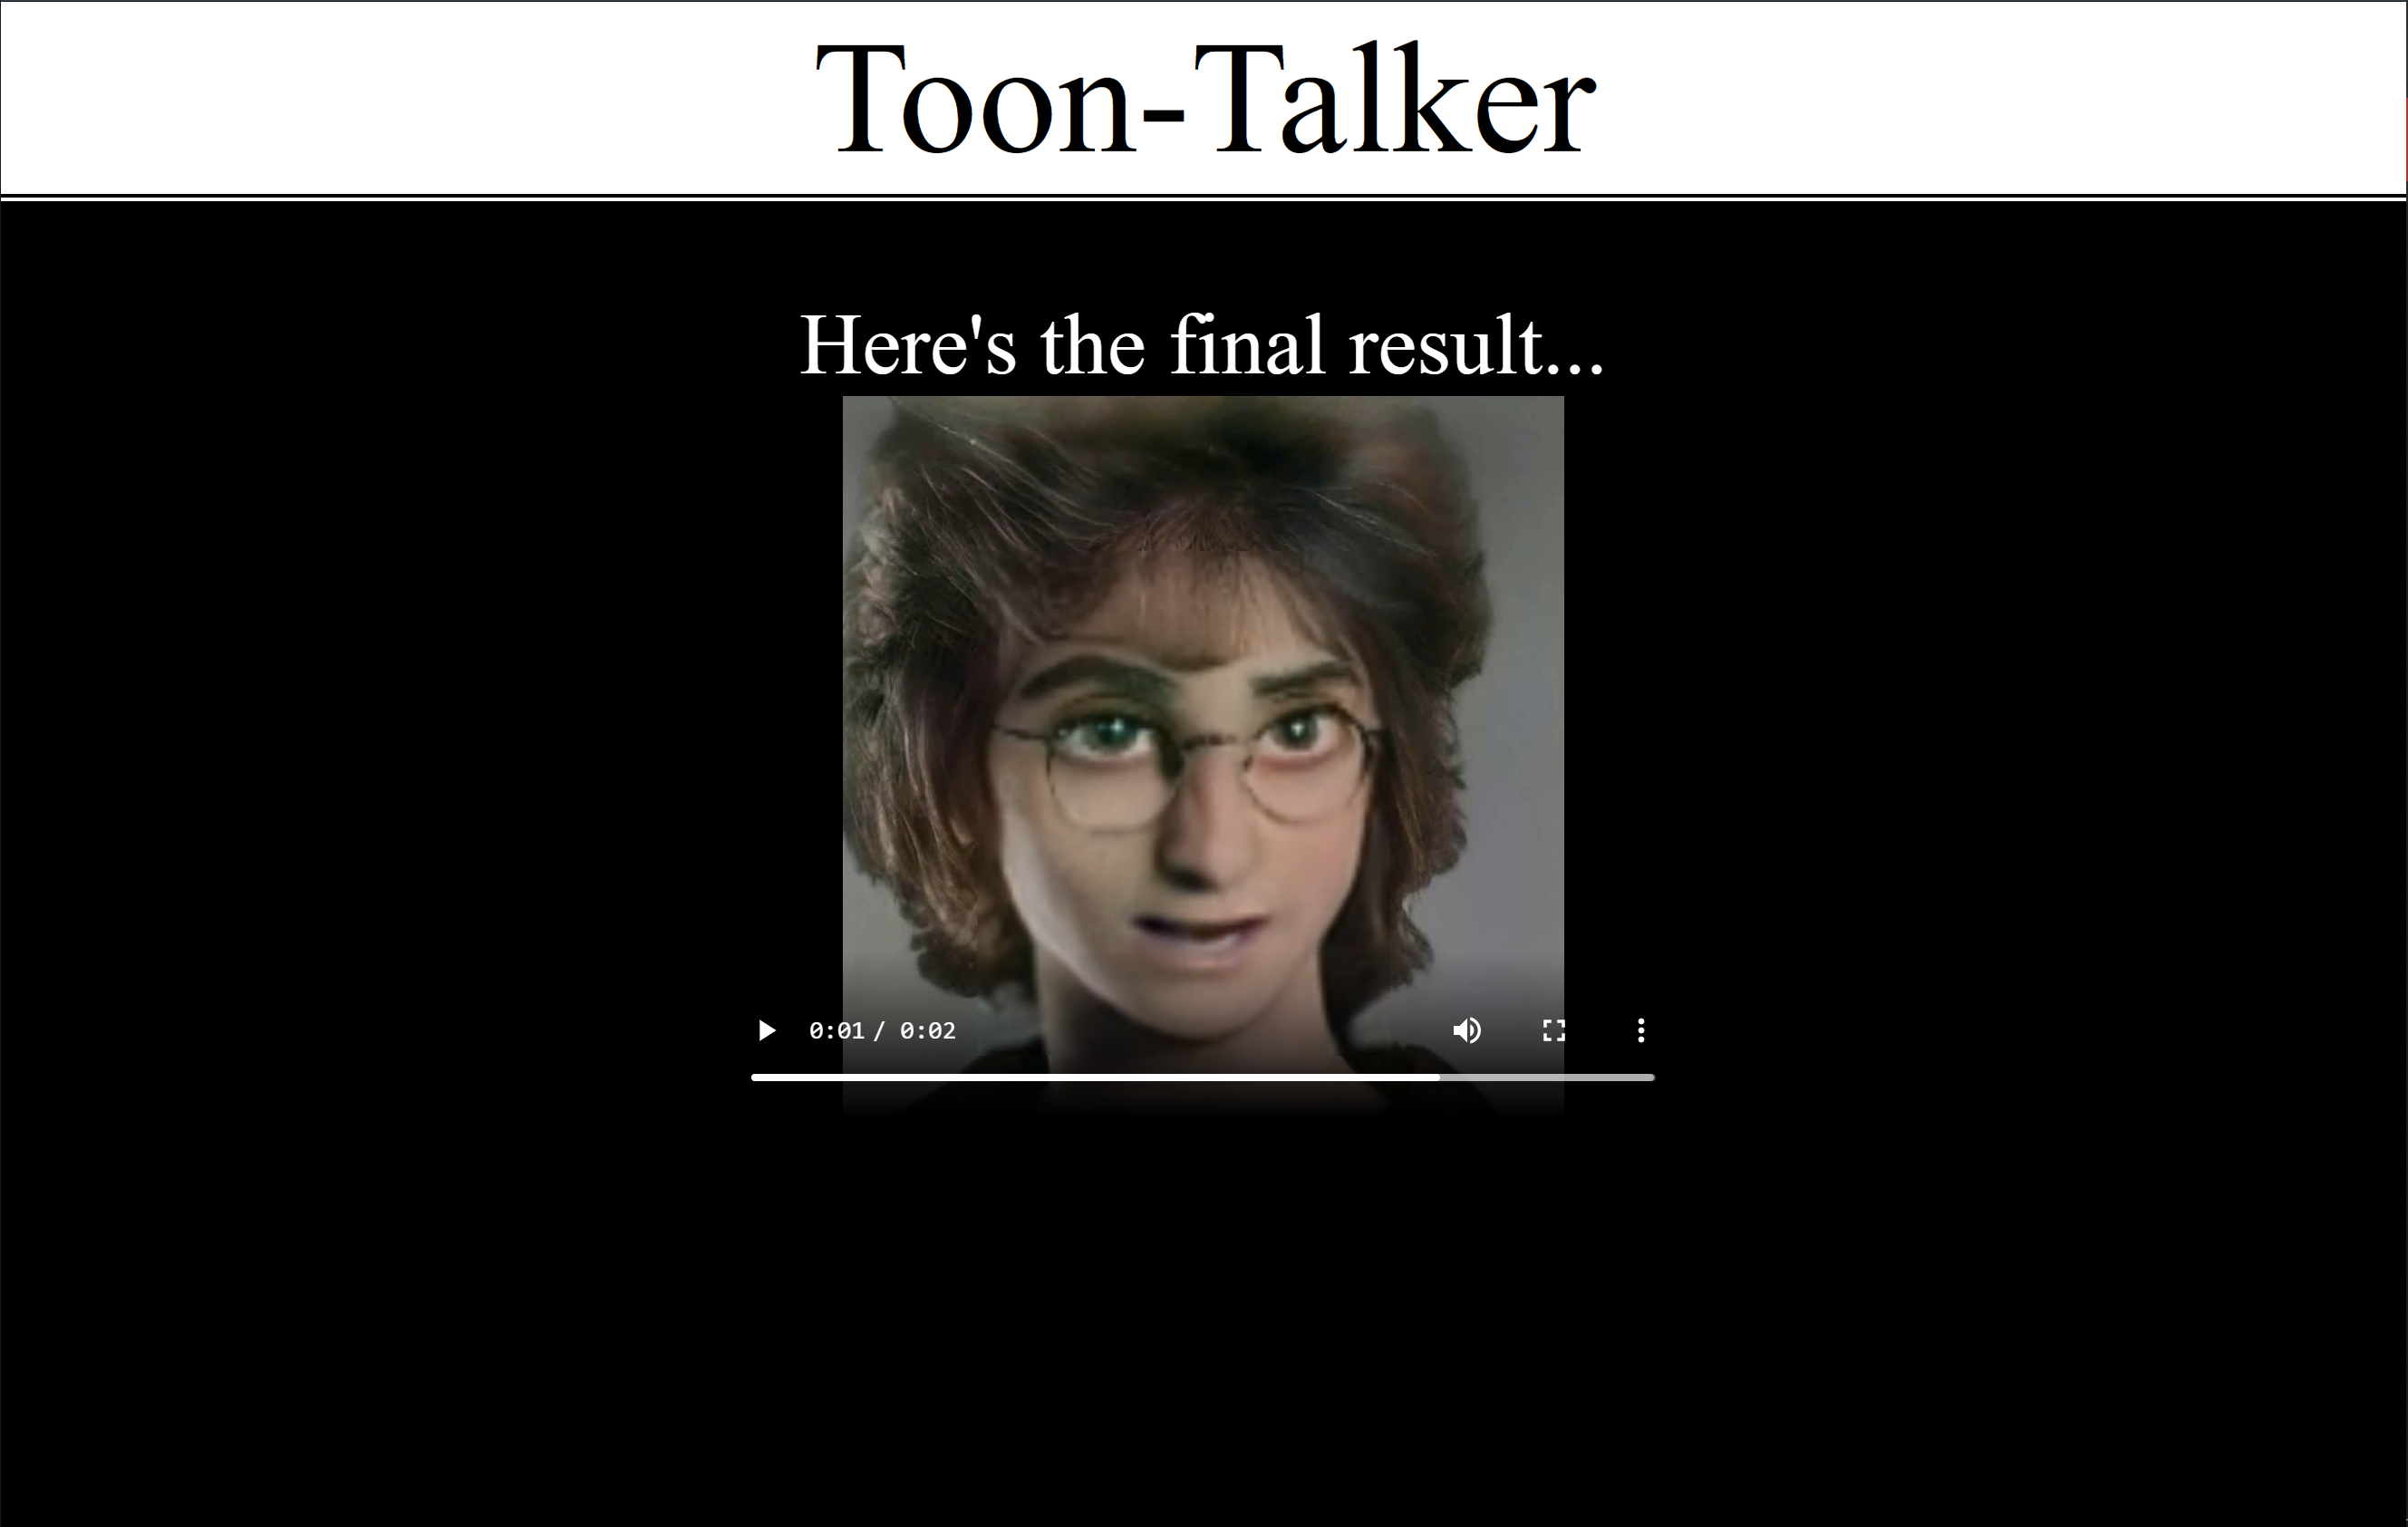
The text & binary inputs are stored in a JSON file and, along with the image, the flask app passes these on to our "Toon-Talker" system. Once the output has been generated, the flask app displays the resulting video as shown below.
Next, we shall look at each of our two main components in the following sections.
Toonification
Our first step was to convert the single image into a cartoonized version. We decided to do this before lipsyncing as this process is slow and, therefore, it is easier to perform the operation on a single image rather than on all frames of the lipsynced video. The following subsections describe the tasks performed in this step.
The Base Model
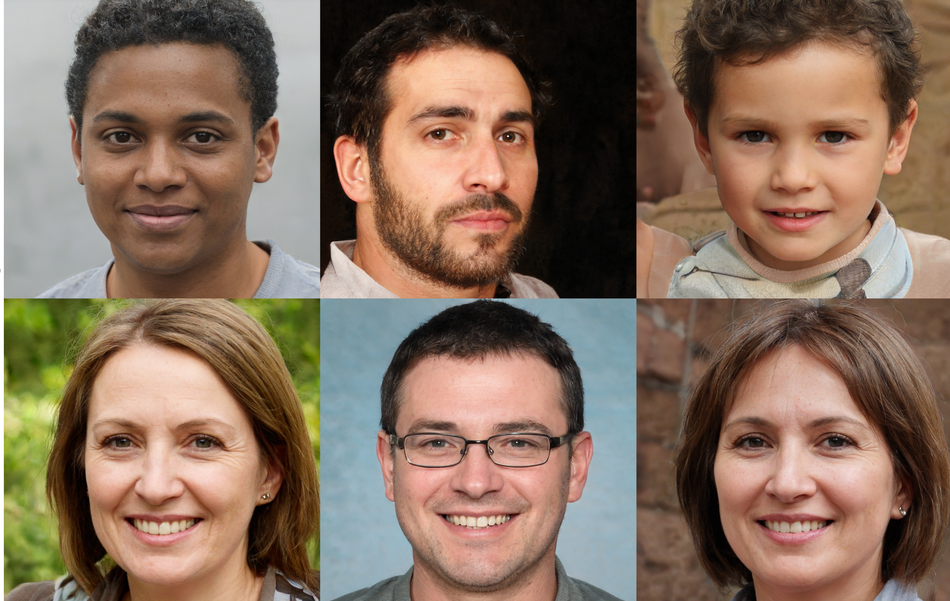
StyleGAN2 (an improved version of StyleGAN) designed by NVIDIA was used as the starting point for this project. The Github repo for this architecture contains code for generating images, projecting inputs into latent space, fine-tuning the model, and so on. Additionally, NVIDIA also provides a set of pre-trained models such as ones trained on faces, cars, cats, etc. We used the first of these models i.e. StyleGAN2 FFHQ (which was trained on face images taken from Flickr) as the base model for generating faces.
Fine-Tuning
In order for the model to learn characteristics of cartoon faces, we first tried fine-tuning the StyleGAN2 FFHQ model on a few different cartoon datasets (Cartoon Set, Pixar Characters and an Anime Dataset). While these gave us reasonable output cartoon faces, we came across a pre-trained toonify model by Justin Pinkney that provided much better results. Accordingly, we decided to use that one instead.
The Idea Behind Style Transfer
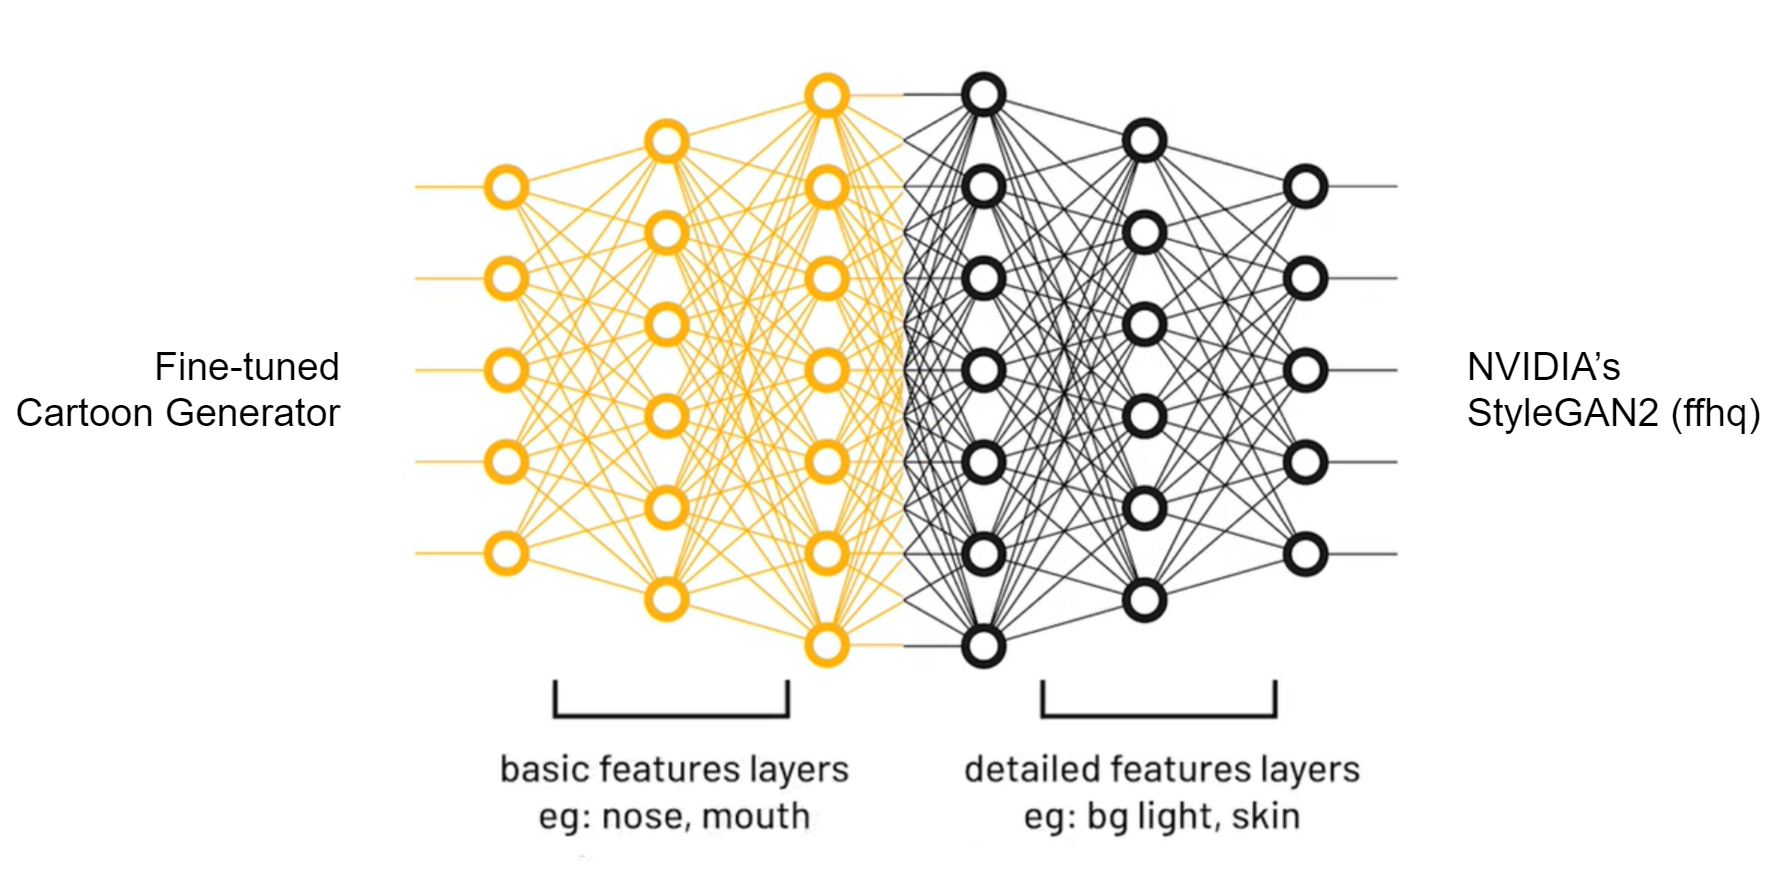
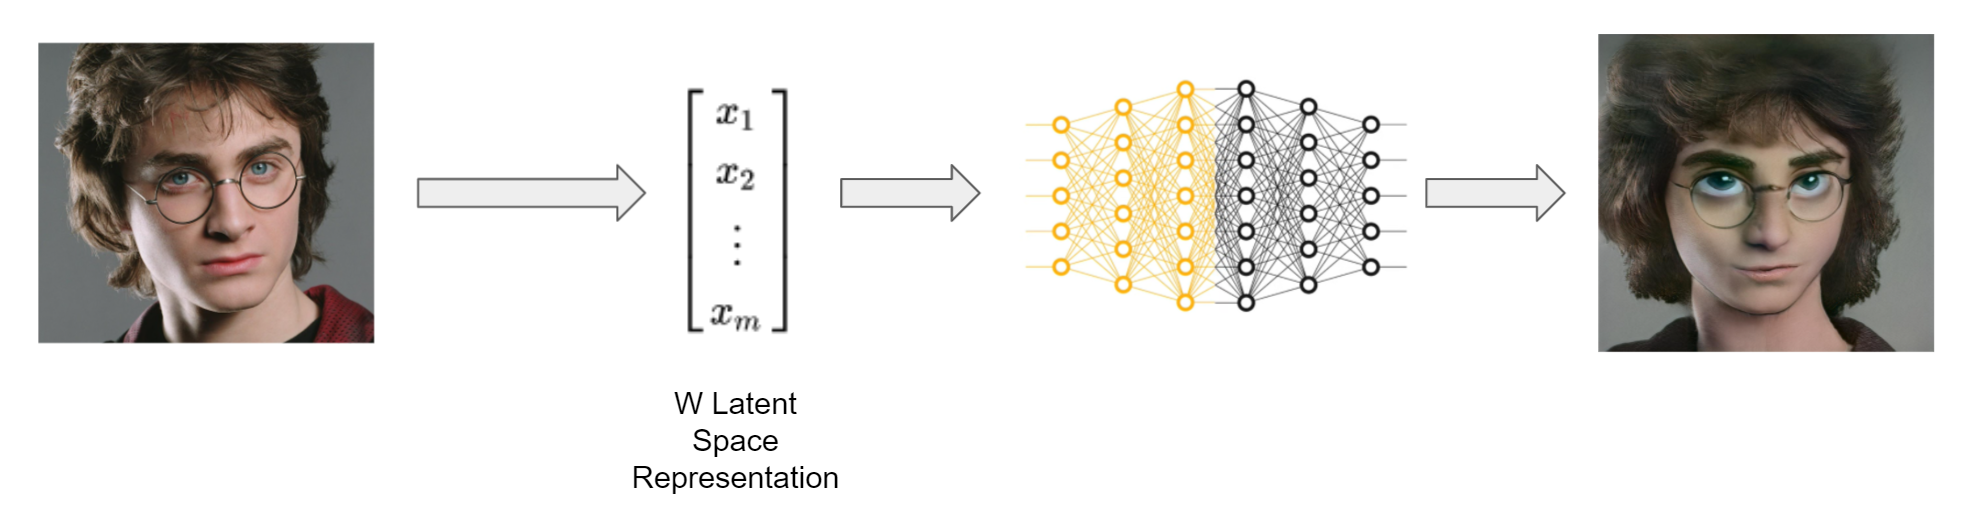
At this point, we have two models—the original StyleGAN2 FFHQ model and the fine-tuned Cartoon model. To toonify human faces, we take the first few layers of the Cartoon model (which encodes facial characteristics of cartoon faces such as eyes, mouth, etc.) and the last few layers of the StyleGAN2 FFHQ model (to add in finer details of real human faces). Combining these models together, we are able to get realistic looking transformations of human faces in the cartoon domain by projecting the input face into the W latent space and passing it through the model.
Challenges
A main issue with using the StyleGAN2 model is that it cannot be run without a GPU. Additionally, it requires tensorflow 1.x which is not as well supported as the 2.x versions. For these reasons, most training and experimentation had to be done on Google Colab or AWS.
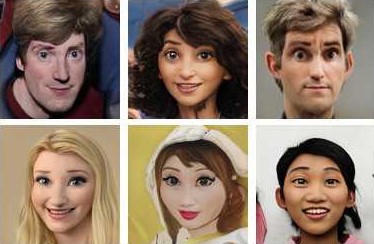
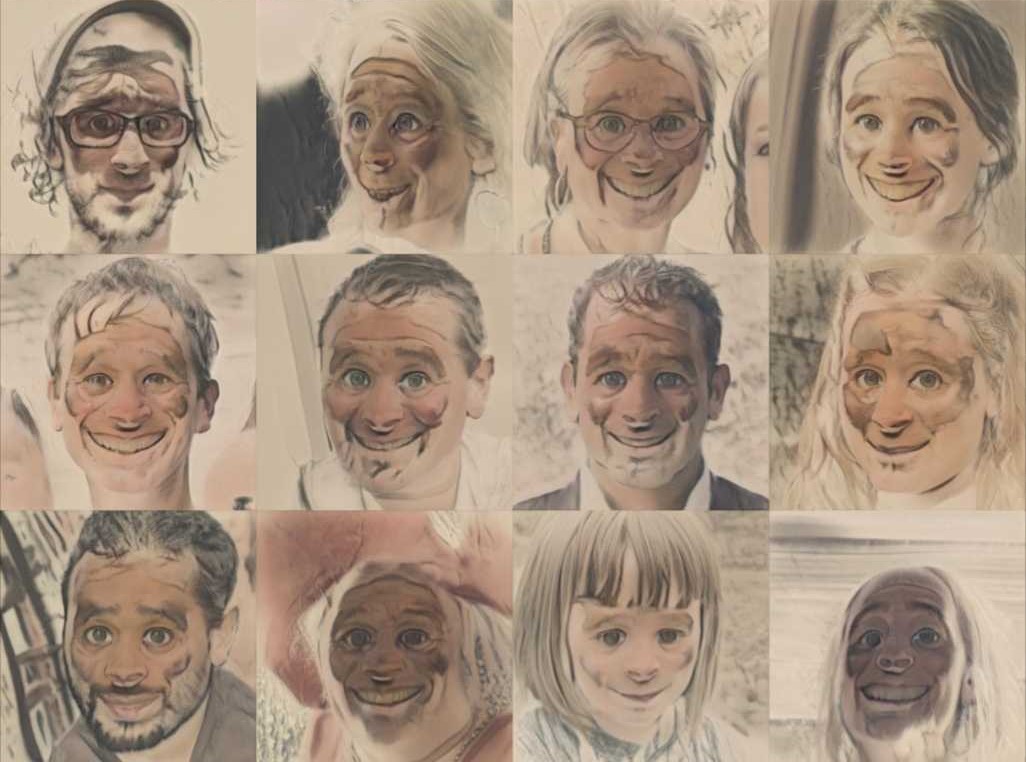
Another issue we had (since we used Colab) was that the model needed to be re-trained incremently. This not only took time but the results were also not always great. For example, our initial model generated cartoon images (as shown in the image above) that were halfway between human and cartoon faces; these were certainly not the kind of outputs we wanted, which is why we had to train for longer durations.
Lip Syncing
Having generated the cartoonized version of the human face, we then pass this along with the input passage and gender to our lipsyncing component. The following paragraphs describe our procedure.
Text-to-Speech
First, we generate an audio narration of the input passage using Google's TTS library (gTTS in Python); the choice of gender was provided by the user. One difficulty we ran into, however, was that gTTS only allowed us to generate the audio in a female voice (a male version wasn't available). To get around this, we used the audio analysis library "librosa" to lower the pitch of the output audio to get a male approximation. Though not perfect, this provided a reasonably good version for the male narration.
Wav2Lip
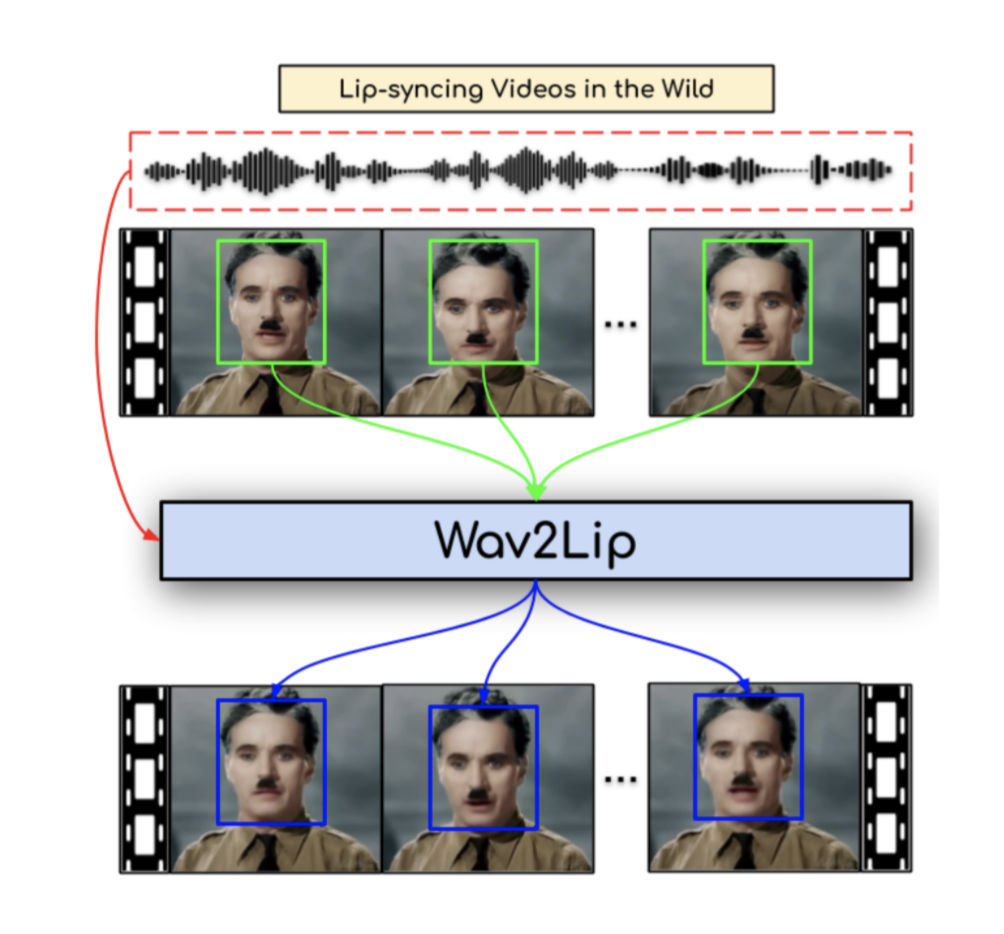
The task of lip-syncing is defined as follows: Given a speech segment S and a random reference face R, we wish to generate a lip-synced version of the face that matches the audio. Essentially, we wish to convert an arbitrary video such that it appears the character in the video is realistically speaking the words in the provided utterance. This task is addressed in the 2020 paper, A Lip Sync Expert is All you Need for Speech to Lip Generation in the Wild.
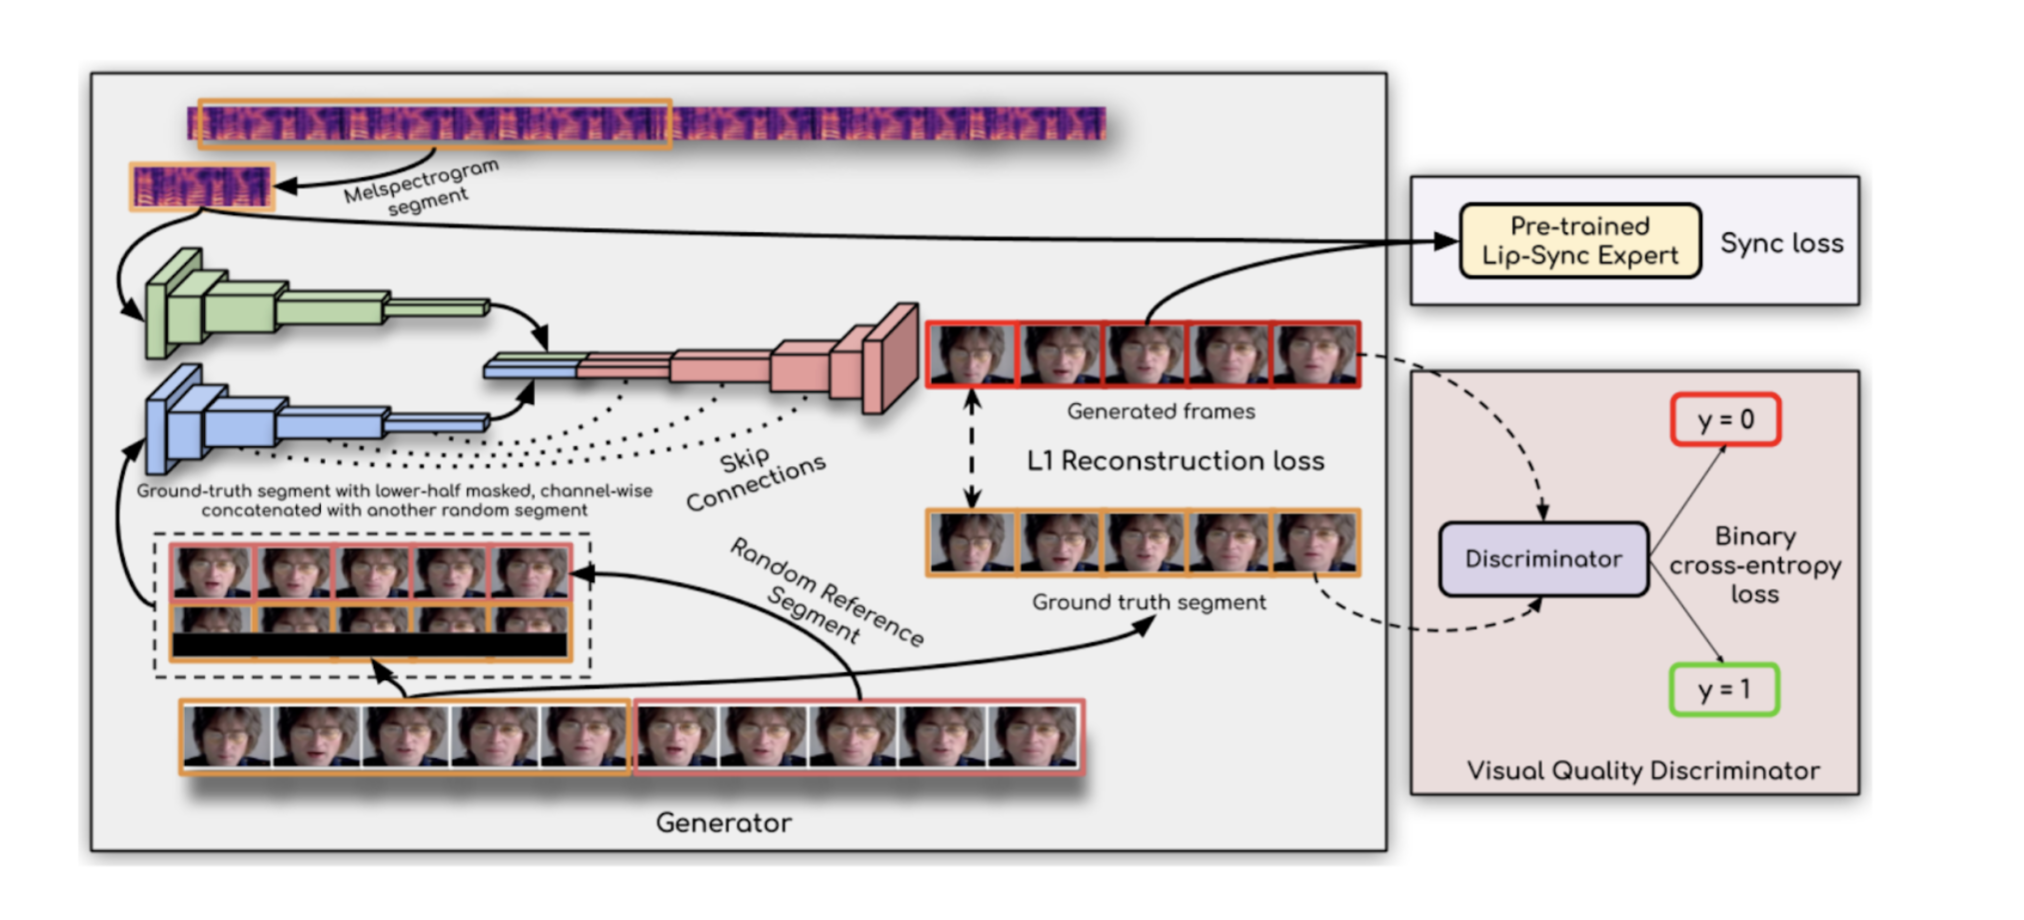
In the paper, the authors propose using an expert lip-sync discriminator, as opposed to training one in the typical GAN framework. For the discriminator, the authors use a modified version of SyncNet, which is specifically trained to correct lip-sync errors and create large lip syncing datasets.
The Generator is composed of three components - the identity encoder, speech encoder, and face decoder. The Identity Encoder is a stack of residual convolutional layers that encode a reference frame R concatenated with a pose prior P, where the lower half of the target face is masked. The Speech Encoder is also a stack of 2D convolutions to encode the input melspectrogram speech segments S which are then concatenated with the face representation. The decoder as well contains several convolutional layers, followed by transpose convolutions for upsampling. The Generator is then trained to minimize the L1 loss between the generated frames and the ground truth frames, and the input to the discriminator is then the lower half of the generated frames. The authors found that this architecture incorporating an expert lip sync discriminator forces the generator to produce accurate lip shapes.
Using this technique on our toonified image and TTS-generated audio, we obtain the following result:
Challenges
While our previous output looked fine, the lipsyncing algorithm generated weird results at times; one such example is shown in the video below. It is not clear exactly why this happened even though we used the same input image and text, however, we did notice that occasionally different batch sizes would be processed of the input melspectrograms, depending on the available GPU memory at the time. It is possible that different batch sizes during inference could have an effect on the lip generation, but further experiments would need to be conducted to determine the precise reason for the occasional lipsync failures.
As mentioned earlier, our system needs a GPU to run. Taking this into account, we had initially planned to host the UI on AWS such that anyone could easily click the access and use the toon-talker system. Once we had transferred the code to the AWS instance (g4dn.xl for its GPU), we had trouble processing the images with the model, and continuously received an error that the runtime version of cuDNN was different than the version used for training the model. After extensive research, we were able to solve this issue by registering for a Nvidia developer account, downloading a particular version of cuDNN, manually installing it, and replacing certain header files and paths on the instance. This allowed us to feed images through the model one time, but due to improper memory handling by the wrapper code for one of the pre-trained models, we could not upload any more images to the UI without always restarting the server (GPU OOM errors). We experimented with various garbage collection libraries, and in addition to a thread-based approach, but with no luck. This was a major challenge of the project, and we ultimately decided to provide a Colab notebook to run the code instead.
Results
In this final section, we present a few additional examples of inputs and corresponding outputs created using our system.
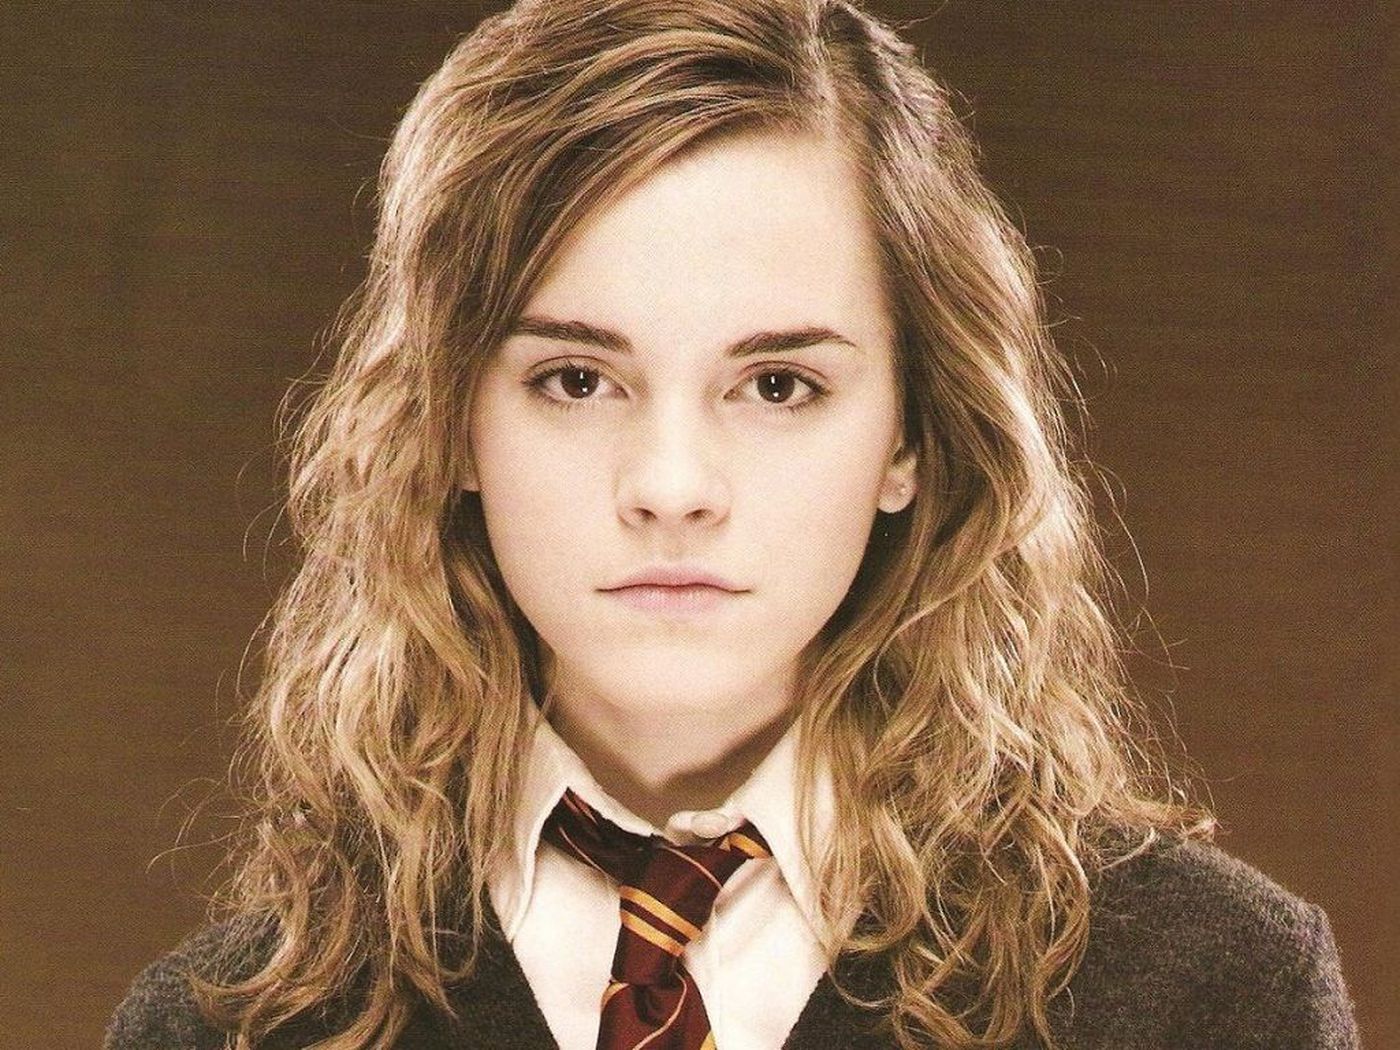
Inputs
Output Video
Face Image
Passage
Gender
"Salvio Hexia!"
Female
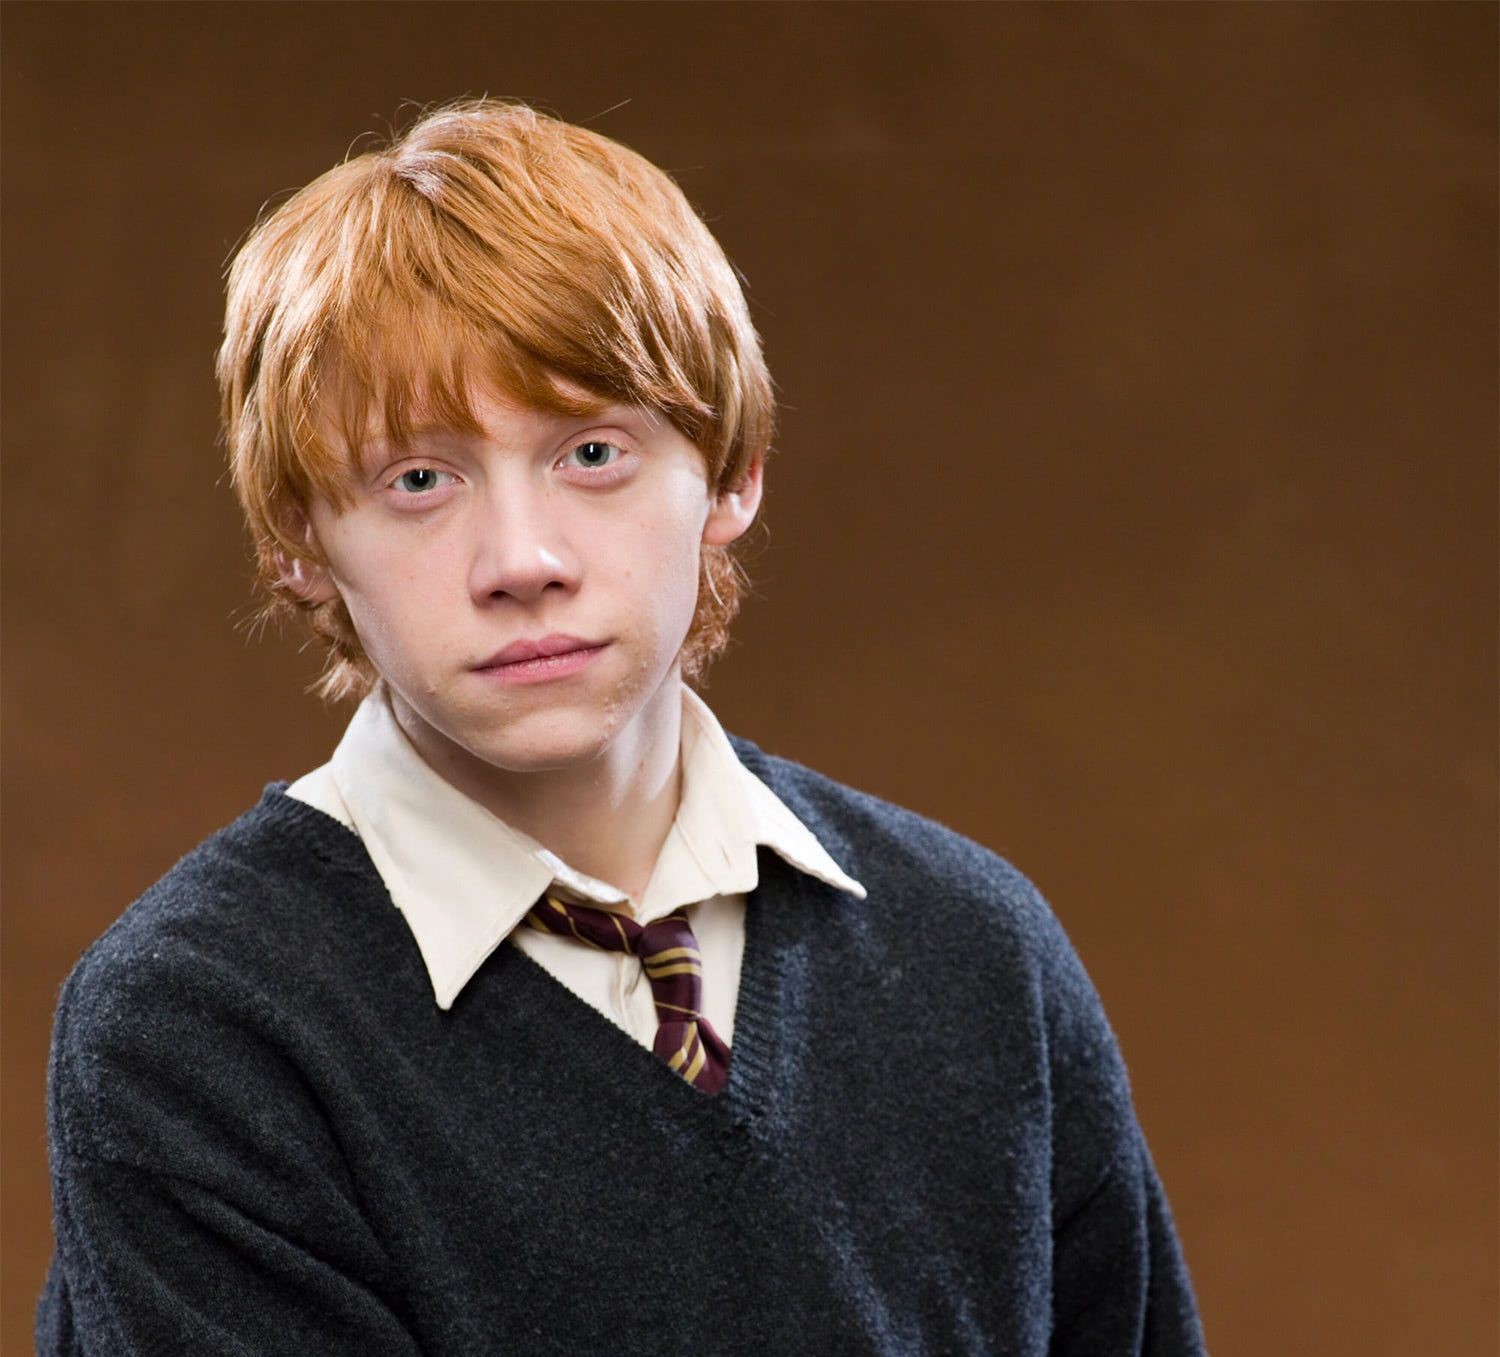
"We are only as strong as we are united, as weak as we are divided."
Male
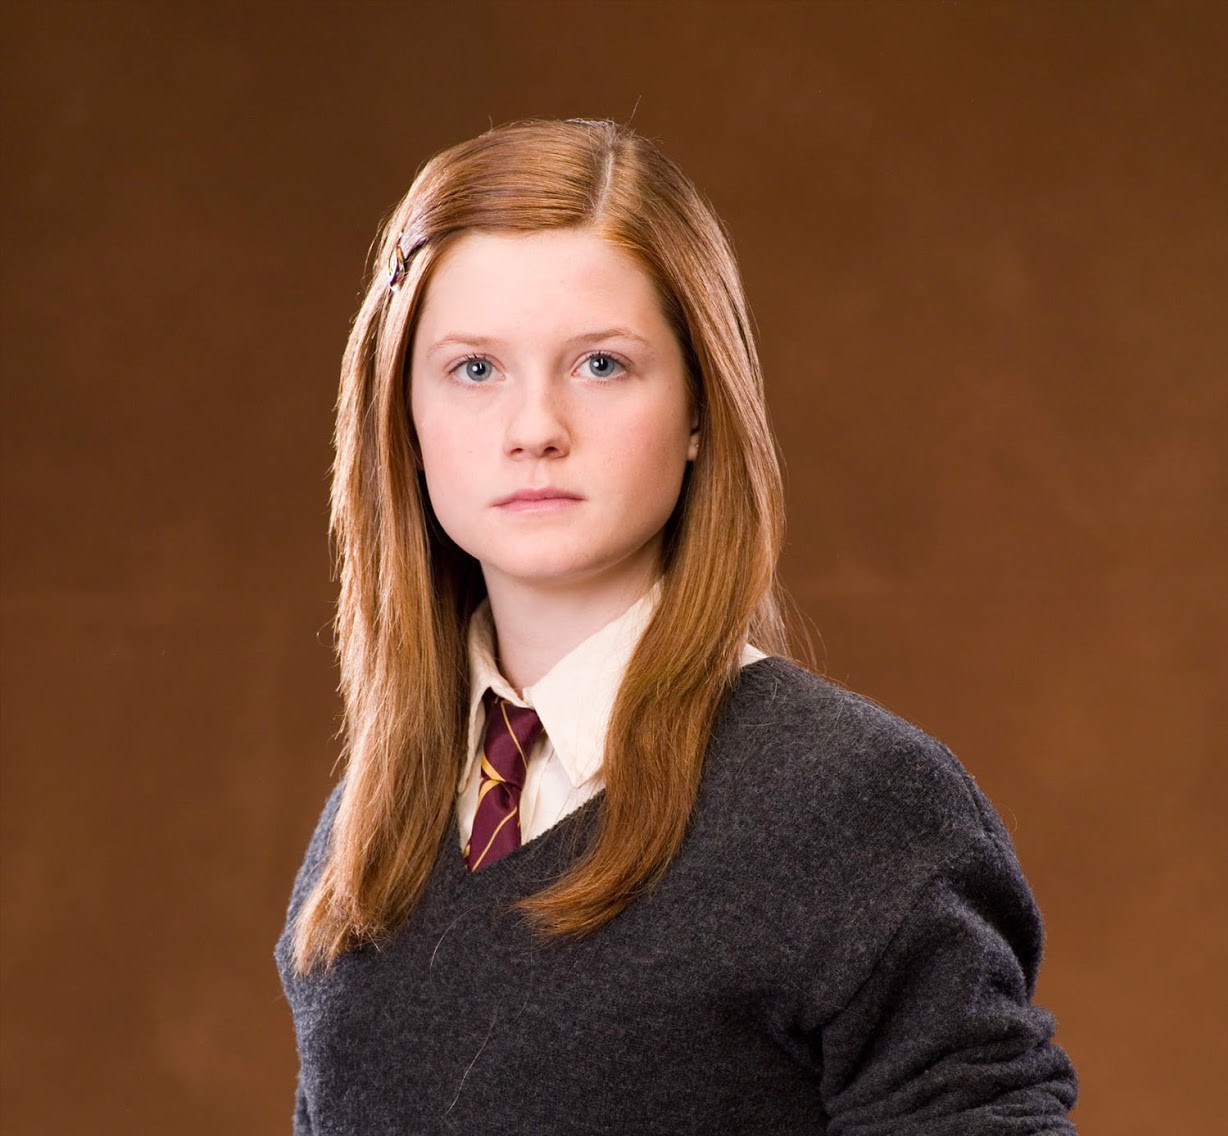
"The thing about growing up is that you sort of start thinking anything’s possible if you’ve got enough nerve."
Female
"It is a curious thing but perhaps those who are best suited to power are those who have never sought it. Those who have leadership thrust upon them, and take up the mantle because they must, find to their own surprise that they wear it well."
