Homework 1 - PhraseThrow
In this assignment, you will be reimplementing the PhraseThrow demo from class. Remember that PhraseThrow is a very simple version of the popular party game Catch Phrase. This is the only homework assignment that will provide a step-by-side tutorial on how to complete it. This assignment should take you no longer than an hour to complete, and will be due on Tuesday, January 20 at 11:59pm.
Requirements
You will need a list of nouns! You can download that list here: nounlist.txt. You'll probably want to right click and select Save Link As../... and then drag it into your Xcode project.
The PhraseThrow demo
Open up Xcode. You'll be greeted with this window:
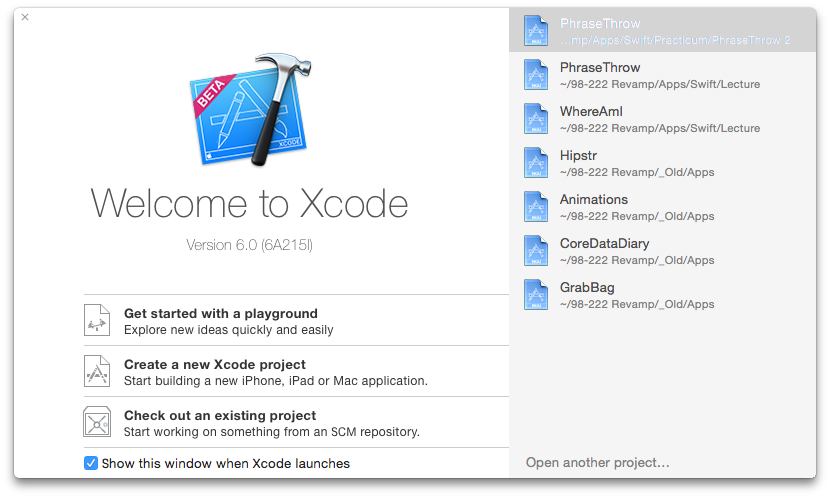
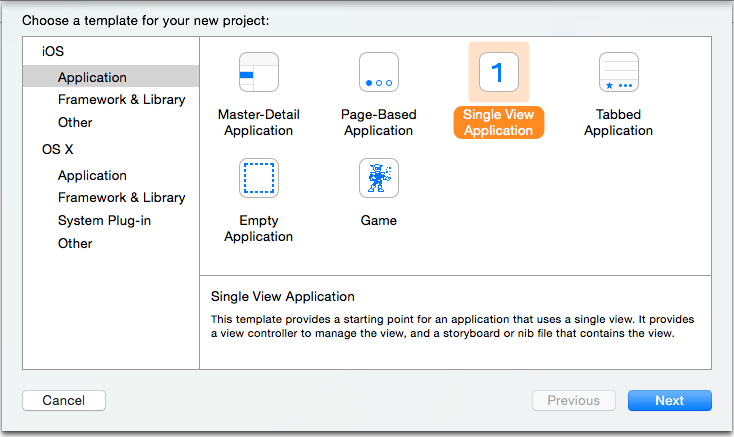
We'll be starting from scratch today, so select Create a new Xcode project. You'll be greeted with the Xcode editor window, and a little pop up asking you to choose a template for your new project. On the left hand side bar, you should select iOS > Application (since that's what we're making) and then choose Single View Application, like so:
Then, you get to specify some options for your project. Under Product Name: you should put PhraseThrow, and under Organization Name:, just put your full name. The rest you should fill out as follows:
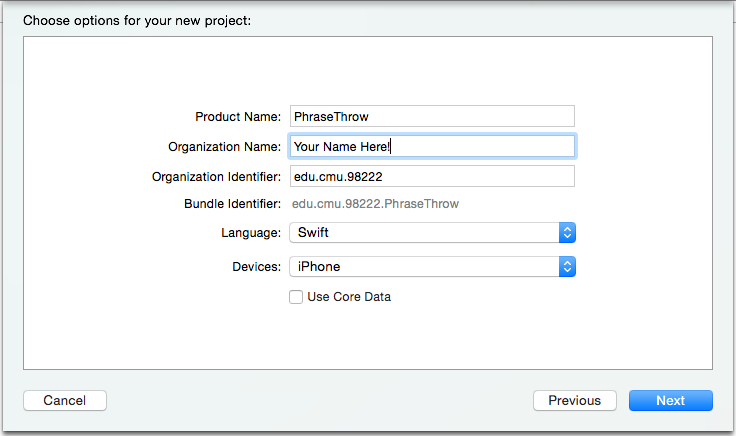
It's not important what those fields mean, but you can probably figure out what they all mean from the context. Product Name is the name of your project, and Organization Name is the name of../...well, your organization (say if you were Google or something, but the name of the developer is also traditional here). Organization Identifier is a unique identifier for your developer organization, which is something we'll talk about later in the semester, and Bundle Identifier is a unique identifier for your project (also something we'll cover later in the semester).
Then, you pick a directory to save your project in (don't worry about the 'Create Git repository' stuff, unless you like Git), and hit Create! Voila!
Now what?
So this may seem like an information overload to you guys. So many tabs and features and buttons all over the place. Xcode is a mess. This guide will help you pick the things you need to know, though. The first thing we need to do is figure out what app we're making!
Though, I'm not going to explain the game rules here. You can look up the game that PhraseThrow is based off of, Catch Phrase. The only difference is that our app will provide the random nouns!
So, as a TL;DR, we're making an app which has a button that, when pressed, picks a random noun from a (large) list of nouns and displays it on the screen. This is more-or-less the minimum our app will accomplish.
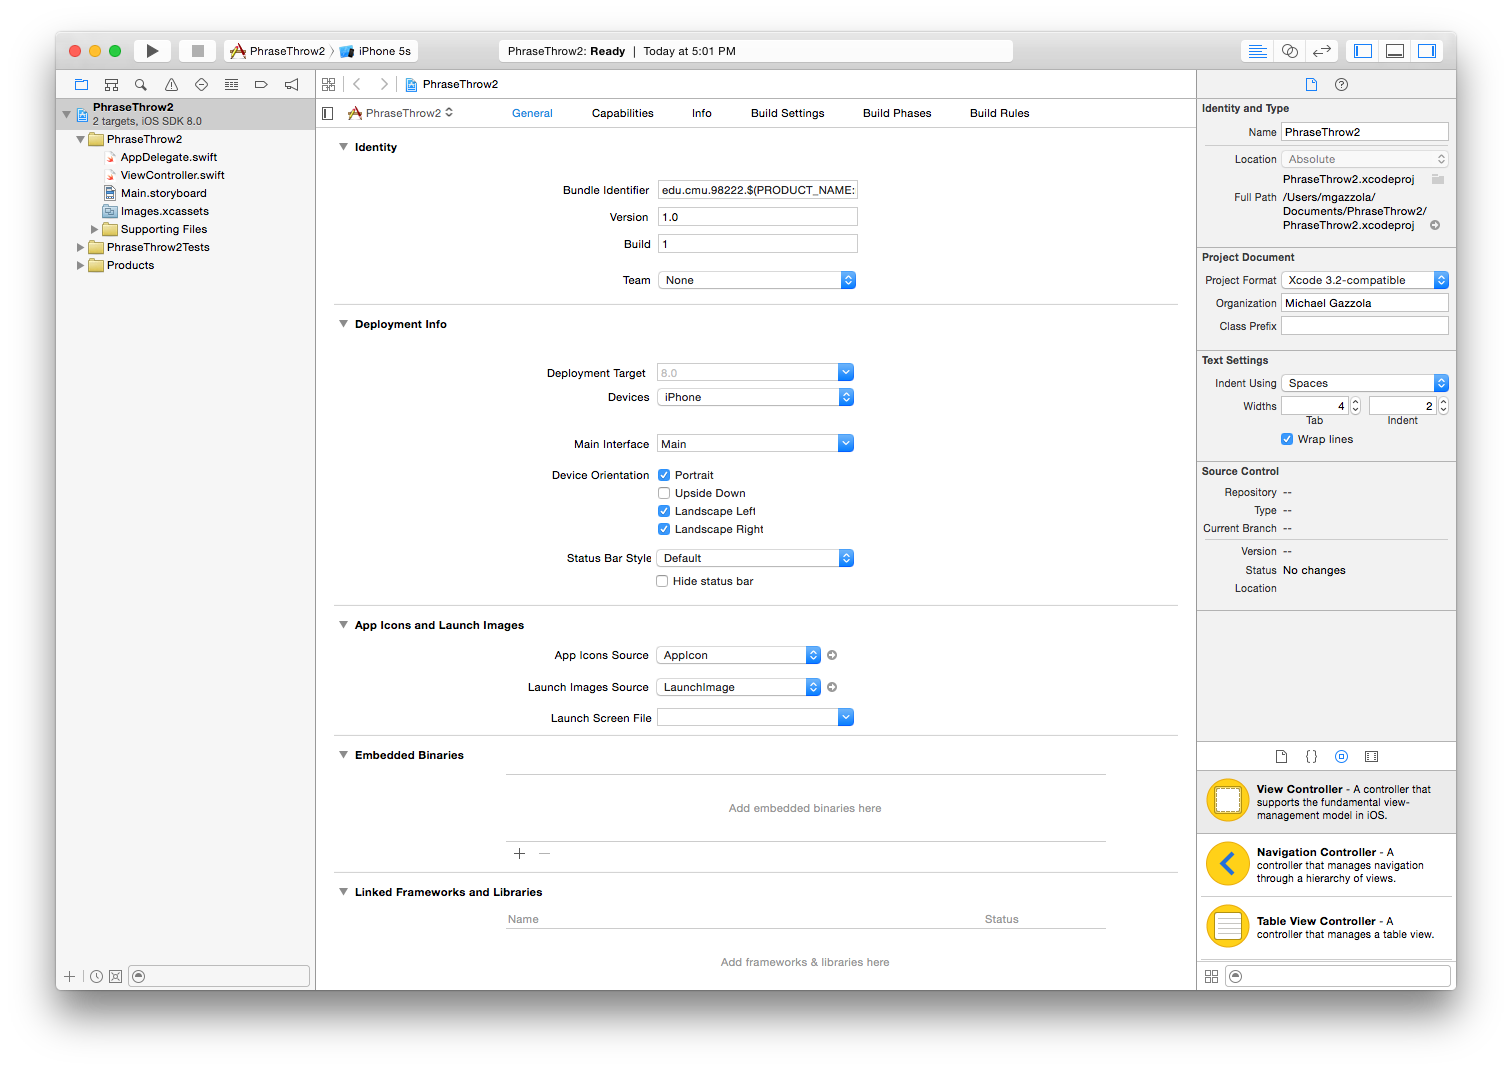
Now, let's start building our app. Look at the left sidebar of Xcode:
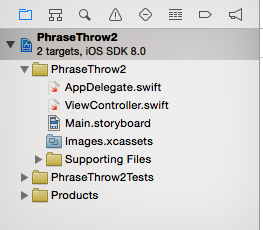
Those are all the files in your project. They were all autogenerated when you picked the template for your project (remember, Single View Application). The main stuff that you need to know right now is already out in the open: AppDelegate, ViewController, and Main.storyboard.
The AppDelegate isn't very important for this app. It contains code that deals with app startup, backgrounding, and shutdown operations. We don't want to modify any of it here for this project, so we'll leave it alone (though we will mess around with it in the future).
The ViewController is the class that../...well, controls the main view. It's the C in MVC for this app. It's in charge with processing everything for your app, basically. We'll be working with it very closely in this demo.
And finally, Main.storyboard. It's not a Swift file, like the other two classes.s This is a Storyboard, which is an abstraction for a view on an iPhone--it basically represents what you see on your iPhone when people use your app.
Creating the View
So, let's start with the Storyboard. Click on Main.storyboard, and you'll be greeted with the Interface Builder:
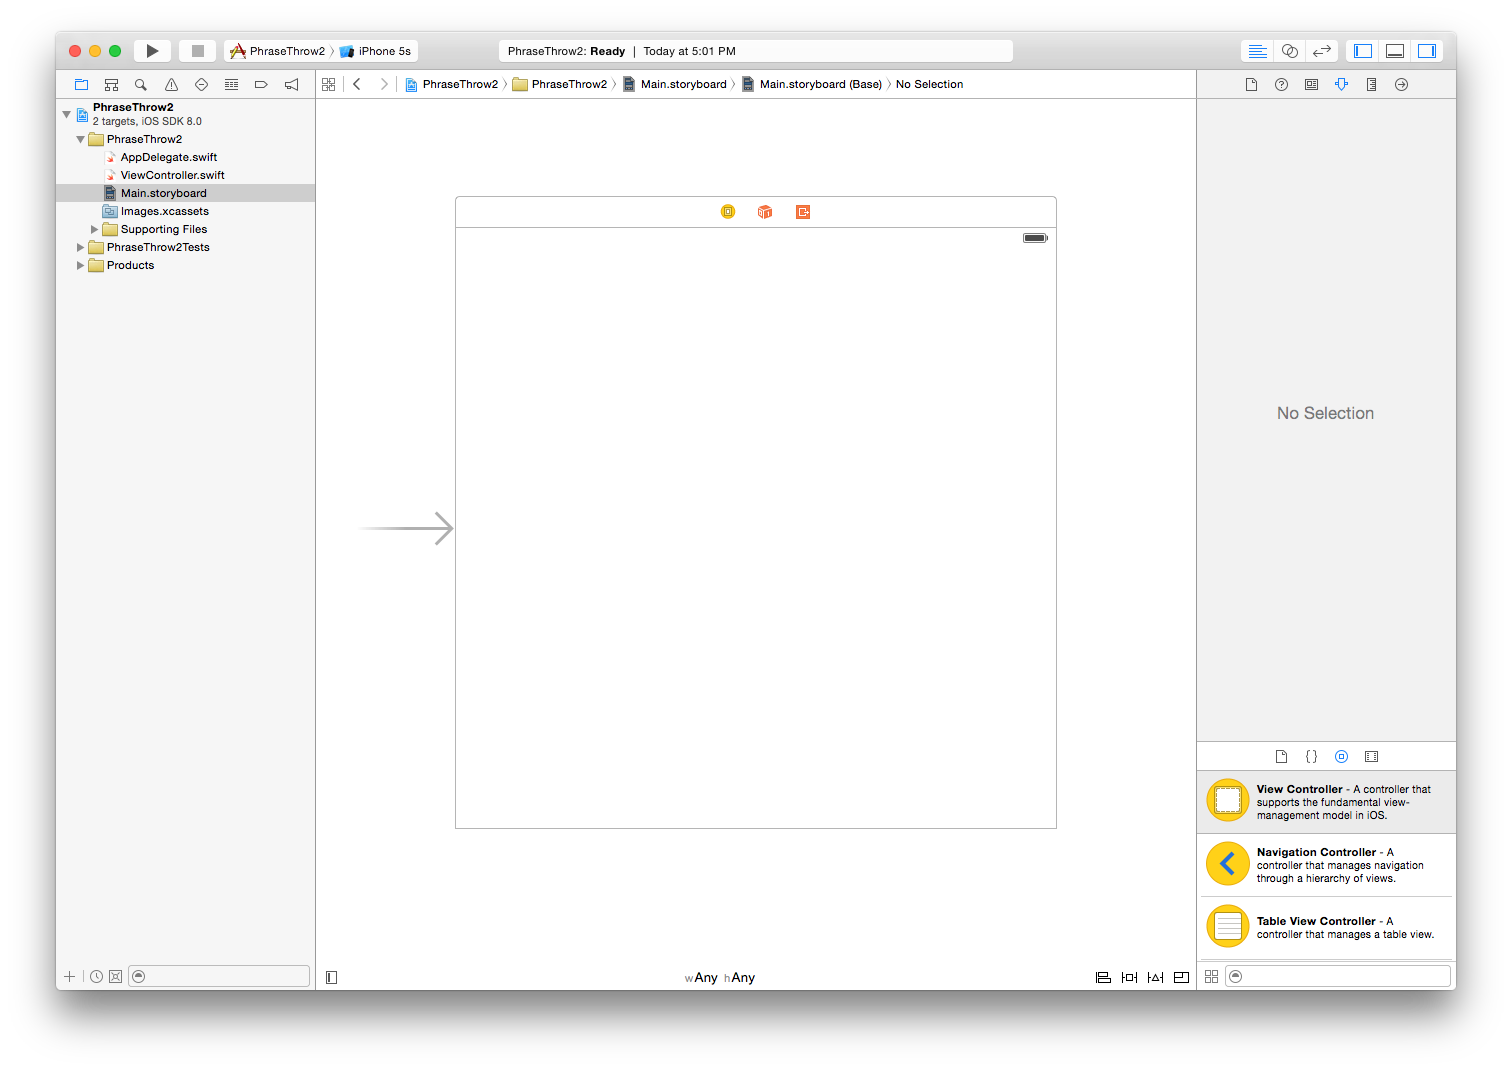
Whoops, that doesn't look like am iPhone screen. Apple is making a push for arbitrarily sized iPhone development, so what you're seeing is a generic size class--we'll get into all of that in the next lecture though, so don't worry about it.
We're not interested in designing for arbitrarily sized
iPhones in this lecture. Therefore, on the right hand side, you
should see click the  button you'll see the option:

Turn that off. A little popup should appear. Make sure that "Keep size class data for" is set to iPhone, and click Disable Size Classes.
Now it should look a little bit more like an iPhone screen! Specifically, this screen is for an iPhone 5/5S. Great, so now we can start building our app's main screen.
The first thing we want is a title label; we want the word PhraseThrow in big letters across the top of our screen, so that everyone knows what our app is called. On the right hand side of your screen, you should see the Object Library, which looks like this:
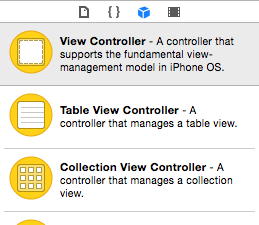
Scroll down until you see an option for Label. Then, drag and drop it onto your view! It's as simple as that. You should see, if you move the label around the iPhone view, that Interface Builder will give you guidelines on how to center your label on the screen and whatnot. Make sure your label is centered horizontally, like so:
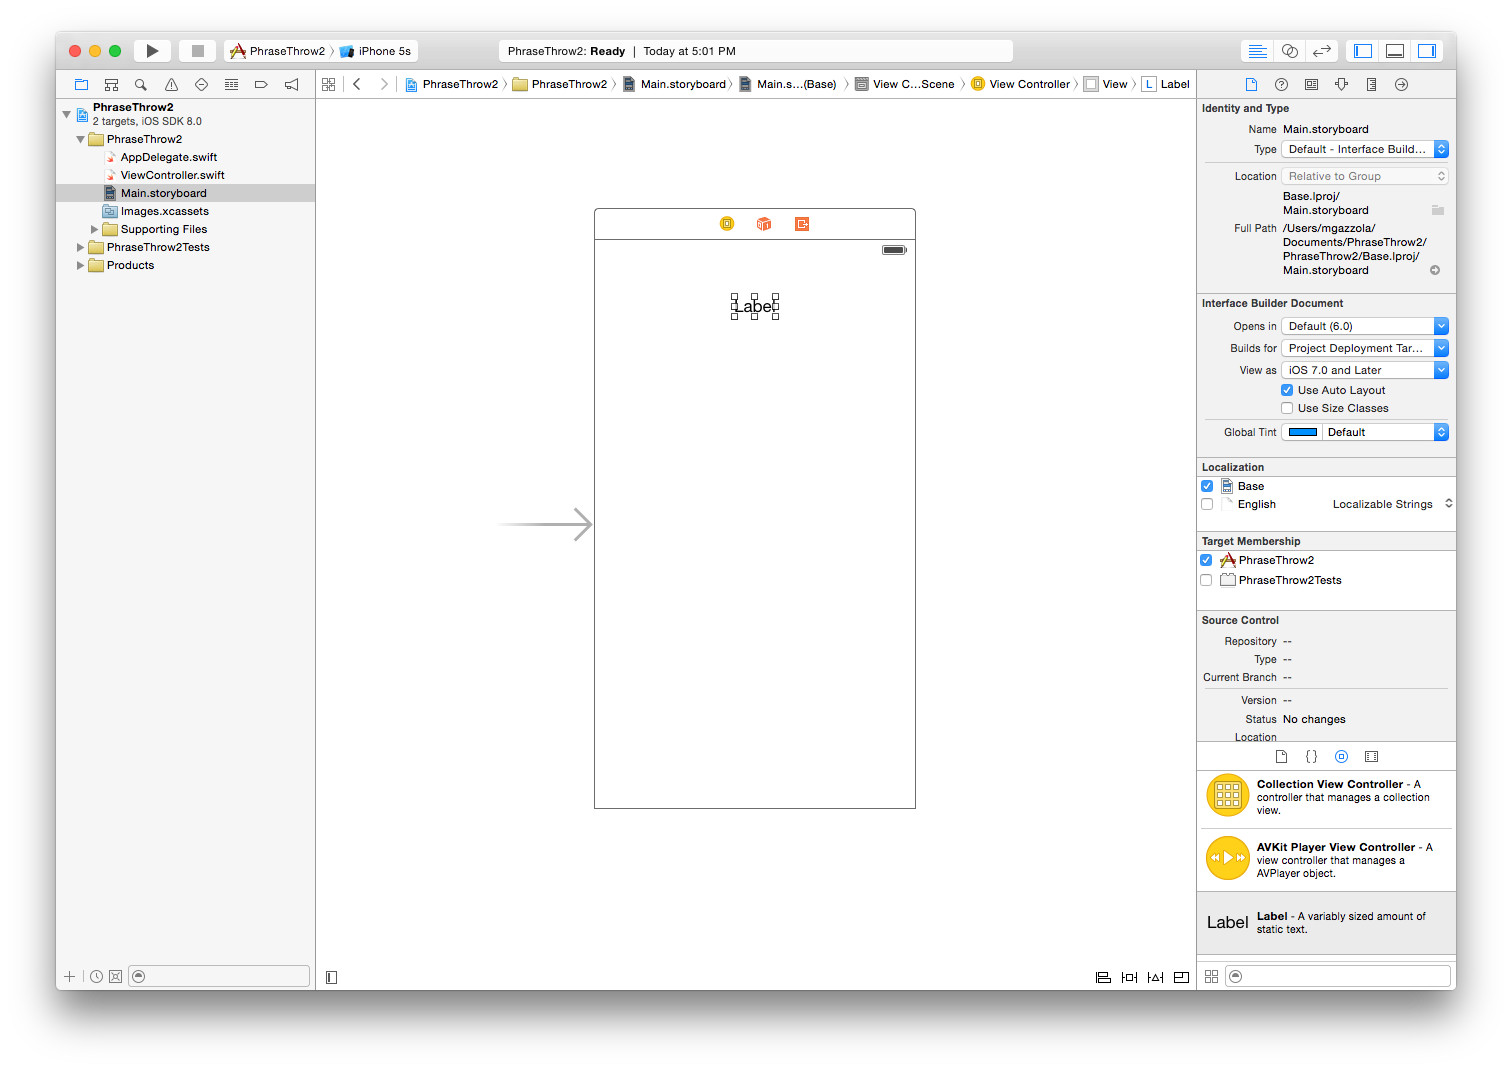
A label is just an object that displays text. That's all--nothing more! But the text inside can be modified--so, let's do that to get our title label. Double click on the label to edit its text, and edit it to "PhraseThrow" (without the quotes). Then, on the top right hand side of your screen, you should see a little toolbar like this:

That is the Inspector Toolbar--you'll want to select the fourth one from the left. That is the Attributes Inspector. It's full of information about your label (if not, click on your label to get it into focus, and then you should see tons of info). Use the Attributes Inspector to make your PhraseThrow title label nice and big and pretty (note that this will probably involve resizing your label). Mine looks like this now:
Great! Hopefully your label looks like awesome--if not, it's totally cool if you didn't modify the label at all. Now, we'll need two more things for our view: a label to display the random word on the screen, and a button to say "Hey, get a random word." You can find a button in the Object Library, just like your label. So, you should set up your screen like this:
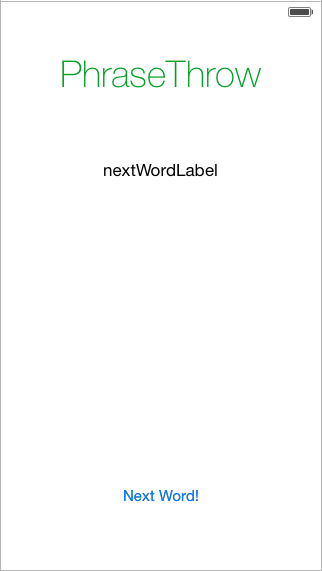
It's good to have good design. Keep your button close to the bottom, and keep your labels grouped together near the top.
Making the Connections
Okay, so we have this view with two labels and a button, but
right now if your app were to run, it would do nothing. Why?
The labels and button are not connected to any code or logic.
They do nothing. So, now we're going to start working with
code. In the top right hand corner, you'll want to click on
this  icon (on non-Yosemite machines,
you'll see a bow-and-tie guy). This is the Assistant editor and will
help you make connections in your code. You should now have a screen looking
like this:
icon (on non-Yosemite machines,
you'll see a bow-and-tie guy). This is the Assistant editor and will
help you make connections in your code. You should now have a screen looking
like this:
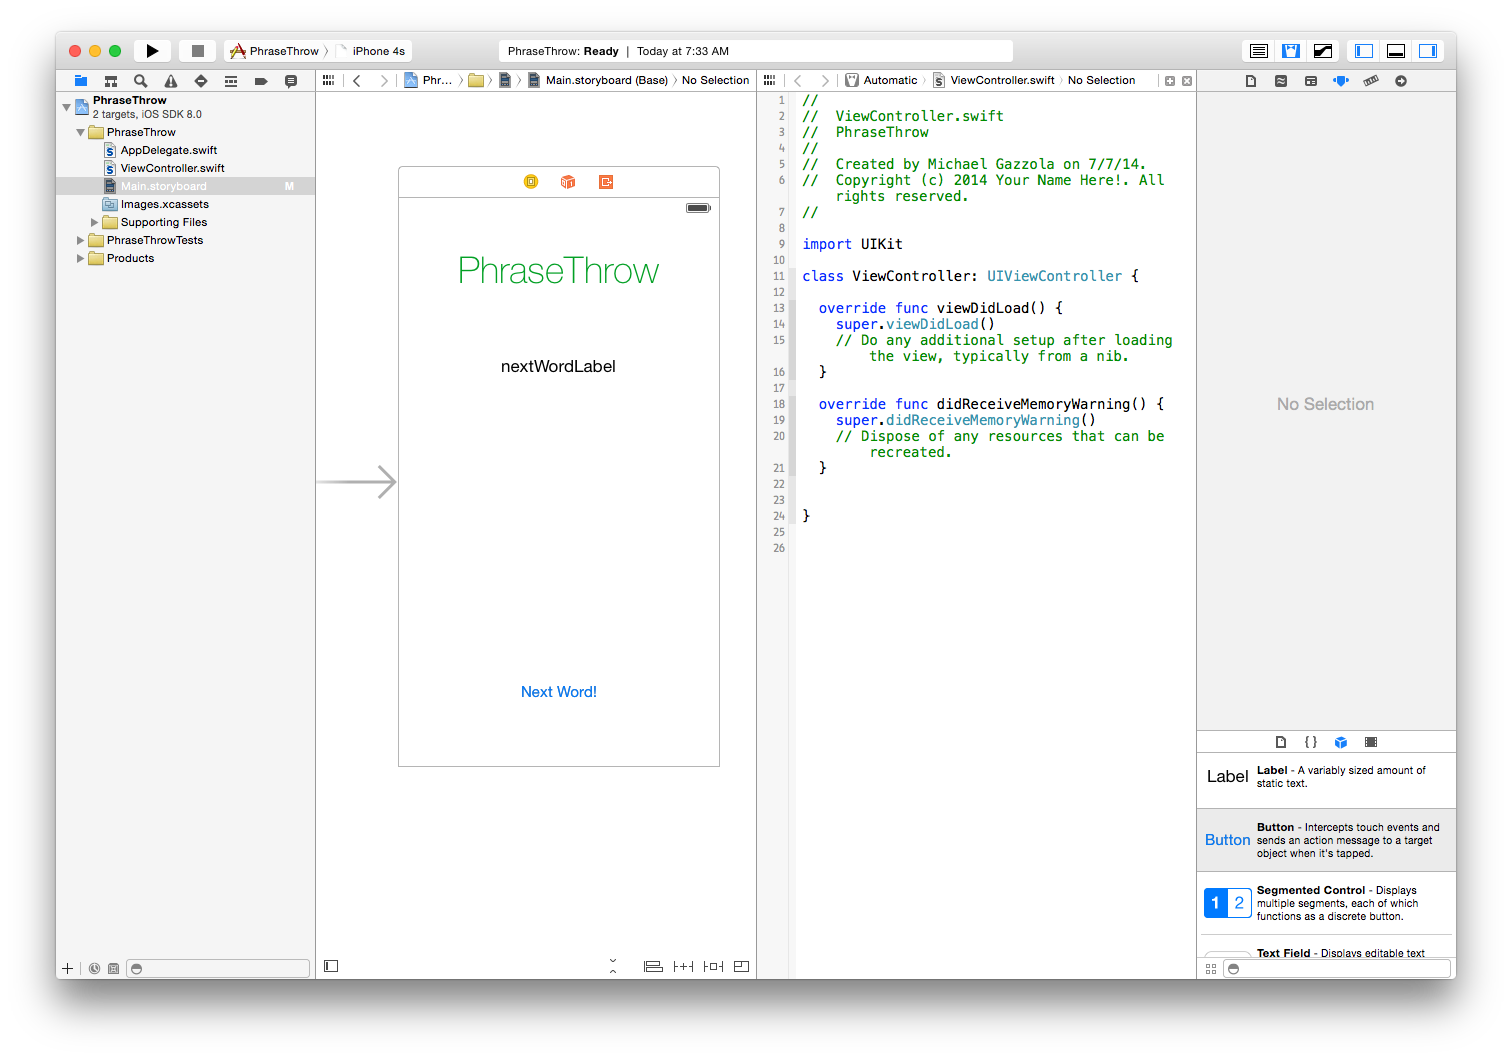
So, we'll want to make two connections in our code: one for the nextWordLabel so that we can update it with a word, and one for the Next Word! button so we know when to update the nextWordLabel. To make a connection, simple hold the Control button on your keyboard and click and drag from the Label to your code, like so:
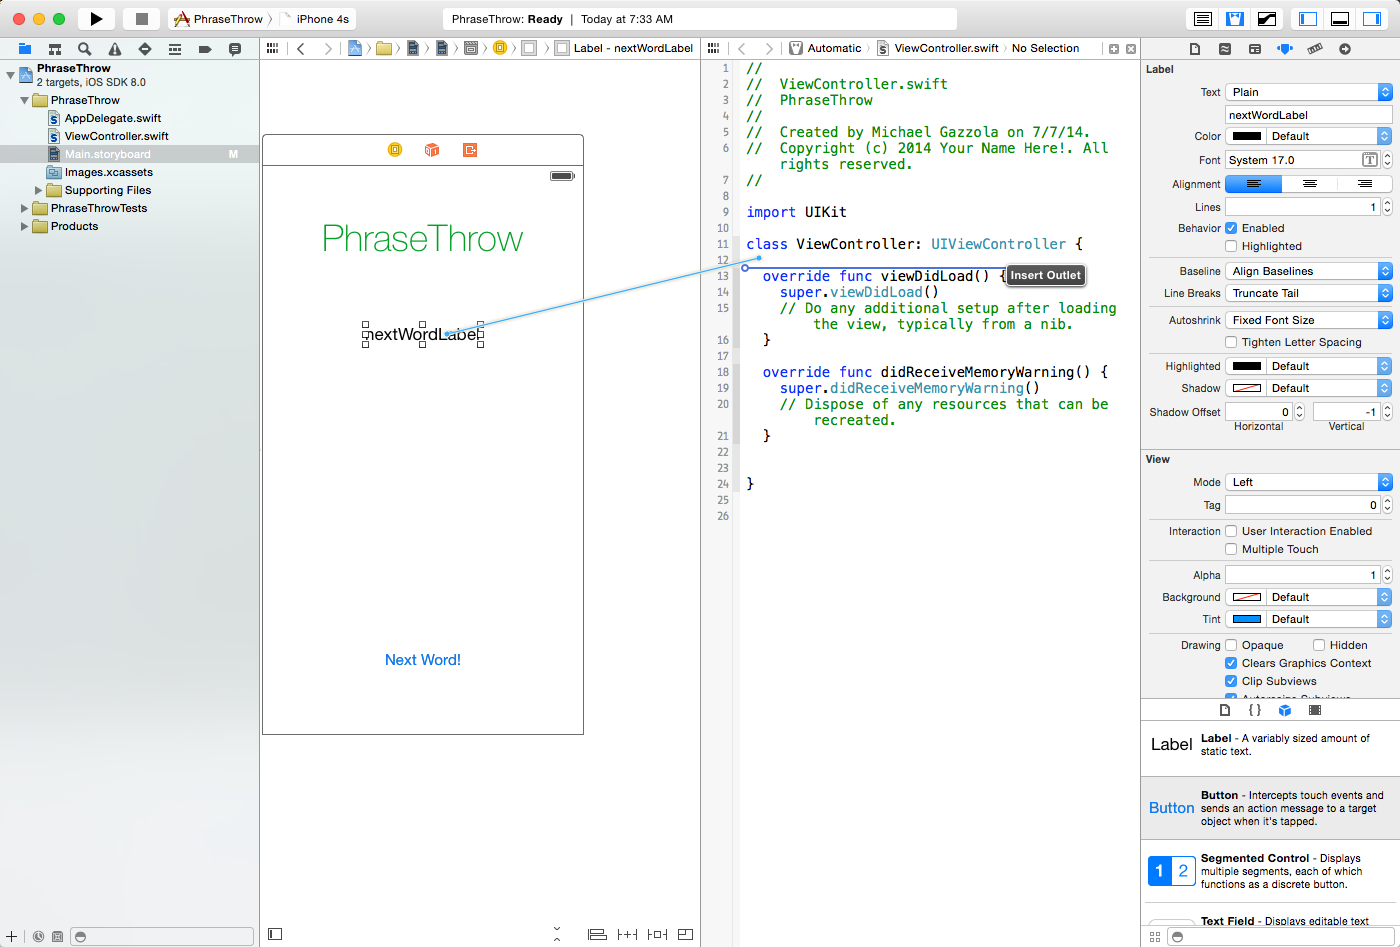
Release, and you'll get a little pop up asking you to fill in some information about the label. You should fill it out with something reasonable like this:
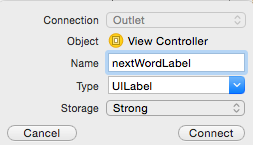
Then, click Connect. We won't worry about what most of this stuff means, because you're probably at an information overload. But all you need to know is that the label's name in your code is nextWordLabel, and its type is a UILabel. You should see that a line of coded was added to your ViewController:
@IBOutlet var nextWordLabel : UILabel!
We'll explain what that trailing exclamation mark means down below; for now, don't worry about it. Now, we'll do the same thing with the button, except we'll fill out its connection features a little differently. Make sure under Connection you select Action and not Outlet (otherwise your button won't do anything). Then, name it, and make sure its type is UIButton (it's something else, by default). Then, under Event, make sure you select Touch Up Inside. It shoud look like this:
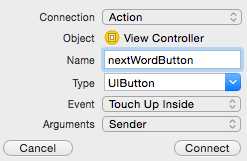
Now, you should see that an entire Swift function was added to your code:
@IBAction func nextWordButton(sender : UIButton) {
}
The code in this function is called each time the button is pressed.
Now, we have connected the View to your ViewController class; we're officially done working with Interface Builder, for now.
Writing the Code
Don't continue into this section unless you're familiar with Model-View-Controller (MVC). If you're unfamiliar with MVC, go back to the lecture on read about it. Also if you haven't read the Swift intro in Lecture 1, do that now!
First, we should make a model. We'll make a class called NounDictionary, which will basically just hold a massive list of nouns. This class will also support one function: randomWord(), which may return a random noun from the list. Think carefully about how this fits into Model-View-Controller.
We'll first need a list of nouns to save in our NounDictionary class. Make sure you download nounlist.txt (right click, Save Link As../...) and drag and drop it into your Xcode project. You should drag it into the Supporting Files folder. A dialog should popup whe you do this. Just select Copy items if needed and click Finish.
Next, we need to make a new class file. Hit Cmd+N, or go to File > New > File. You'll see a prompt like this:
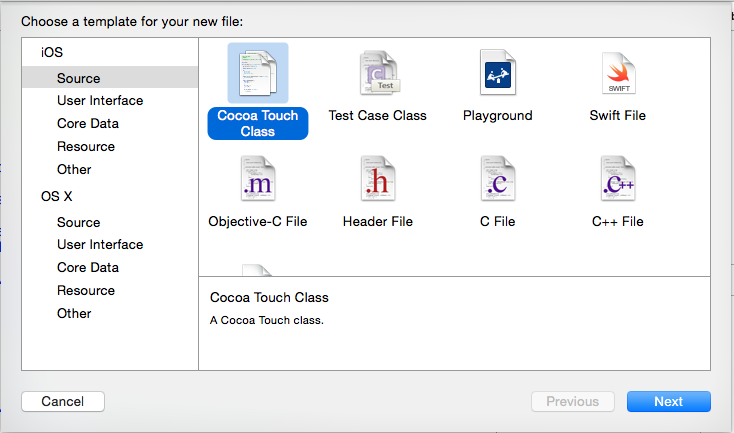
Select Cocoa Touch Class, since this is basically a template for new iOS templates. You'll see another form like this:
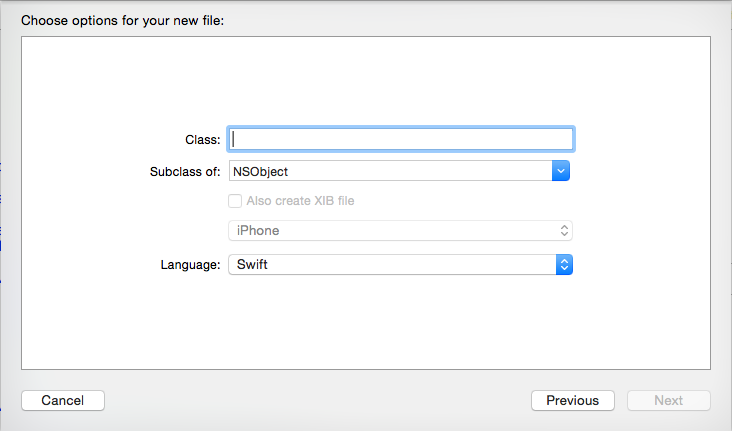
Under Class, put NounDictionary, and under Subclass of:, just leave it as NSObject. Leave everything else (make sure Language is set to Swift). Hit Next, and then hit Create. You'll be all set with a new empty class that looks like this:
import UIKit

class NounDictionary: NSObject {

}
Now, we can implement this class. In the interest of time, I'll just post the annotated code for the NounDictionary class:
class NounDictionary: NSObject {

  var wordList : [String]?  // Think: why would we want this as an optional?

  override init() {
    super.init()  // Always call your superclass's init.

    // Get the file containing the words.
    var mainBundle = NSBundle.mainBundle()
    var filePath : String? = mainBundle.pathForResource(
      "nounlist", ofType: ".txt")
    // Make sure the file exists!
    if (filePath != nil) {
      var words: String? = String(contentsOfFile: filePath!,
                                  encoding: NSUTF8StringEncoding,
                                  error: nil)
      // Now, create an array by separating on newline characters.
      self.wordList = words!.componentsSeparatedByString("\n")
    }
  }

  // Is called when the Next Word button is pressed.
  // Randomly picks a word from the word list and returns it.
  func randomWord() -> String? {
    // Check to make sure we have a valid word list. If initialization failed,
    // we might not have one!
    if (self.wordList != nil) {
      // Picks a random UInt32 because 0 and self.wordList.count.
      var index = arc4random_uniform(UInt32(self.wordList!.count))
      var word: String = self.wordList![Int(index)]
      return word
    }
    // If we're here, then we don't have any words!
    return nil
  }

}
So, now, let's focus only on our ViewController code. Let's leave Assistant editor mode (click the button to the left of the suit and tie guy) and open up ViewController.swift. Right now, the only stuff you should have in there is this body of code:
//
//  ViewController.swift
//  PhraseThrow
//
//  Created by Michael Gazzola on 7/7/14.
//  Copyright (c) 2014 Your Name Here!. All rights reserved.
//

import UIKit

class ViewController: UIViewController {

  @IBOutlet var nextWordLabel : UILabel!

  @IBAction func nextWordButton(sender : UIButton) {
  }

  override func viewDidLoad() {
    super.viewDidLoad()
    // Do any additional setup after loading the view, typically from a nib.
  }

  override func didReceiveMemoryWarning() {
    super.didReceiveMemoryWarning()
    // Dispose of any resources that can be recreated.
  }


}
There are two functions in there that you didn't write: viewDidLoad, which is a function that is called when your iPhone loads up your Main.storyboard, and didReceiveMemoryWarning, which we will never worry about in this class.
We want to focus on viewDidLoad. This is where we will initialize everything. You can start by writing to nextWordLabel, just to get our feet wet with our app. Change your viewDidLoad method so that it looks like this:
override func viewDidLoad() {
    super.viewDidLoad()
    // Initial text.
    self.nextWordLabel.text = "Press the button!"
}
Now you will run your app for the first time. In the top
left hand corner of Xcode is a little  icon. Click it and watch your app
run on the Simulator.
icon. Click it and watch your app
run on the Simulator.
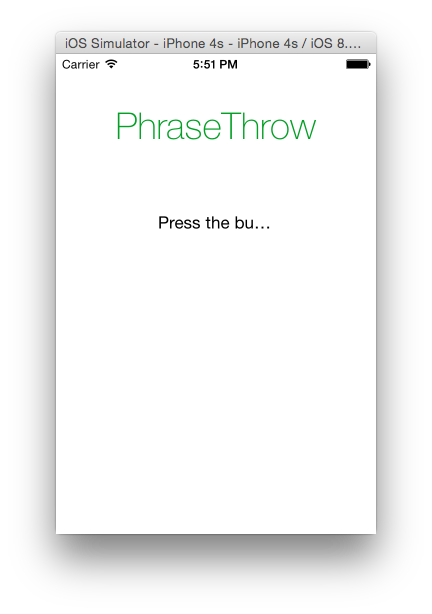
Uh-oh. You might want to dive into Interface Builder later to fix nextWordLabel to make sure the Label is big enough to hold the entirety of its contents. But more importantly, where did our button go?!
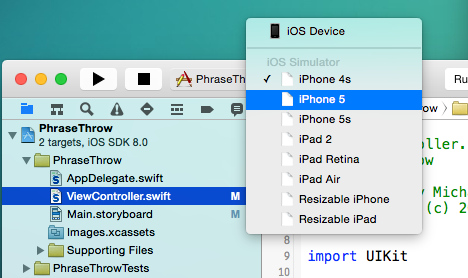
The interface you built was for an iPhone 5. The simulator by default runs an iPhone 4S. Therefore, your button is getting cut off! Stop the simulation (by hitting the Stop button next to the Play button) and access the drop down menu right next to it to select an iPhone 5:
Now, run the simulation again and everything should be good:
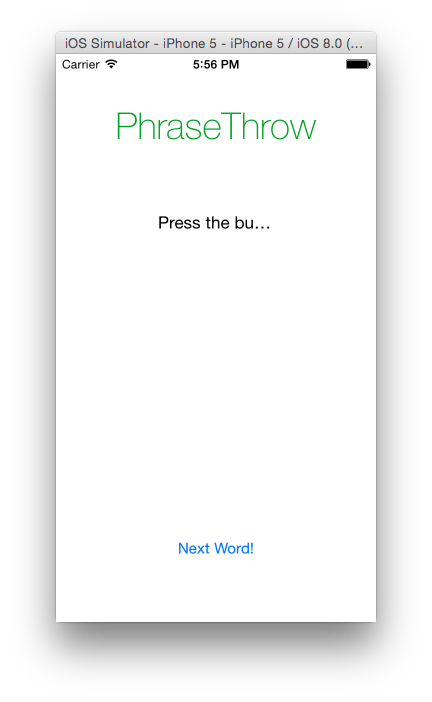
Alternatively, you could just move the button up the screen on Interface Builder so that it displays on both iPhone 4S and iPhone 5. Later on in the course, we'll talk about how to do this programmatically so you don't ever have to worry about this.
Now, we know how to edit nextWordLabel, and we have our app displaying as it should. We've also written a class called NounDictionary which will give us random nouns. So, now we need to mash these two amenities together. Our ViewController will have an instance of NounDictionary. Every time our button is pressed, we'll make a call to NounDictionary to grab a random word, and then we'll update our label. Sounds easy enough?
We won't implement an init for our ViewController--it only appears once, so we can do our initialization in the viewDidLoad method. Set up a member variable for our ViewController's NounDictionary like this:
class ViewController: UIViewController {

  var nounDict: NounDictionary!
  ... // rest of the class
What does that ! mean at the end of NounDictionary? Well, it has to do with optionals. Basically, nounDict is a NounDictionary? optional type, which means it can be a NounDictionary or nil. But, when we use the ! at the end of the type, it basically says always unwrap this optional. So, every time you use self.nounDict, it will implicitly unwrap the optional for you. This is convenient at times, but you need to be careful to not use self.nounDict when it might be nil.
So, to solve this problem, one of the first things we will do is make an instance of it. That way, we know it's not nil for the rest of the lifetime of the app. (It's also worth noting that the Swift language won't let us instantiate the NounDictionary at the same time that we declare it, which is why we have to instantiate it separately.) So, our viewDidLoad method should look like this:
  override func viewDidLoad() {
    super.viewDidLoad()
    self.nounDict = NounDictionary()  // No unwrapping needed!
    self.nextWordLabel.text = ""
    // Do any additional setup after loading the view, typically from a nib.
  }
That code will run as soon as our view loads. Next, we only need to handle the logic for when the button is pressed. That code looks like this:
The code that runs when your button is pressed is in the nextWordButton method. The code for that function should therefore be this:
  @IBAction func nextWordButton(sender: UIButton) {
    var word: String? = nounDict.randomWord()
    if word != nil {
      self.nextWordLabel.text = word!
    }
  }
Really simple! Now, run your app and click the button a few times:
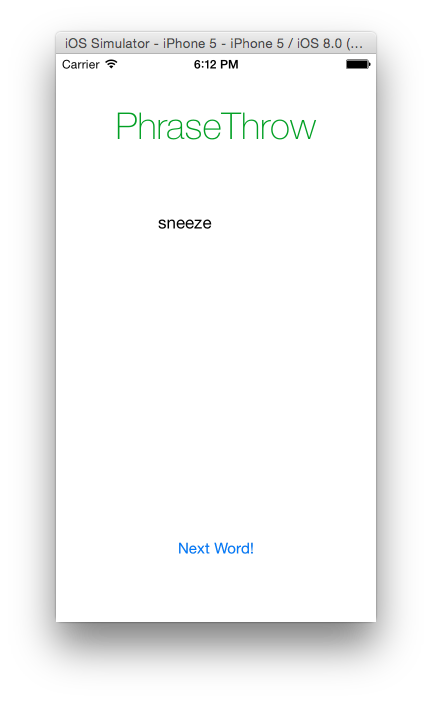
Congratulations! You just made your first Swift iPhone app!
Bonus (Highly Recommended!!)
For many students, this demo is unfulfilling. For extra credit, you can implement some of the following extra features:
- Fix nextWordLabel so that the word is centered and it fits inside the label.
- Capitalize the word when you display it.
- Add a timer. Hint, use the NSTimer class. This is a great chance to start looking through the Apple Swift documentation and get cozy with Swift syntax.
- Add support for two teams to play, complete with score.
- Have a sound play whenever the button is pressed.
Good luck!
Hand-In
I know how to use Git!
Clone your repository with:
git clone ANDREWID@unix.andrew.cmu.edu:/afs/andrew/course/98/222/git/ANDREWID
Put your PhraseThrow implementation in the hw/hw1/ directory and commit and push it. Make sure you push by the deadline, because that's when I'm running my pull script. Also, make sure you push everything. You should commit/push your PhraseThrow folder (which contains three things: another folder called PhraseThrow, a folder called PhraseThrowTests, and a file called PhraseThrow.xcodeproj). If you need a refresher, check out the Git guide written by Sally!
I don't know how to use Git!
We are using Git this semester to manage your assignments and grades. Git is a revision control system--it's a safe way to manage code in repositories, especially with multiple users. The cluster Macs already have Git (probably), and most of you guys (probably) already have Git installed on your Macs, but it'd be smart to update to the latest version of Git from here. Once you do that, open up your Terminal (Applications -> Utilities -> Terminal). In your Terminal, type
git --versionand hit enter. You should see something like:
git version 2.1.3.36.g8e36a6d
Might not be exact, but as long as you don't see something like "Command not found", you're good. Next, you'll want to clone your repository. This means making a copy of it on your machine. To clone your repository, type the following command:
git clone ANDREWID@unix.andrew.cmu.edu:/afs/andrew/course/98/222/git/ANDREWID
Where, instead of ANDREWID, you would put your own Andrew ID. This command will ssh into AFS to grab your repository. This command works if you're working on the cluster Macs. You will need to input your password, however, since you are ssh'ing into AFS.
When you perform this command, you should have a folder now (likely in your Home folder, but where you performed the git clone command) with your andrew ID. This is your repo. Inside this folder, you should see a README, a folder called 'grades', and a folder called 'hw'). Make sure you find this directory.
In your Terminal, type:
cd ANDREWID
where, again, ANDREWID is your andrew ID. This makes your Terminal enter your repo folder. Then, type:
git pull
This will download any new information to your repo. You should, in general, do this before you intend to add any new work to your repo.
To hand in (for now, though this is total assault on the entire point of Git), drag your PhraseThrow folder (which should contain three things: another folder called PhraseThrow, a folder called PhraseThrowTests, and a file called PhraseThrow.xcodeproj) and drop it in the hw/hw1/ directory in your repository.
Then, go back to your Terminal and type:
git status
This presents a status about what files you have in your repository. You should hopefully see something like this:
On branch master
Your branch is up-to-date with 'origin/master'.
Untracked files:
  (use "git add <file>..." to include in what will be committed)

        PhraseThrow/

nothing added to commit but untracked files present (use "git add" to track)
Type:
git add PhraseThrow/
You just staged your PhraseThrow folder--basically, this says "I'm planning on committing this folder to my repository." Then, you need to actually commit the folder to your repository--this is equivalent to permanently saving the folder to your repository. To do this, type:
git commit -m "Submitting HW1"
This saves everything that you staged to your repository permanently. It then attaches a little message to your commit which just explains the files that you committed to your repository, "Submitting HW1". Finally, you will have to upload your changes to AFS (so that I can see them)! Simply type
git push
And this uploads your changes. Then, you're done! Now, go read Sally's guide on how to use Git to cement this new technology in your head.
Any questions, email me or Sally!